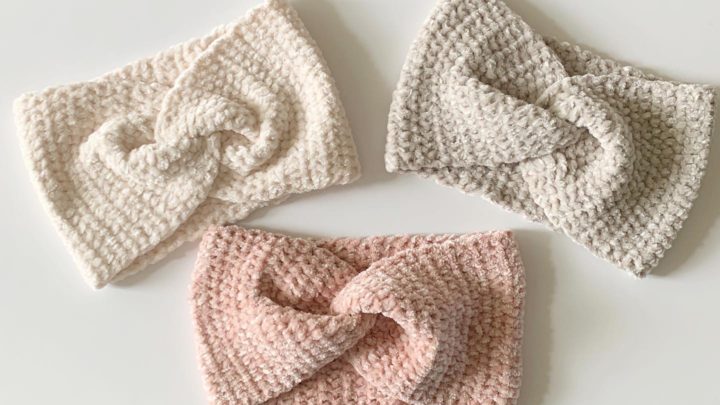
Hello crochet friends! In this post we’ve done our best to answer some of our most frequently asked questions about our crochet patterns. If you are a beginner and still new to understanding crochet patterns, hopefully this post will clear up some of the questions you might have so you can successfully make your project! Be sure to check out some of our favorite beginner-friendly patterns at the bottom of the post!
xo, Hannah and Tiffany
1. How to adjust your base chain with a pattern repeat
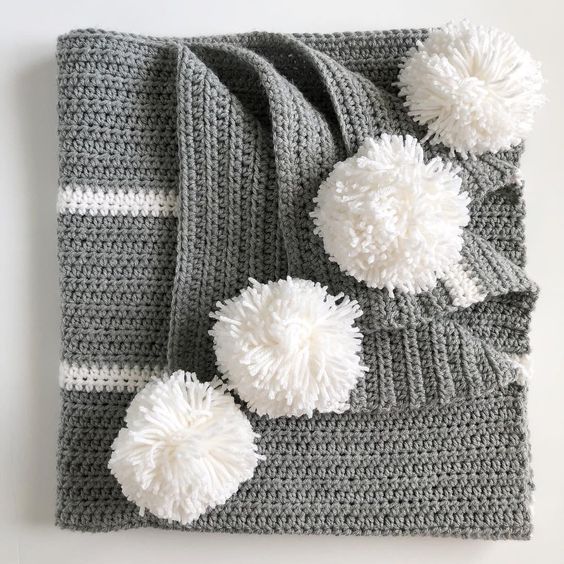
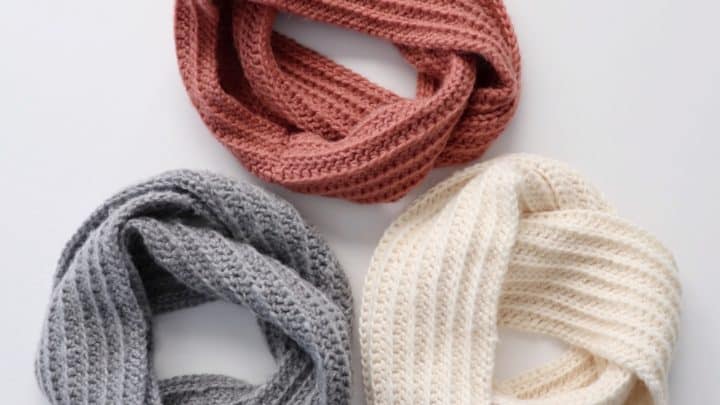
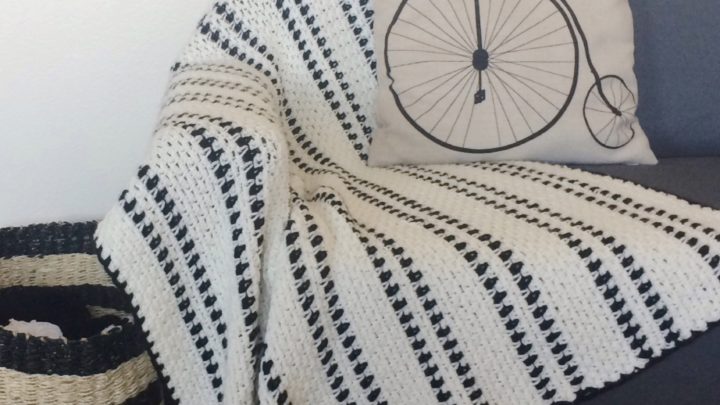
Since we make most of our blankets to be baby blanket size, we understand that sometimes you may want to make your blanket larger. At the beginning of most of our patterns, we usually try to give you what is called a ‘pattern repeat’ so that you can adjust the pattern to be any size you want. We also try to do this for a lot of our scarf and hat patterns so you can customize them to fit whoever you are making them for.
If we say that the pattern repeat is any multiple of 10, plus 1, that means that you need to multiply any number by 10 (for example 9 x 10), then add 1 (so your base chain would be 91.)
The best way to get your blanket the size that you want is to work up a practice swatch of the pattern you are making with the yarn you have chosen and measure it to calculate your base chain.
So for example, if the pattern repeat is a multiple of 10, plus 1, you could make a base chain of 21, then do a few rows of the pattern. Say you measure the swatch and its 5 inches wide and you want your finished blanket to be 40 inches wide. 40 inches divided by 5 inches is 8, so you would multiple 21 by 8, to get a base chain of 168. Since the number 168 doesn’t work with the pattern repeat, you can round up to 171, which is 17 x 10, plus 1.
The same method goes for patterns where there is no pattern repeat and you can chain any number to make the blanket – if you want to make a different size, just work up a small swatch and measure it to calculate your base chain.
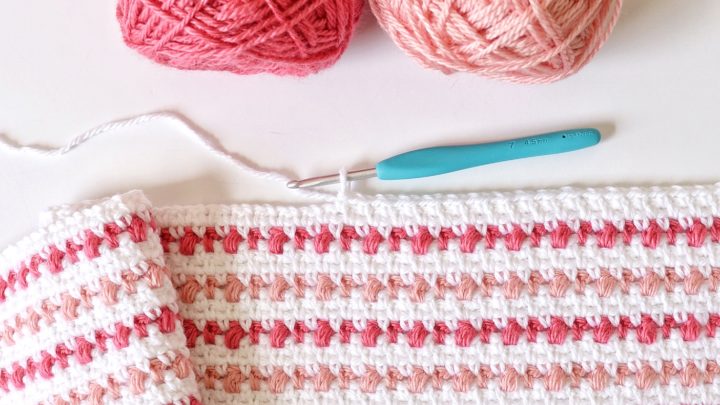
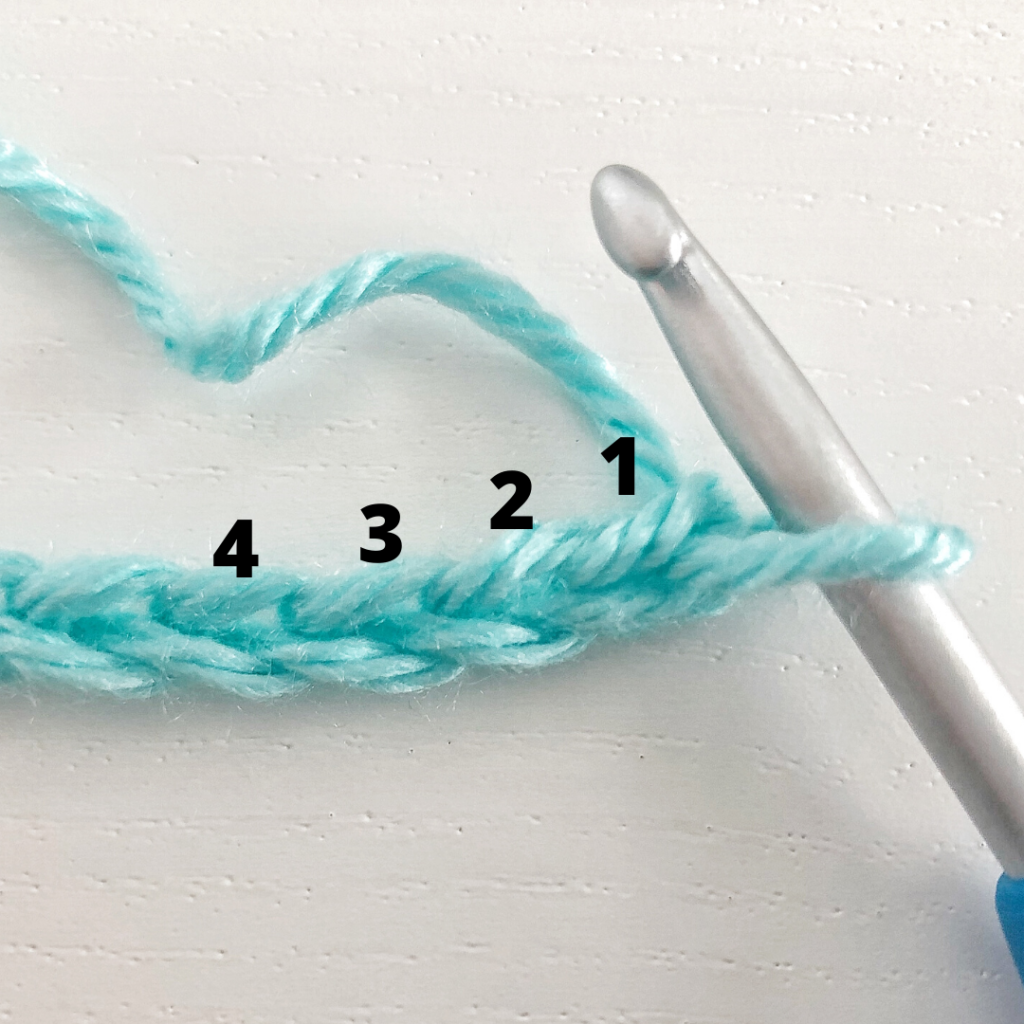
2. Which chain to start in
After you get all settled with your base chain, you’ll turn your work and start working back down the chain to create your first row. Most of our patterns tell you to start by inserting your hook into the 2nd, 3rd or 4th chain from the hook. Here’s some pictures to show you what we mean:
3. There is no perfect answer for how much yarn to buy
If you’re going to make a blanket the exact same size that is stated in our patterns, then most of the time you can buy the recommended amount of yarn in the pattern and you should be fine, though we do always recommend keeping your receipts in case you have leftovers you want to return. Since everyone crochets differently and with a different tension, some people use more yarns than others.
If you are adjusting a pattern to a different size that we have never made before, unfortunately we can’t give you an exact amount of yarn that you will need. When we are designing a blanket for the first time, we often have to guess at how much yarn it will use and sometimes we have leftovers and sometimes we need to get more.
You can do a little guesswork though. If, for example, you want to double the size of a pattern for a baby blanket that is 30 x 40 inches, you can simply double the amount of yarn the pattern calls for and you will likely have the amount you need. Again, keeping receipts is always a good idea!
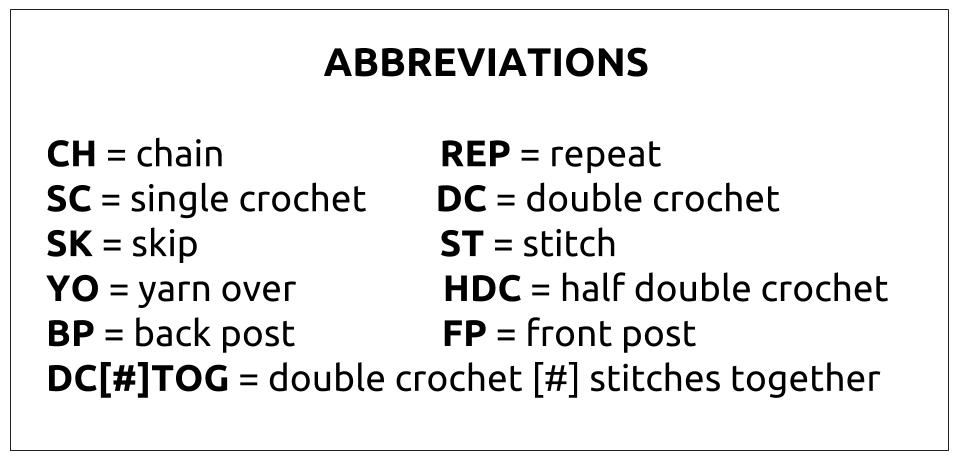
4. Common crochet abbreviations
Here’s a list of the most common terms we use in our crochet patterns!
5. How to change colors
To change colors at the end of a row, you want to stop just before you finish your last stitch, drop the color you’ve been working with, and pull a loop through the new color.
For example, if you are working a row of single crochet, then on the last stitch, you would insert your hook, yarn over and pull up a loop, then stop with two loops left on your hook. Drop the yarn you’ve been using, then pull through the two loops with your new color. Leave yourself about a six inch tail when you pull through with the new color, and cut off the old color, also leaving yourself about a six inch tail you can weave into the blanket later. (See #8 for how to weave in ends.)
Here’s what your stitch should look like if you are changing colors at the end of a single crochet row:

Then after you pull through with the new color, you continue following the pattern, so for a row of single crochet, you would chain one with the new color and turn.
If you are switching colors using a stitch other than single crochet, you simply pull through with a new color right before you finish the stitch. So if I was working a puff stitch and had multiple loops on my hook, I would pull through with the new color through all the loops, right before I was ready to finish my puff.
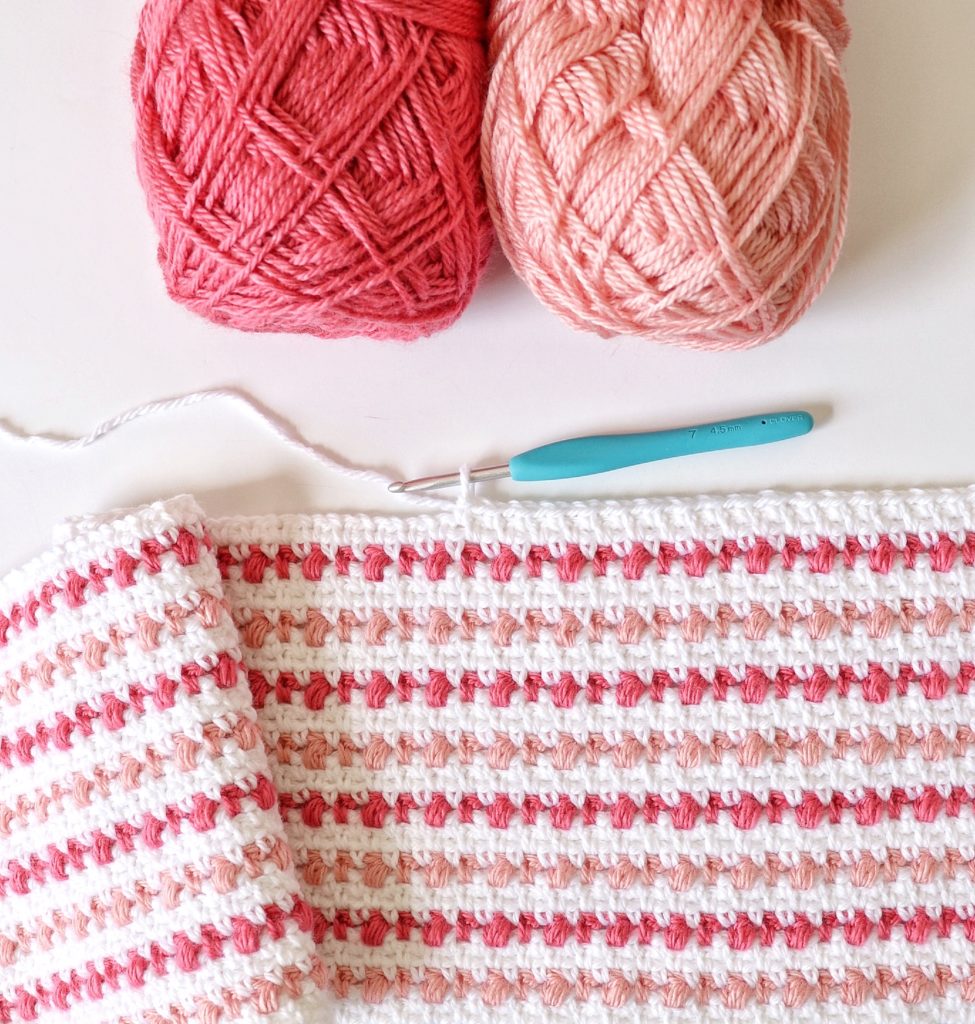
6. How to carry yarn through a blanket
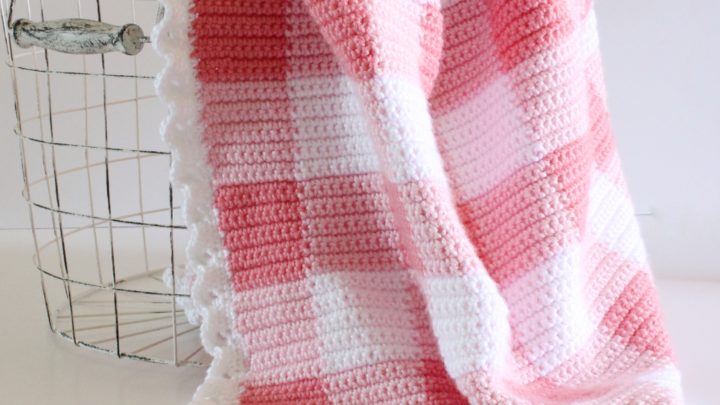
When we talk about carrying yarn we are usually referring to crocheting over one color of yarn so you can easily switch colors in the middle of the blanket, a technique also called tapestry crochet that we often use in our gingham blanket patterns.
It sounds like a complicated way to crochet, but once you get the hang of it, it’s actually a really nice and easy way to change colors. Here is a video to show you how!
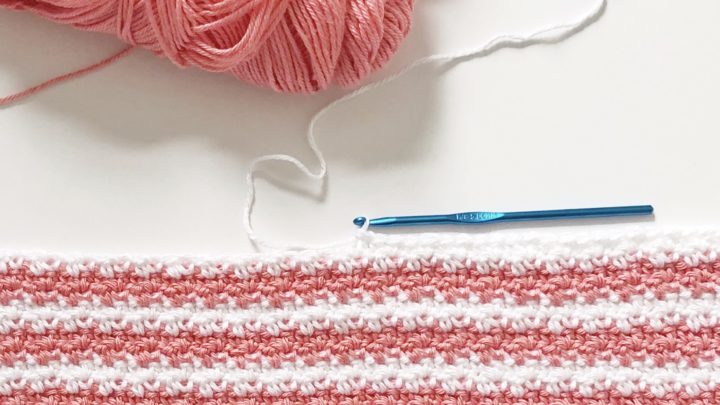
7. How to carry yarn up the side of a blanket
When you have a baby blanket that has smaller stripes that are evenly sized so that you end up on the same side of the blanket every time you need to switch colors, you can save your self some time by carrying yarn up the side of your blanket instead of cutting it and weaving in ends.
To do this, you simply stop crocheting with whatever color you aren’t using and leave it until you come back to that side of the blanket and are ready to start using it again. Then you simply pick up the yarn from a few rows below and lay it straight against the side of your blanket. It will look like this:
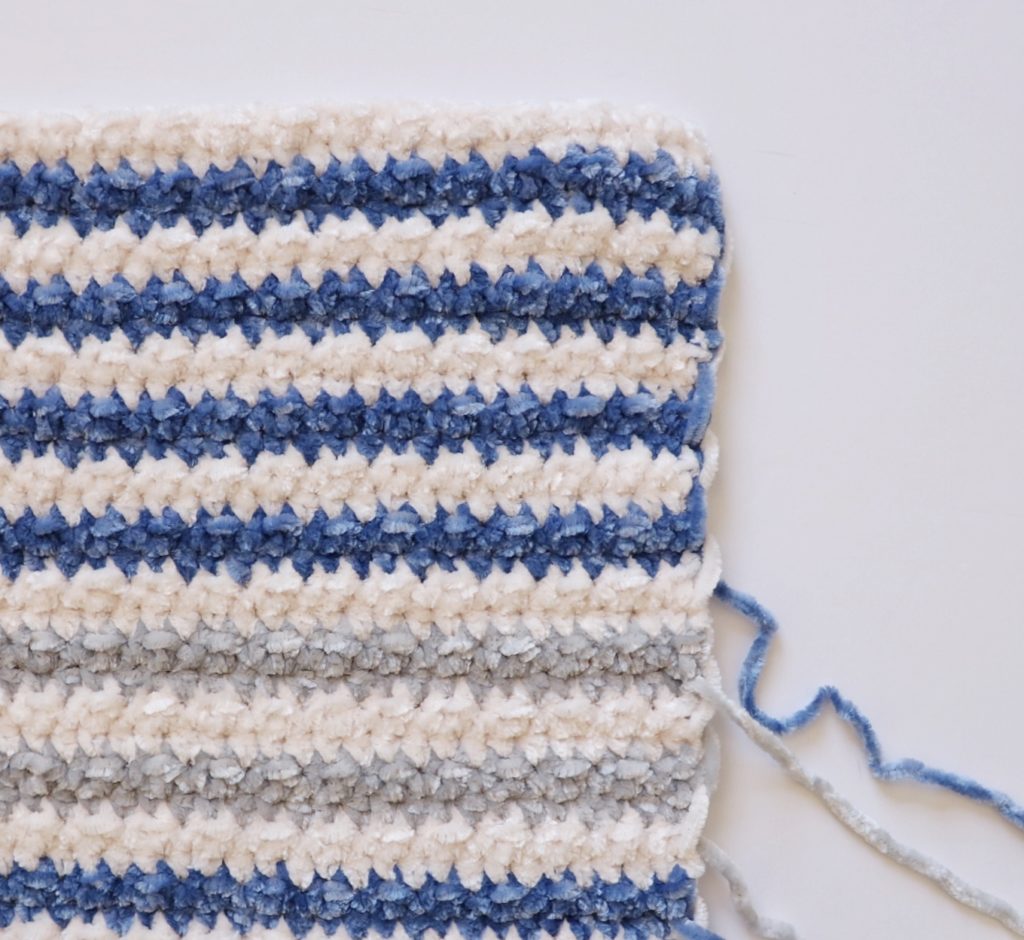
Then when you are finished with your blanket you can cover up the carried yarn with a nice border!
8. How to tie off and weave in ends
When you’ve finished working all the rows of your crochet project and the instructions tell you to tie off, this means that you want to take the loop that is on your hook and pull it up until it’s about six to nine inches long. Then you want to cut the loop right at the top:
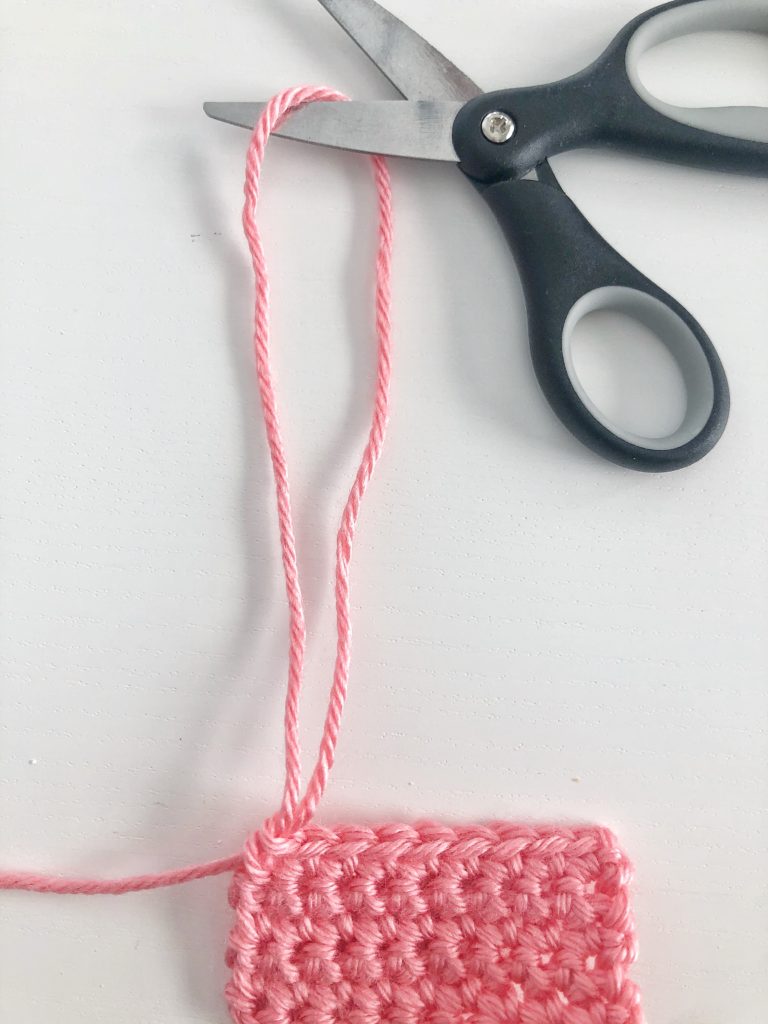
Then you’ll pull away the yarn that is still connected to the yarn ball, and pull the tail that is attached to the blanket tight until it makes a knot.
Next, you’ll want to hide that last tail, and any other tails you may have from the beginning of the blanket or from changing colors, by weaving them into the blanket with a large tapestry needle. Here’s a quick video to show you how this is done!
9. How to block a blanket
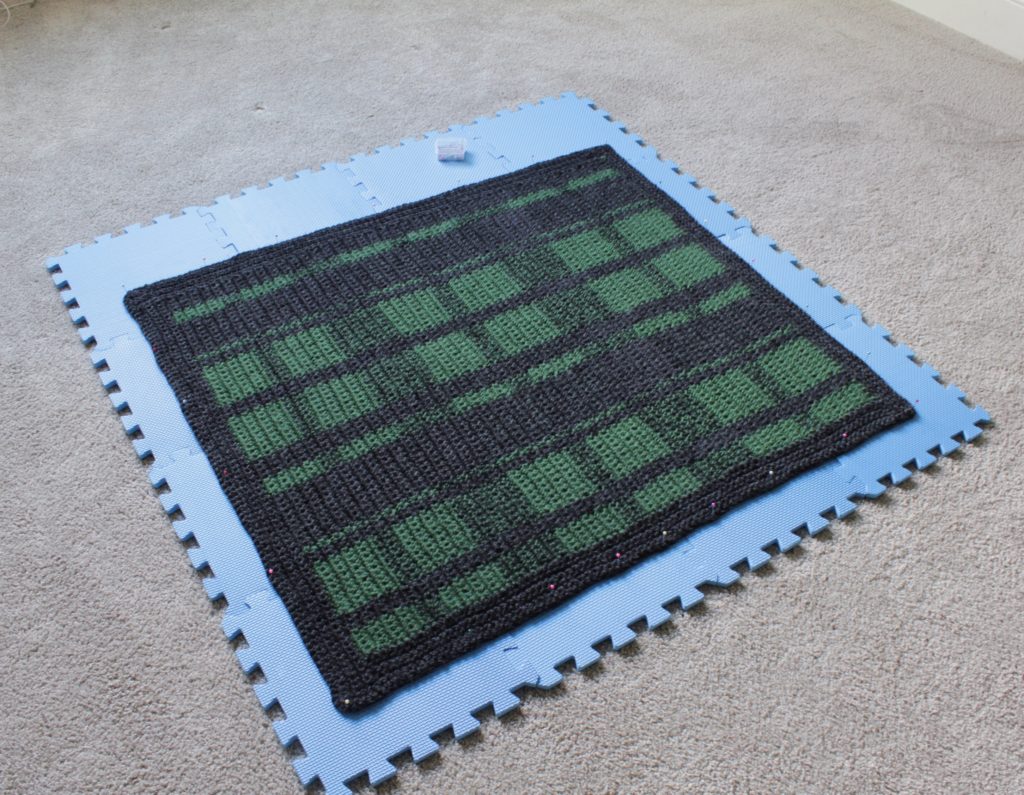
There are some times after finishing a blanket that our tension is a little uneven or the border needs to be straightened out a bit, so we block our blankets by getting them wet and pinning them as flat and straight as we can make them.
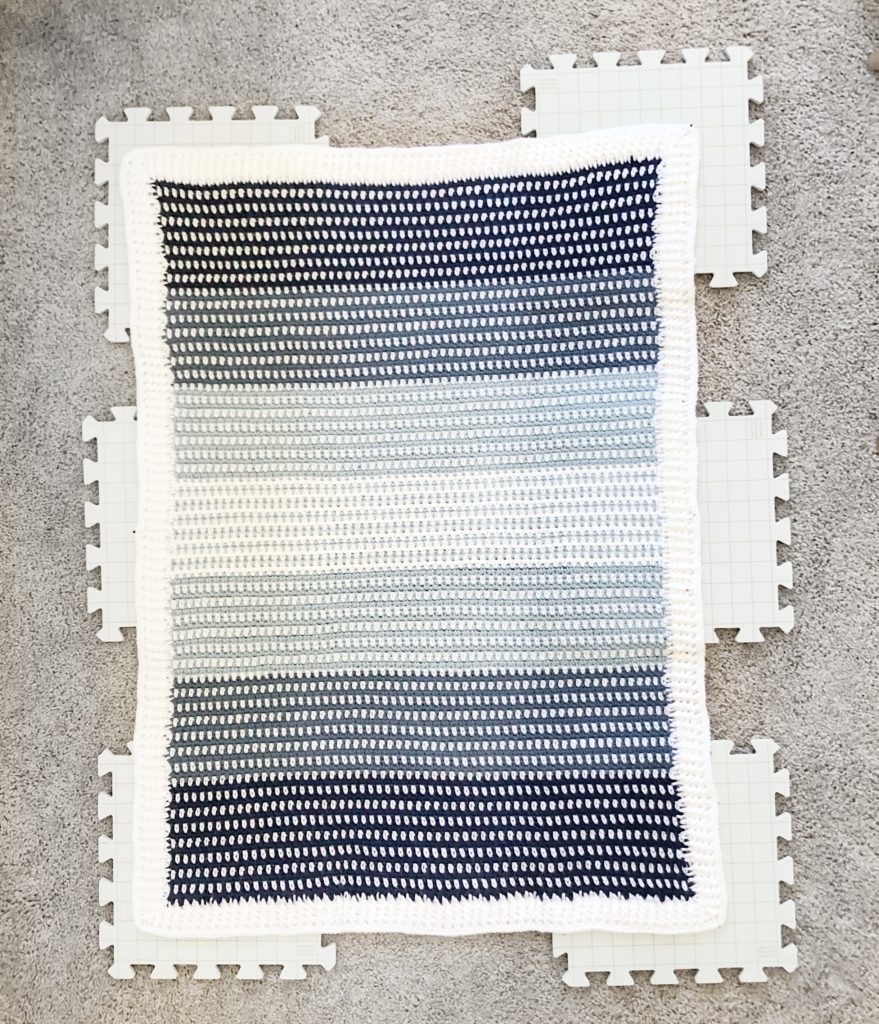
We usually use a spray bottle filled with water to wet the blanket, then lay it out on some foam board to dry and pin the edges to keep them straight. You can also wash the blanket according to the directions on the label and then lay it out on a foam board to let it dry.
10. How to frog
The last, but certainly not least important thing every beginner crocheter needs to know is how to frog! Frogging simply means undoing your crochet work and starting again if you’ve made a mistake, something we usually have to do every time we make a blanket!
The best way to get better at crochet is to always check your work after every few rows and fix your mistakes as soon as you see them. Even if it’s painful it will make you a better crocheter and help you to be more proud of your finished product!
However, if you do make a mistake that you don’t catch until the very end, just remember that there are no crochet police and imperfect things can still be beautiful! And there’s plenty more yarn in the world for you to practice again!
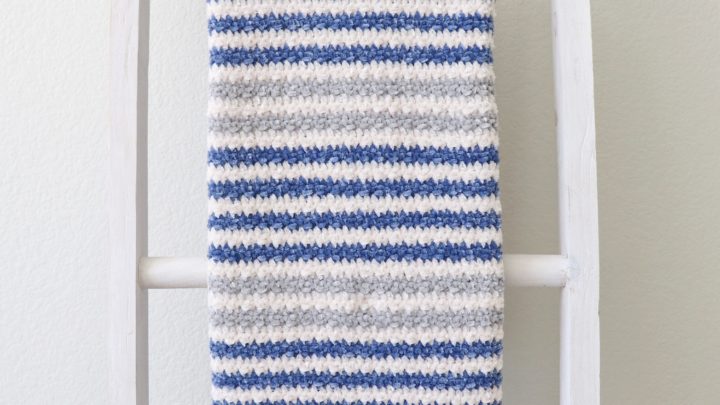
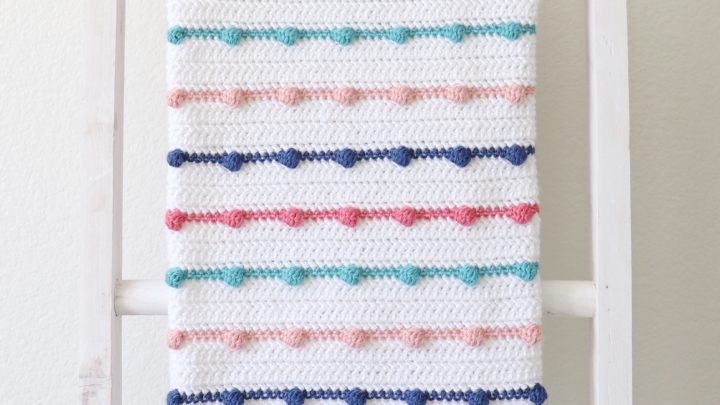
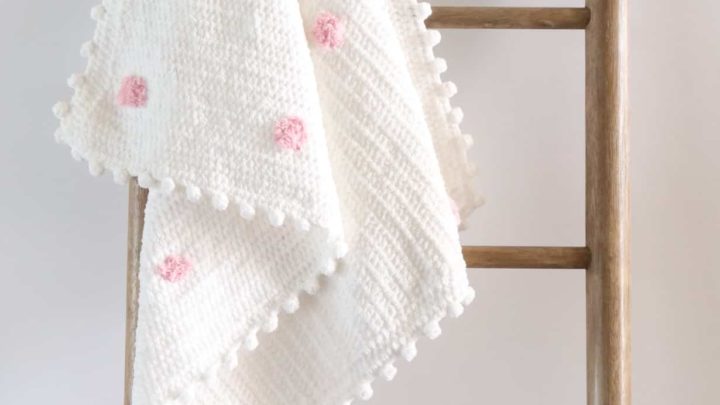
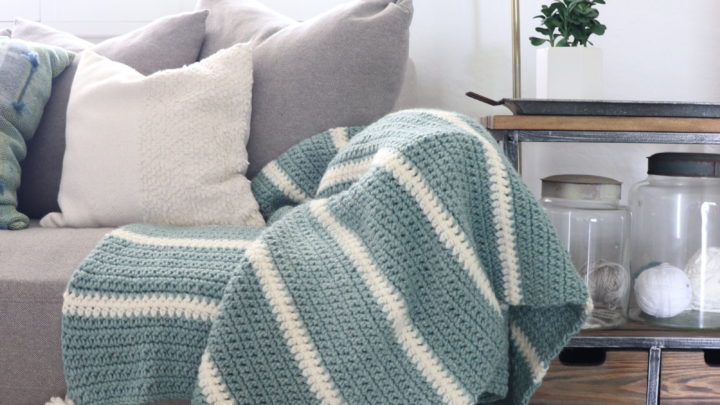
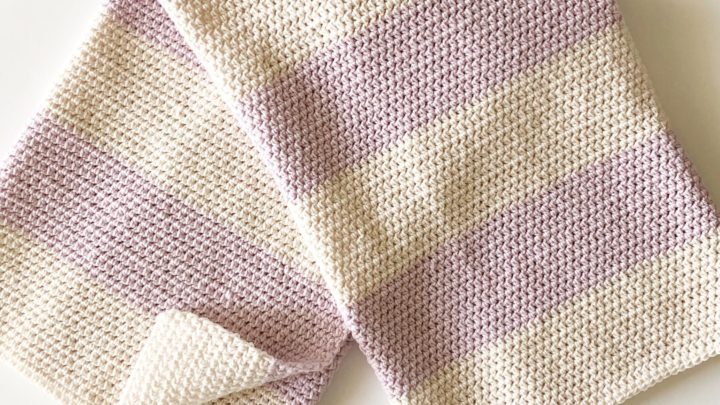
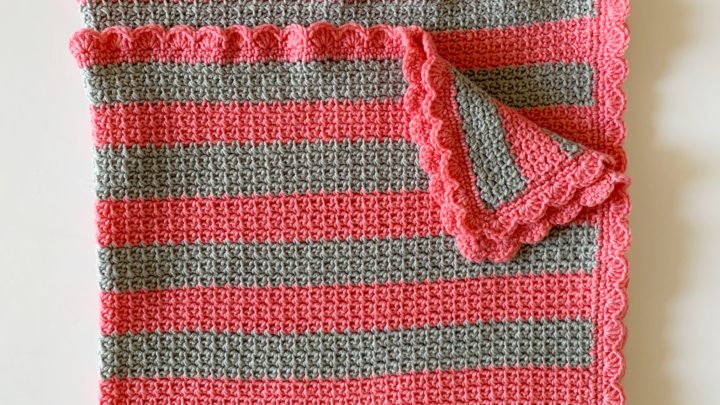
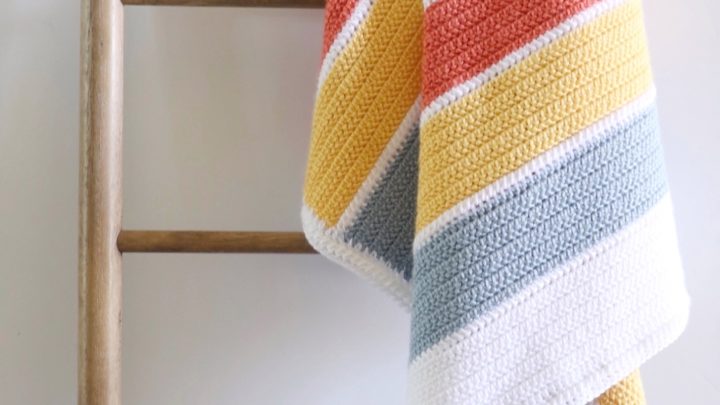
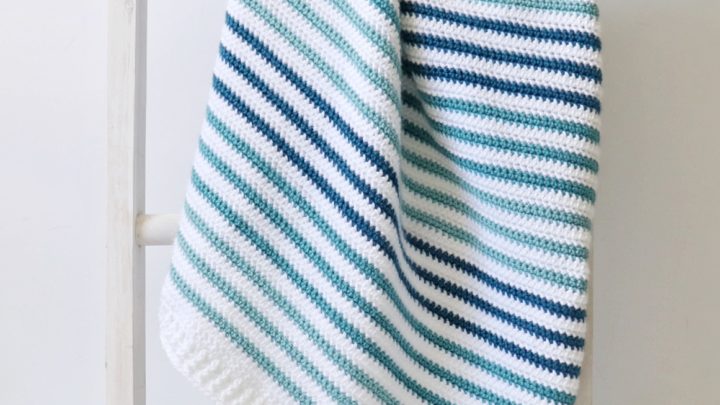
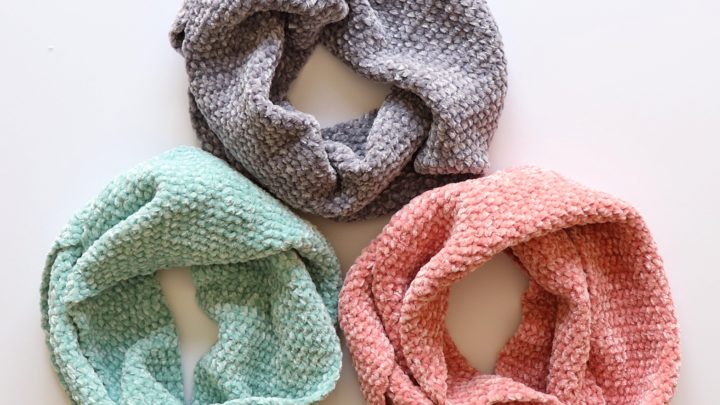
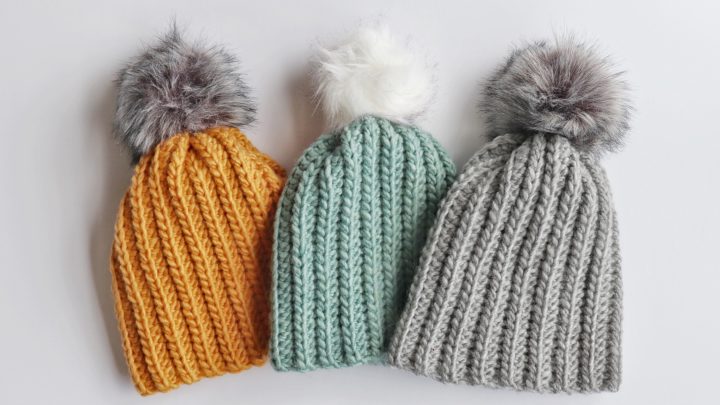
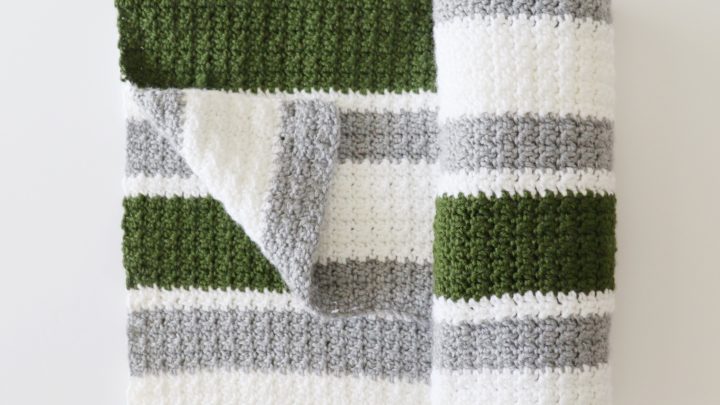
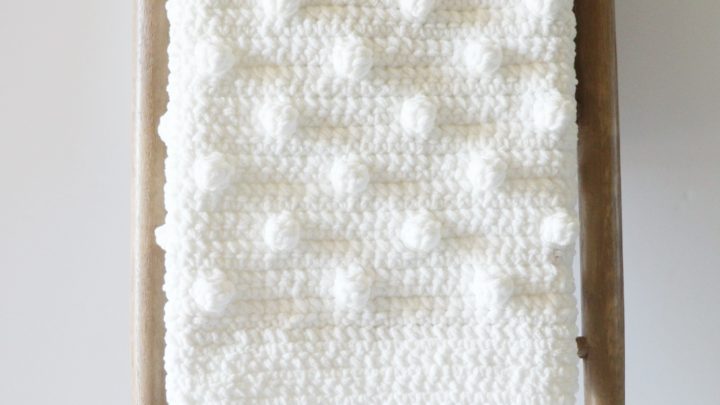
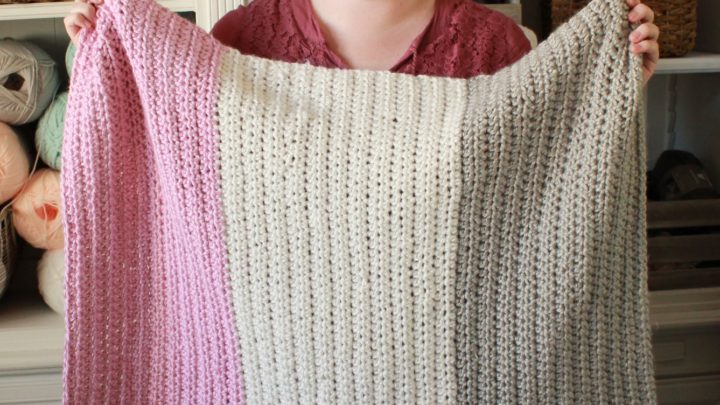
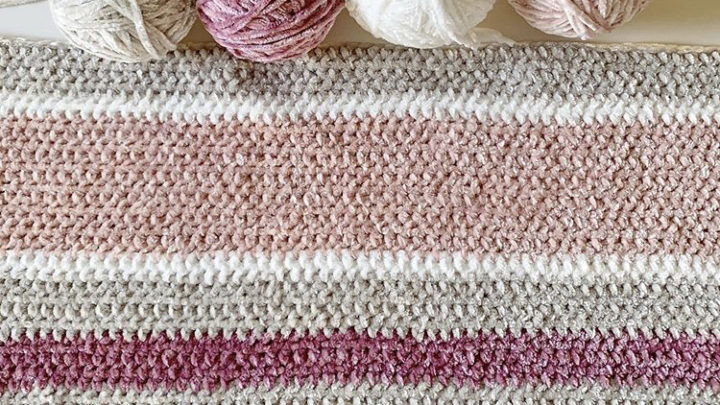
Here are some of our favorite beginner patterns!