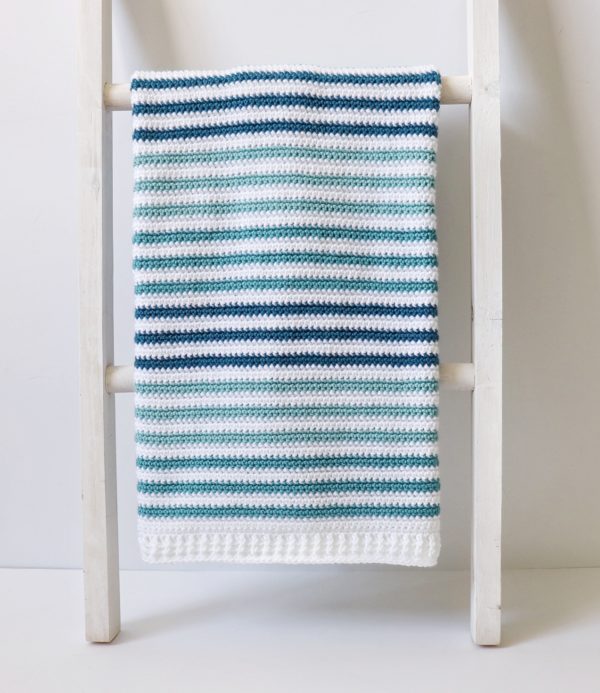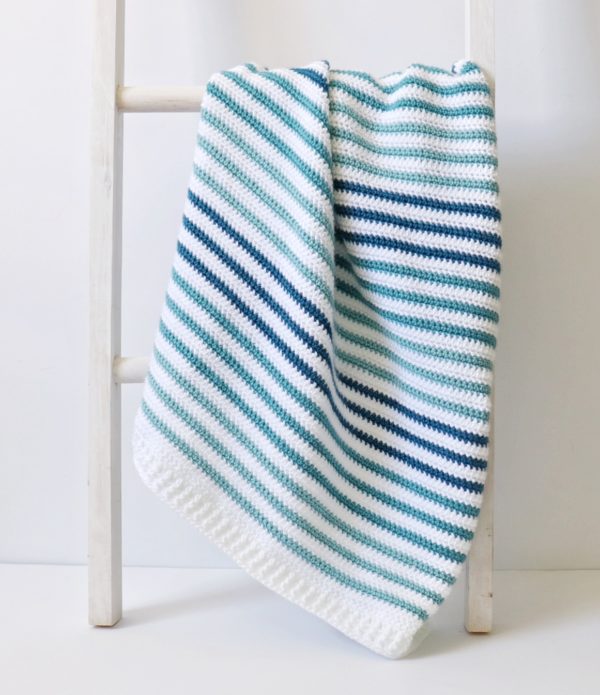
I’m never disappointed when I use Paton’s Canadiana yarn for a baby blanket! I just love how soft the yarn is and I love how it makes the blanket have a really nice drape.
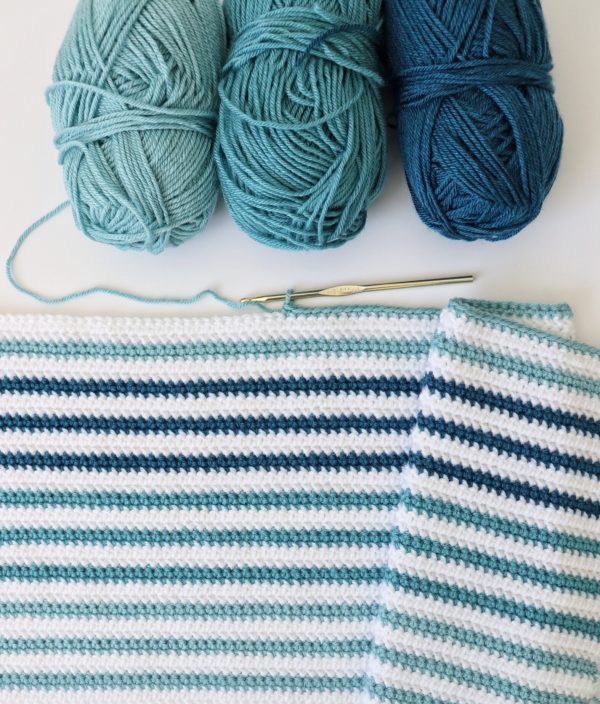
For this blanket I wanted to use some leftover colors from my Even Squares Blanket so I decided to use these beautiful teal shades to make some ombre stripes. I used Single Crochet and Herringbone Half Double Crochet for the main blanket and Front and Back Post Double Crochet for the border, so I think this is a nice beginner blanket if you want to practice different stitches! Here’s how to work each of those stitches:
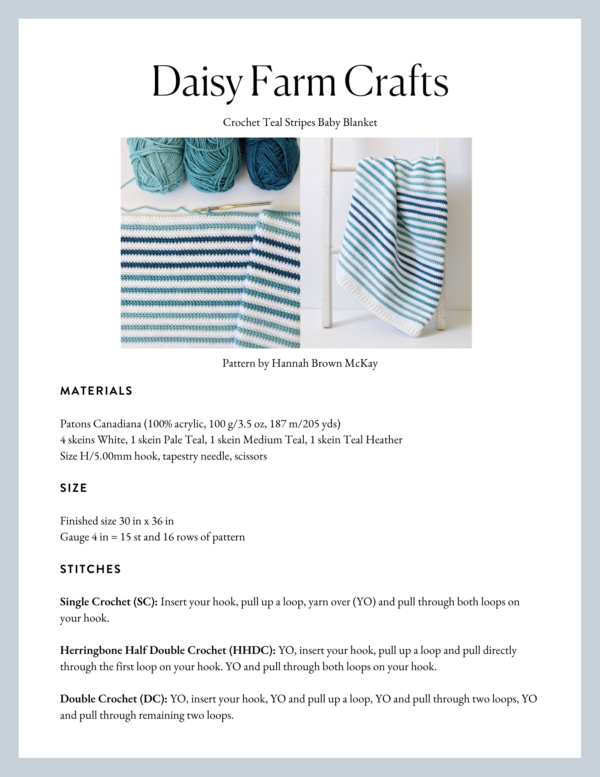
Materials
Patons Canadiana (100% acrylic, 100 g/3.5 oz, 187 m/205 yds)
4 skeins White, 1 skein Pale Teal, 1 skein Medium Teal, 1 skein Teal Heather
Size H/5.00mm hook, tapestry needle, scissors
Size
Finished size 30 in x 36 in
Gauge 4 in = 15 st and 16 rows of pattern
Stitches
Single Crochet (SC): Insert your hook, pull up a loop, yarn over (YO) and pull through both loops on your hook.
Herringbone Half Double Crochet (HHDC): YO, insert your hook, pull up a loop and pull directly through the first loop on your hook. YO and pull through both loops on your hook.
Double Crochet (DC): YO, insert your hook, YO and pull up a loop, YO and pull through two loops, YO and pull through remaining two loops.
Front and Back Post Double Crochet: A front post double crochet (DC) means you insert your hook from front to back around the post of the next DC and work your DC. A back post DC means you insert your hook from the back to the front and work a DC.
Pattern
Chain 110 (or any number) in White.
Row 1: Starting in the 3rd chain from the hook, work a Herringbone Half Double Crochet (HHDC) in each chain. Chain 2 and turn.
Row 2: Work a HHDC in each stitch across the row. (The chain 2 does not count as a stitch, so you want to insert your hook directly into the first stitch from the row below. This saves you from having to insert your hook into the turning chain at the end of the row; instead you can just end on the last stitch.) On the last stitch, pull through with Teal. (You should have 2 loops on your hook when you pull through.) Chain 1 and turn. Don’t cut the White yarn.
Row 3: With Teal, work a SC in each stitch across the row. Chain 1 and turn.
Row 4: Work another row of SC with Teal. On the last stitch of the row, pull through with White, picking up the strand you left behind and laying it against the side of your work as you pull it up. (You’ll cover this later with the border.) Chain 2 and turn. Leave the Teal yarn uncut so you can come back and pick it up later.
Repeat rows 1 through 4 for the remainder of the blanket. In other words, you are working 2 rows of White using HHDC and 2 rows of Teal using SC. Since you are working 2 rows of each, you should always end up back on the same side when you need to switch colors, so you can carry yarn up the side of your work instead of cutting it. The only time you need to cut is when your switch to a new shade of Teal.
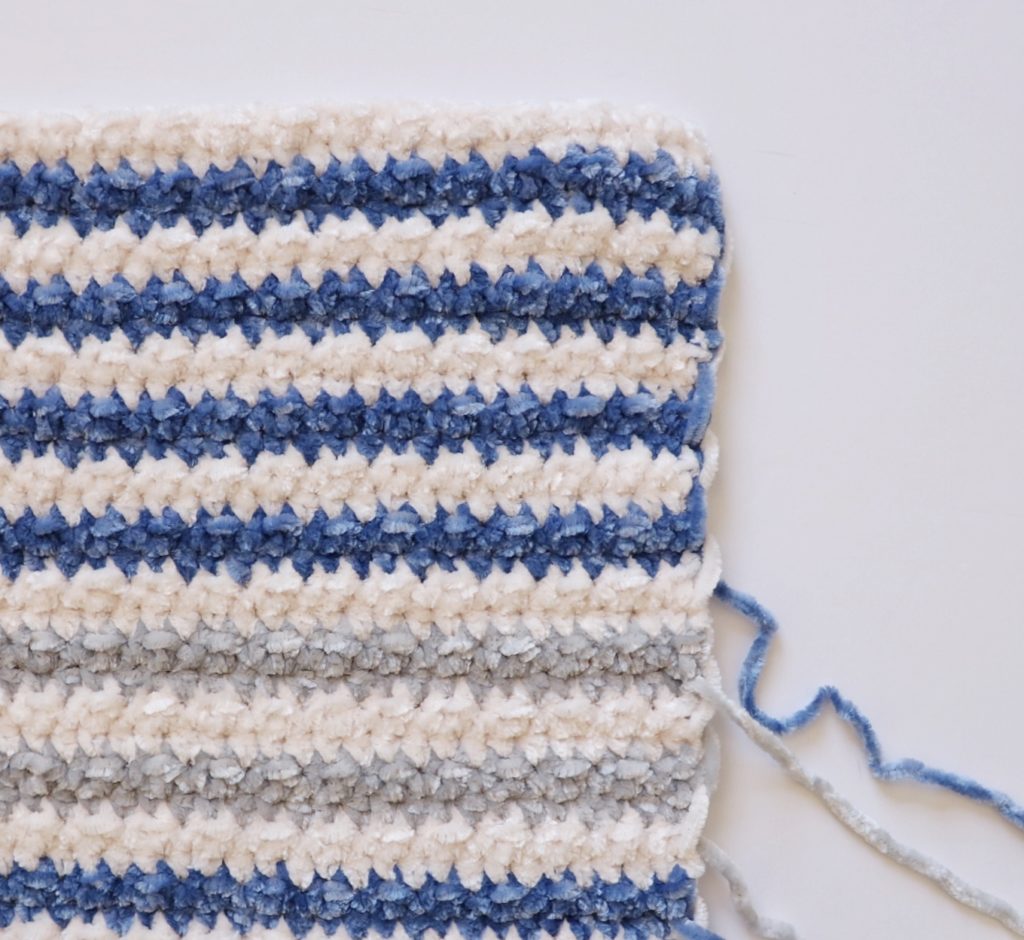
Here is a quick picture of what carrying yarn up the side looks like (this is from a different blanket I made, but the sides look the same):
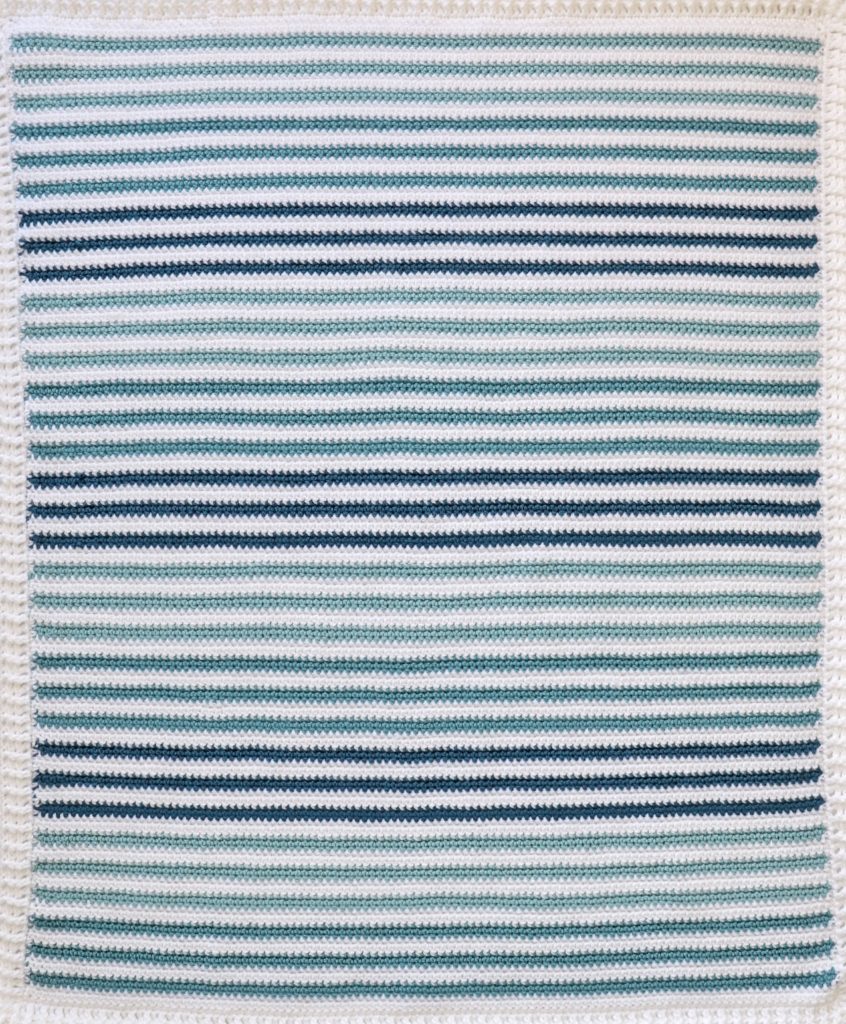
For the Teal Stripes Blanket I worked 3 stripes of Pale Teal, 3 stripes of Medium Teal, then 3 stripes Teal Heather (all with White in between) and then I repeated the pattern again starting with Pale Teal. I repeated the pattern 3 more times until I ended with Medium Teal.
Border
After I finished my blanket, I wove in my ends and then I added a front and back post double crochet ribbing border with White.
Round 1: Pull up a loop in any corner and chain 3. DC around the entire blanket, working 3 DCs into each corner stitch. (I found that the border came out the most even on the sides when I worked 2 DCs for the White stripes and only 1 DC for the Teal stripes.)
Round 2: When you reach the corner you started with, work 3 DCs into the corner, then go around the blanket again, this time alternating front and back post double crochet. When you get to the corners of this row, you will want to continue the pattern of alternating front and back post double crochet, but you will work three stitches around the corner post.
So, for example, if you get to the corner post and you are supposed to work a front post DC, then work a front post DC, a back post DC, and a front post DC all around that corner post. Then in the next stitch you would continue the alternating pattern, working the opposite of whichever stitch you just used (in this example, you would work a back post DC). Just remember that you are always alternating front and back post double crochet around the whole blanket, you just happen to be working three of those stitches around the same post when you are working the corners.
Round 3: Repeat round 2, making sure your post DCs are popping out in same direction as previous row.
Round 4: To finish off the border, I worked one row of SC around the blanket, working 3 SCs into each of the corners. When I reached the corner I started with, I slip stitched into the starting stitch and tied off.
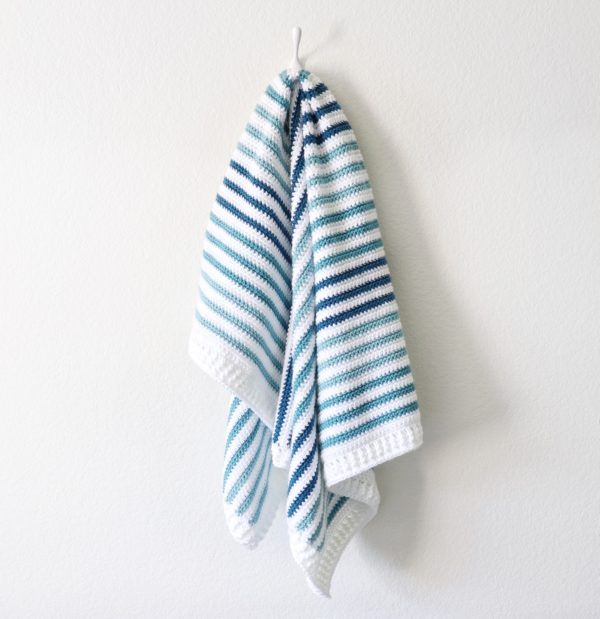
Thanks so much for coming to read this pattern and best of luck with your blanket! When you’ve finished please come share a picture with us on Facebook or Instagram using #daisyfarmcrafts, we’d love to see!
xo, Hannah
