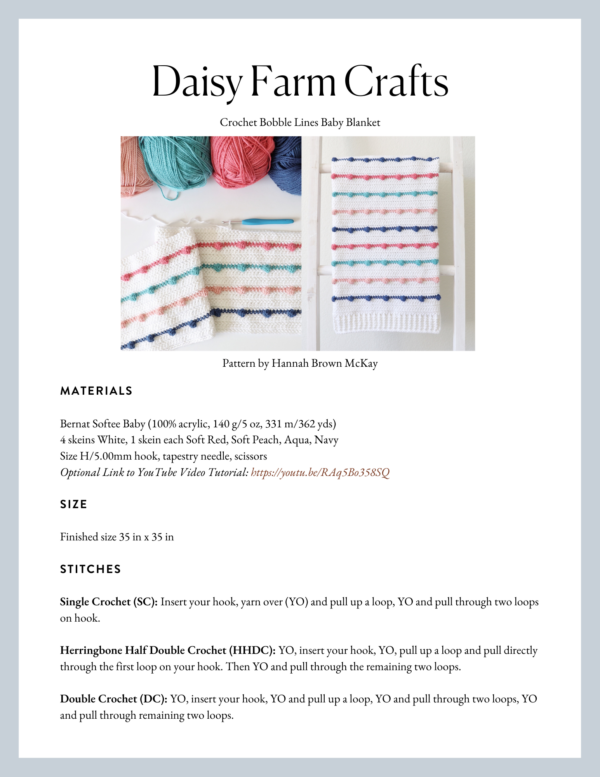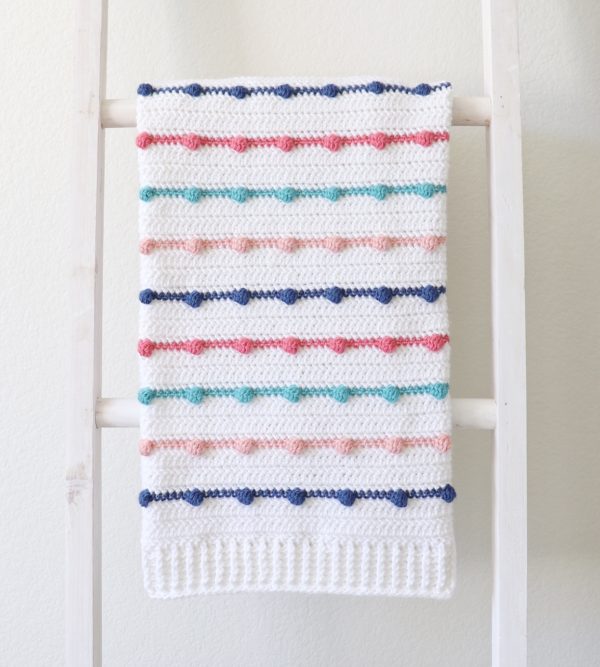
I’ve had these leftover colors of Bernat Softee Baby yarn from Yarnspirations for a while and I always loved how they looked together and I’m glad I was finally able to think of a way to get them all together in a blanket.
I love using this Bernat Softee Baby yarn because it really lives up to it’s name for being soft and because I love how round and dainty it makes the bobbles turn out!
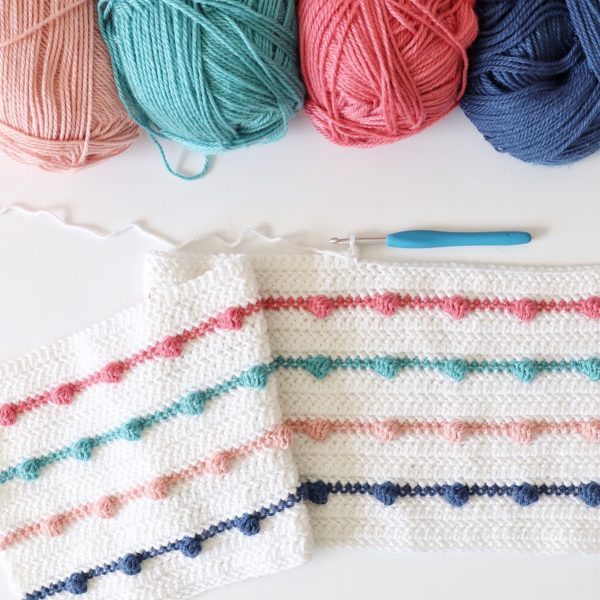
The recommendation on the label for this yarn is to use a size G hook.
That can make for a long crochet project since this yarn is relatively thin.
But, I decided to use an H hook for this blanket since I used a tighter version of half double crochet and luckily it didn’t turn out too loose.
I think it helped the blanket work up a lot faster!
Be sure and scroll to the end of the post for the full written pattern.
We also have a video tutorial if you are more of a visual learner!
Tap here or on the YouTube play button for the video tutorial.
Materials
Bernat Softee Baby (100% acrylic, 140 g/5 oz, 331 m/362 yds)
(tap the name of the yarn to see on Yarnspirations.com)
4 skeins White, 1 skein each Soft Red, Soft Peach, Aqua, Navy
Size H/5.00mm hook, tapestry needle, scissors
Size
Finished size 35 in x 35 in
Stitches
Single Crochet (SC): Insert your hook, yarn over (YO) and pull up a loop, YO and pull through two loops on hook.
Herringbone Half Double Crochet (HHDC): YO, insert your hook, YO, pull up a loop and pull directly through the first loop on your hook. Then YO and pull through the remaining two loops.
Double Crochet 5 Together (DC5tog) Bobble: YO, insert your hook, pull up a loop, YO and pull through 2 loops. Then, *YO again, insert your hook into the same space, pull up a loop, YO and pull through 2 loops. Repeat from * 3 more times until you have 6 loops on your hook. Then YO and pull through all 6 loops on your hook.
Double Crochet (DC): YO, insert your hook, YO and pull up a loop, YO and pull through two loops, YO and pull through remaining two loops.
Front and Back Post Double Crochet (FPDC & BPDC): A front post DC means you insert your hook from front to back around the post of the next DC and work your DC. A back post DC means you insert your hook around the post from the back to the front and work a DC.
Pattern
Chain 120 in White. (If you’d like to make your blanket bigger or smaller, the pattern repeat is a multiple of 7, plus 8.)
Row 1: Starting in the third chain from the hook, work 1 HHDC in each chain. Chain 2 and turn.
Rows 2 – 5: Work four more rows of HHDC in White. The chain 2 from the row below does not count as a stitch, so at the beginning of each row you’ll want to insert your hook directly into the first stitch of the row below, and then you don’t have to go into the turning chain at the end of the row. When you reach the end of row 5, pull through with Navy on the last stitch, when you still have two loops left on your hook. Cut the White yarn, leaving a tail long enough to weave in later. Chain 1 with Navy and turn.
Row 6: Work 1 SC in each of the first 6 stitches, then work 1 DC5TOG Bobble in the next stitch. Continue the pattern of working 6 SCs, then 1 DC5TOG Bobble until you reach the end of the row. You should end with 6 SCs. On the last SC, pull through with White. Cut the Navy and leave a tail long enough to weave in later. Chain 2 with White and turn.
Rows 7 – 11: Work five rows of HHDC in White, chaining 2 and turning at the end of the first four rows. At the end of the last row, pull through with Soft Peach, and chain 1 and turn.
Row 12: Repeat row 6 in Soft Peach.
Rows 13 – 17: Work five rows of HHDC in White, chaining 2 and turning at the end of the first four rows. At the end of the last row, pull through with Aqua, and chain 1 and turn.
Row 18: Repeat row 6 in Aqua.
Rows 19 – 23: Work five rows of HHDC in White, chaining 2 and turning at the end of the first four rows. At the end of the last row, pull through with Soft Red, and chain 1 and turn.
Row 24: Repeat row 6 in Soft Red.
Rows 25 – 29: Work five rows of HHDC in White, chaining 2 and turning at the end of the first four rows. At the end of the last row, pull through with Navy, and chain 1 and turn.
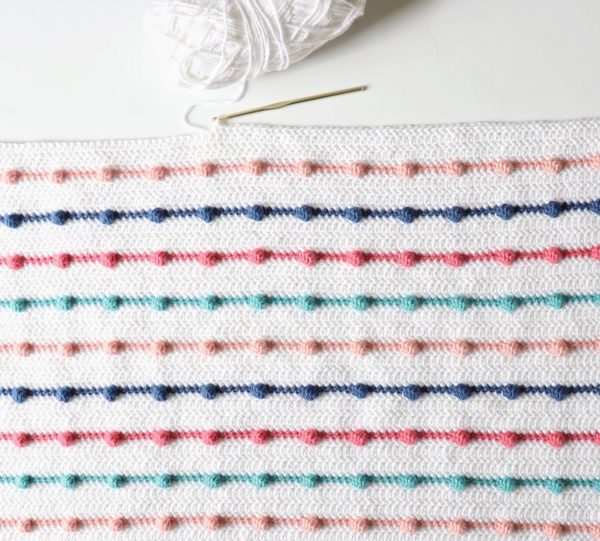
Repeat rows 6 through 29 for the rest of the blanket until you reach your desired length and end with 5 rows of HHDC in White. I ended up with 16 bobbles rows when my blanket was the length I wanted.
Border
After I wove in all of my ends with a tapestry needle, I decided to add a ribbed border using Front and Back Post Double Crochet. I’ll explain how to do this below, but here is a video demonstrating this border if you are more of a visual learner!
Round 1: Pull up a loop in any corner and chain 3. DC around the entire blanket, working 3 DCs into each corner stitch.
Round 2: When you reach the corner you started with, work 3 DCs into the corner, then go around the blanket again, this time alternating front and back post double crochet. When you get to the corners of this row, you will want to continue the pattern of alternating front and back post double crochet, but you will work three stitches around the corner post.
So, for example, if you get to the corner post and you are supposed to work a front post DC, then work a front post DC, a back post DC, and a front post DC all around that corner post. Then in the next stitch you would continue the alternating pattern, working the opposite of whichever stitch you just used (in this example, you would work a back post DC). Just remember that you are always alternating front and back post double crochet around the whole blanket, you just happen to be working three of those stitches around the same post when you are working the corners.
Rounds 3 – 6: When you finish row 2, work 3 alternating front post/back post DCs into the corner you started with and repeat row 2 four more times around the blanket, making sure your post DCs are popping out in same direction as previous round, until you have six rounds total. (Or you can go around as many times as you’d like to get your desired border height.)
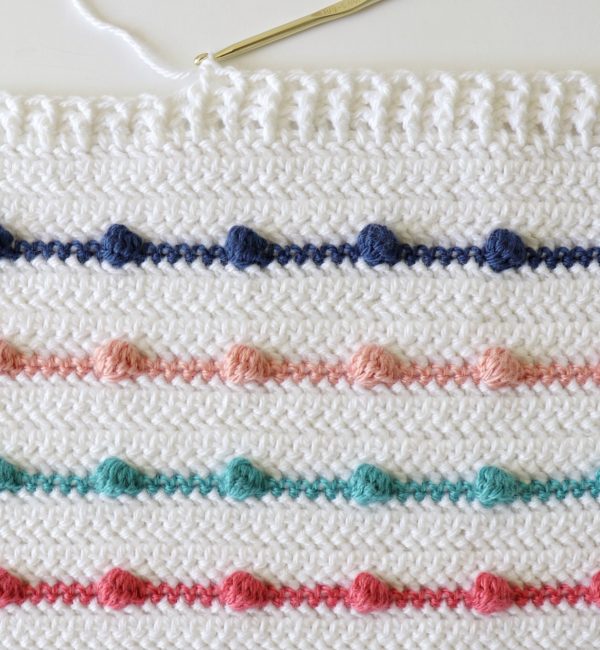
Round 7: After my last row of front/back post DCs, I worked one round of SC in each stitch around the blanket, working 3 SCs into each of the corners. When I reached the corner I started with, I worked 3 SCs into the corner, then slip stitched into the starting stitch and tied off.
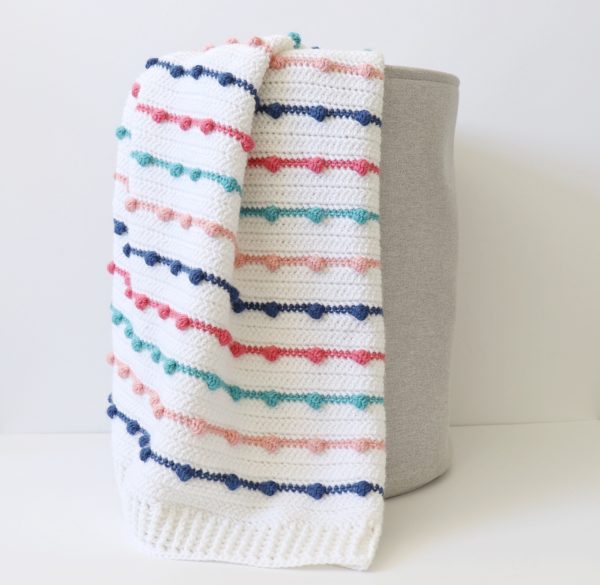
After finishing the border I laid my blanket out flat and pinned the corners onto some foam board to straighten them out a little bit and block the blanket evenly.
I used my spray bottle to get the blanket a little wet and then I left it overnight to dry.
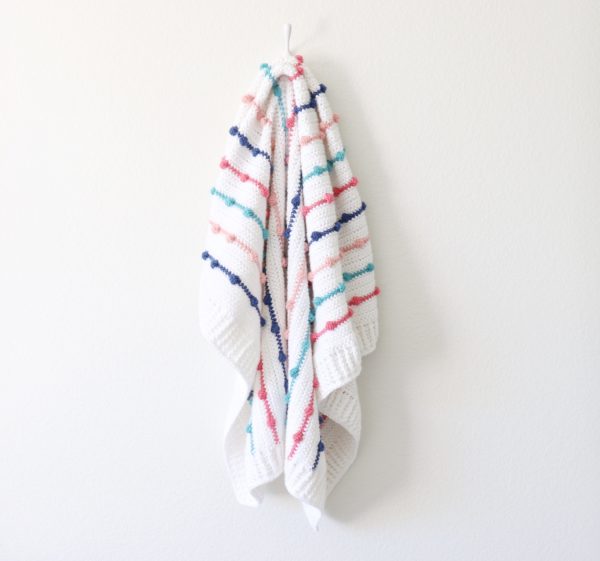
Thanks so much for coming to read this pattern, I hope you enjoy making this blanket!
When you finish please come share a picture with us on Facebook or Instagram with #daisyfarmcrafts, we’d love to see!
xo, Hannah

