It makes my mom heart so happy when my daughter Nicolina keeps practicing her crochet skills and designs a new blanket at the same time. She is a busy Senior UX Designer for a financial company in Salt Lake City and in her free time is picking up a crochet hook and making blankets.
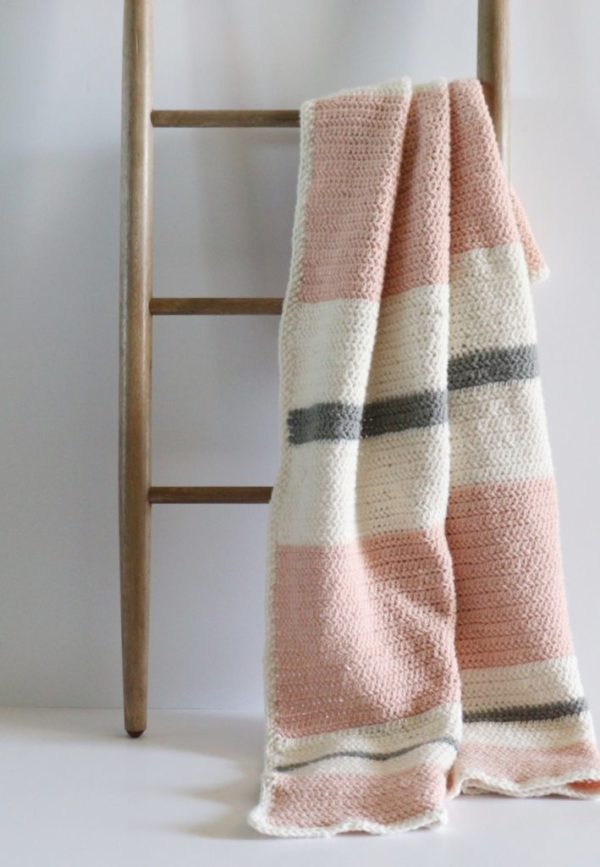
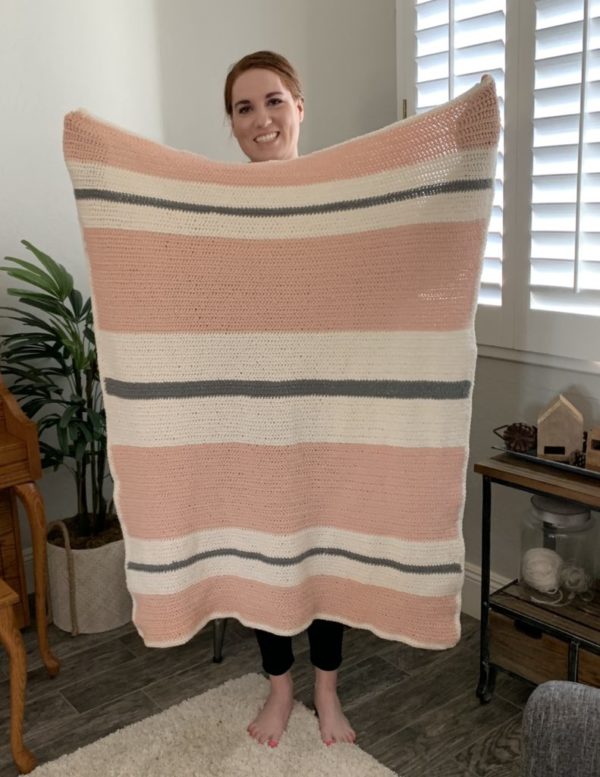
Hannah and I love seeing her striped designs. I’ll show them at the end of this post if you want to see all the beauties she has made. This is number 4.
I like how her tension is improving and also that she is working her way through all the stitches we have under the menu heading “stitches.”
I don’t know of a better way to become better with crochet than to keep making things! (And I’m going to let you in on a little secret, I am keeping all these blankets she is making to give to her future children. I think they would love seeing and having the blankets she makes even though she doesn’t think so.)
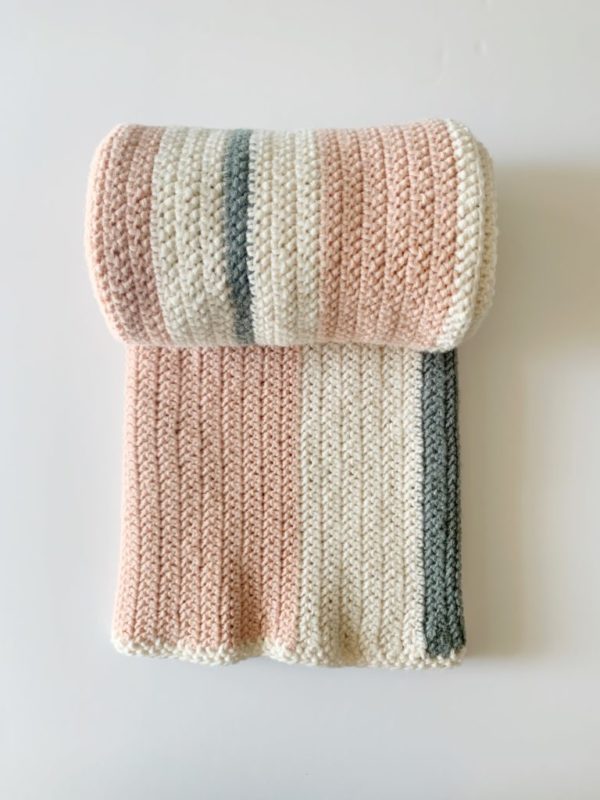
The stitch she used is the Herringbone Half Double Crochet. It is just one step different than a double crochet. Here’s a quick video if you’ve never used this stitch before:
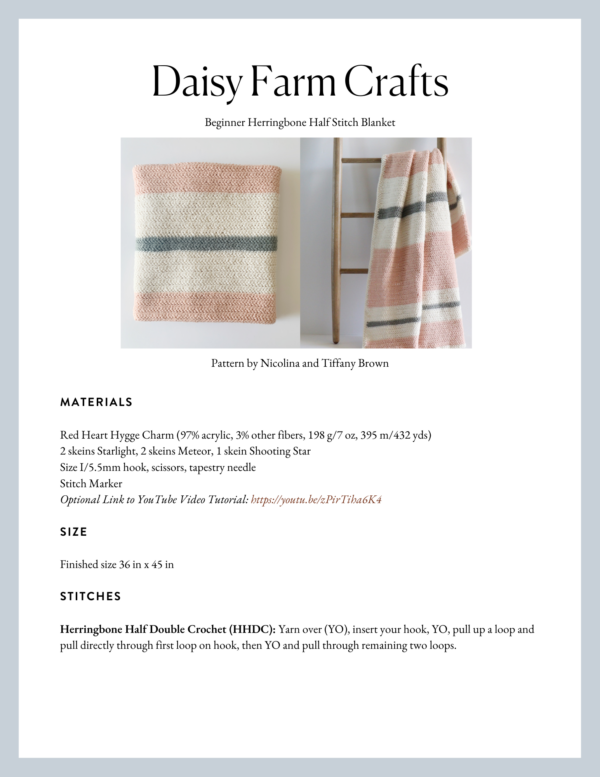
Materials
Red Heart Hygge Charm (97% acrylic, 3% other fibers, 198 g/7 oz, 395 m/432 yds)
2 skeins Starlight, 2 skeins Meteor, 1 skein Shooting Star
Size I/5.5mm hook, scissors, tapestry needle
Stitch Marker
Size
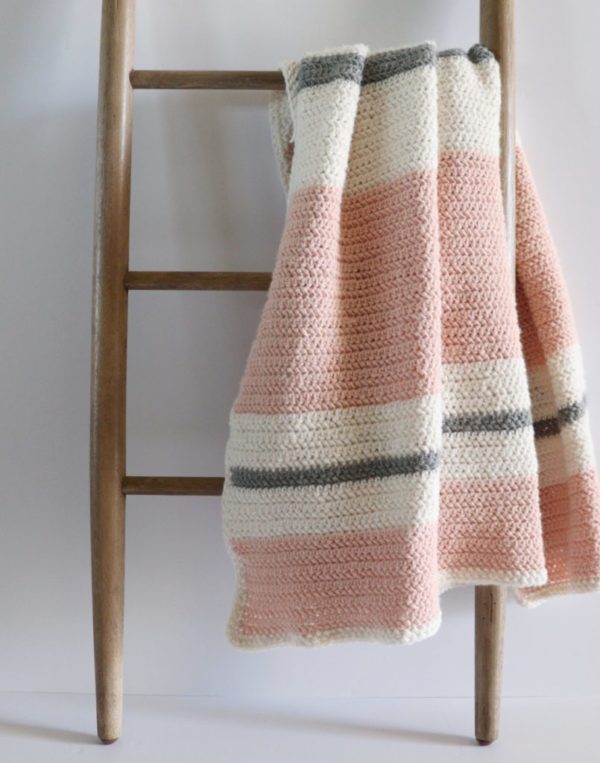
Finished size 36 in x 45 in
Stitches
Herringbone Half Double Crochet (HHDC): Yarn over (YO), insert your hook, YO, pull up a loop and pull directly through first loop on hook, then YO and pull through remaining two loops.
Pattern
Chain 130 with Meteor (the pink color) There is no pattern repeat, if you want to make this a different size, chain to the width you would like your blanket to be, but also keep in mind that the height will be about the same if you follow the color striping she did.
ROW 1: Staring in the third chain from the hook, work 1 HHDC into each chain. Chain 1 and turn. (128 stitches made)
ROW 2: In the first stitch, work 1 HHDC. Work 1 HHDC into each stitch across the row. Chain 1 and turn. (128)
Tip: Immediately after working the first HHDC of the row, use a stitch marker and mark that stitch. Then when you return, you will know that is the last stitch of the row. This will help you keep the sides straight and you won’t have to count 128 stitches across every time.
You will continue with this stitch for the entire blanket. Below are the color changes.
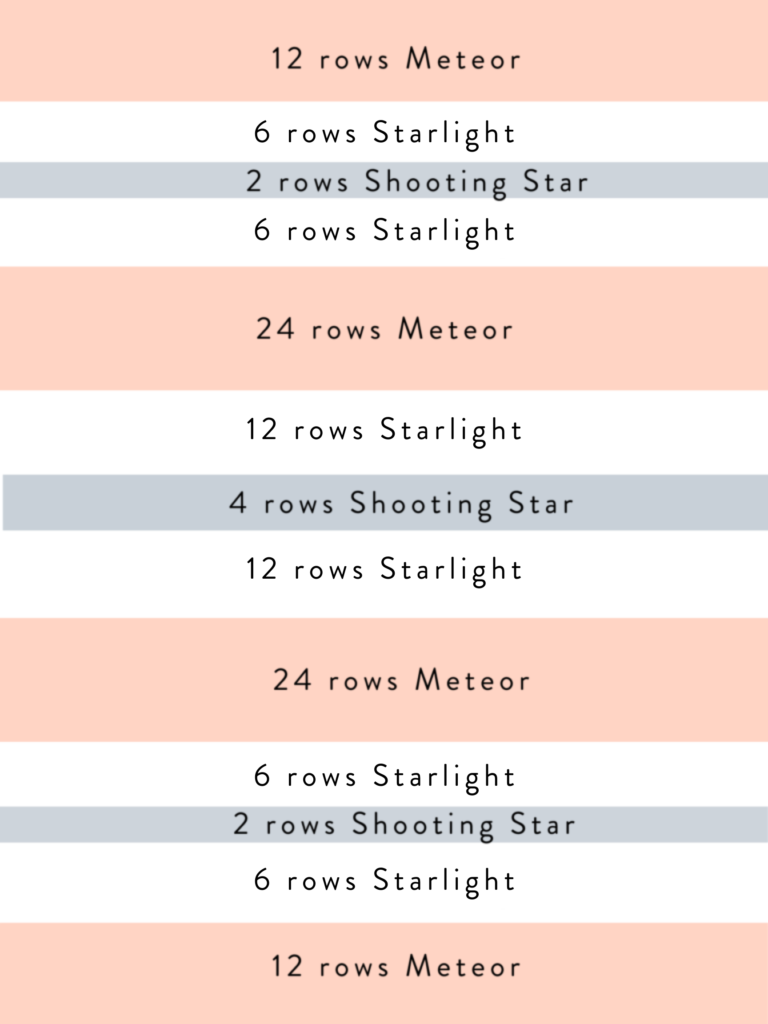
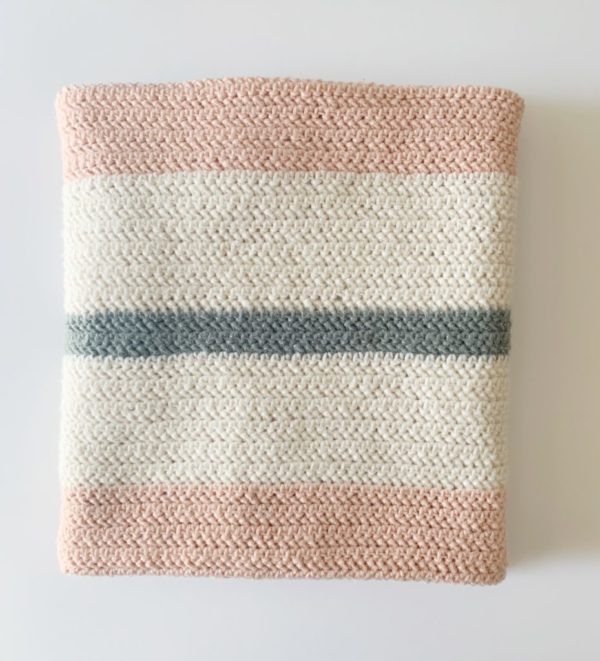
12 rows Meteor (Pink), 6 rows Starlight (Ivory), 2 rows Shooting Star (grey), 6 rows Starlight, 24 rows Meteor, 12 rows Starlight, 4 rows Shooting Star, 12 rows Starlight, 24 rows Meteor, 6 rows Starlight, 2 rows Shooting Star, 6 rows Starlight, 12 rows Meteor.
How to change colors: When it is time to add in a new color, work to the very last stitch of the row and only finish making the first step of that stitch. Before pulling through and finishing the stitch, lay the new color across the hook and pull through with the new color. Cut the old color leaving about a 9 inch tail to weave in later. Begin crocheting with the new color.
How to weave in the ends: When you are finished with the entire blanket and before you start the border take the time to weave in the ends. You will use a tapestry needle to thread the yarn in and out any of the stitches that are the same color. Weave in and out several times to secure the ends. Cut the tail close to the blanket and the end will disappear into the blanket.
Border
Pull up a loop in the bottom right hand corner by simply laying the yarn over your hook and pulling the yarn up. Then chain 1. Work 1 HHDC into that same corner space. Work 1 HHDC into the end of each row up the side of the blanket.
Working on the side of the blanket is very tricky. Do your best to only work one stitch per row.
When you get to the next corner, work 3 HHDC into the same corner stitch. Continue working one stitch per stitch and 3 HHDC into the corner spaces.
When you return to the starting corner, work 1 HHDC, then Slip Stitch (SL ST) to the starting stitch, Chain 1 and continue working in the same direction working 1 HHDC into each stitch and 3 HHDC into the middle stitch of the 3 HHDC stitches that made up the corner of the row below.
You may work this border as many rounds as you’d like. We only did 2 rounds. Slip stitch to the beginning stitch, then tie off and weave in the end.
If you want to watch a tutorial I made video demonstration on Youtube that will go over the basics that I talked about here.
Now let’s see your blanket! Come and share it with us! Find us on Facebook or Instagram. Use #daisyfarmcrafts on your Instagram posts so we can find them.
Thanks for all the love!
xo, Tiffany
Click here or on image below for printable pattern