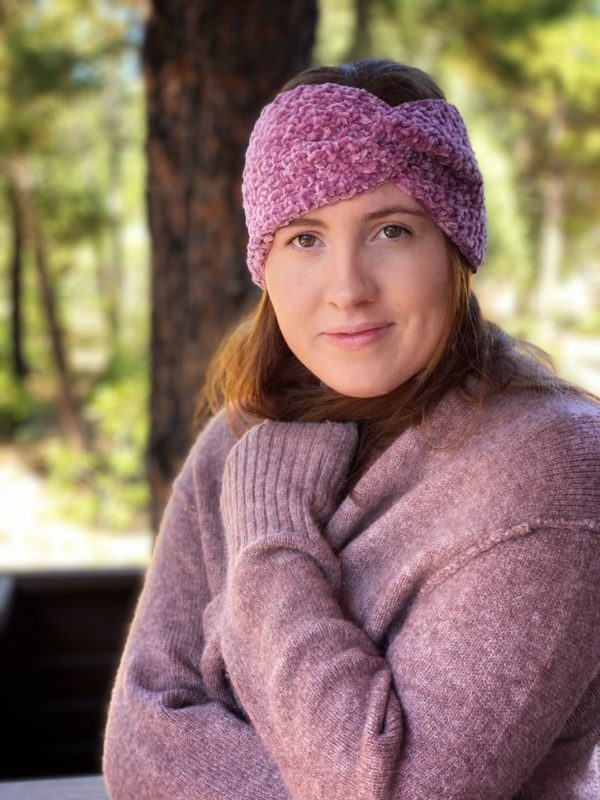
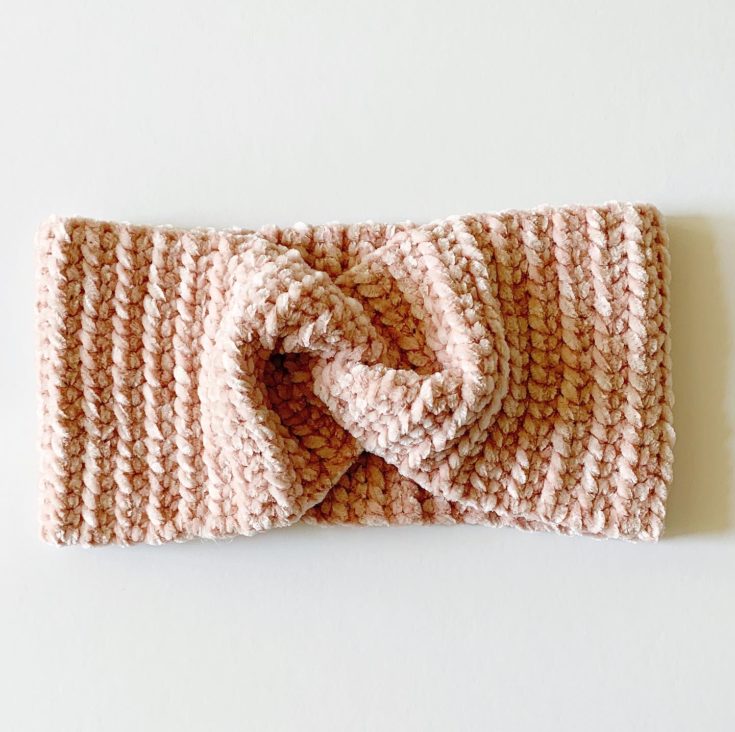
We love a Velvet Twist Headband so much, we just might make them in every stitch imaginable and then some. We love to give them as gifts and they are a hit every time.
Also, we keep a few for ourselves because they are so comfortable to wear.
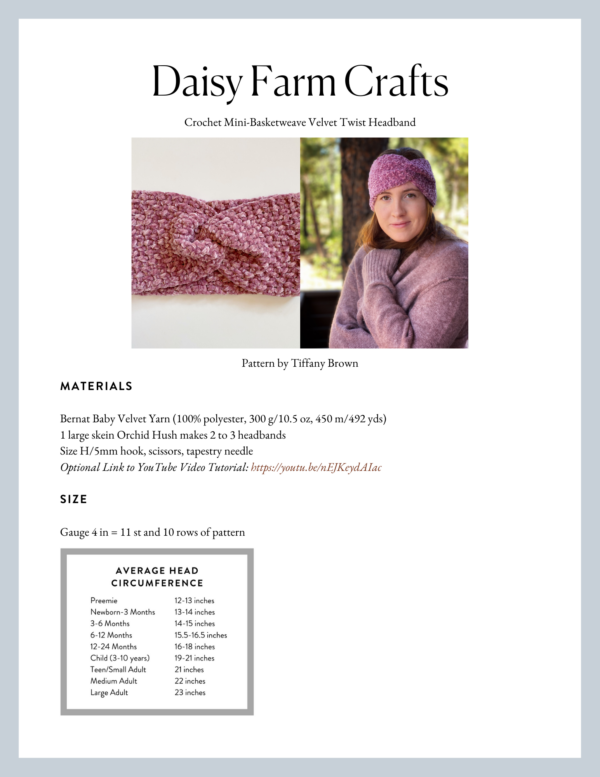
Materials
Bernat Baby Velvet Yarn (100% polyester, 300 g/10.5 oz, 450 m/492 yds)
1 large skein Orchid Hush makes 2 to 3 headbands
Size H/5mm hook, scissors, tapestry needle
Size
Gauge 4 in = 11 st and 10 rows of pattern
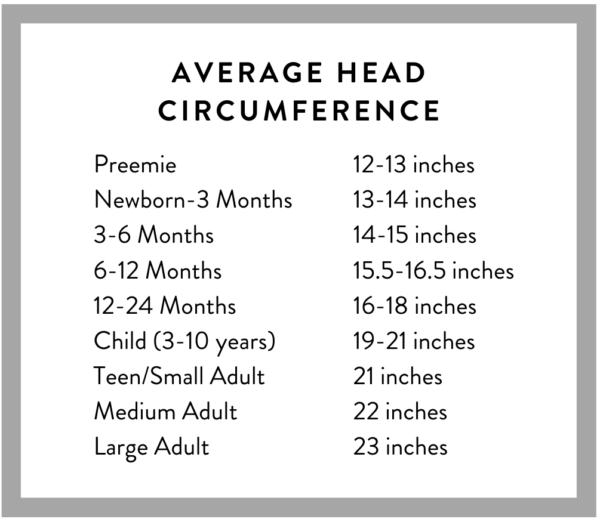
This headband can be made any size. Adjust the starting chain for the width for a child to 3.5 inches. The adult size is 5.5 inches wide. For the length, make the headband 3 inches shorter than the head circumference. For example, for a size medium adult, make the headband 19 inches long. Velvet will stretch out, but doesn’t have a lot of elasticity. You want the band tight at first because it will stretch.
Stitches
Double Crochet (DC): Yarn over (YO), insert your hook, YO and pull up a loop, YO, pull through two loops, YO, pull through remaining two loops.
Front and Back Post Double Crochet (FPDC & BPDC): A front post DC means you insert your hook from front to back around the post of the next DC and work your DC. A back post DC means you insert your hook from the back to the front and work a DC.
Pattern
Chain 20 for adult size, 14 for child.
ROW 1: Work 1 DC in the third chain from the hook. Work 1 DC in each chain across the row. CH 2 and turn. (18, 12)
ROW 2: Work 1 FPDC around next DC. (CH 2 counts as the first stitch.) Work 1 BPDC around next DC. Alternate FPDC and BPDC around each DC to the end of the row. Work 1 DC under the turning chains. CH 2 and turn. (You will have 17 (11) post DC’s and 1 DC worked under/around the turning chain.)
ROW 3: Work 1 FPDC around the BPDC. (CH 2 counts as the first stitch.) Work BPDC around the FPDC. Alternate FPDC and BPDC across the row. Work 1 DC under/around the turning chains. CH 2 and turn.
Repeat ROW 3 until the headband is the length you need for size.
Tie off and leave a long tail for sewing.
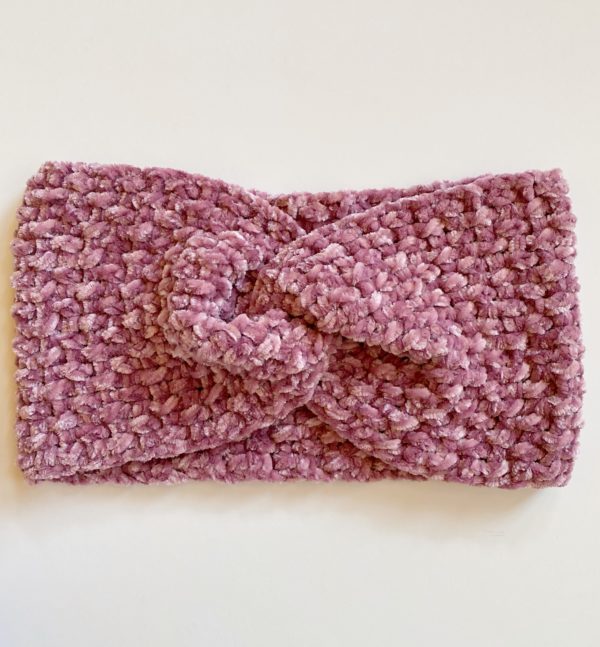
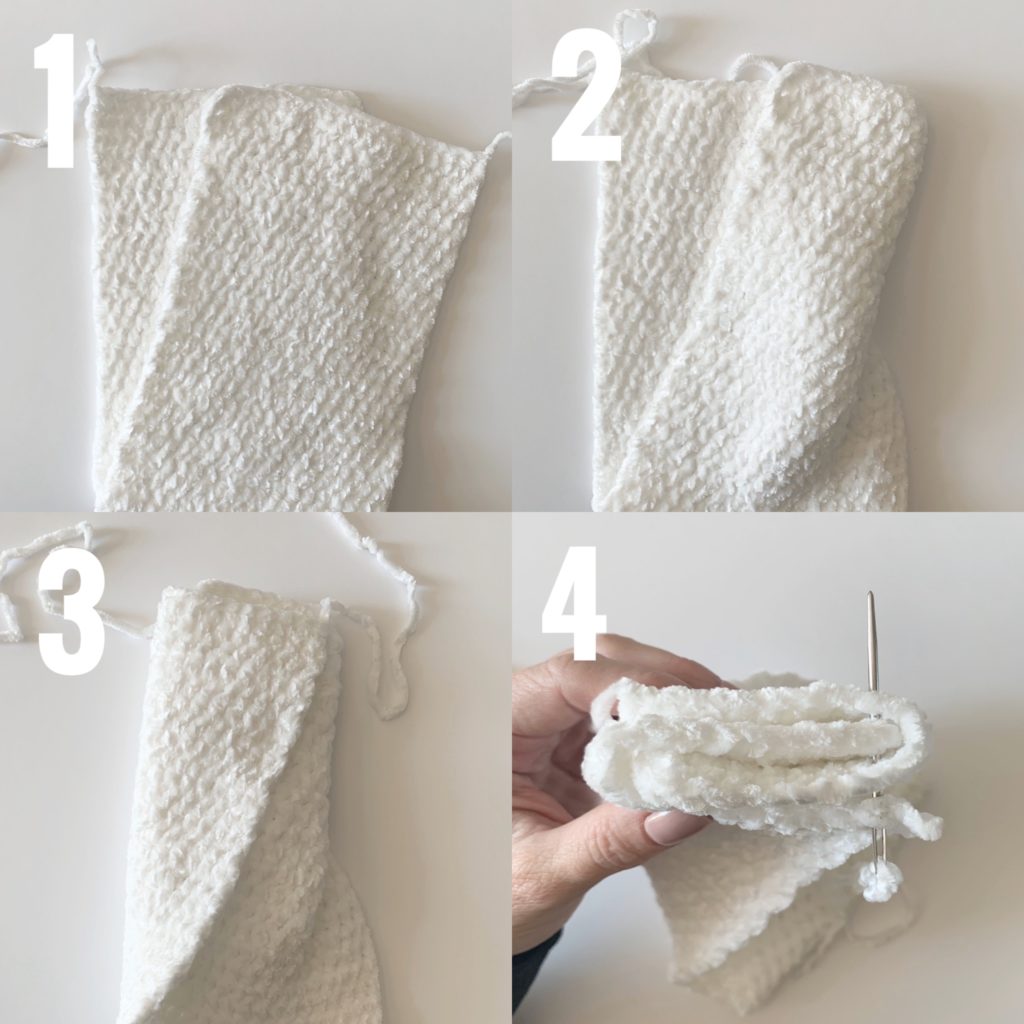
For the twist:
Step 1: Lay the band out and fold in half and slide one side of the band across so one end is matched up to the middle of the other.
Step 2: Fold the right hand side around the back.
Step 3: Fold the left hand side around the front, giving you four layers
Step 4: Sew with the tapestry needle through all four layers securing the ends. Tie off and weave in the ends.
Turn the band so the sewed ends are on the inside of the band.
Watch the video below for more help and explanations.
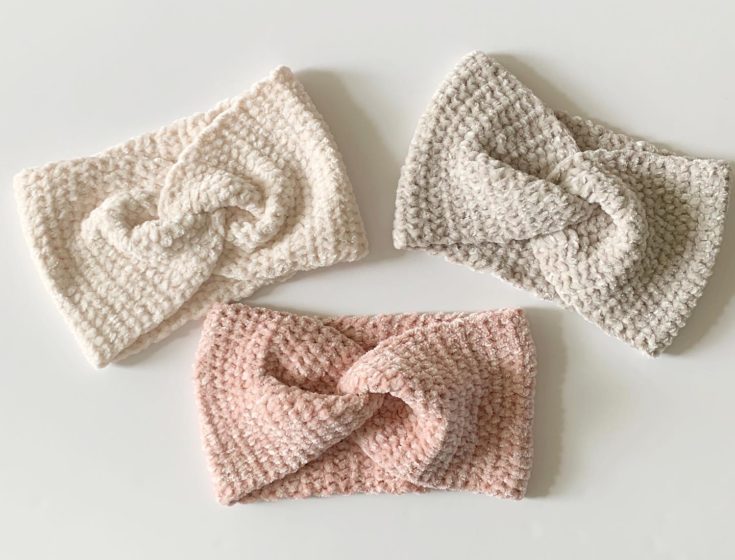
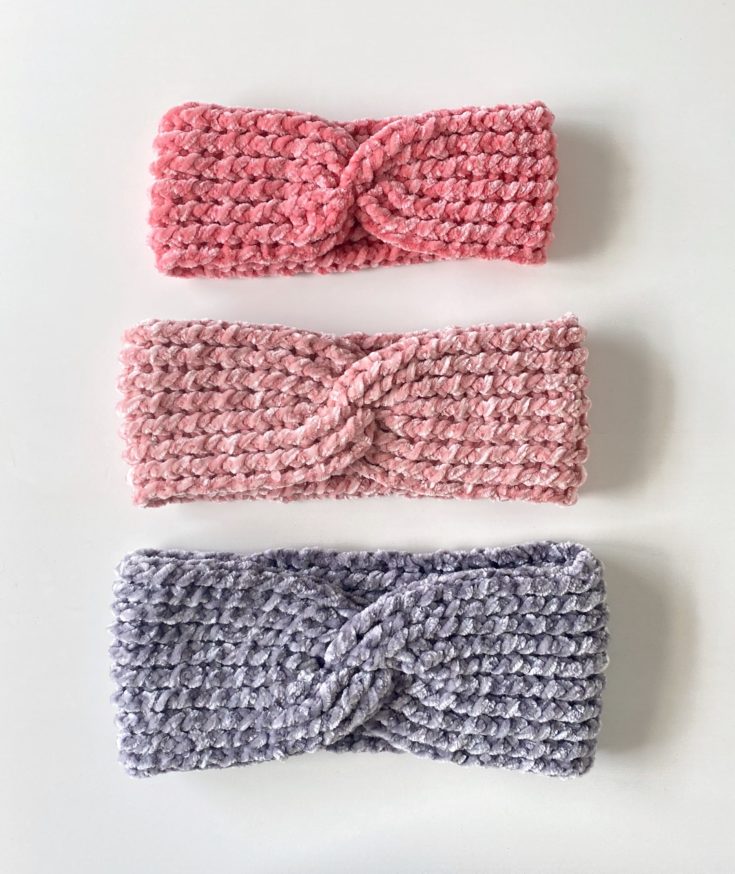
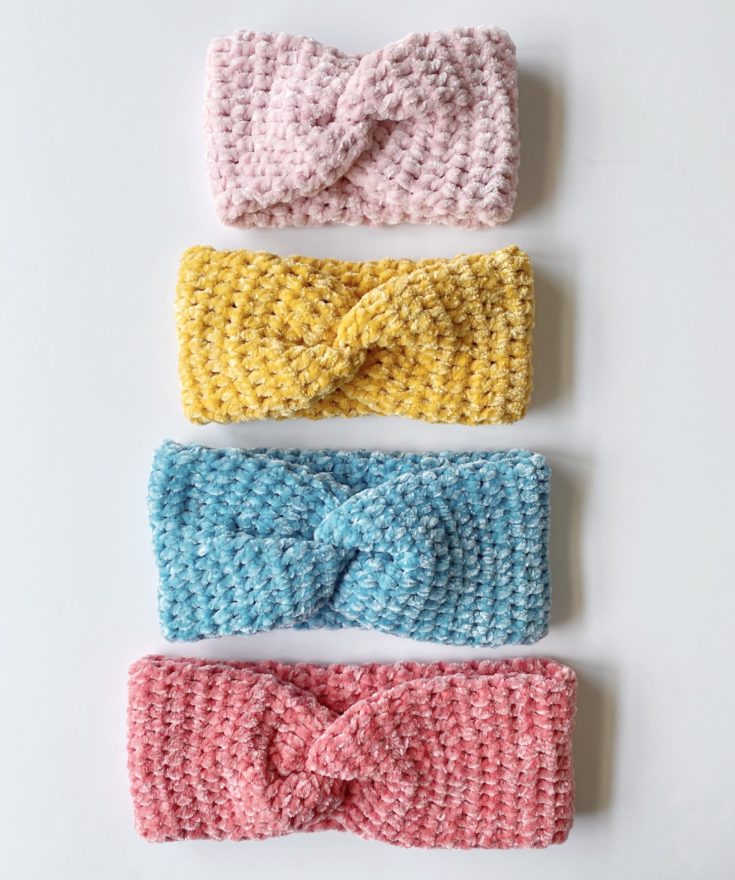
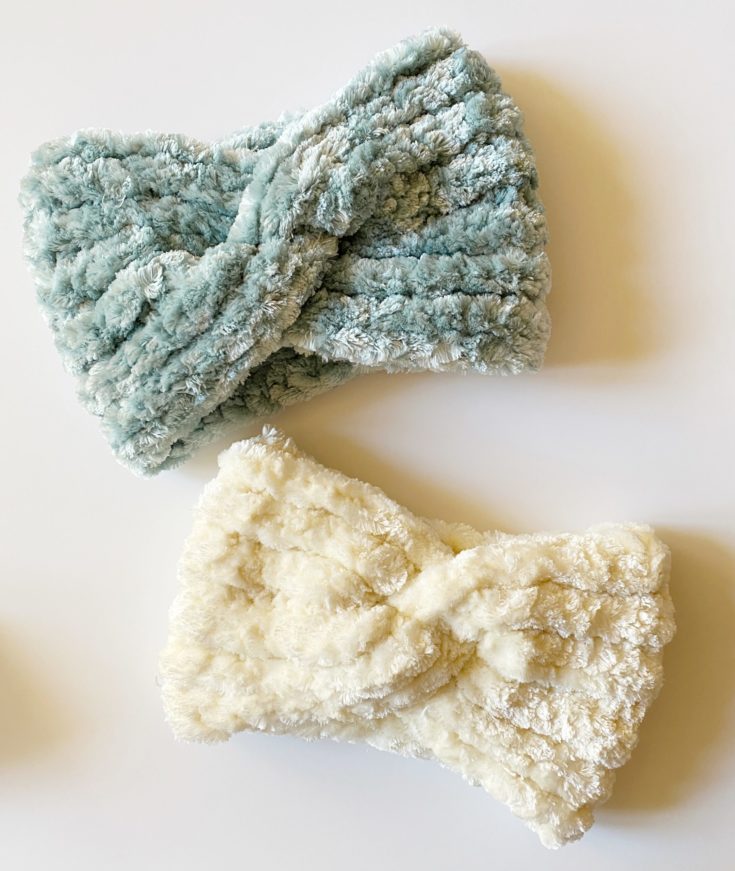
Here are photos of the other Velvet Twist Headbands we have on the site:
If you want to know more tips and tricks and our thoughts on what it has been like learning how to crochet with velvet, be sure and read our post How to Successfully Crochet with Velvet. We share everything we’ve learned about velvet so far.
Thanks so much for coming by our website! We love to share what we are making for friends and family.
Happy Crocheting!
xo, Tiffany
Click here or on image below for printable pattern