Have you had a chance to try Bernat Velvet or Baby Velvet? We have been working with this yarn since it hit the yarn shelves over a year ago and would like to share with you everything we’ve learned about how to successfully crochet with it.
You may have come across reviews that say “I absolutely love this yarn,” to “I absolutely hate this yarn.” We have been seeing those reviews too, and lately, we have been receiving many emails, messages, and questions asking for tips and our thoughts. So, after working with it for almost a year, we’re going to tell you a few things we’ve learned about velvet.
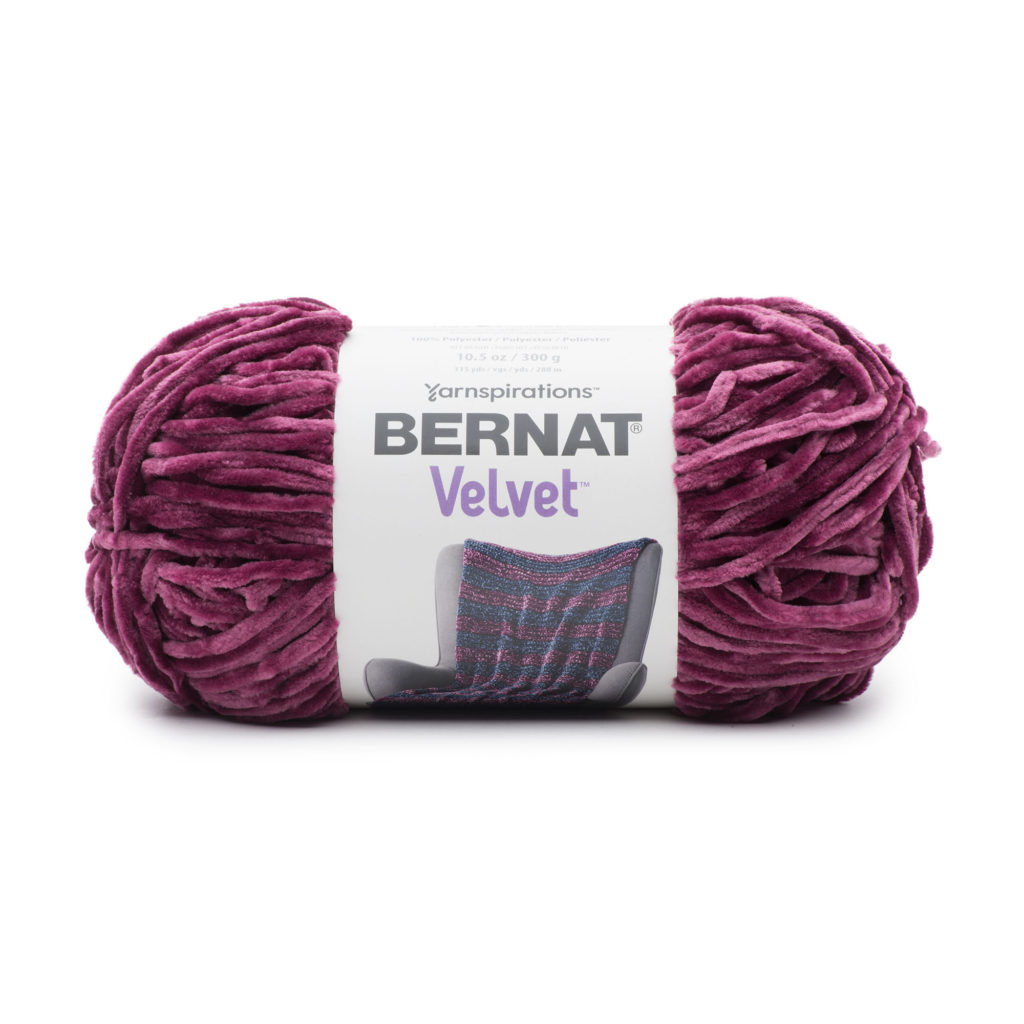
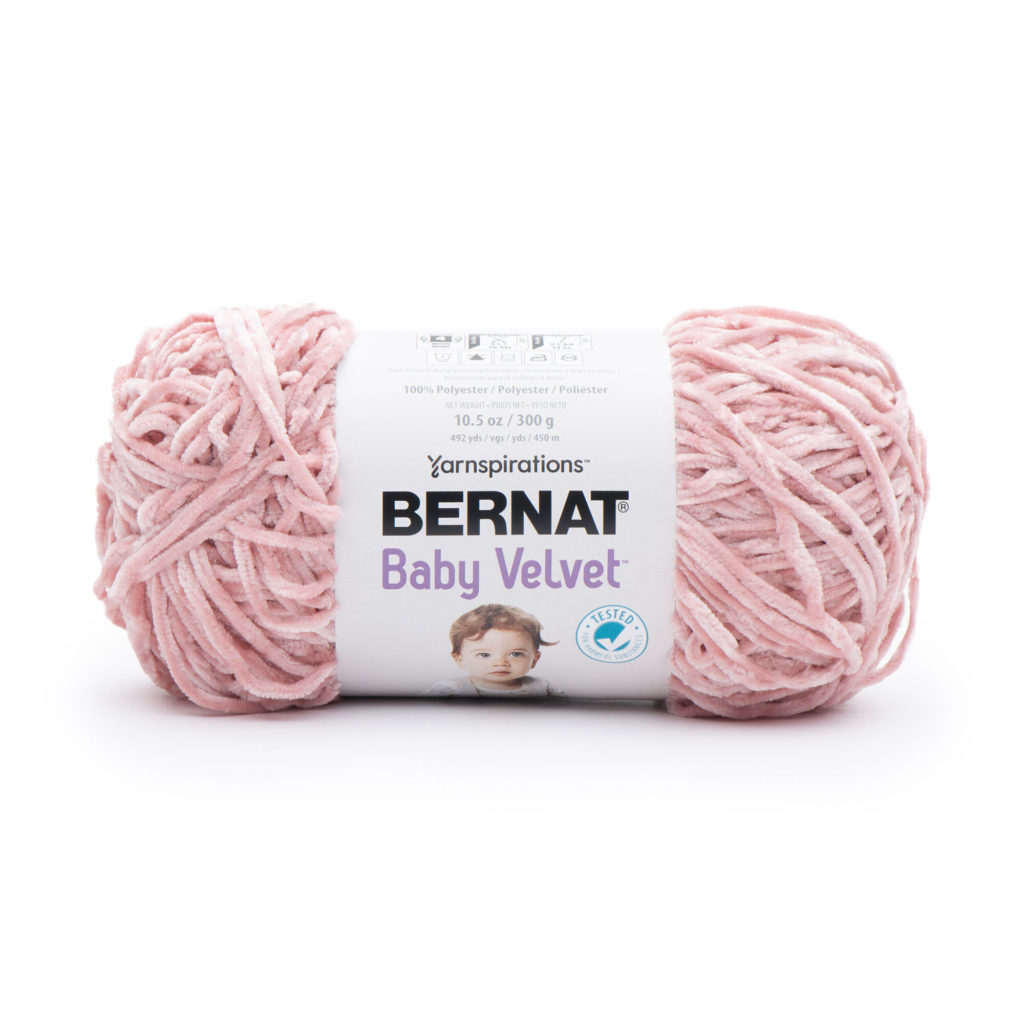
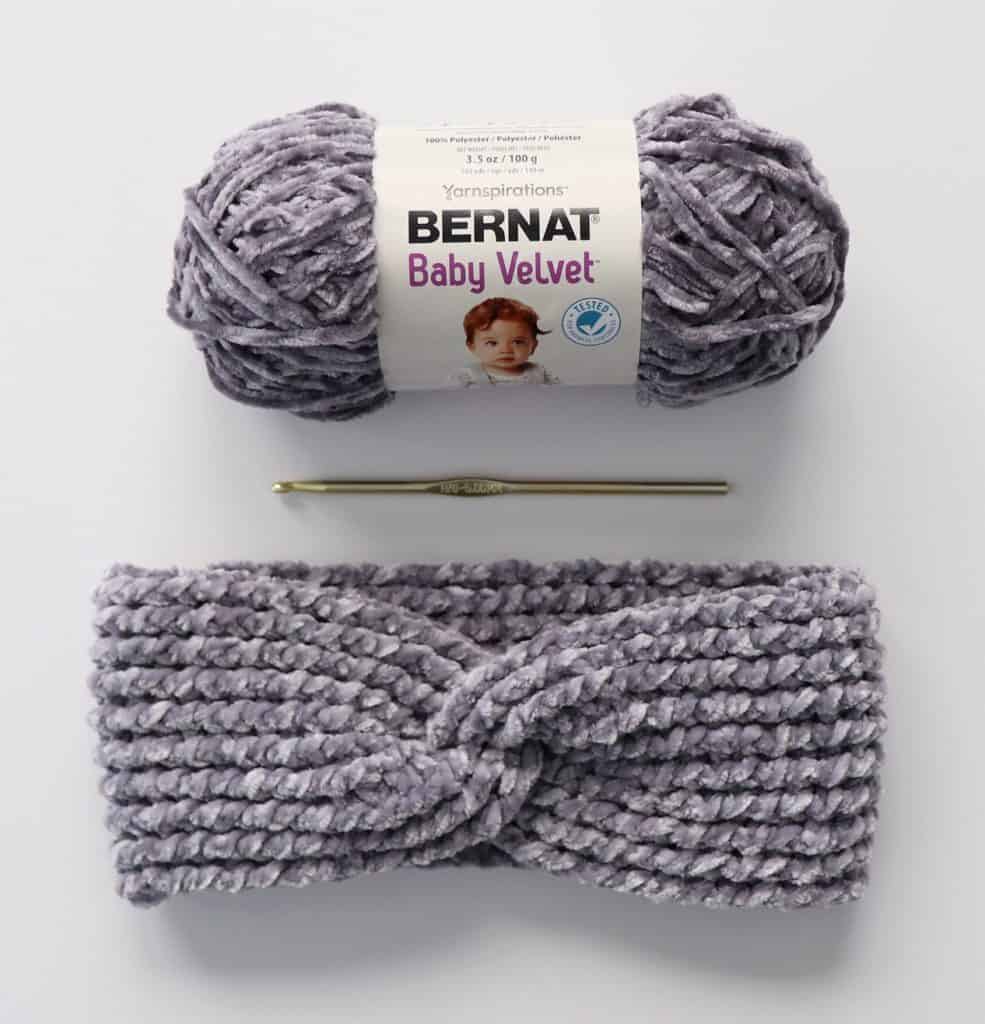
First, there are two kinds of velvet we have worked with: Bernat Baby Velvet and Bernat Velvet. The difference between the two is yarn weight and washability. Baby Velvet is machine washable, Velvet is hand washable. Baby Velvet is a 4 weight yarn, and Velvet is 5 weight. Pay close attention to which kind you have as it’s easy to confuse the labels, They look very similar.
 After making many projects with Velvet, three keys things we’ve discovered are 1. You must have tighter than normal tension. 2. What stitch you use matters. and 3. A practice swatch is a must.
I’m going to take you on my velvet journey now, and let you know how I discovered these three tips.
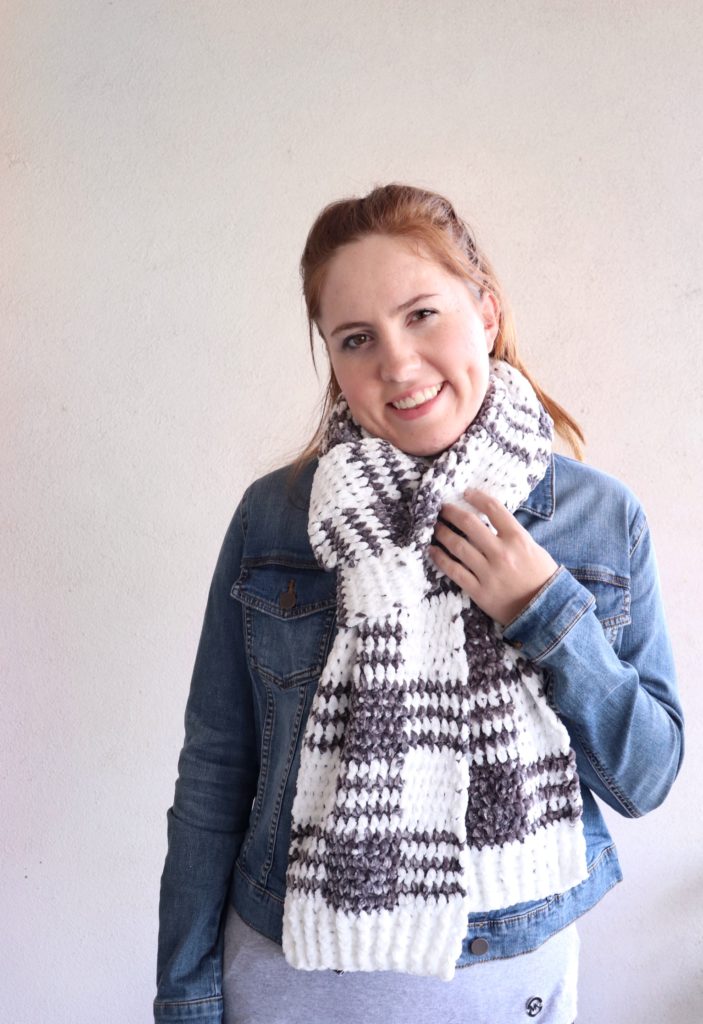
One of the first projects I made with Bernat Velvet is this plaid scarf:

All was going well until I finished the project and wrapped it around my daughter Annie’s neck and noticed that a few of my stitches had popped free or “wormed” their way loose. That is when I realized I wished I had used a smaller hook to keep my tension much tighter. Velvet is slippery.
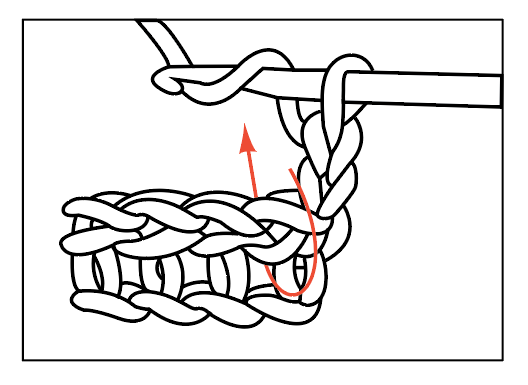
But what I did learn on that project was that I loved using the wide half double crochet stitch (WHDC or working your half double crochets in between the posts demonstrated in the graphic below) because I easily could find where to insert my hook.
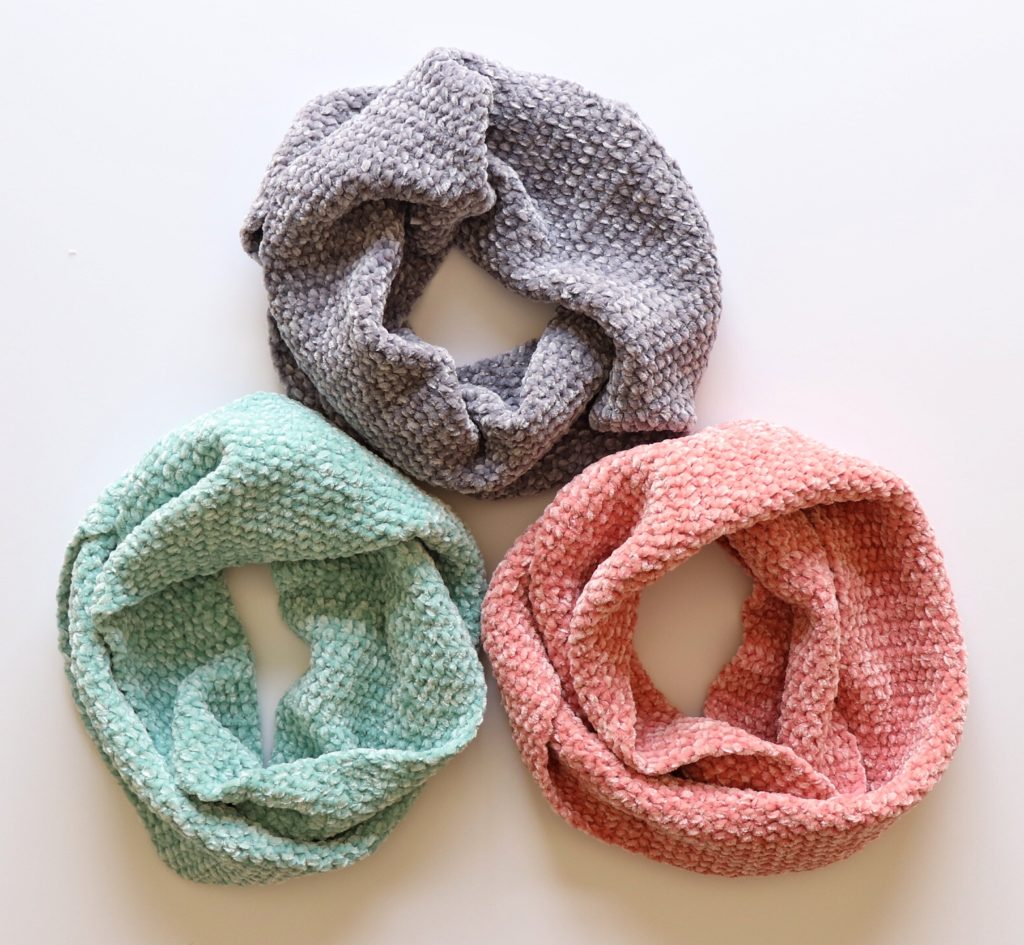
To achieve tighter tension, I went down a hook size that was recommended on the package. It made such a difference! It kept the velvet snug. I loved using that stitch so much, I made several more items, and so did my daughter Hannah. Below is a sample of infinity scarves made with W-HDC stitch and tight tension.
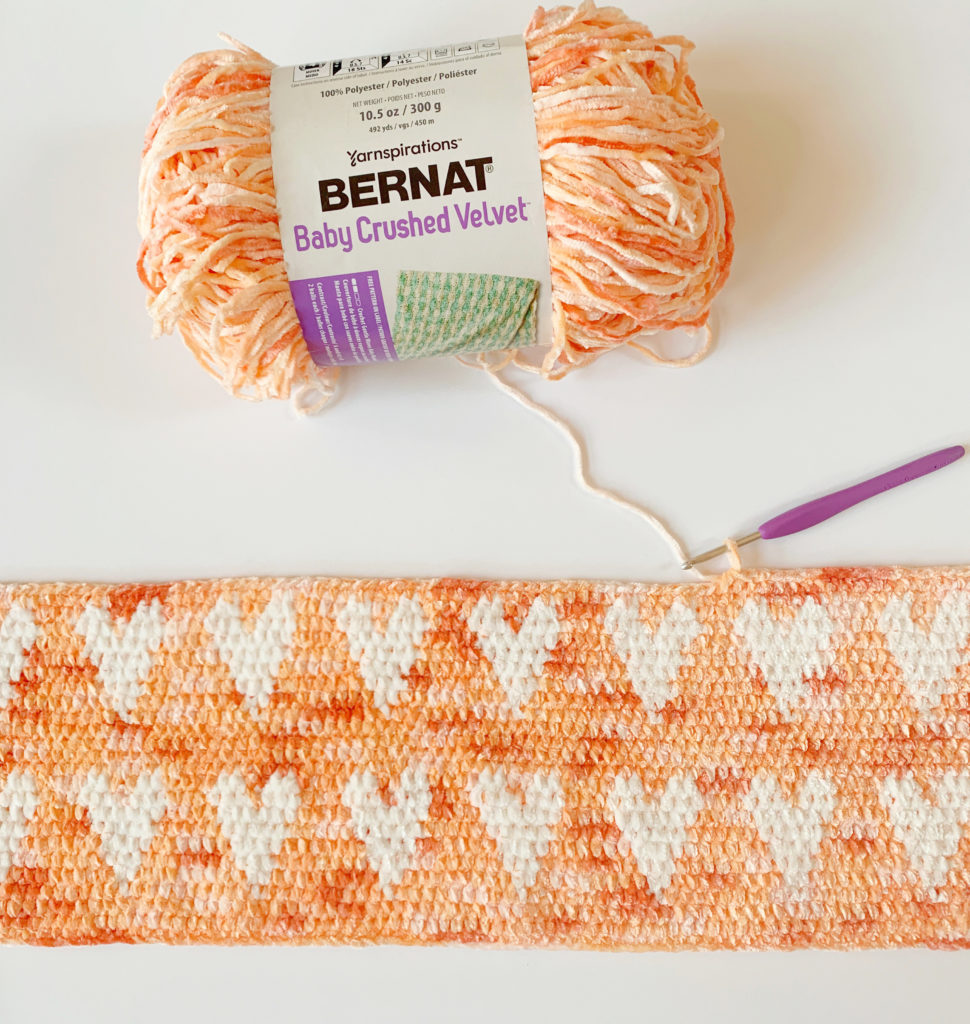
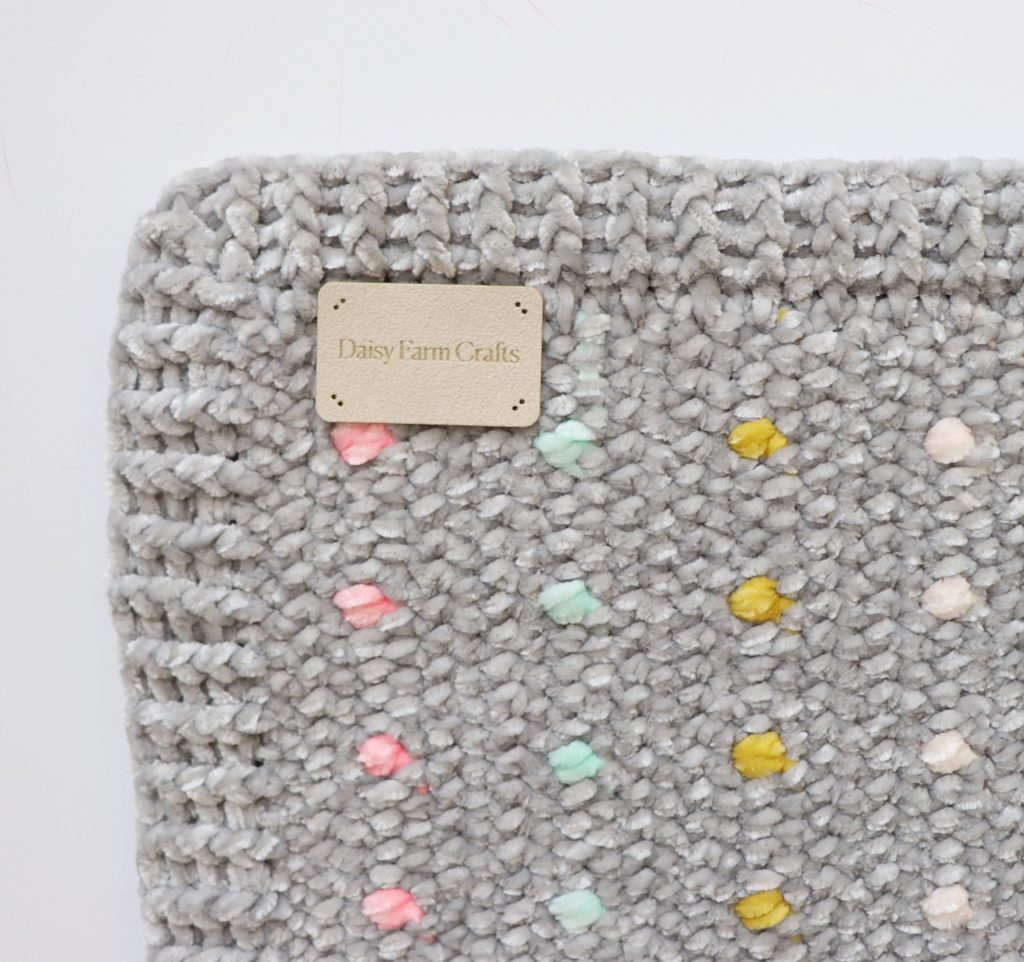
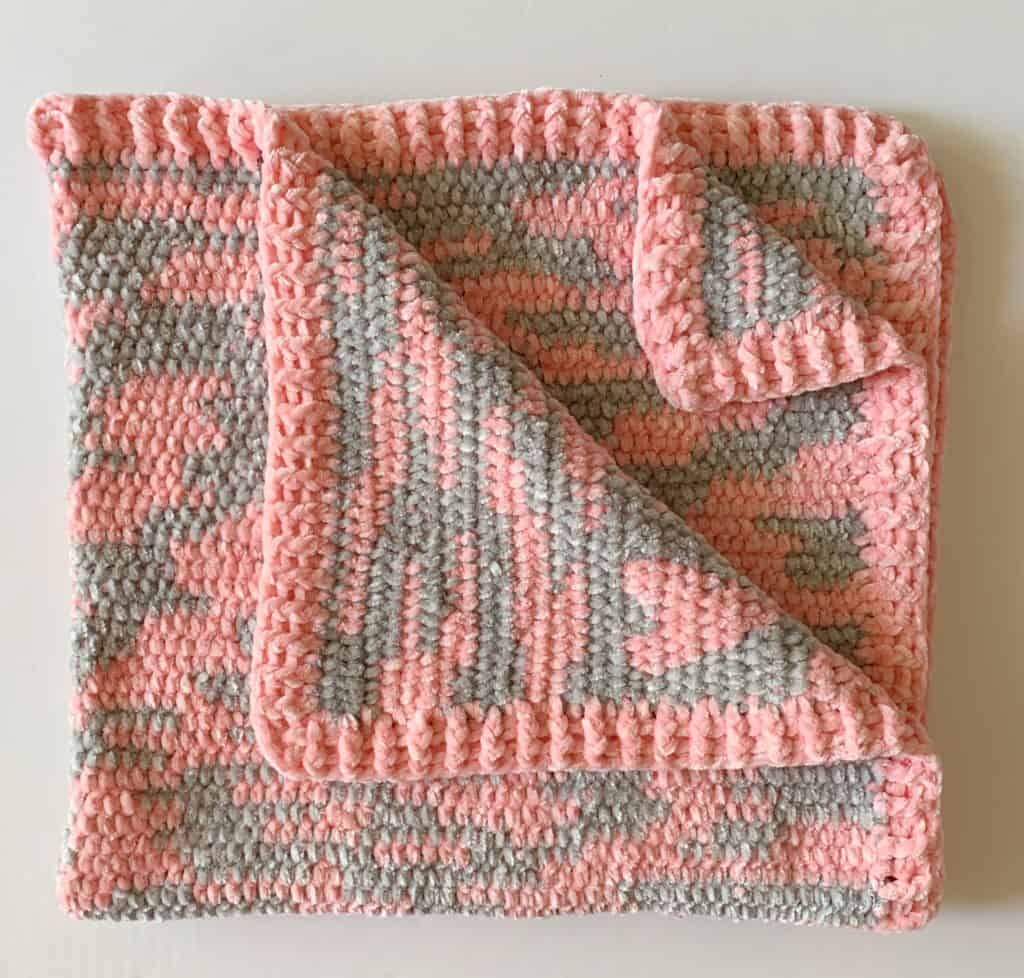
But we just would be bored if that was the only stitch we used it for, so Hannah did a little bit more trial and added polka dot clusters with the WHDC stitch and made the Candy Dots Blanket:
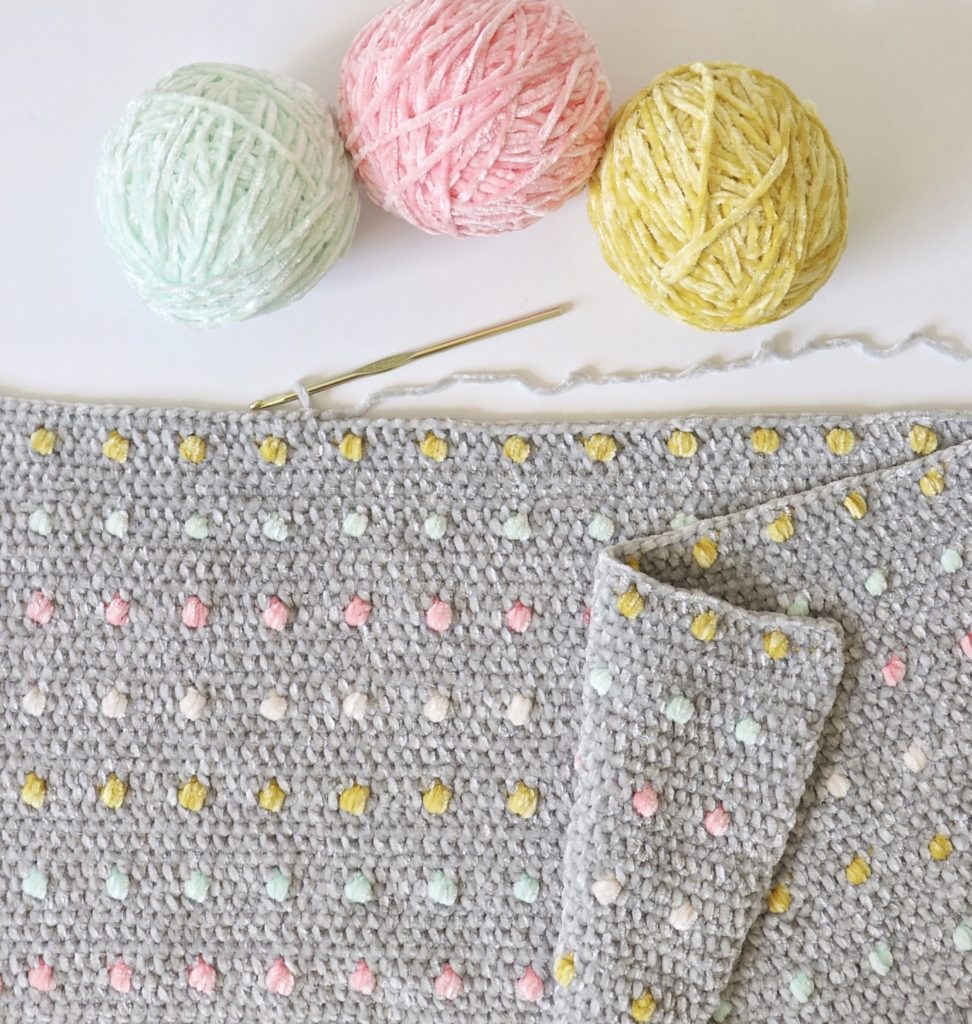
Those dots are HDC clusters and she made them as tight as she could. She is carrying the yarn through the row, and on the next row when she is using the grey again, she is reaching her hook underneath the carried colored yarn and pulling it up against the bottom of the row to really secure the yarn. (You can find more details in that post about the Candy Dots Blanket.)
But as she worked the border for that blanket, we really liked using Front and Back Post Double Crochet and found that stitch to be really secure as well. Here’s a look at the border:
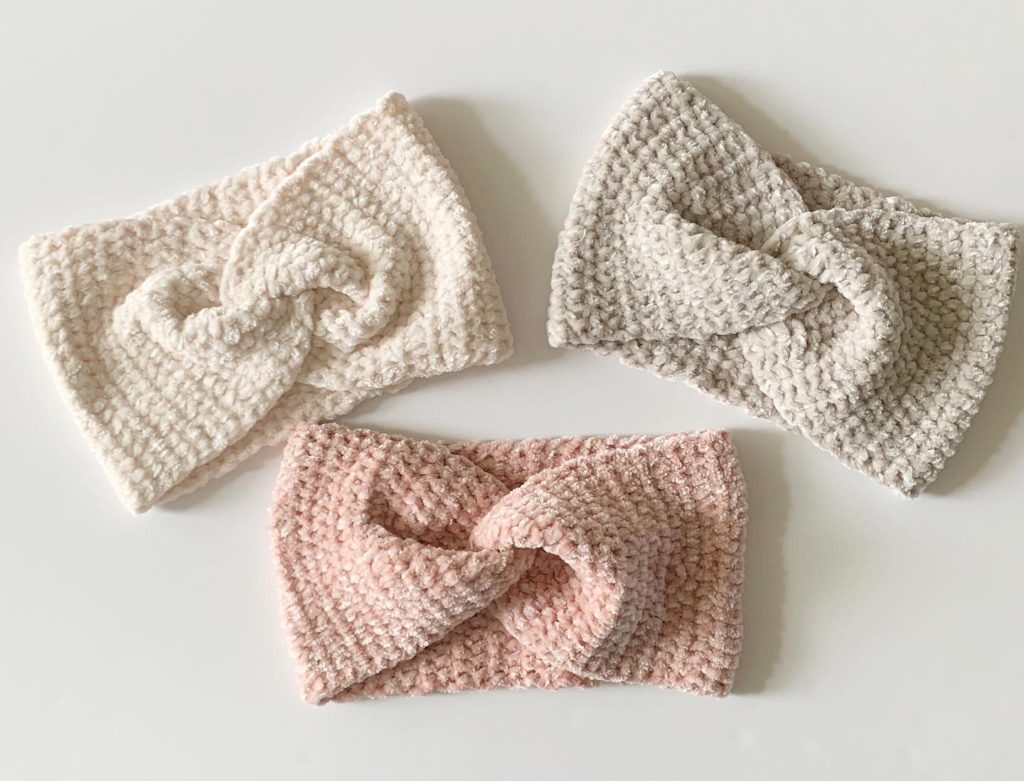
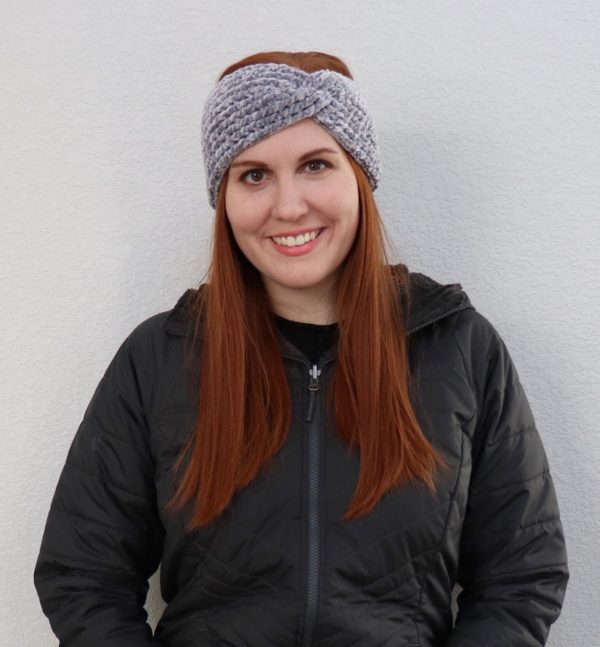
So then we experimented with that for headbands:
WE LOVED IT! No loops popped free, and the stitch was so easy to find where to insert your hook. (We will definitely be making more this winter!)
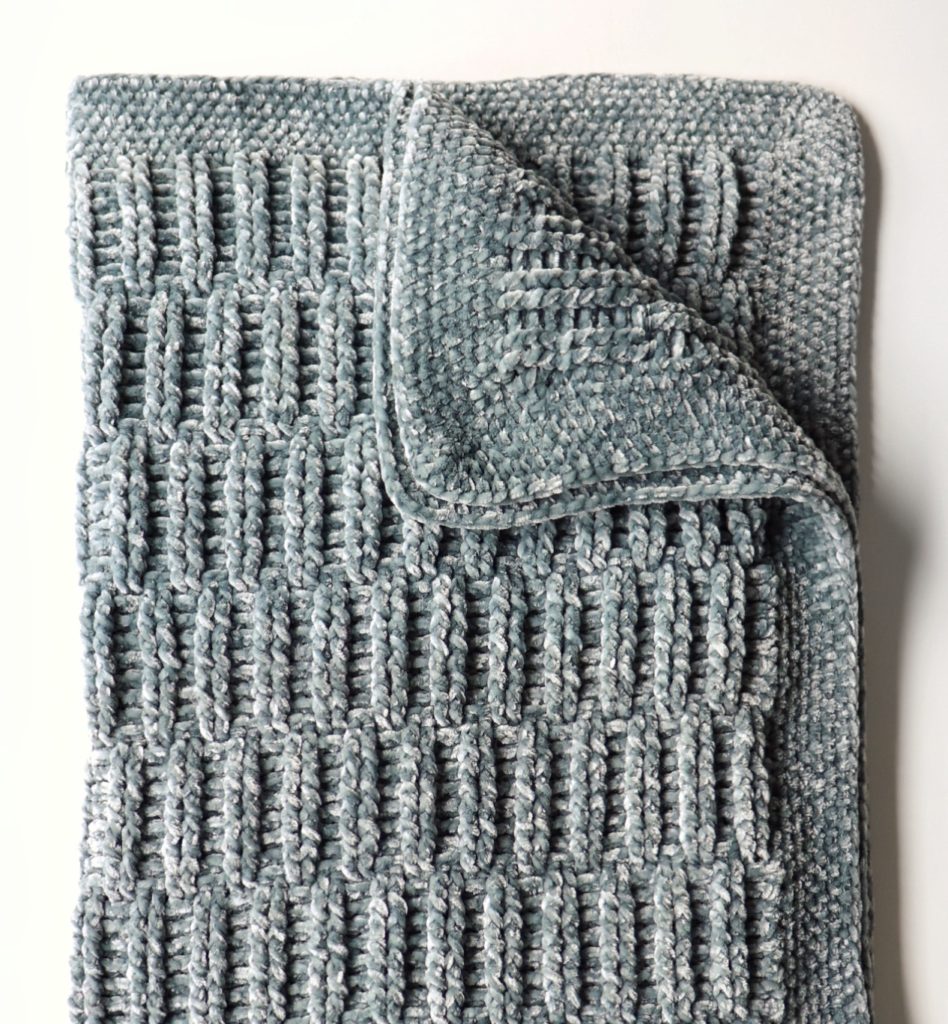
So then we used that stitch to start creating new designs for blankets and throws. First I made the Diamond Ribbed Velvet Baby Blanket.
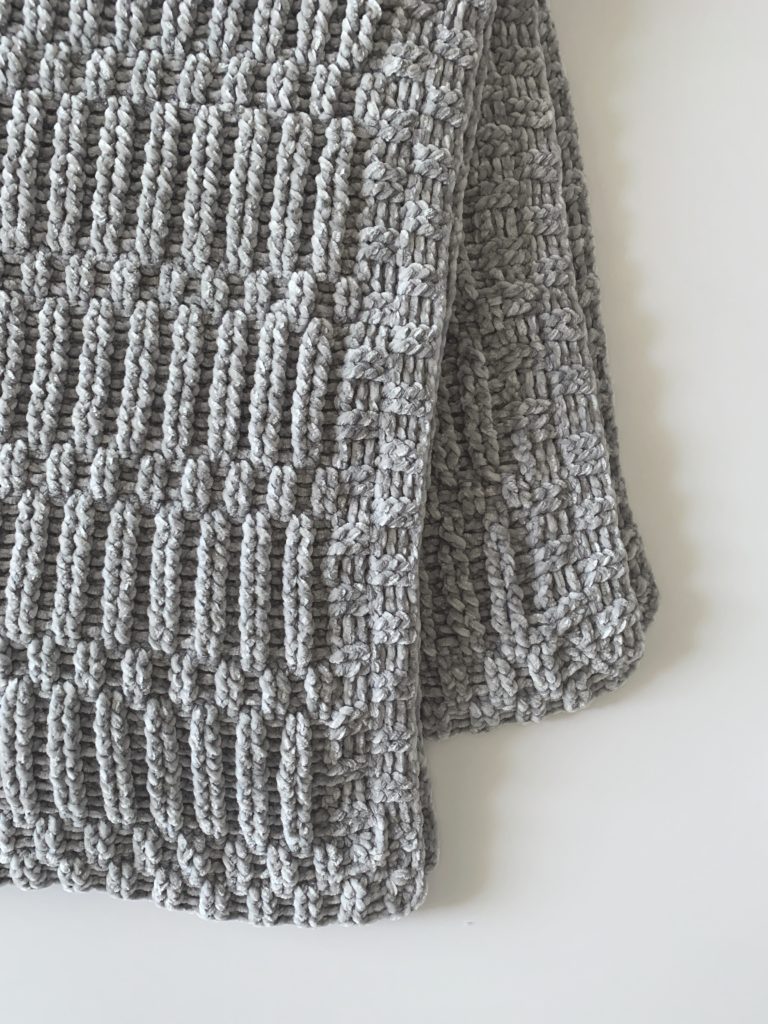
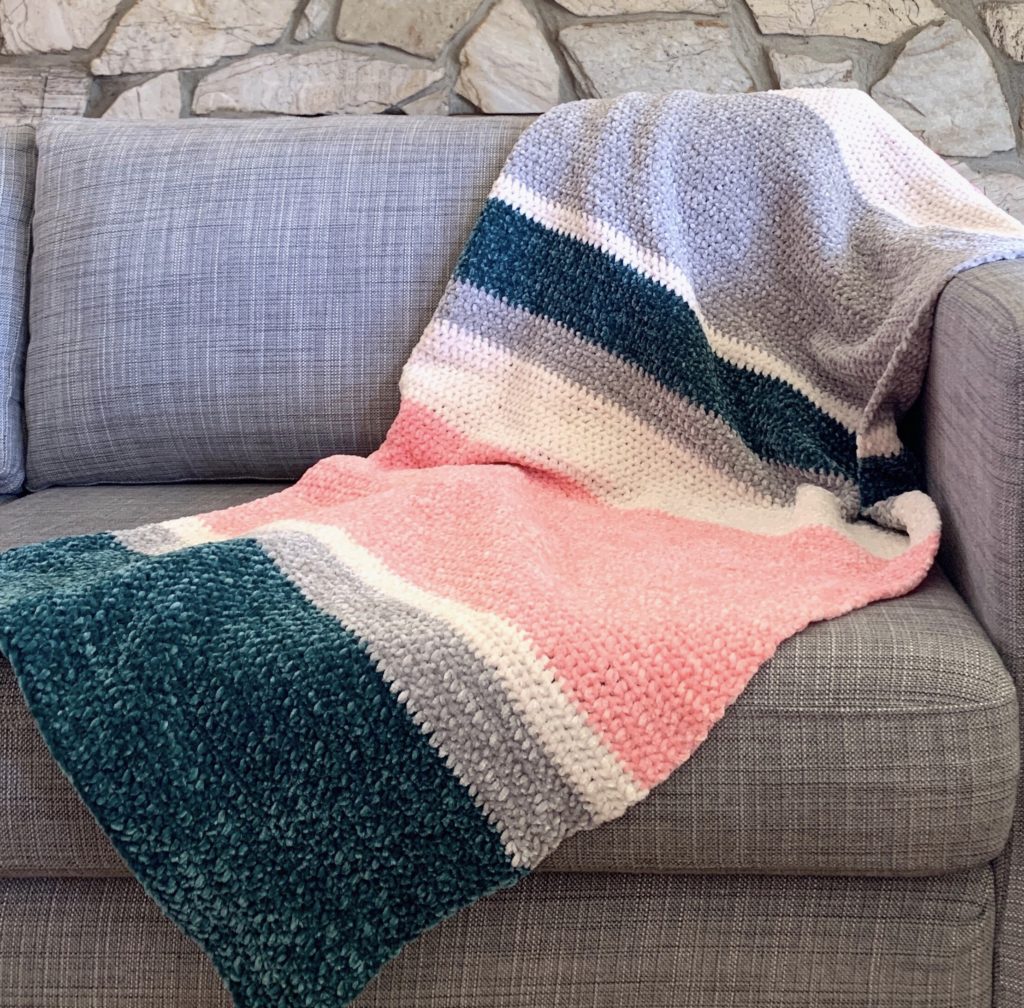
What I love about using the ribbing stitch or front and back post double crochet is that with normal yarn, those blankets can be so bulky, but with velvet, they have better drape and just the right amount of cozy. But that was with Baby Velvet. Hannah experimented with regular Velvet to see how that would turn out and she made her Crochet Ribbed Velvet Throw.
It turned out just as cozy as with Baby Velvet, but with a bit more weight. Still not bulky, it’s very soft and cozy and we absolutely love it. So much that I tweaked her design a bit, and made it for my friend’s daughter.
 We have found the most success with those two styles of stitches. We have tried others, and in order for them to be successful, we have to crochet very carefully to make sure our tension is tight. There is no room for error, because once a loop pops free, it’s very difficult to get it to go back in place. I have tried inserting my tapestry needle underneath the stitches to try and wiggle it back in place, but ultimately, I have to accept the imperfection.
This is an example of the velvet berries blanket Hannah made and paid very close attention to her tension:

Another of my favorite ways to used velvet is in my improv crochet technique using the wide HDC stitch and carrying yarn throughout and switching colors on a whim:
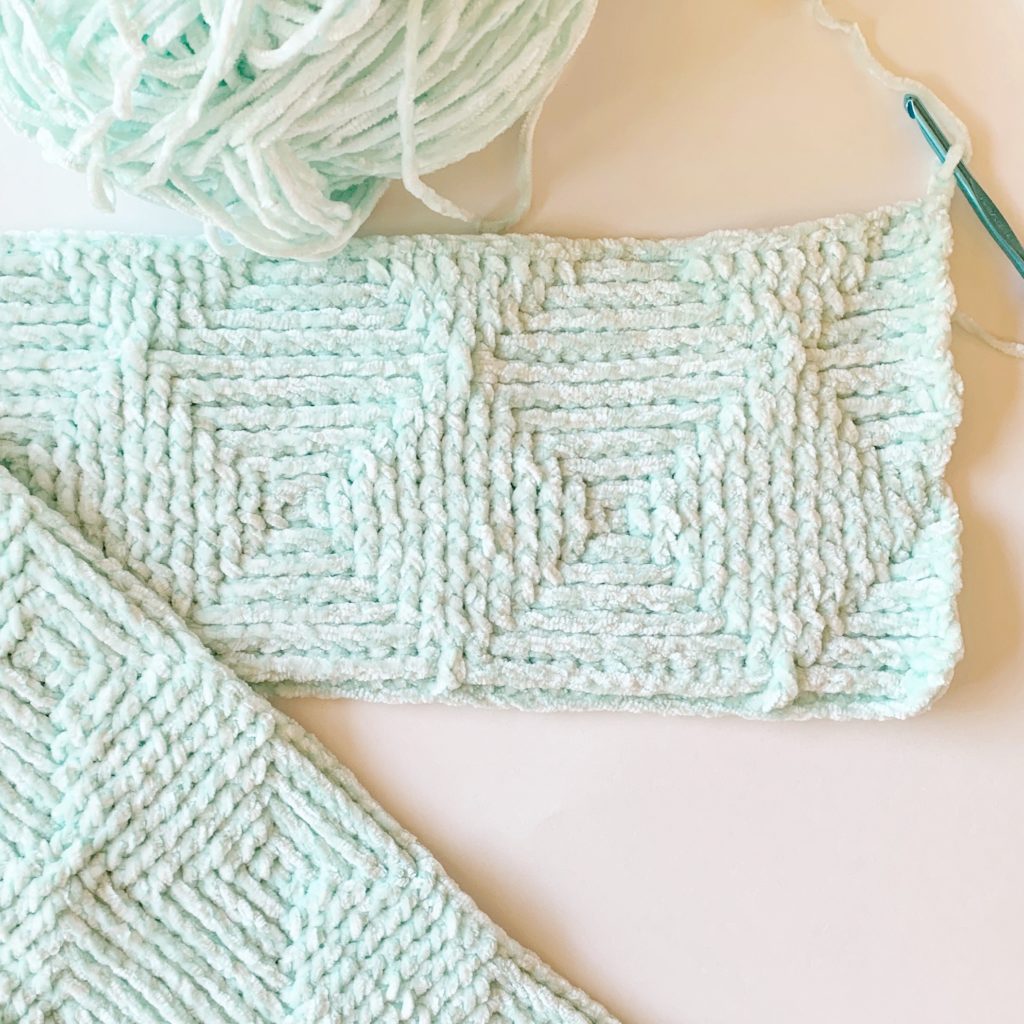
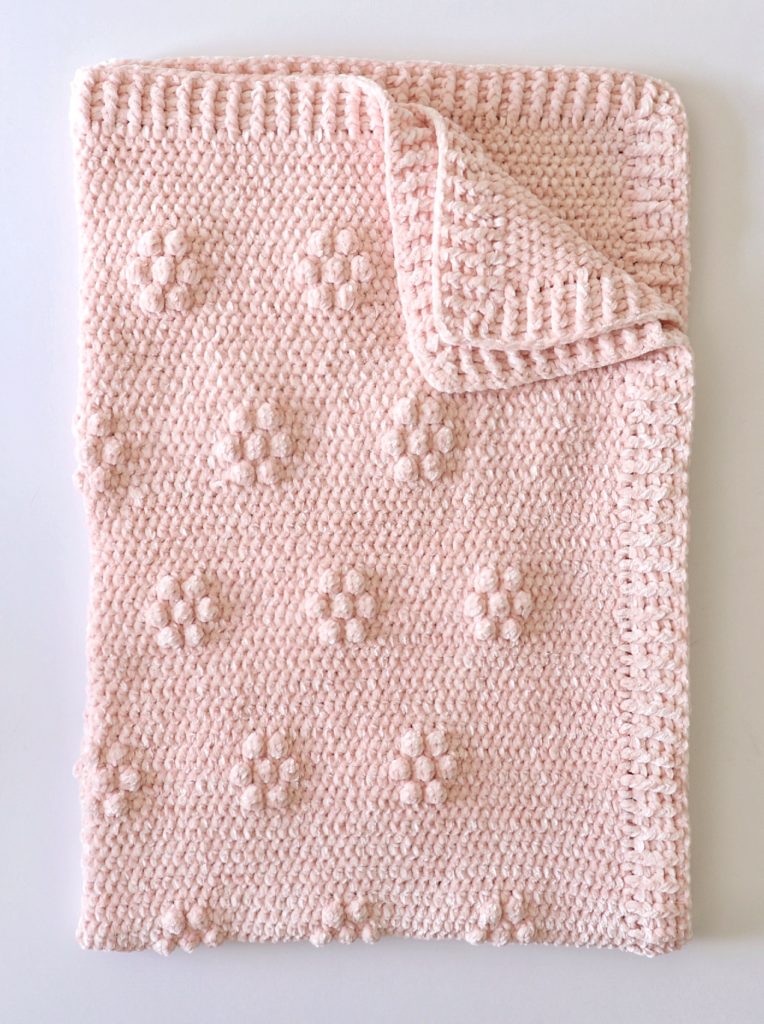
And a final example is the Velvet Flowers Blanket Hannah made:
 Our third tip that is a must is that you make a swatch. You need to practice the pattern you choose and make sure you are using the proper hook and proper stitch. We wash the swatches to test and lay them out to dry. (We have not put velvet into a dryer.) Then you will know how your project will turn out.
Here is a picture of the Unicorn Stripes blanket after it has been washed in a laundry bag, in a machine washer and laid flat out to dry.
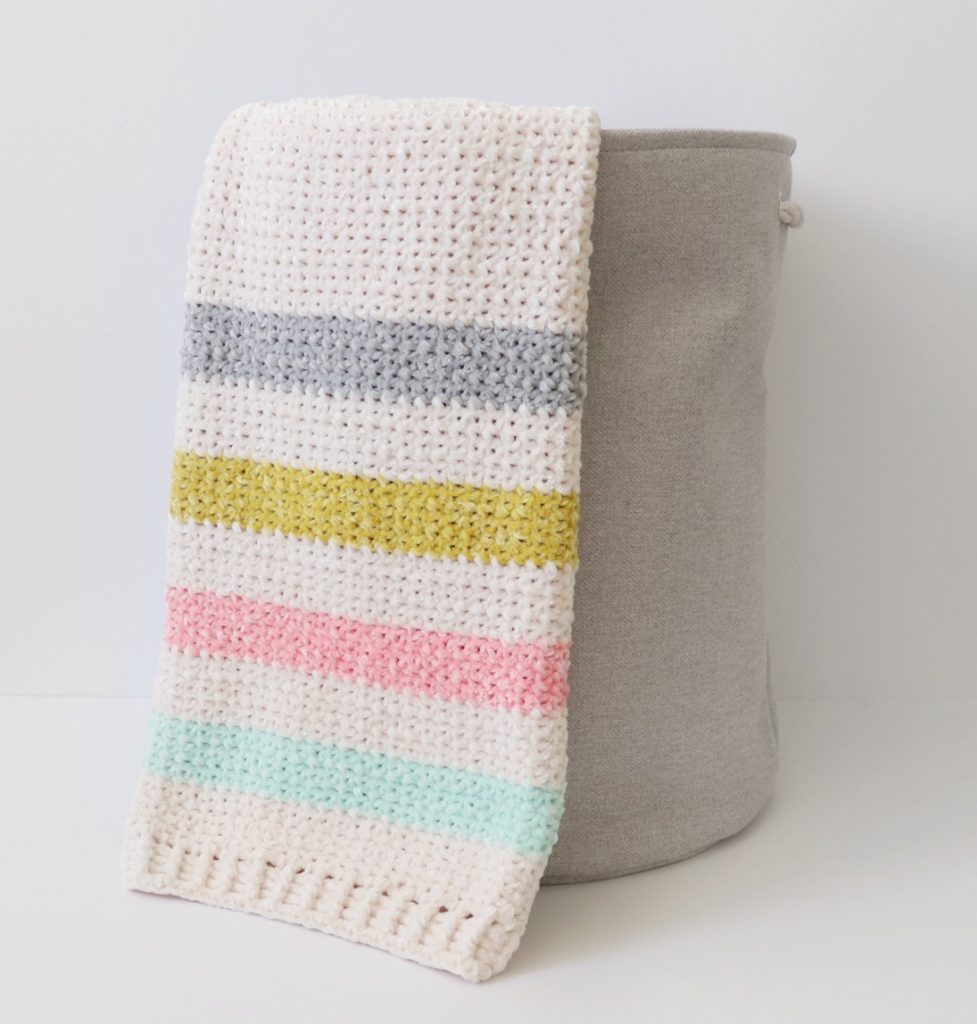
Hannah used the mesh stitch with the Unicorn Stripes blanket, and kept very close attention to her tension. It turned out beautiful, but this is after she had worked with velvet and knew to keep her tension tight.
Here’s one more velvet project that combines the WHDC and Ribbing that might be a small project to begin with if you are new to velvet: 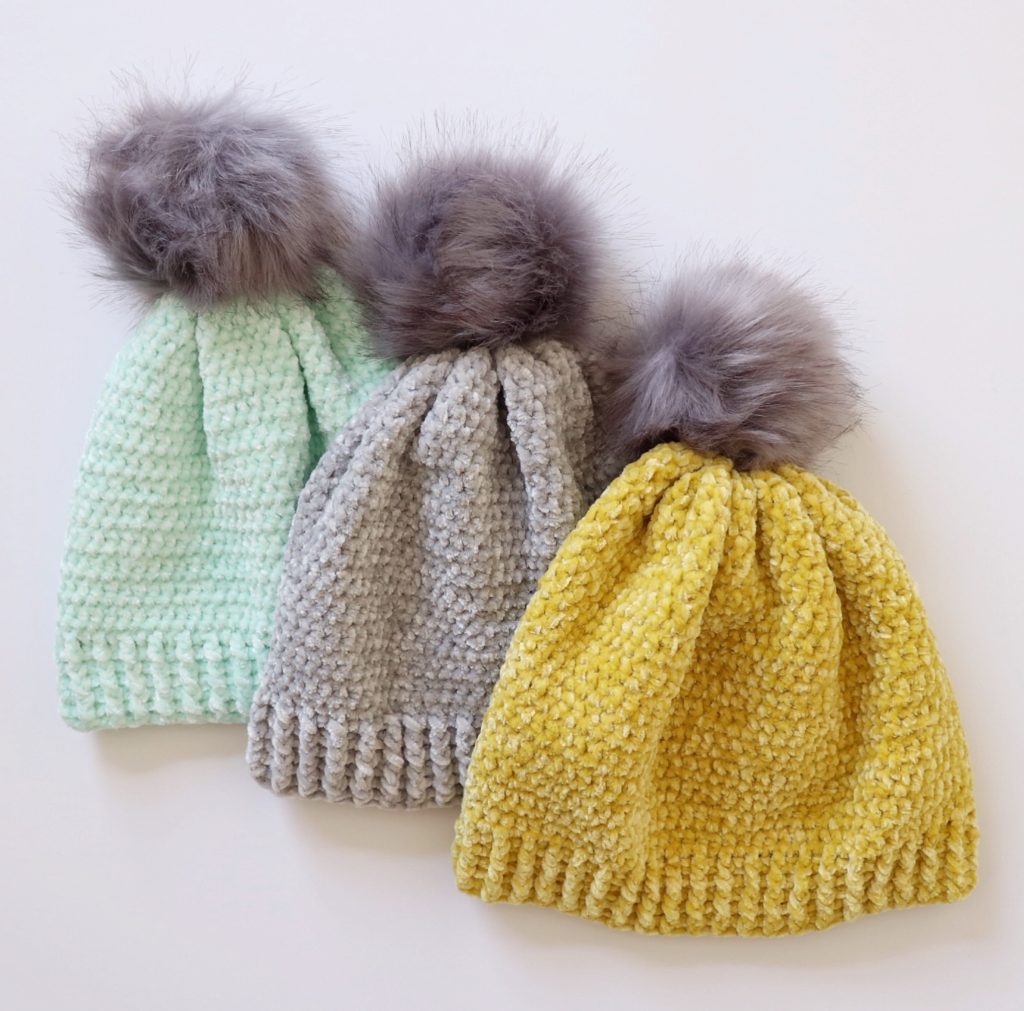
And here is one more made by Nicolina that shows how modern and vibrant the colors are:
So to sum up the three points one more time:
1. Keep your tension tight, use a smaller hook if necessary.
2. Use a stitch that won’t pull free easily. We suggest on your first project the wide half double crochet or front and back post double crochet.
3. A practice swatch is a must.
Oh, and I just remembered one more project I made with velvet: a snuggly newborn gown.
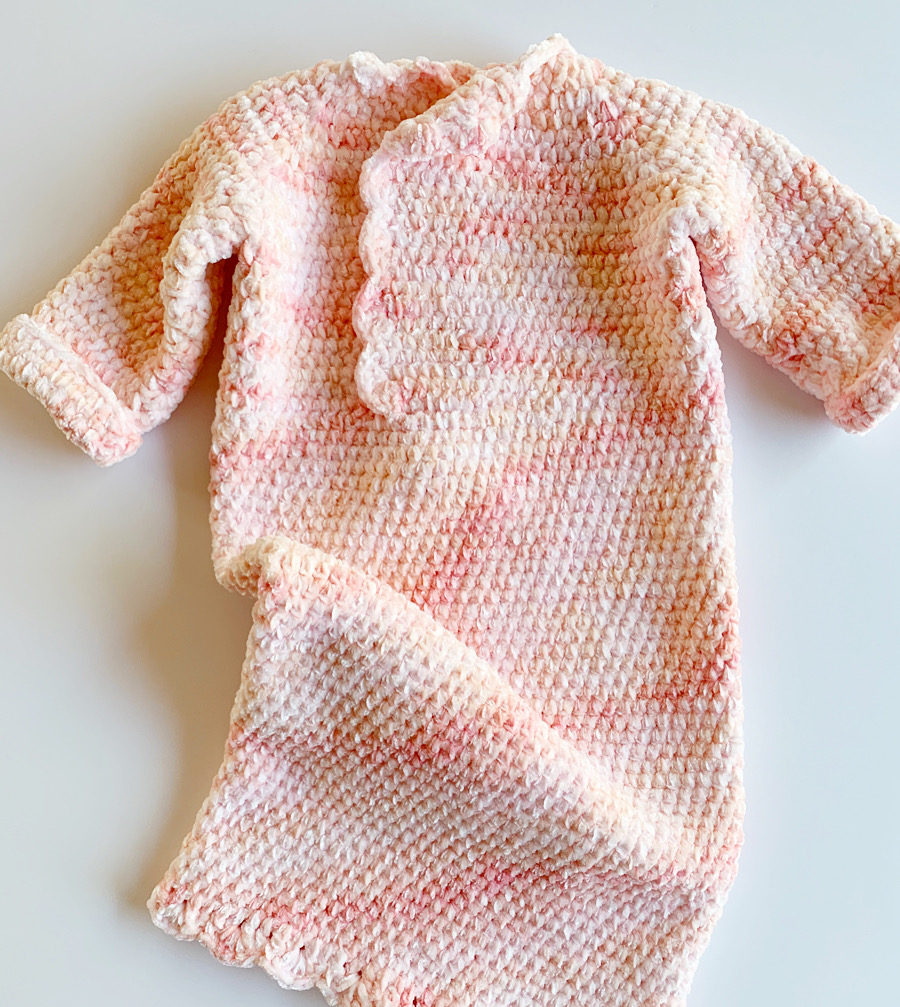
This is what velvet dreams are made of!
Anyway, we really hope this helps you with what we have learned so far about working with velvet.
xoxo, Tiffany
P.S. A post edit: We also are now recommending that you only change colors or add in a new skein at the end of a row. We also advocate tying a square knot as you change color, you may still leave a tail to weave in, but having it on the side of the blanket and covered by a border later will help secure the end.
Changing colors or adding a new skein mid-row, will result in tails poking out in the middle of your blanket.