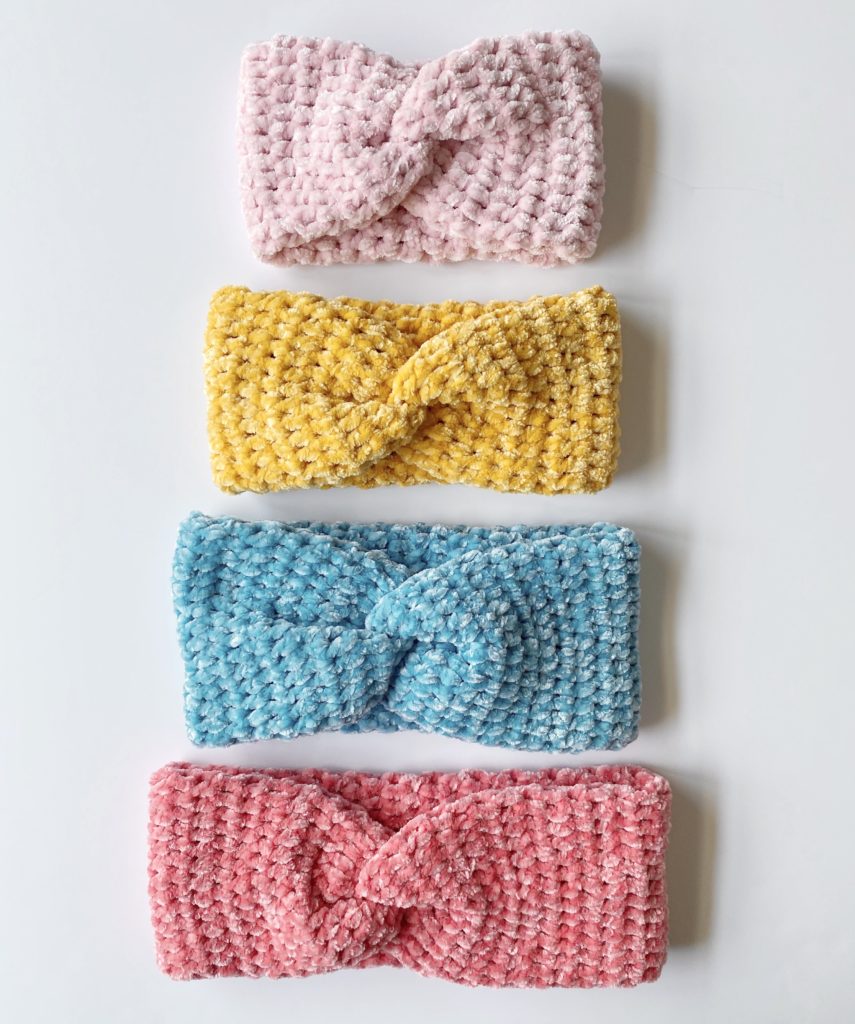
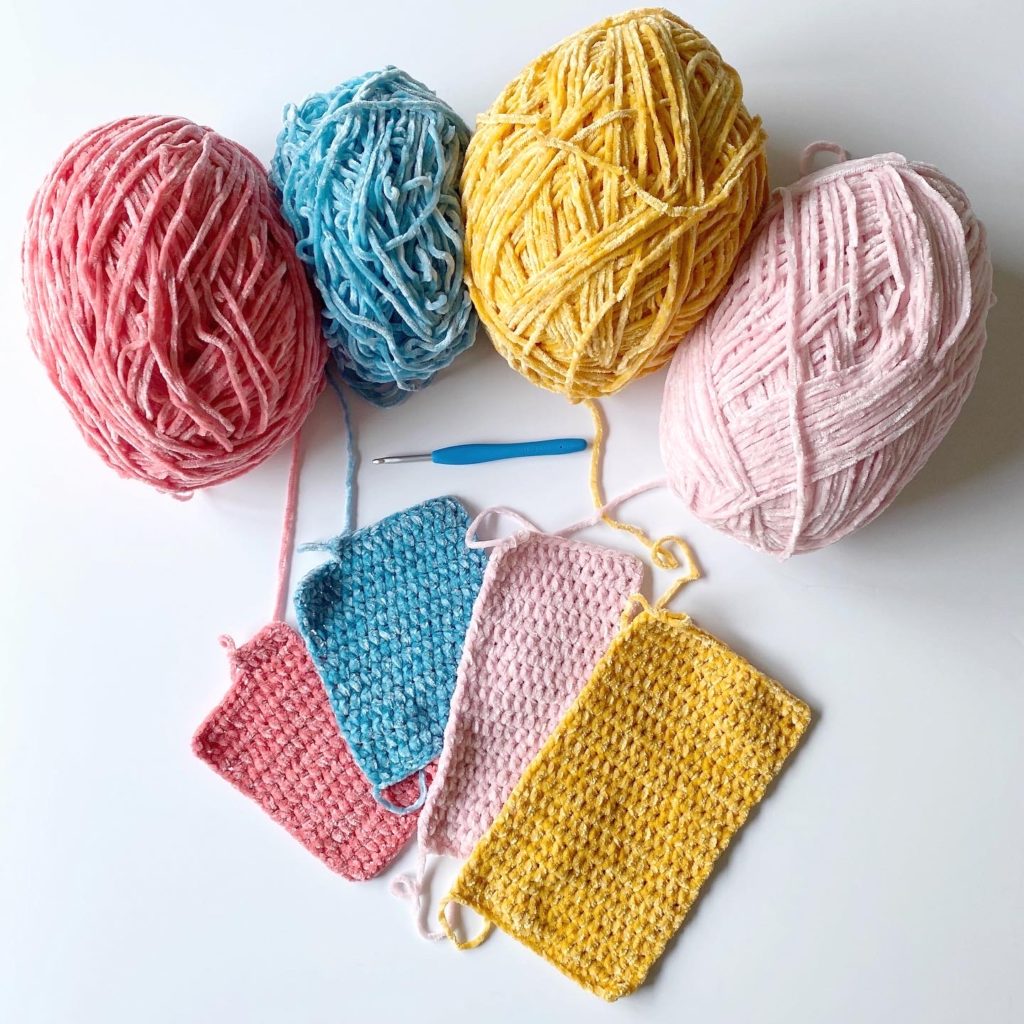
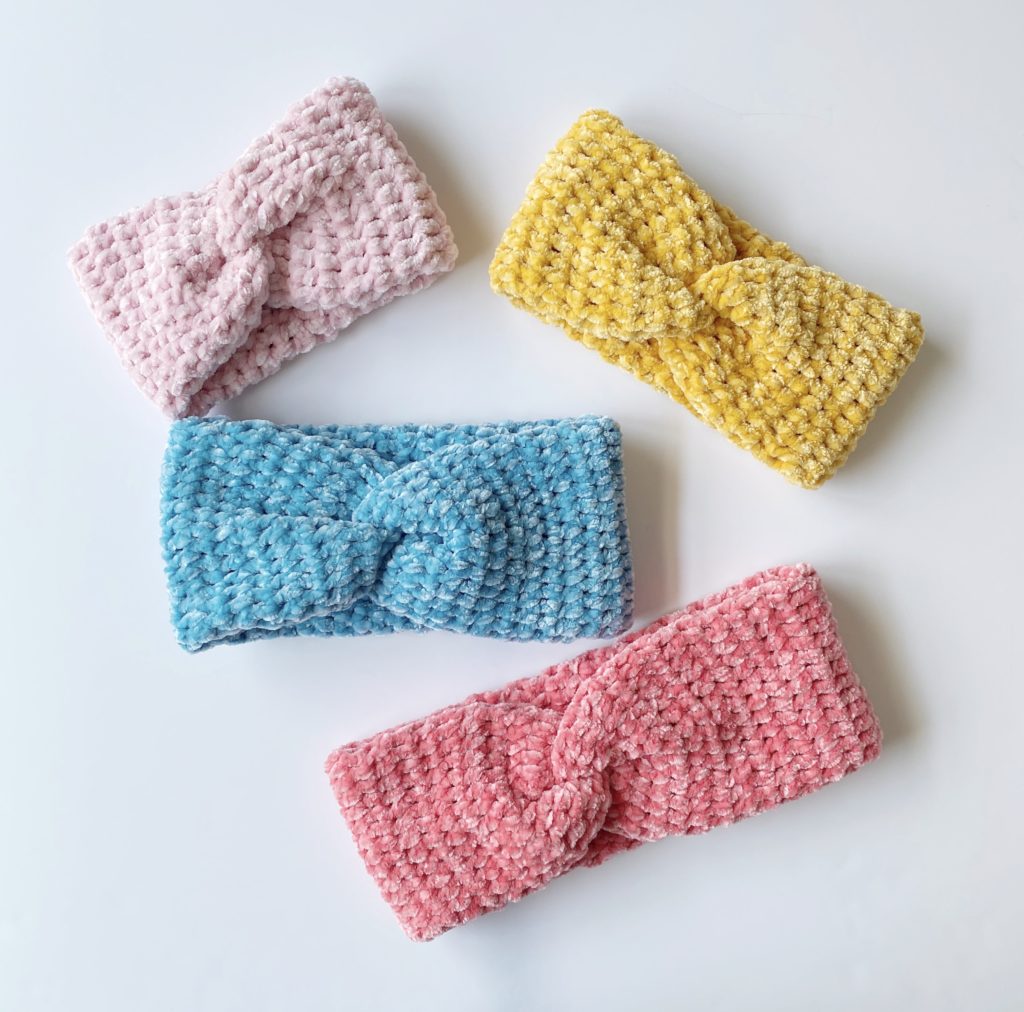
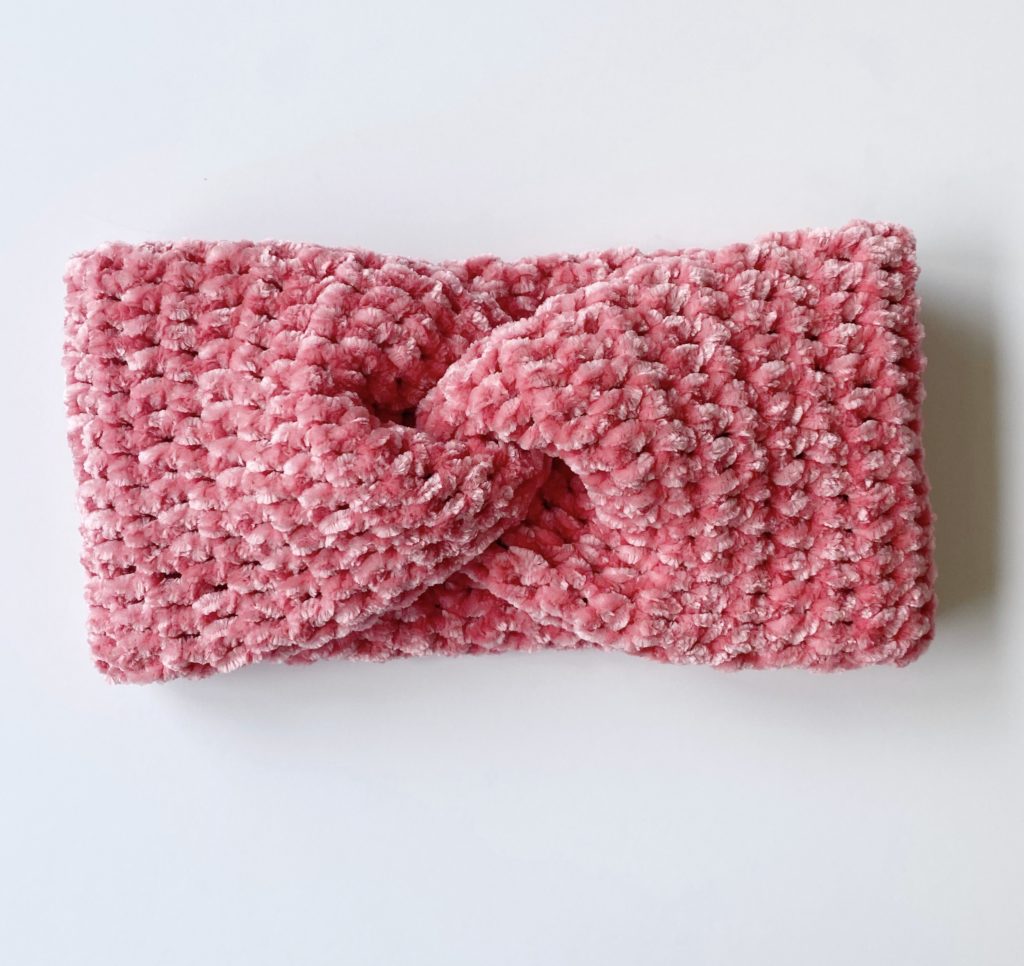
Hello, Hannah here, last year my mom created a pattern for some easy velvet twist headbands and when I found all these fun colors at my local Michael’s store a few weeks ago I decided to make some more! They are super cozy and make great Christmas gifts!
I used a slightly different stitch than my mom’s original headbands and since I live in Colorado I made them double-sided so they would be a little bit warmer.
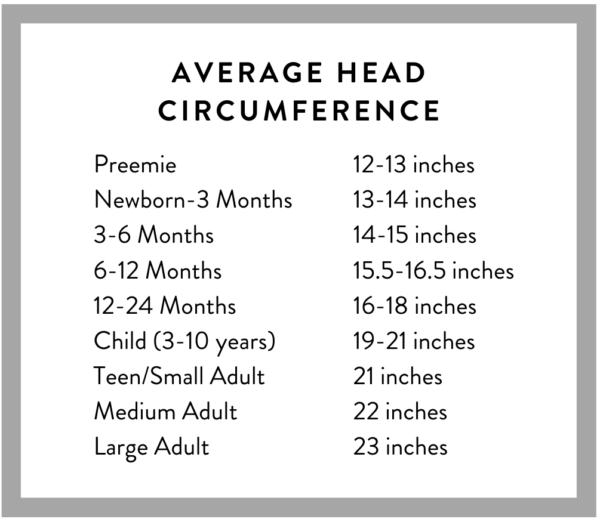
These headbands can be made in any size and the best way to make sure it will fit is to make the length 3 inches shorter than the circumference of the head of the person you are making it for, but if you’re not able to measure in person, you can use the standard head size chart in the pattern below to estimate the best size.
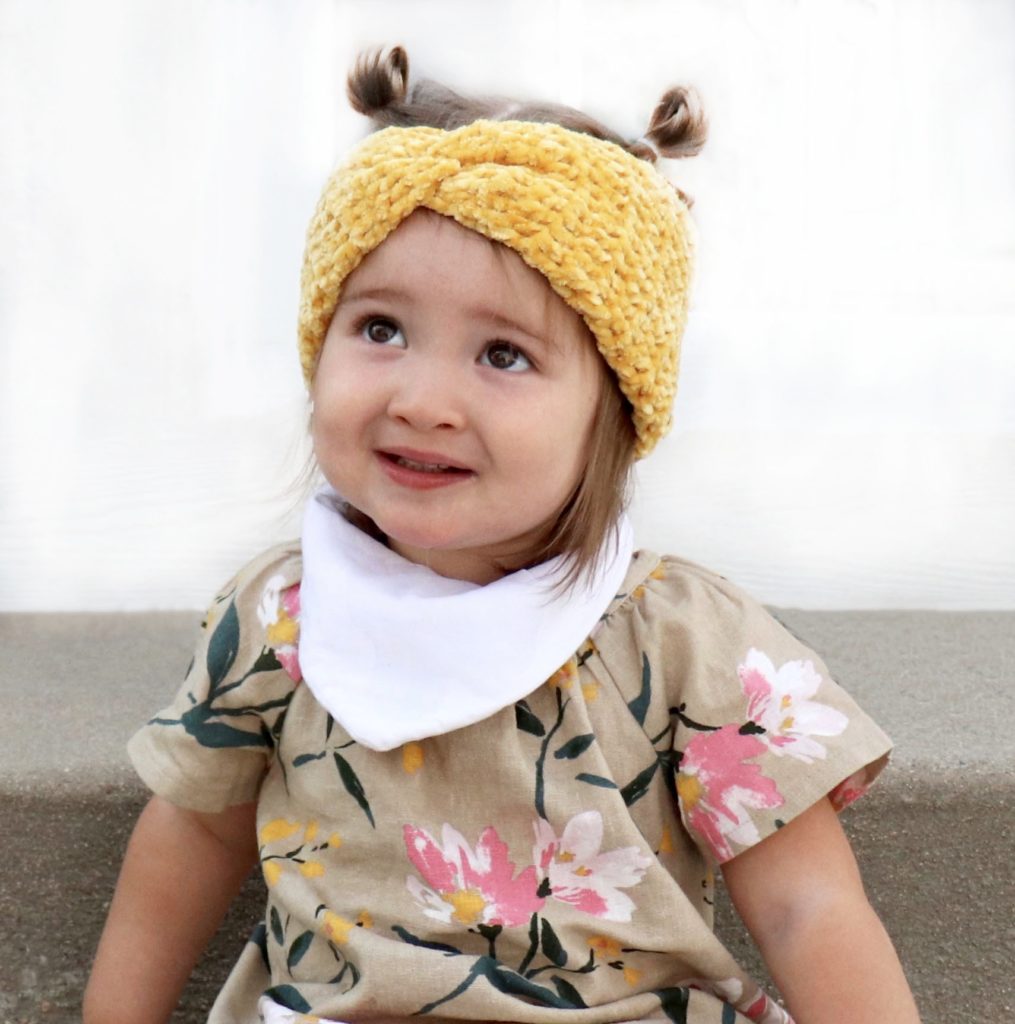
If you want to know what these headbands look like on, here is my cute baby friend Marin wearing her headband! Her mom is a good friend of mine and also has the cutest Etsy shop where she sells darling handmade baby clothes and accessories that I love to give away as gifts to go with the things I crochet.
And here is a video tutorial if you’d like to watch before you get started!
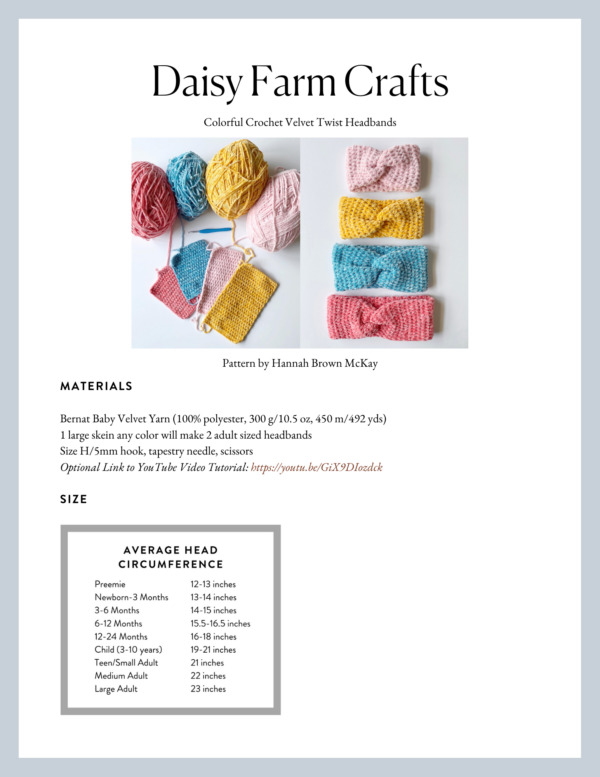
Materials
Bernat Baby Velvet Yarn (100% polyester, 300 g/10.5 oz, 450 m/492 yds)
1 large skein any color will make 2 adult sized headbands
Size H/5mm hook, tapestry needle, scissors
Size
Stitches
Double Crochet (DC): Yarn over (YO), insert your hook, YO and pull up a loop, YO and pull through two loops, YO and pull through remaining two loops.
Wide Double Crochet (WDC): YO, insert your hook between stitch posts, YO and pull up a loop, YO and pull through two loops, YO and pull through remaining two loops.
Pattern
For a baby/child size, chain 25, for a teen/adult size, chain 30.
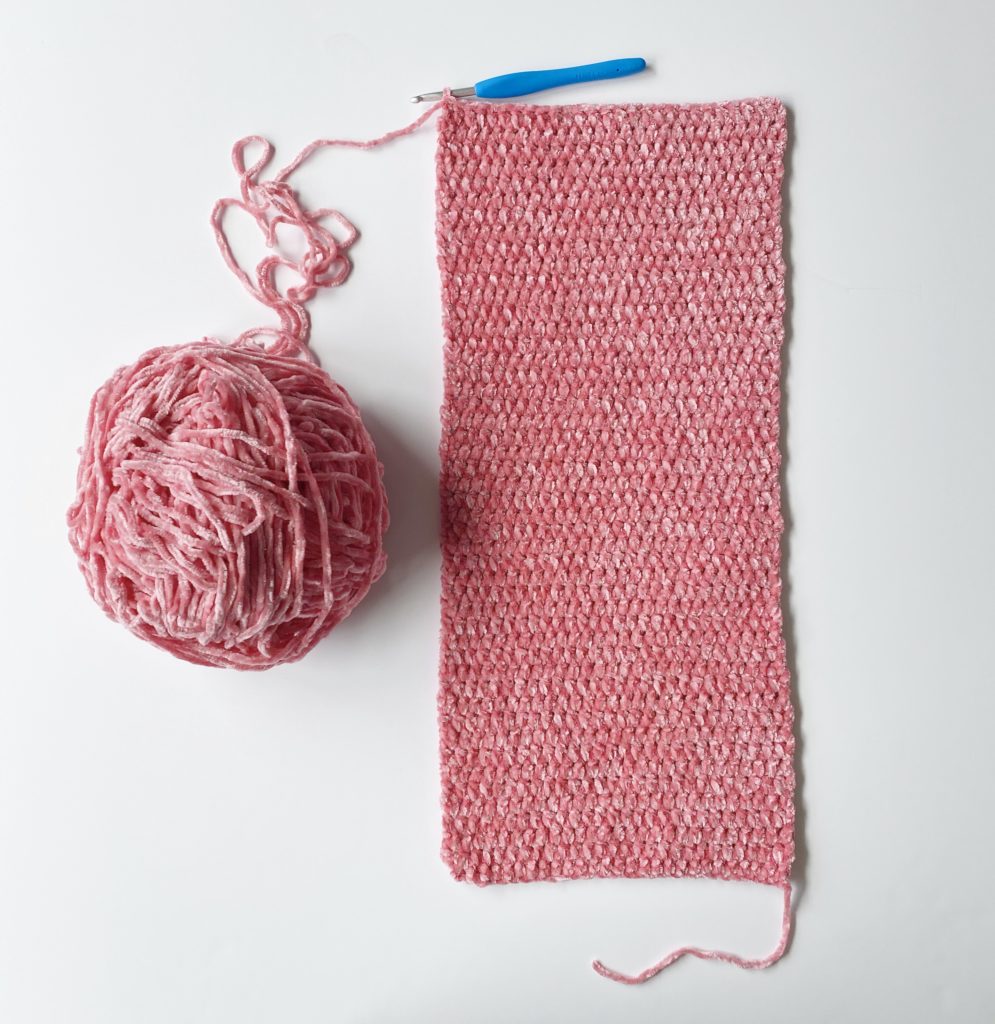
ROW 1: Starting in the 4th chain from the hook, work a DC into each chain (YO, insert your hook, YO and pull up a loop, YO and pull through two loops, YO and pull through remaining two loops). Chain 2 and turn.
ROW 2: Work a WDC in each space across the row (make sure the last WDC is between the last stitch and the turning chain of the previous row.) Chain 2 and turn.
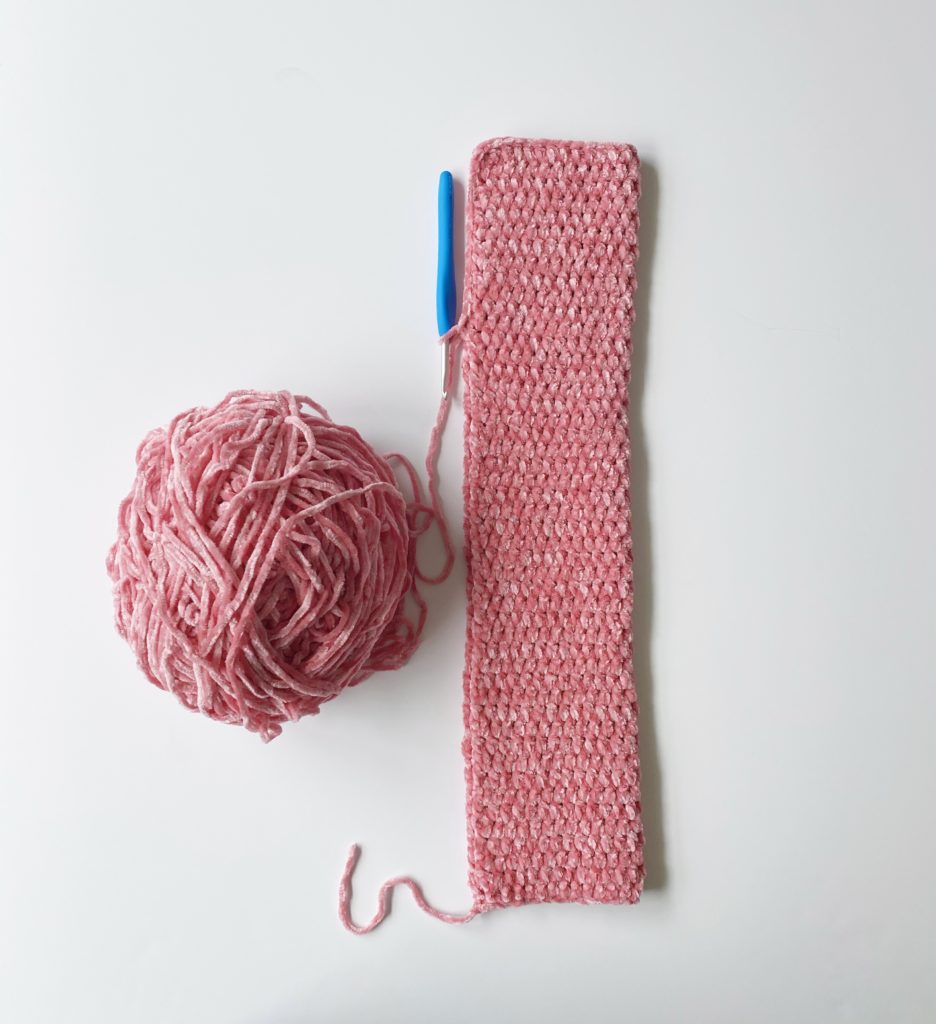
Repeat row 2 until the length measures 3 inches less than your head circumference.
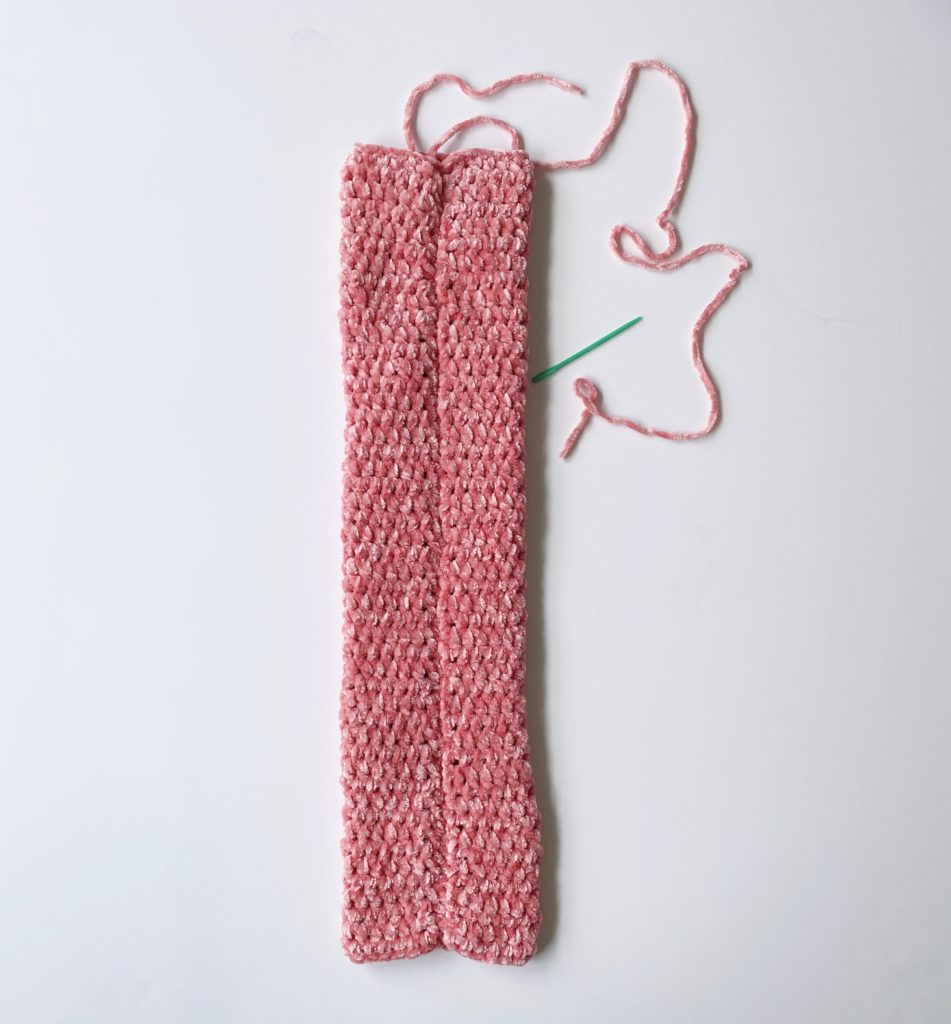
When you reach your desired length, fold in half and slip stitch the sides together (you can also cut a really long tail and sew them together if that’s easier).
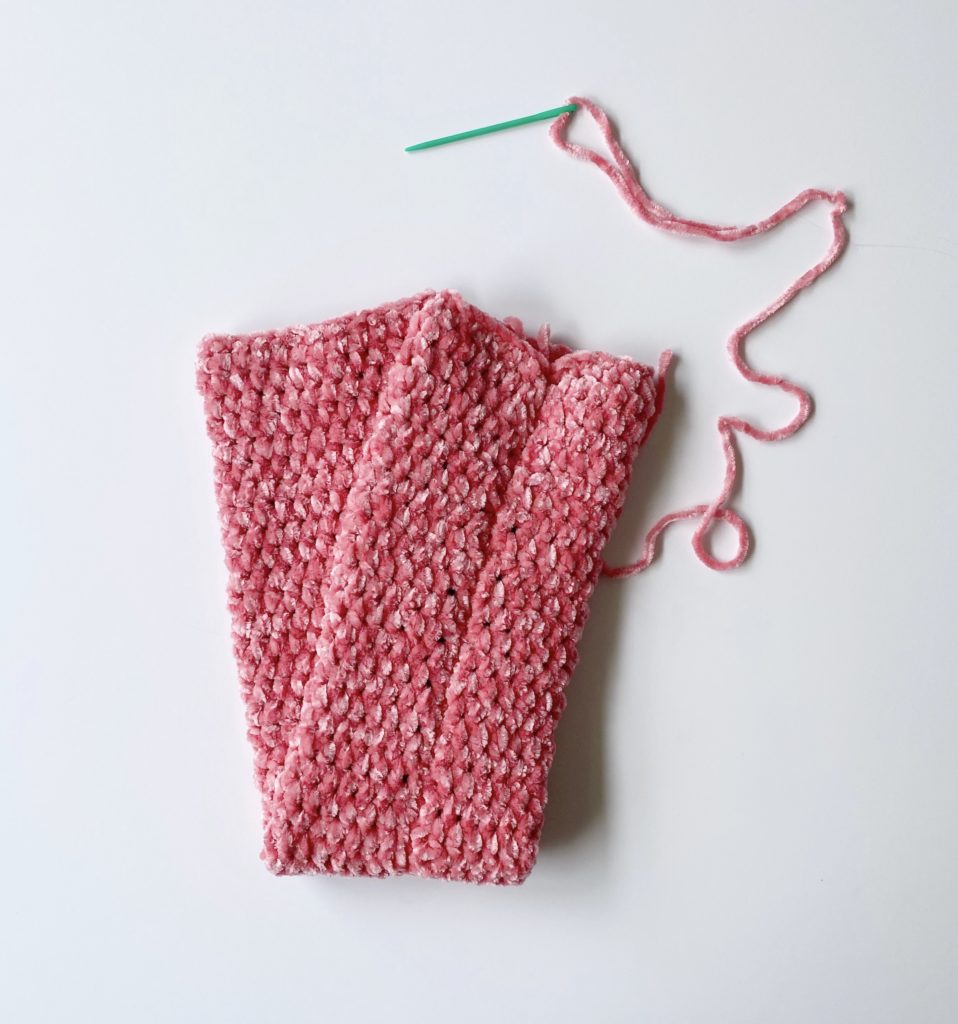
After you put the sides together, cut a long tail that you can use to sew the ends together and turn the headband inside out so the seam is on the inside.
Fold it in half with the seam facing toward you and place the left edge of the front panel in the center of the back panel.
Then wrap the front right edge around the back and bring the back left edge around to the front so that it makes a backwards “S” shape.
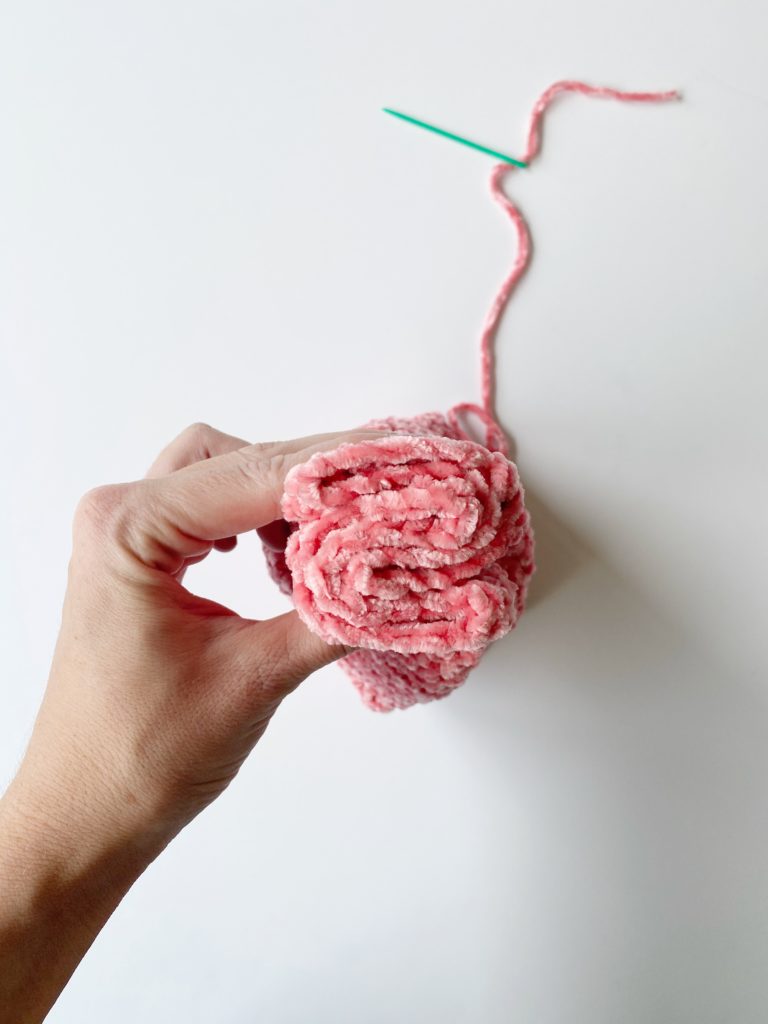
Use a tapestry needle to sew the headband together, making sure you inserting your needle through all the layers.
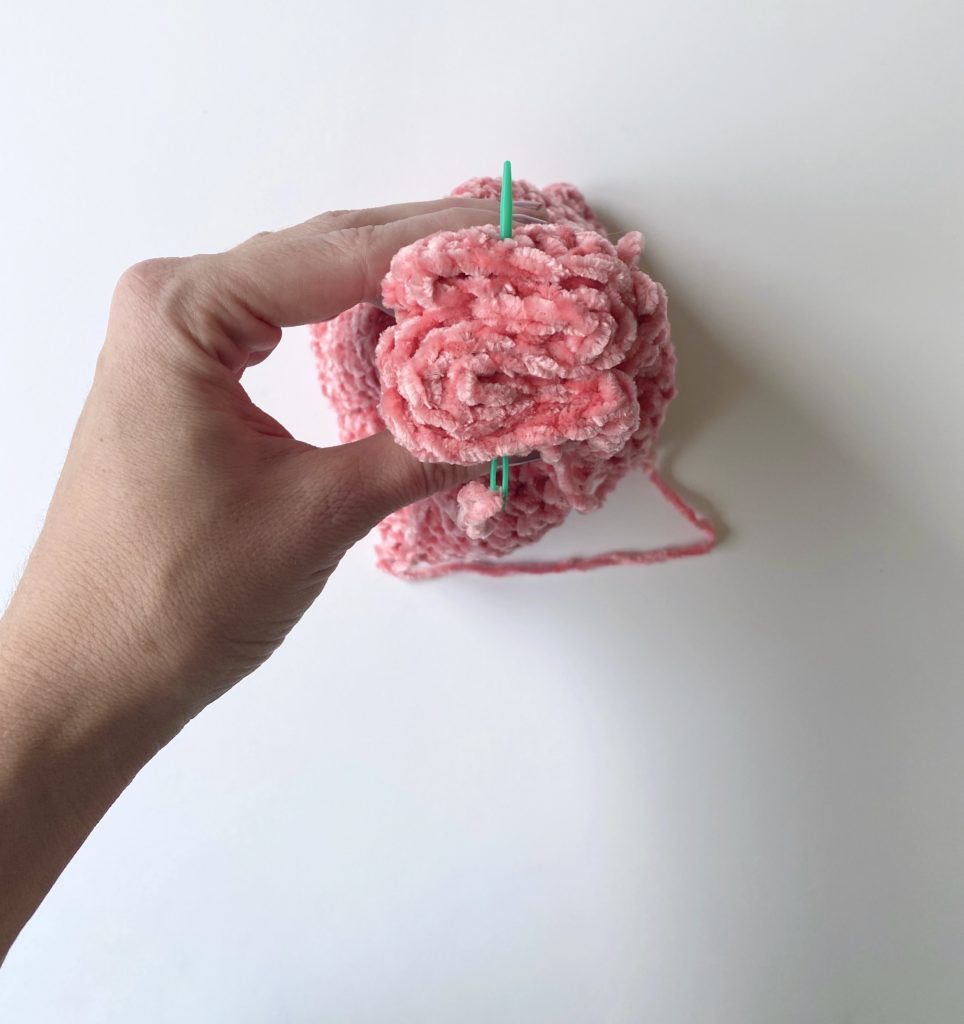
Weave in ends and turn the headband inside out to see your twist!
Thank you so much for coming to read this pattern; I hope you enjoy making these headbands! When you’re finished please come share a picture with us on Facebook or Instagram, we’d love to see! xo, Hannah
Click here or on image below for printable pattern