Post Edit: We included this hat pattern in our newest book HANDMADE HUGS – 55 GIFTABLE CROCHET PROJECTS.
We now have a full video tutorial for this hat to help you out if you run into trouble. Scroll to the end of the post for the Youtube Tutorial.
Thank you everyone for your love and support for our new book!
XO, Tiffany

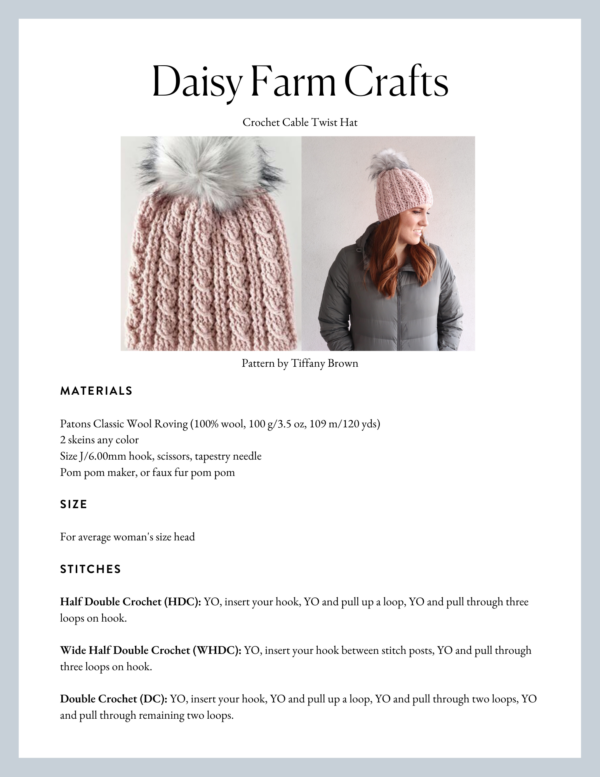
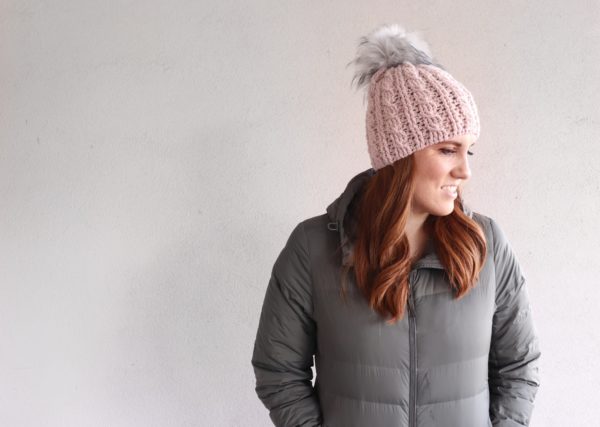
Hello crochet friends! I have a new hat pattern for you to accompany the cable mittens I shared with you a few weeks ago!

Materials
Patons Classic Wool Roving (100% wool, 100 g/3.5 oz, 109 m/120 yds)
2 skeins any color
Size J/6.00mm hook, scissors, tapestry needle
Pom pom maker, or faux fur pom pom
Size
For average woman’s size head
Stitches
Half Double Crochet (HDC): YO, insert your hook, YO and pull up a loop, YO and pull through three loops on hook.
Wide Half Double Crochet (WHDC): YO, insert your hook between stitch posts, YO and pull through three loops on hook.
Double Crochet (DC): YO, insert your hook, YO and pull up a loop, YO and pull through two loops, YO and pull through remaining two loops.
Front and Back Post Double Crochet (FPDC & BPDC): A front post DC means you insert your hook from front to back around the post of the next DC and work your DC. A back post DC means you insert your hook around the post from the back to the front and work a DC.
Single Crochet 2 Together (SC2TOG): Insert your hook into the stitch, YO and pull back through, insert your hook into the next stitch, YO and pull back through, YO and pull through all loops on your hook. You are turning two stitches into one and gathering the work in.
Front Post Treble Crochet (FPTC): Insert your hook from front to back around the post and work a treble crochet: YO twice, insert your hook, YO and pull up a loop, YO and pull through two loops, YO and pull through two loops again, YO and pull through remaining two loops.
Pattern
Chain a multiple of the number 8 to fit comfortably snug around your head, then add 3 more chains. (My number was 56 plus 3. Giving you the multiple lets you use whatever yarn you’d like.)
Row 1: Starting in the 3rd chain from hook, *work one HDC. In each of the next 2 chain spaces, work DC. In next chain, work one HDC. In each of the next 4 chains, work one DC. Repeat from the * across to the end of the row. Work one more HDC as your last stitch. CH 2 and turn. (Essentially the repeated sequence is: HDC, DC, DC, HDC, DC, DC, DC, DC, repeat.)
Going forward HDC’s are worked in between each other or another way of saying it is to the left of the post, or, under all three loops the HDC makes (wide HDC).
FPDC stands for front post double crochet and BPDC stands for back post double crochet. Insert your hook around the post to either pop it forward (fpdc) or to the back (bpdc).
Row 2: *WHDC to the left of the hdc stitch. FPDC around each of the next 4 dc. WHDC (make sure you skip over to the left of the hdc in the row below) FPDC around the next 2 DC. Repeat from * to the end of the row.
Row 3: *WHDC, BPDC around next 2 posts. WHDC, BPDC around next 4 posts. Repeat * and end with one HDC. (hint: it’s always worked in between the last stitch and the turning chain.)
Row 4: (Cable twist row. ) *WHDC, Skip the next three DC and FPTC around the 4th DC. FPTC around the third, then the second, then the first stitch you skipped. Twist that work and reach over for your next HDC, FPDC around next 2 Posts. Repeat from * and end with one HDC in between the last stitch and the turning chain.
Row 5: Repeat row 3
Row 6: Repeat row 2
Row 7: Repeat row 3
Row 8: Repeat row 4
Rows 9 – 16: Repeat rows 5 – 8
Rows 17 – 18: Repeat rows 3 and 2.
Rows 19 – 21: SC2TOG across every two stitches to decrease and gather the top of the hat. Cut off, leave a long tail and continue gathering in the top of the hat with a tapestry needle and sew the two sides together.
Weave in all ends. Attach pom by threading the two tails down through the top of the hat and tying the ends into a knot on the underside of the hat.
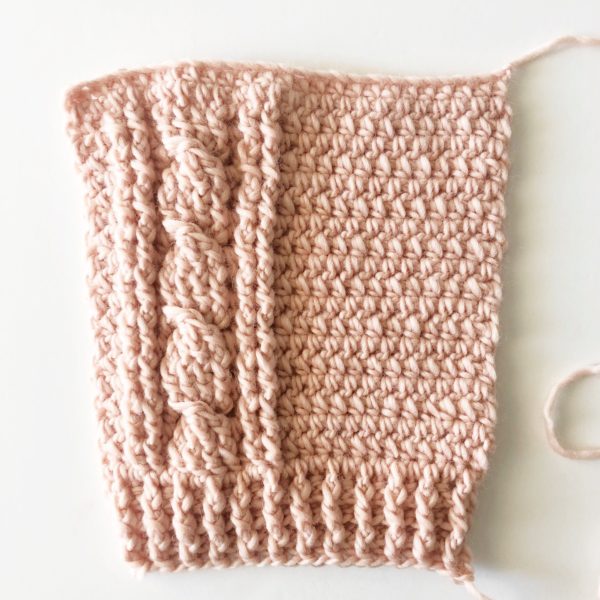
This is what the hat will look like before you sew up the sides and attach the pom:

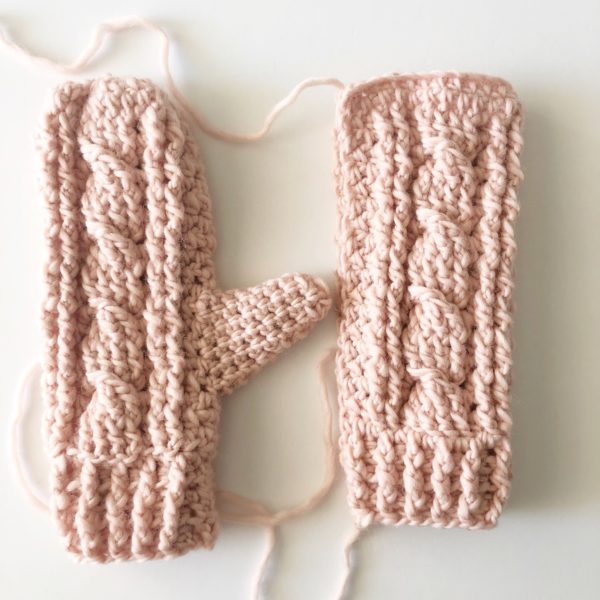
Heres a picture of the crochet cable twist mittens I made and shared a few weeks ago in case you are seeing the hat first and now want to go and make matching mittens!
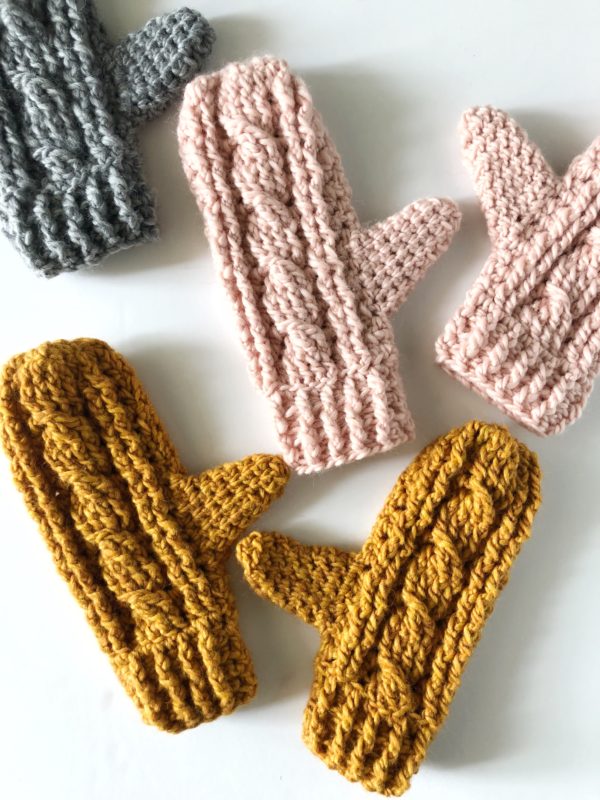
I am in love with the construction of the mittens as you simply make them in a rectangle, fold them in half and add a thumb working in a spiral fashion.
I hope you’ll enjoy your hat and mittens! As you make these you will see that they definitely have a front and a back side. I don’t think we will be able to make a matching scarf. The back side would not be pretty at all and a scarf definitely needs to look good on both sides. Maybe a match would be ribbing just on the two ends and work just the HDC for the main part?
Hmm..maybe I will have to think about a matching scarf…
Anyway, thanks as always for stopping by our website.
I’m always so happy to share your finished Daisy Farm items in my Sunday Shares on Instagram, or on Facebook if you post a picture to the page.
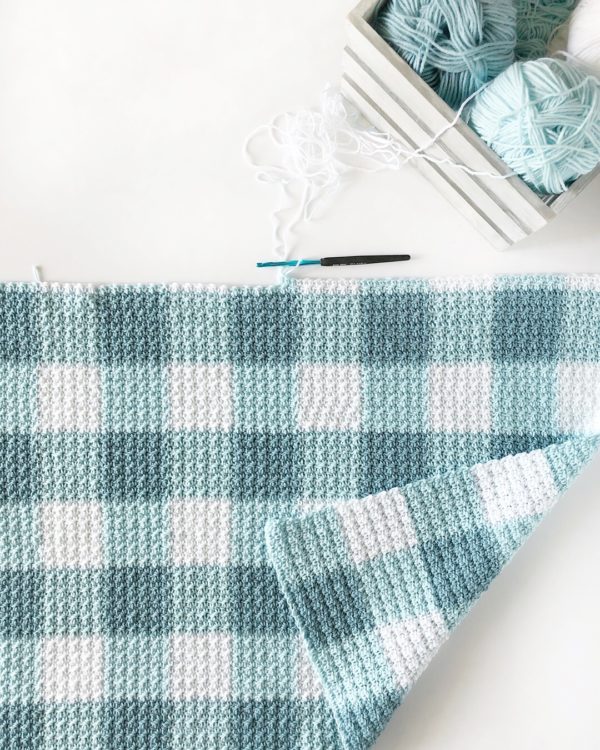
I also get to the end of these posts and like to re-introduce ourselves to all new followers. We have become a mother and daughter team now, and it is so fun! I’m Tiffany, the hopeful, wanna-be a granny someday, that started making blankets and blogging about them about three years ago. Most people probably found me via my gingham blankets:
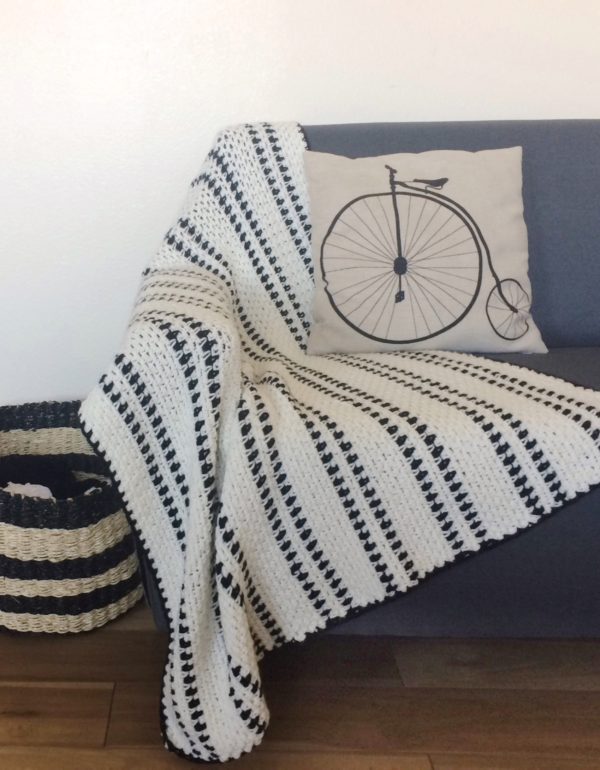
And then I have my daughter Hannah, who at first was only helping me with the website and all things techy, but now she learned to crochet and has designed some gorgeous beginner friendly blankets herself!
Here’s her modern moss:
You can read more about us and how we started sharing our crochet in this post here, if you’d like.
I’m always learning skills right along with you! I like to share everything on Instagram. Crochet is my hobby and my art. I’m not a crochet professional pattern writer by any means whatsoever, (probably didn’t need to say that, I think you can see!) I like to write them so that my children can understand them someday and learn about this beautiful craft I love to do. (It’s worked so far with one..)
So thanks again for stopping by, please click those menu headings to see all that we’ve made or shared so far. I am in love with the stitches page. You must see that. It’s my stitch library that keeps growing, but the layout on the website makes it so easy for you so see each stitch! I love it.
Have a wonderful crochet day!
Tiffany
Click here or on image below for printable pattern