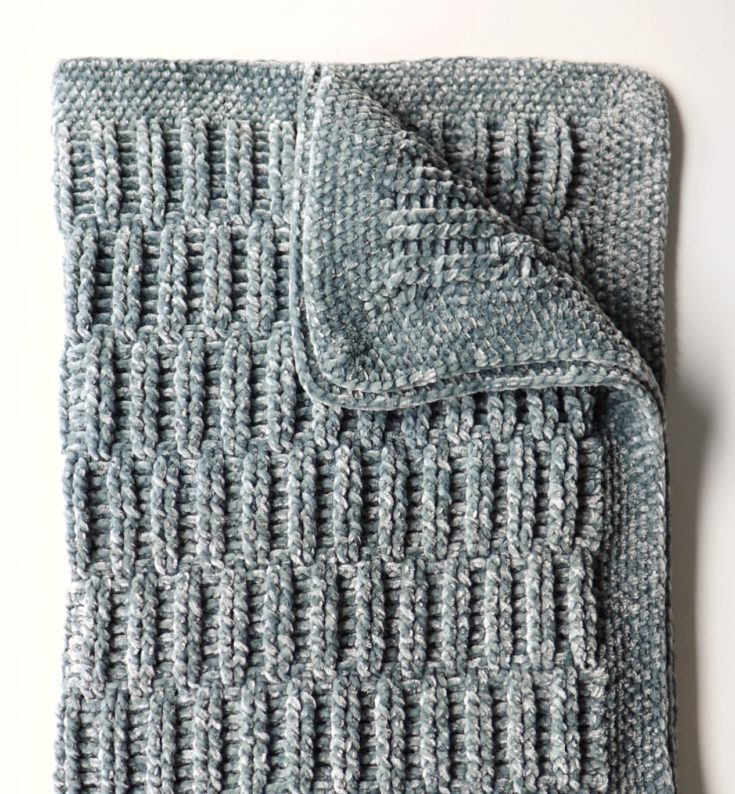
Hi friends, we’ve got one more fun blanket pattern for you to try out with the new Bernat Future Hope yarn!
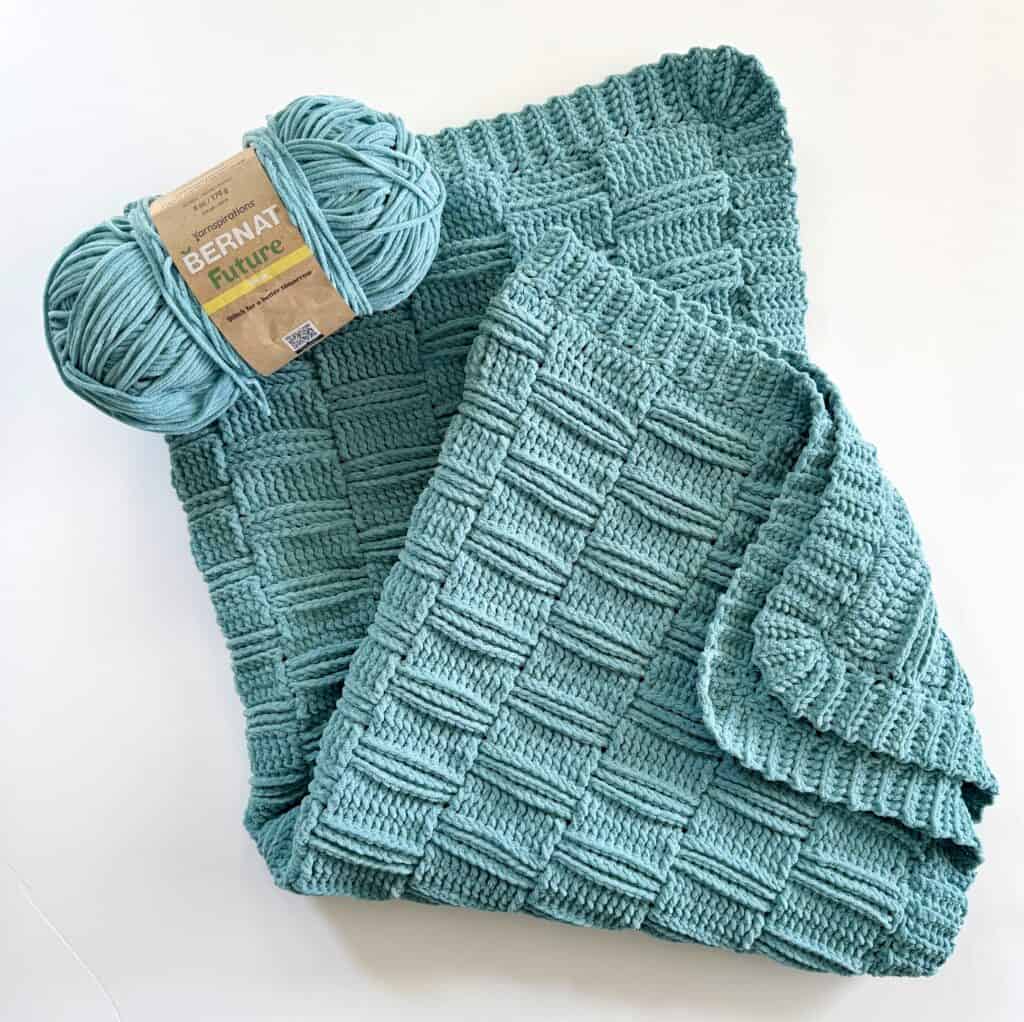
Bernat Future Hope is a new yarn from Yarnspirations that is 100% recycled polyester. It’s a perfect mix between Bernat Velvet and Bernat Blanket, so it is super soft and cozy!
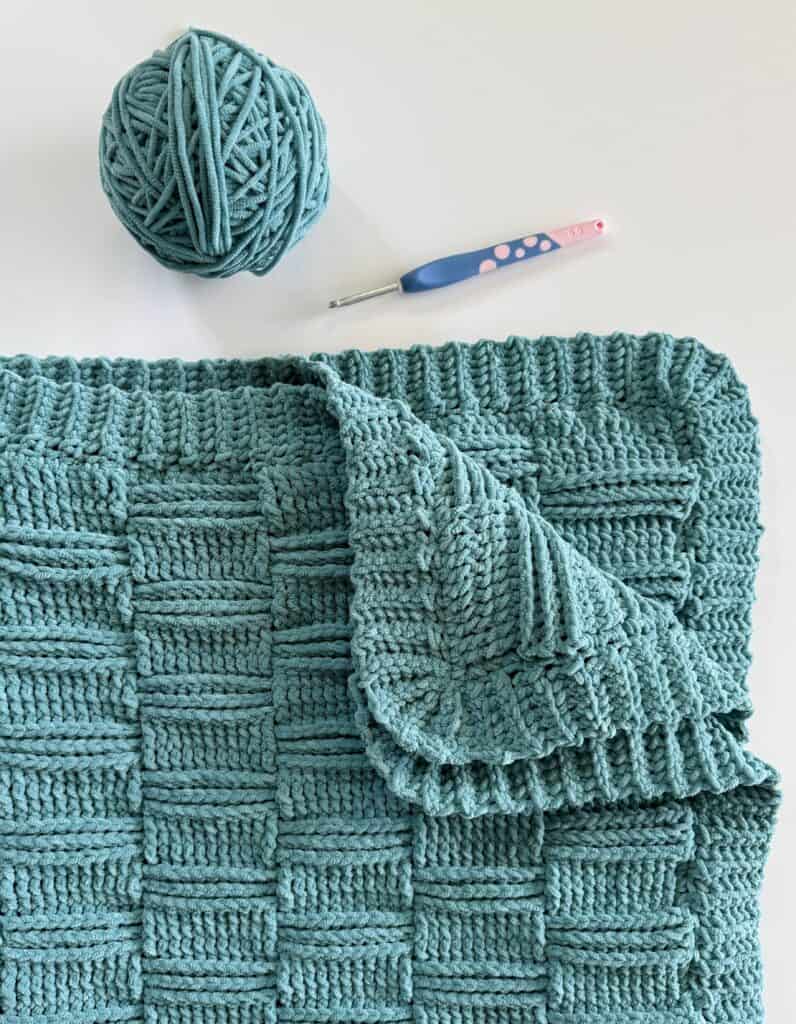
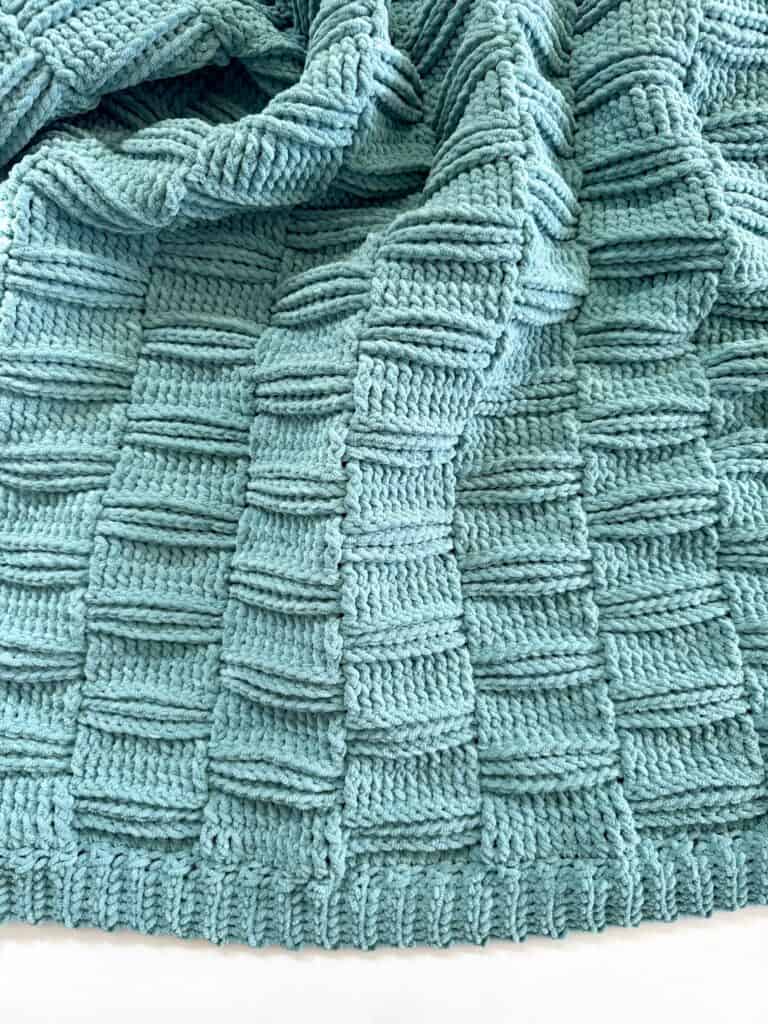
I love how chenille yarns work up with basketweave type patterns, so I decided to work up a new design of alternating front and back post double crochet. The stitches are exactly the same as Nora’s Pink Basketweave Blanket, but instead of creating even squares, I changed the direction of the stitches more frequently to get this wider woven look. I love how it turned out!
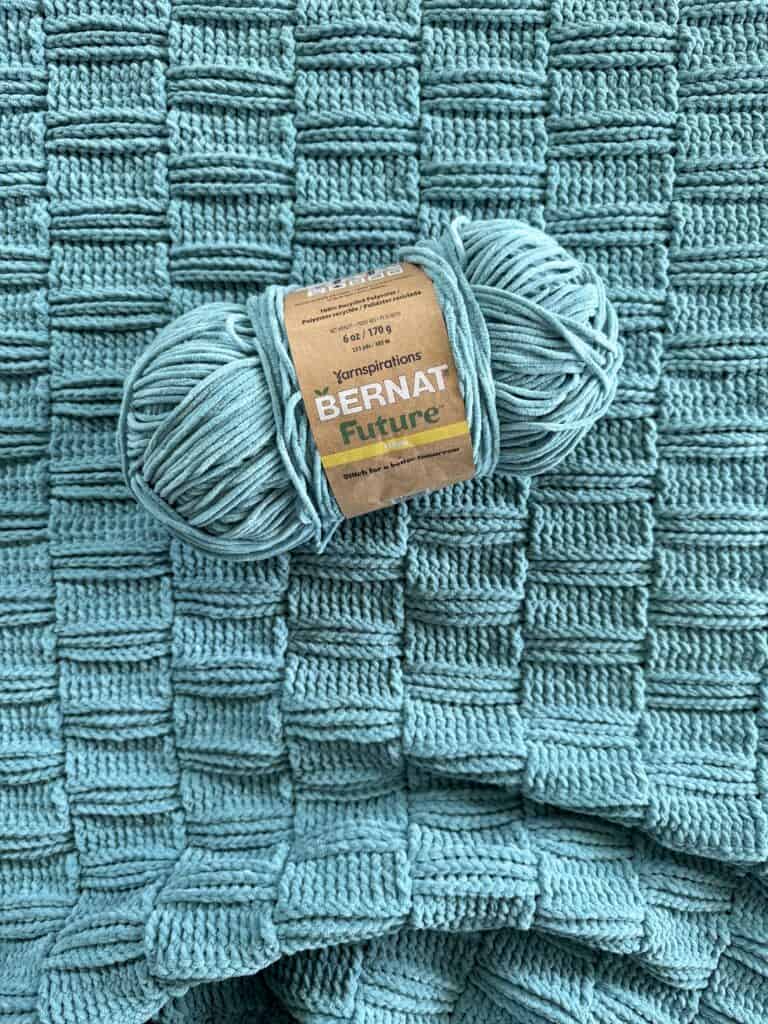
My only tip for this yarn is to pull from the outside of the skein instead of the middle to avoid the yarn getting too tangled. Otherwise it is so easy and nice to work with!
Here is the video tutorial for this pattern if you’d like to watch before you get started!
Materials
Bernat Future Hope (100% recycled polyester, 170 g/6 oz, 305 m/333 yds)
5 skeins Teal Lake
Size H/5.oomm hook, tapestry needle, scissors
Size
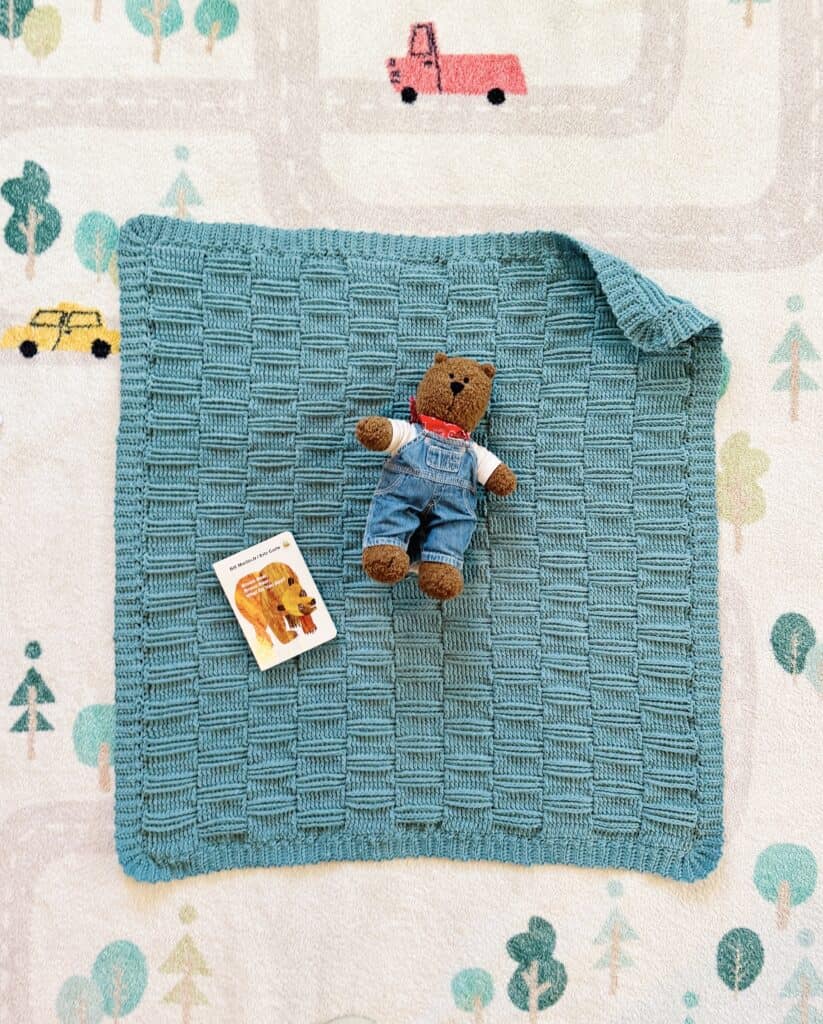
Finished size 35 in x 40 in
Gauge 4 in = 15 st and 12 rows of pattern
Stitches
Double Crochet (DC): Yarn over (YO), insert your hook, YO and pull up a loop, YO, pull through two loops, YO, pull through remaining two loops on hook.
Front Post Double Crochet (FPDC): Insert your hook behind the DC post on the front side of your work and work a DC.
Back Post Double Crochet (BPDC): Insert your hook behind the DC post on the back side of your work and work a DC.
Single Crochet (SC): Insert your hook, YO and pull up a loop, YO and pull through two loops on hook.
Slip Stitch (SL ST): Insert your hook, YO, pull up a loop and pull directly through loop on hook.
Pattern
Chain 125. (Pattern repeat is 11 multiplied by an odd number, plus 4.)
Row 1: Starting in the 4th chain from the hook, work 1 DC in each chain. CH 2 and turn.
Row 2: Work FPDC around each of the first 11 DC posts. *Work BPDC around each of the next 11 DC posts, then work FPDC around each of the next 11 DC posts. Repeat from * to the end of the row. Work 1 DC into the top of the turning chain. CH 2 and turn.
Row 3: Work BPDC around each of the first 11 DC posts. *Work FPDC around each of the next 11 DC posts, then work BPDC around each of the next 11 DC posts. Repeat from * to the end of the row. Work 1 DC into the top of the turning chain. CH 2 and turn.
Row 4: Work FPDC around each of the first 11 DC posts. *Work BPDC around each of the next 11 DC posts, then work FPDC around each of the next 11 DC posts. Repeat from * to the end of the row. Work 1 DC into the top of the turning chain. CH 2 and turn.
Row 5: Work FPDC around each of the first 11 DC posts. *Work BPDC around each of the next 11 DC posts, then work FPDC around each of the next 11 DC posts. Repeat from * to the end of the row. Work 1 DC into the top of the turning chain. CH 2 and turn.
Row 6: Work BPDC around each of the first 11 DC posts. *Work FPDC around each of the next 11 DC posts, then work BPDC around each of the next 11 DC posts. Repeat from * to the end of the row. Work 1 DC into the top of the turning chain. CH 2 and turn.
Row 7: Work FPDC around each of the first 11 DC posts. *Work BPDC around each of the next 11 DC posts, then work FPDC around each of the next 11 DC posts. Repeat from * to the end of the row. Work 1 DC into the top of the turning chain. CH 2 and turn.
Repeat rows 2 – 7 until your blanket measures appx. 32 inches or your desired length.
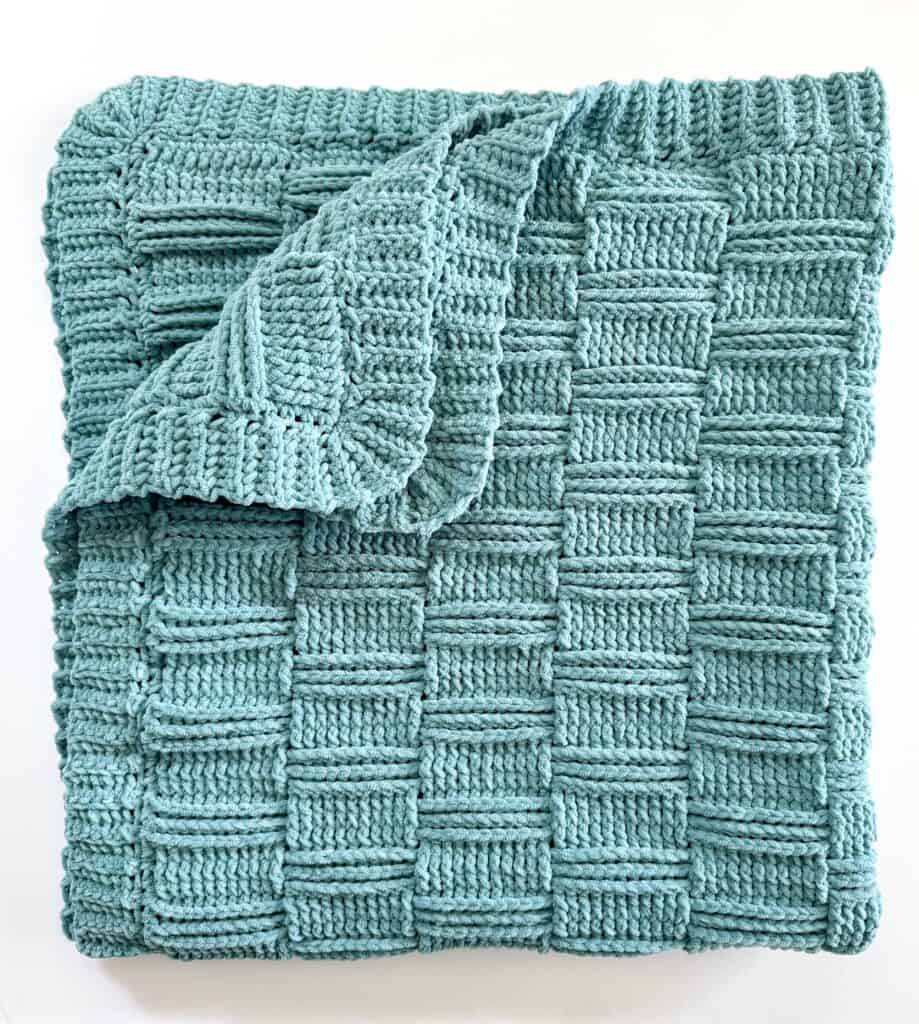
Border
Round 1: Work 1 round of SC around the blanket, working 1 SC per row on the sides of the blanket and working 1 SC in between each DC post on each end of the blanket. Work 3 SC in each corner.
Round 2: Slip stitch into starting stitch and CH 7.
Side 1: Starting in the 2nd chain from the hook, work 1 SC in each of the 6 chains back toward the edge of the blanket. Slip stitch into the next stitch, and in the next stitch. Turn and work in the back loops of each of the 6 SC you just made. CH 1 and turn. Work back down and SC in the back loops only. (Be careful not to miss the 6th stitch, it sometimes pulls tight and is hard to see.) Continue repeating down the side of the blanket.
Corners: At each corner, *only slip stitch once into the corner, before turning and working back loop SC back up to the top of the border. Return and slip stitch into the corner space. Repeat from * at least 3 more times so that your border is neatly fanned around the corner. After finishing the corner, continue working around the blanket as before.
End 1: Continue working the border the same as side 1, but instead of working 2 slip stitches, work slip stitch, skip, slip stitch each time you return to the edge of the blanket.
Side 2: Repeat side 1.
End 2: Repeat side 2. After working 3 times into the starting corner, stop at the top of the border and tie off, leaving a long tail to sew the border together.
Weave in ends and enjoy your blanket!
Click here or on image below for printable pattern
![]()
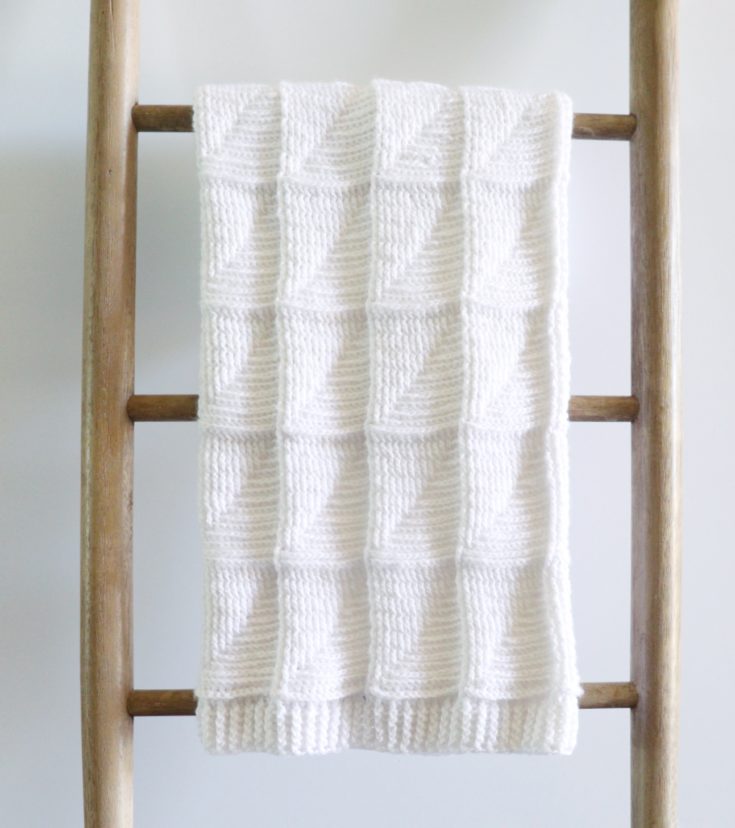
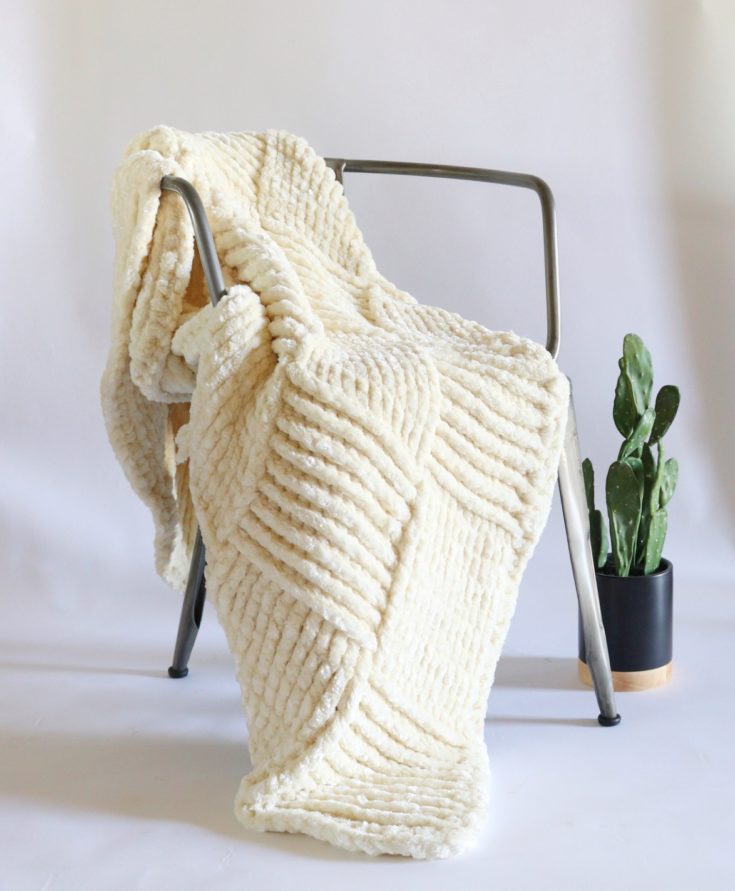
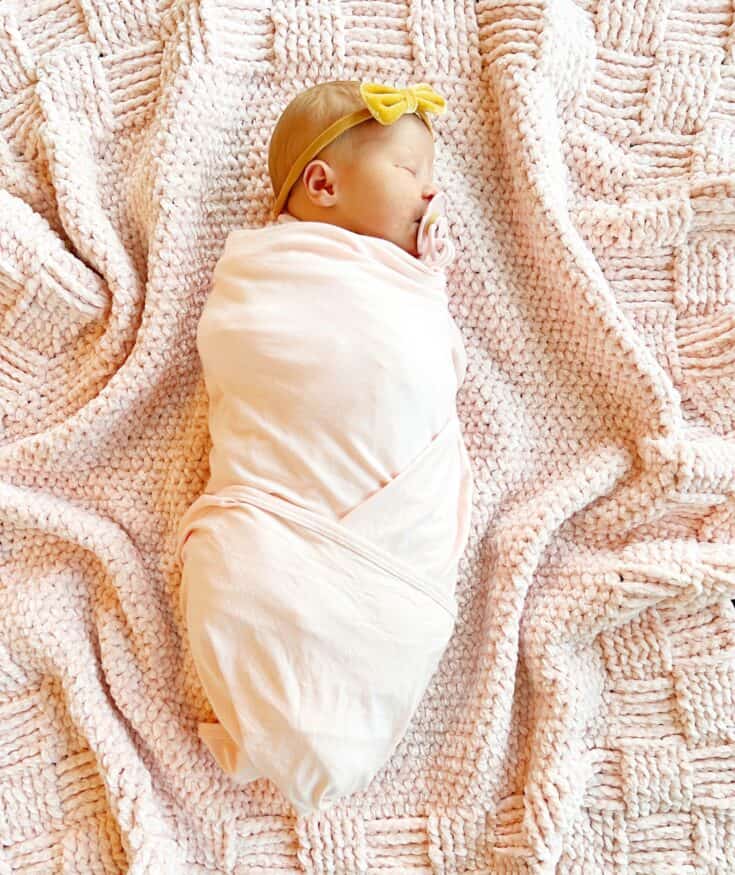
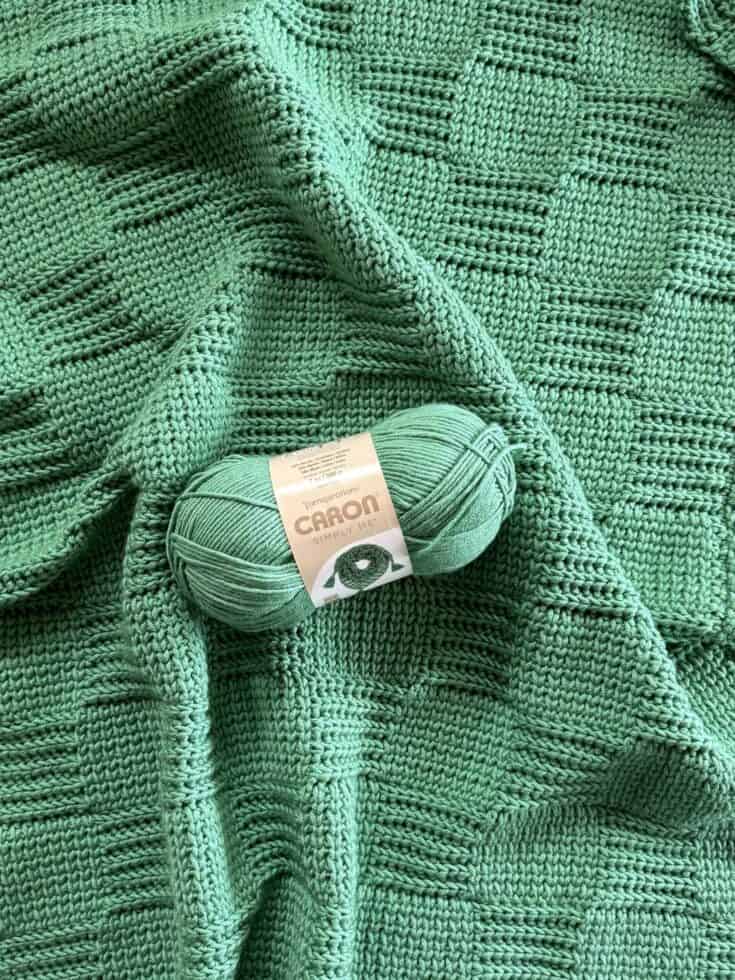
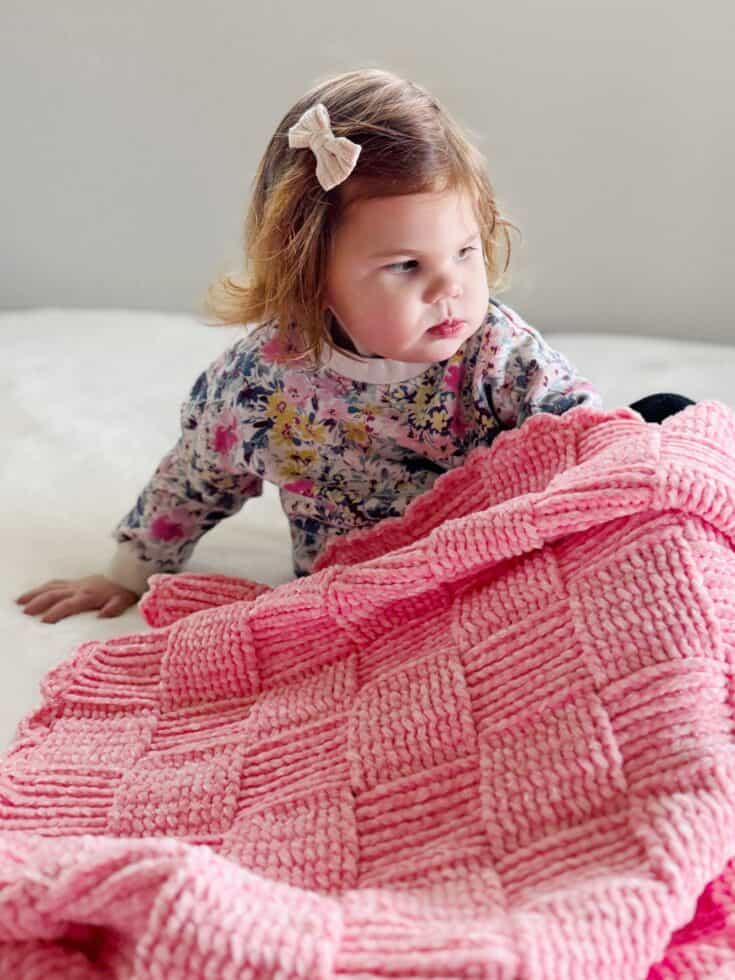
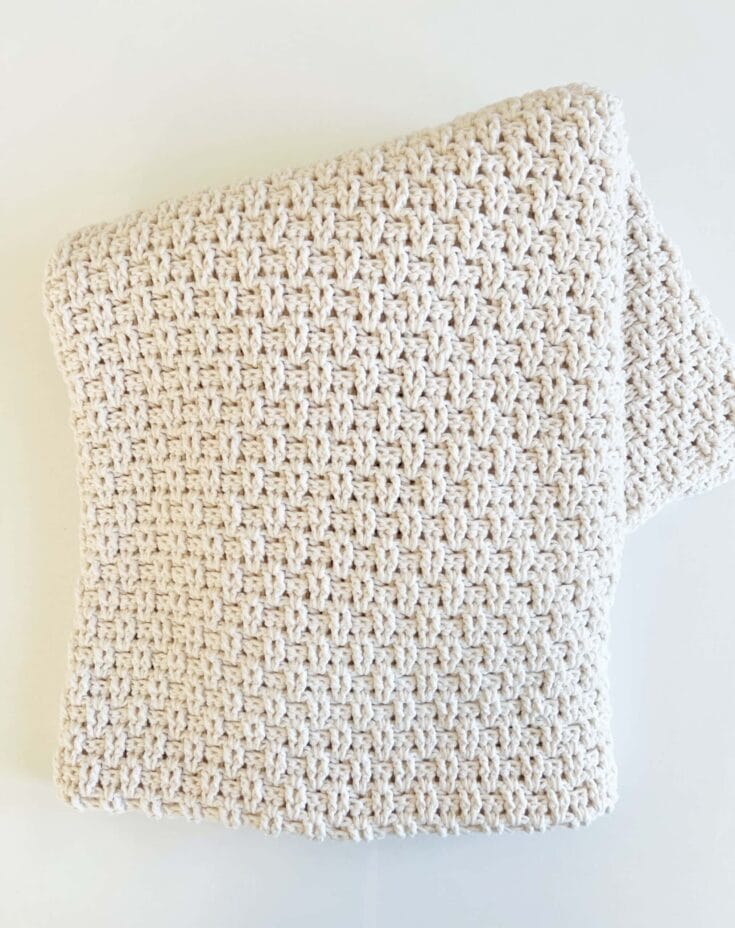
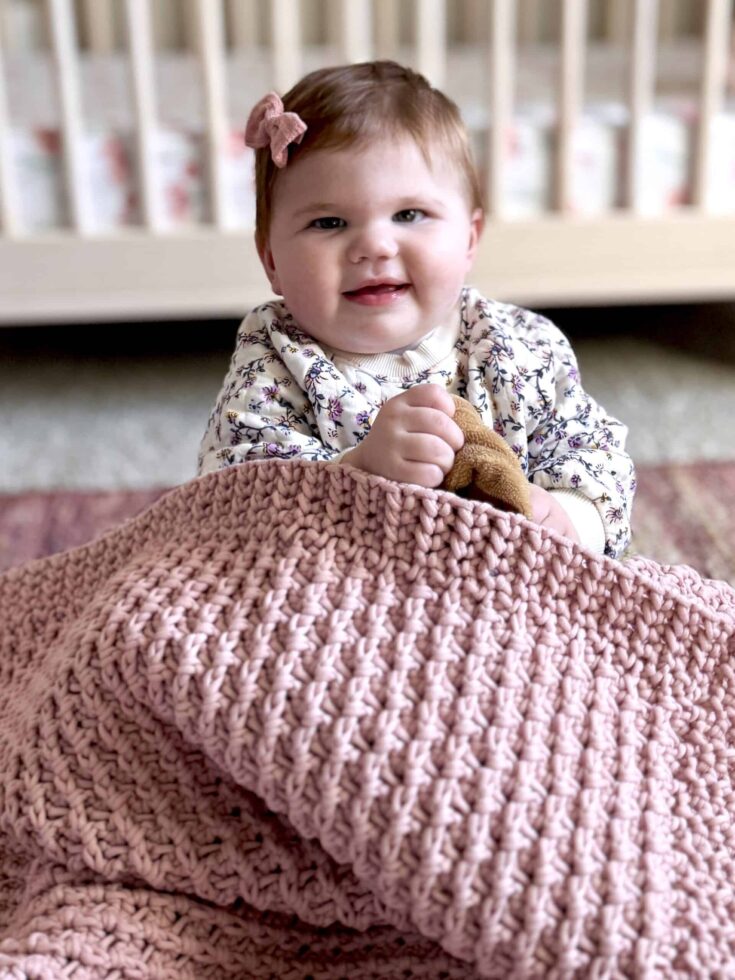
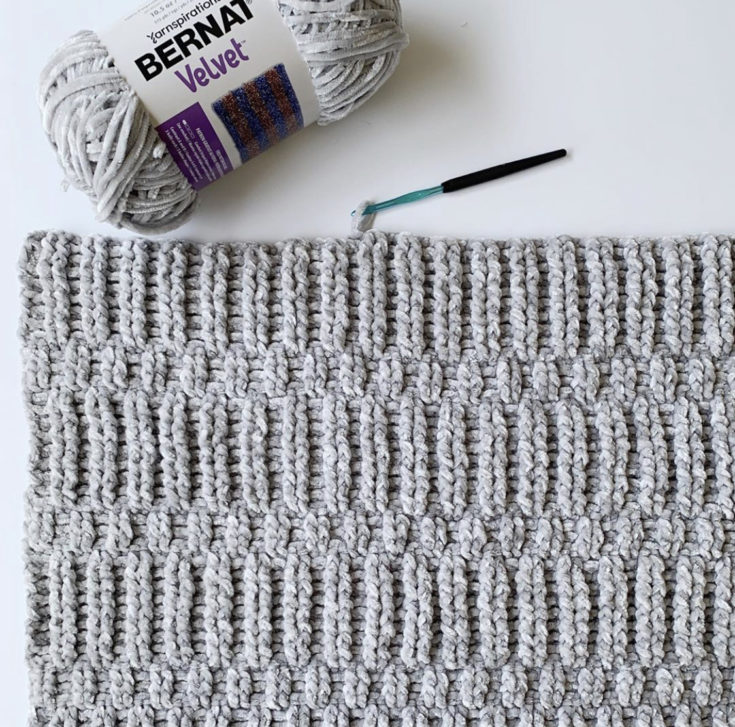
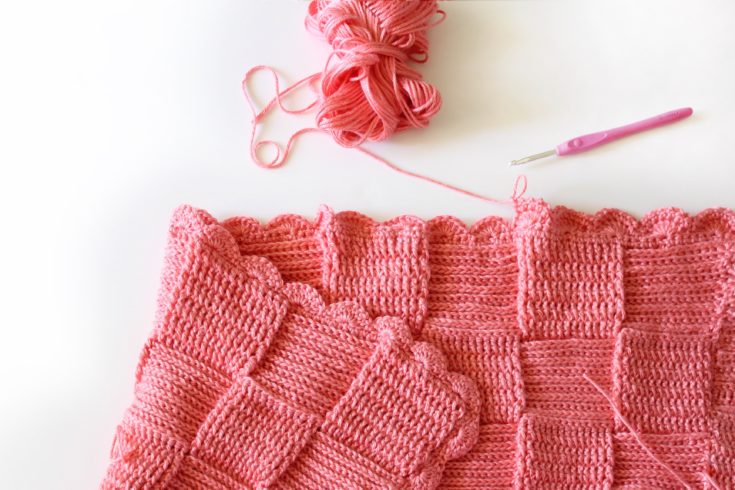
Thanks for visiting Daisy Farm Crafts! Here are some more of our basketweave-type patterns if you are looking for some more ideas! Happy Crocheting! xo, Hannah
Crochet Basketweave Blanket Patterns