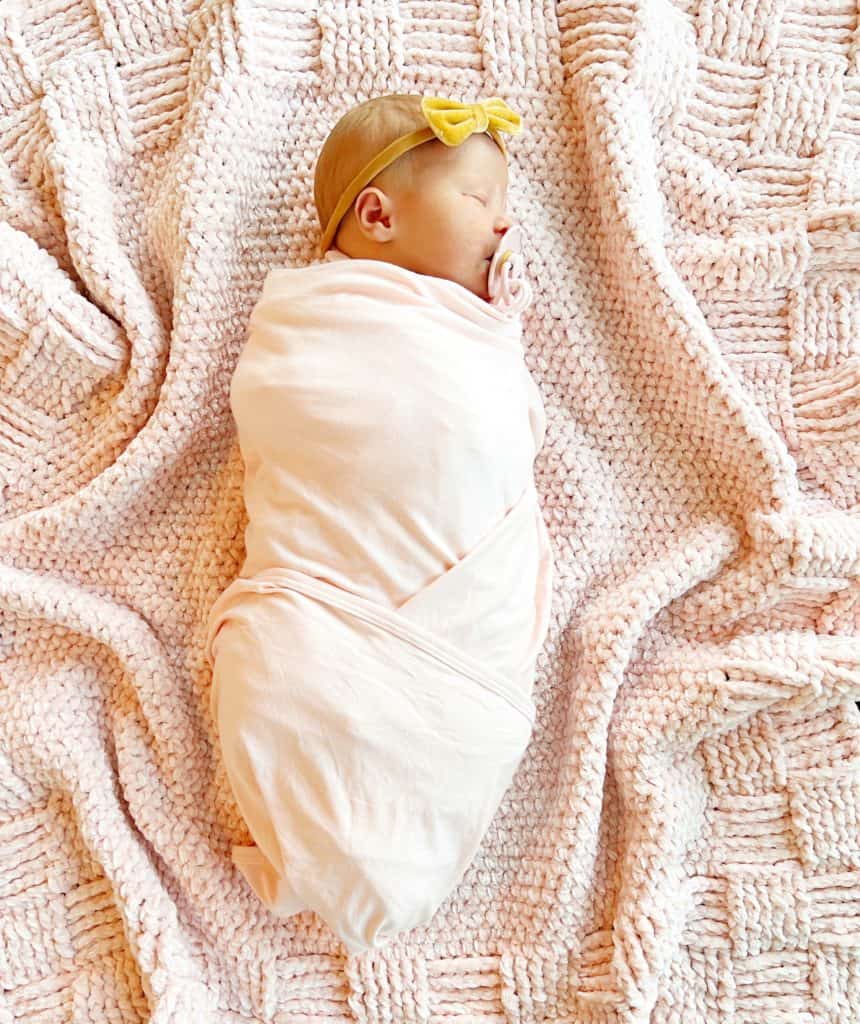
We had a very special arrival last week to the Daisy Farm! Baby Kate Tiffany was born on October 28 at around 2:30 in the afternoon healthy and happy.
She is the baby daughter of my son Tanner, daughter-in-law Elizabeth, and baby sister to Jack!

Our cups are full, our joy overflowing, and our hearts so grateful for the blessing of three grandchildren. I cannot believe the days are here when I get to crochet for them- and now to have a girl to crochet for, so much happiness.
(In case you missed our earlier news, Hannah had a boy in August!)
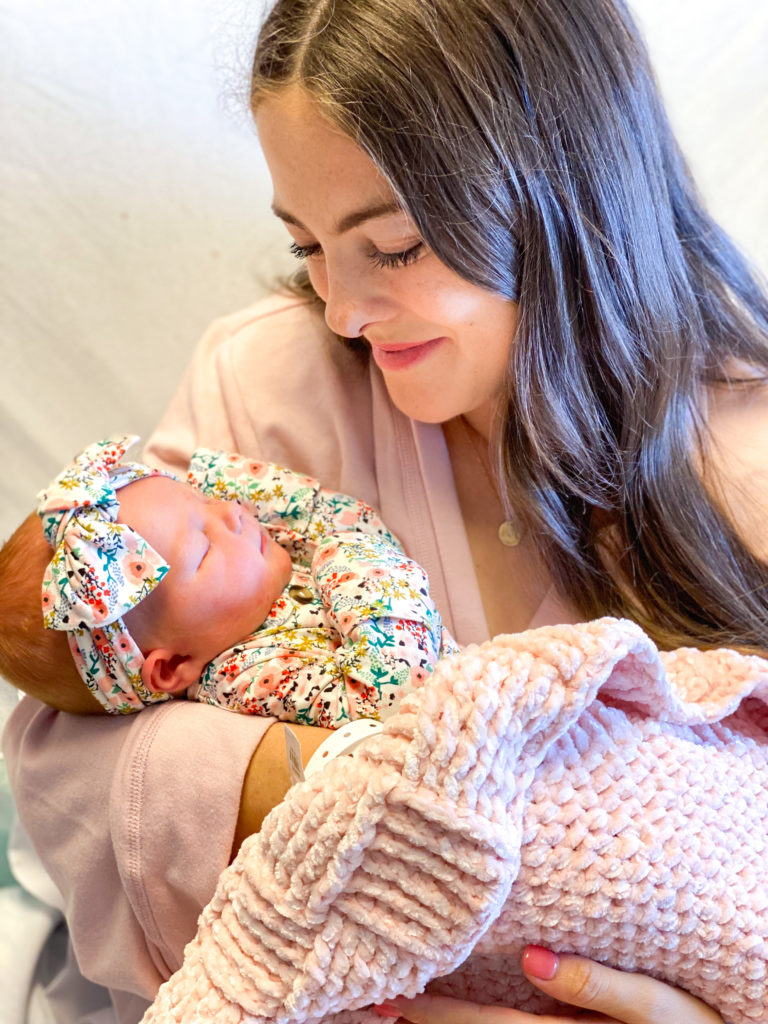
Baby Kate was not due to arrive until November 6th, but thankfully I had already made her a velvet pink blanket. Elizabeth and I thought that would be a wonderful blanket to wrap her in and also have for her hospital photos.
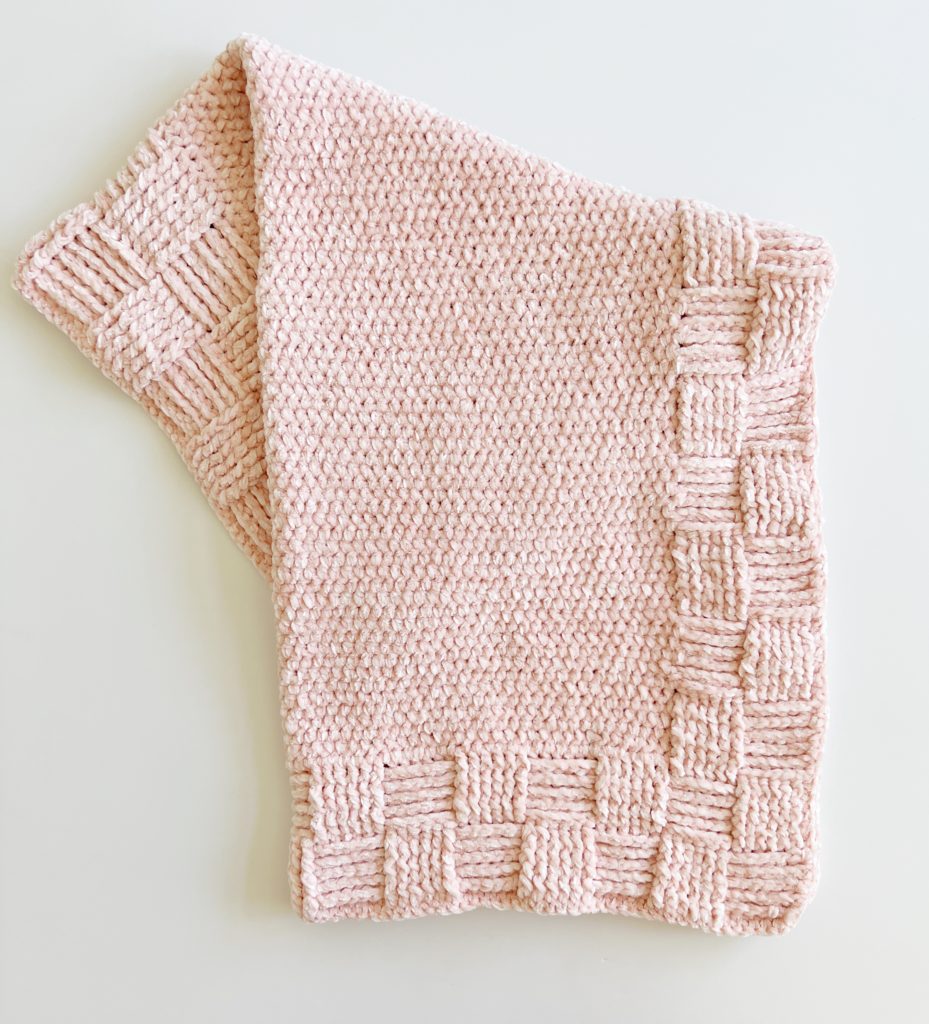
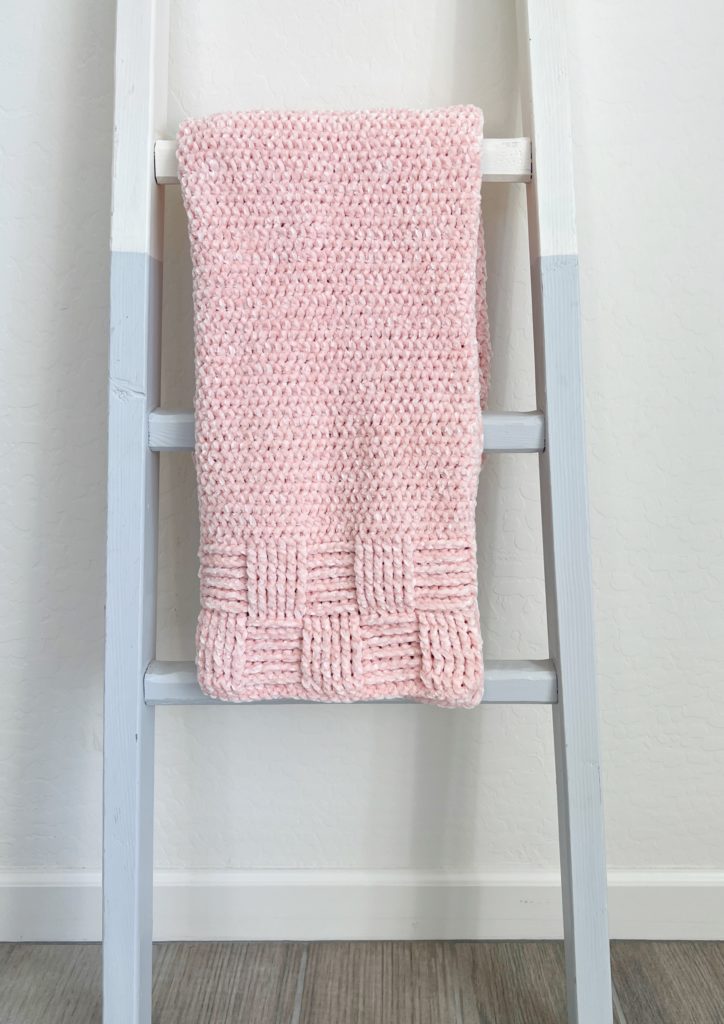
I chose to just make the basketweave pattern on the edge of the blanket instead of the full blanket. It saved me on time and on yarn amount.
Also, we had chosen this floral gown for her and thought it would be cute to have her look like a basket full of flowers. I know I’m a biased grandma, but she is absolutely exquisite.
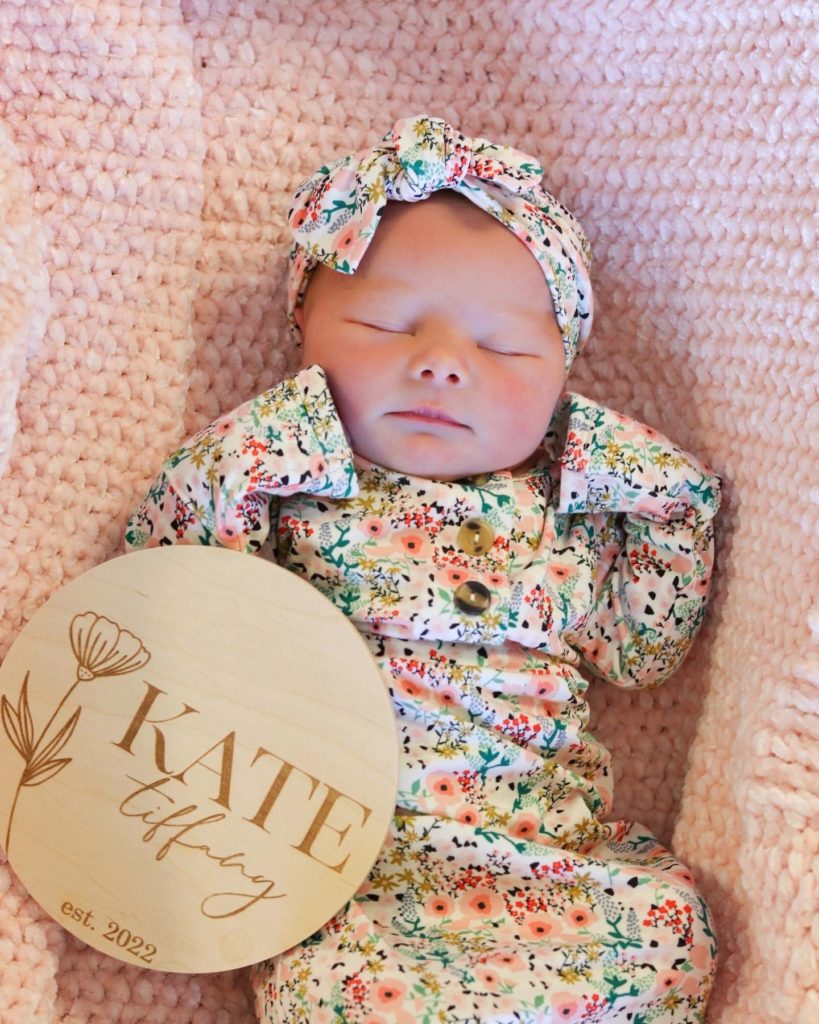
Believe me, this is just the beginning of Kate’s crochet..I have so many things I want to make for her.
One more thing to share about working with velvet yarn, there is a bit of a learning curve. Stitches must be made a little tighter. I size down a hook to accomplish this. It’s a recommended hook size K, but I use J.
I really recommend working a small swatch first if you have never used velvet.
It also recommends on the label to hand wash, but we have put our velvet blankets in laundry bags and washed on delicate cycle, then lay flat to dry.
Here is a post I’ve previously written about How to Successfully Crochet with Velvet Yarn if you want more info.
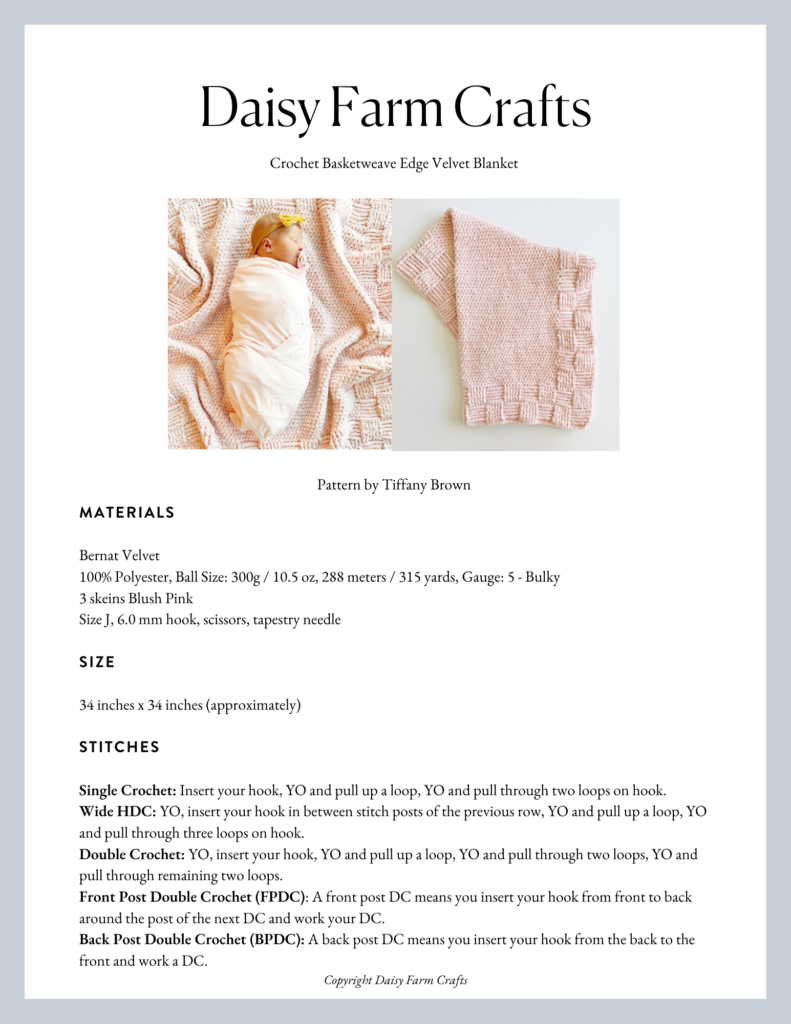
Materials
- Content: 100% Polyester
- Ball Size: 300g / 10.5 oz, 288 meters / 315 yards
- Gauge: 5 – Bulky
3 skeins Blush Pink
Size J, 6.0 mm hook, scissors, tapestry needle
Stitches
Single Crochet: Insert your hook, YO and pull up a loop, YO and pull through two loops on hook.
Wide HDC: YO, insert your hook in between stitch posts of the previous row, YO and pull up a loop, YO and pull through three loops on hook.

Double Crochet: YO, insert your hook, YO and pull up a loop, YO and pull through two loops, YO and pull through remaining two loops.
(Click the name of each stitch highlighted for video tutorials and more demonstration.)
FRONT POST DOUBLE CROCHET (FPDC): A front post DC means you insert your hook from front to back around the post of the next DC and work your DC.
BACK POST DOUBLE CROCHET (BPDC): A back post DC means you insert your hook from the back to the front and work a DC.
Tap here if you need a demonstration of working FPDC or BPDC.
Size
34 x 34 (approximately)
Pattern
Chain 94 (pattern repeat is any odd number x 6 plus 4)
ROW 1: Begin in the 4th chain from the hook, DC into each chain across the row. CH 2 and turn.
ROW 2: FPDC around each of the next 6 DC, (turning chain counts as the first DC now and throughout pattern, do not work around the DC that is immediately below the turning chain), *BPDC around each of the next 6 DC. FPDC around each of the next 6 DC. Repeat from * across the row. Work 1 DC into the top of the turning chain (or if it’s easier, work around the chain 2.) CH 2 and turn.
ROW 3: *BPDC around each of the next 6 posts, FPDC around each of the next 6 posts. Repeat from * across the row, Work 1 DC in (or around) turning chain. CH 2 and turn.
ROW 4: Repeat row 2.
ROW 5: Repeat row 3.
ROW 6: Repeat row 2.
ROW 7 through 12: (Reversing the directions of the basketweave.) Repeat rows 2 and 3, 3 times.
ROW 13: (Reverse direction of basketweave) BPDC around each of the next 6 DC, FPDC around each of the next 6 DC, 66 WHDC (begin the first WHDC in between the next 2 front posts), FPDC around each of the next 6 DC, BPDC around each of the next 6 DC, DC in (or around) turning chain, CH 2 and turn.
ROW 14: FPDC around each of the next 6 DC, BPDC around each of the next 6 DC, 66 WHDC (make sure your first stitch is to the left of the post of the HDC from the previous row), BPDC around each of the next 6 DC, FPDC around each of the next 6 DC, DC around turning chain, CH 2 and turn.
Repeat rows 13 and 14, 2 more times.
For the next 66 rows of the blanket, reverse directions of basketweave every 6 rows while working 66 WHDC in between.
For the final 12 rows of the blanket, omit working the WHDC and only work basketweave stitch.
After final DC, CH 1 and turn.
BORDER:
Work 1 SC into the top of each DC and 2 SC per each row, work 3 SC into each corner. Join with a SL ST to first st, CH 1 and turn.
Work 1 more round of SC, tie off and weave in the ends.
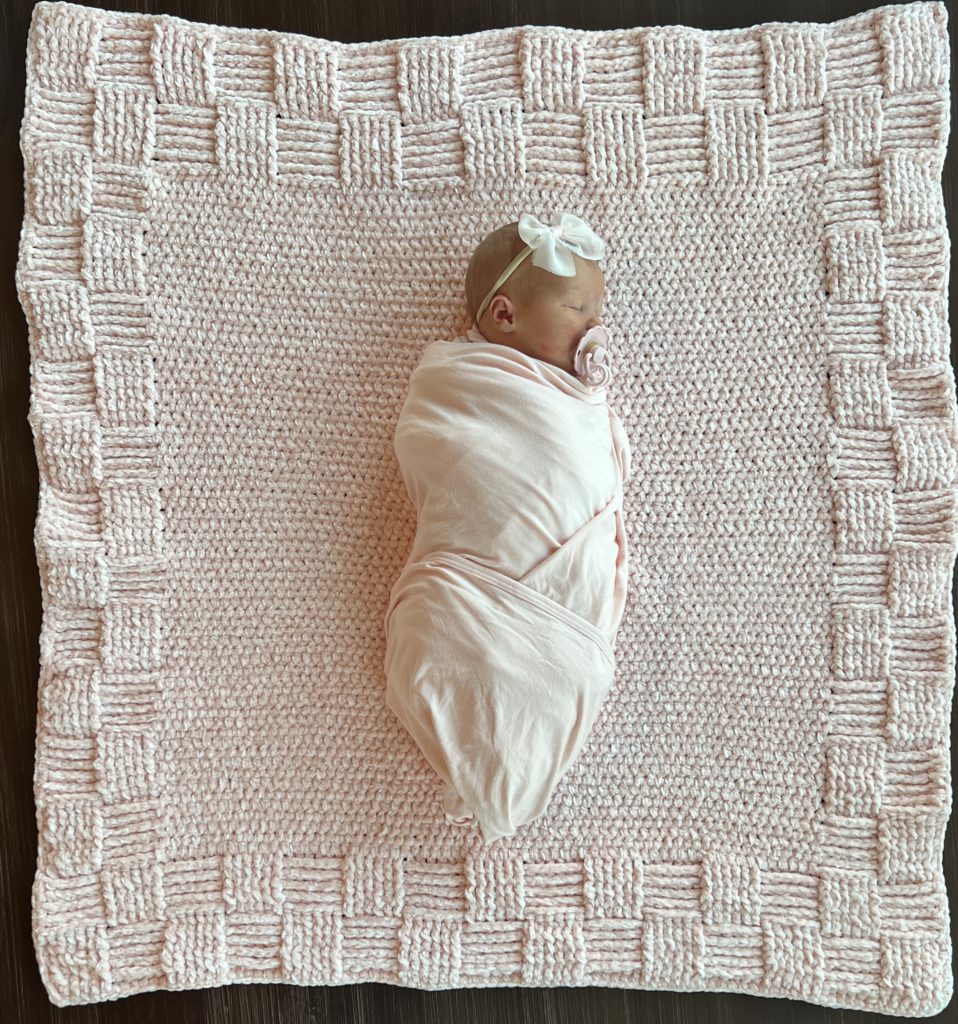
Good luck with your velvet basketweave, I’m off to snuggle Kate!
Click here for free download of pattern or image below.
XO, Tiffany
