I’m continuing my explorations of all the different yarns that can be used for a ribbed blanket. This is the third blanket I have made using alternating front post and back post double crochet.
The first blanket I made is called Basketweave Blanket and has a pretty little shell border around it. I used Caron Simply Soft, a 4 weight acrylic yarn, and it turned out pretty heavy–beautiful, but a little on the heavy side. It’s probably great for a cold-weather baby.
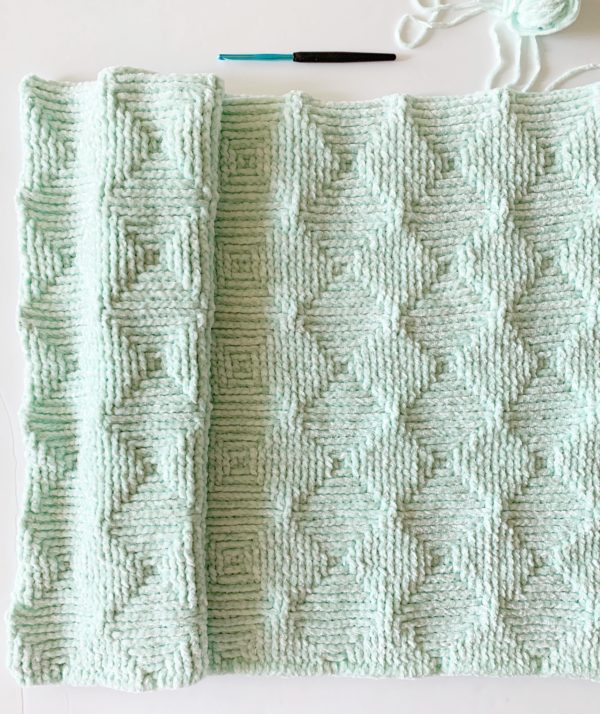
Then I made a Ribbed Diamond Blanket with Bernat Baby Velvet which I liked a lot better weight-wise. The velvet yarn worked up very nice, not super light, but lighter and I love how elegant it looked. (Keep in mind I’m in Arizona so we don’t need really heavy blankets.)
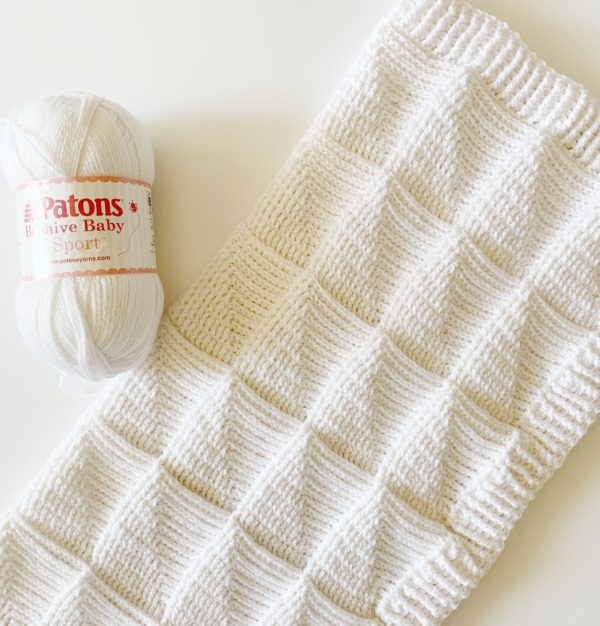
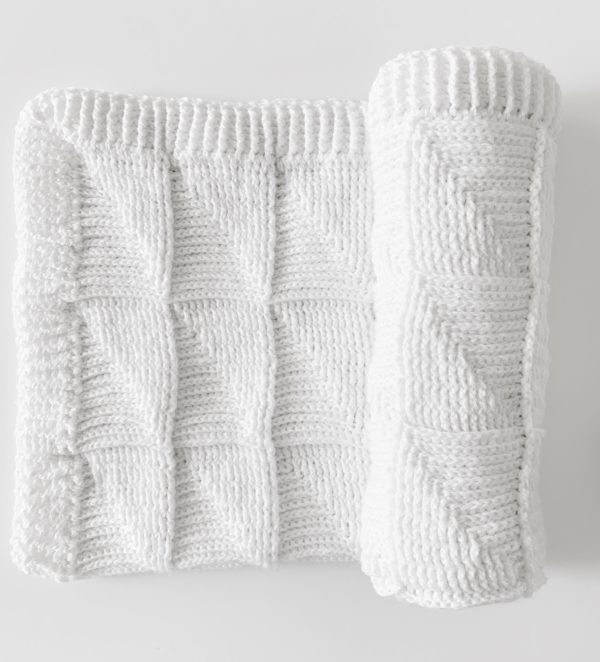
But I still was curious about how a really light yarn would look using this ribbed front and back post double crochet stitch. I used Patons Beehive Baby Sport which is one of my favorites. It has a touch of nylon added into the acrylic and I think that must give it a little bit more stretchy and soft feel. This blanket turned out really soft and so squishy.
I’ve made a video tutorial for this blanket if you need to watch how I’m getting started and how to work a front post and back post double crochet. Click on the video below to watch:
The above video is just the blanket, if you are wanting to make the ribbed border to add around the blanket and want to see that on video click on this next one to watch:
(Side note: in the video above demonstrating the border, I say that you’ll want to work 2 DC per the side of a row of DC, that is not true for this ribbed blanket. One DC per row, was plenty. But, you’ll want to keep the stitches as even as possible as well. All other information in the video is correct as to how I worked the border. )
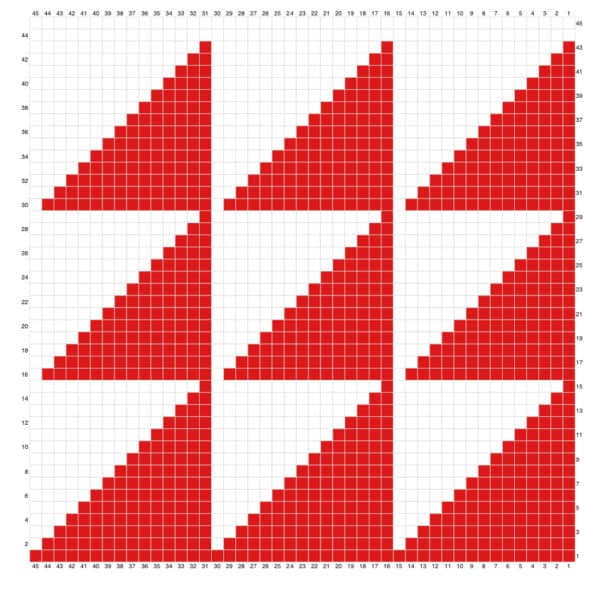
You’ll also want to print this graph to have handy. It helps when you are just getting started and need a visual. Each block counts as a DC and the turning chains will count as a DC too. For example, in row number 1, the turning chain is the DC and counted as stitch number 1.
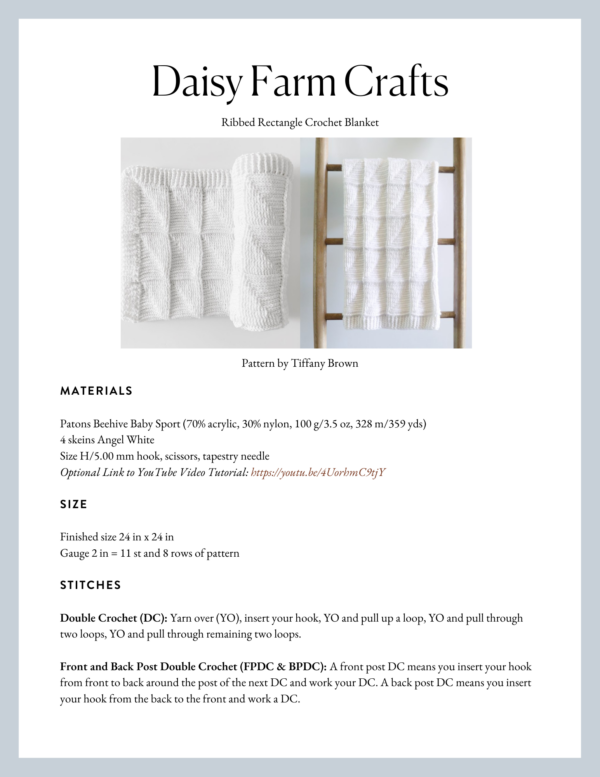
Materials
Patons Beehive Baby Sport (70% acrylic, 30% nylon, 100 g/3.5 oz, 328 m/359 yds)
4 skeins Angel White
Size H/5.00 mm hook, scissors, tapestry needle
Size
Finished size 24 in x 24 in
Gauge 2 in = 11 st and 8 rows of pattern
Stitches
Double Crochet (DC): Yarn over (YO), insert your hook, YO and pull up a loop, YO and pull through two loops, YO and pull through remaining two loops.
Front and Back Post Double Crochet (FPDC & BPDC): A front post DC means you insert your hook from front to back around the post of the next DC and work your DC. A back post DC means you insert your hook from the back to the front and work a DC.
Pattern
Chain 122. (Pattern repeat is 15 plus 2.)
Suggested chain lengths for 30 x 30 inch blanket = 152, for 36 x 36 = 182 (These are estimates based on the gauge I used for this blanket.)
Base Row: Start in the 4th chain from the hook with a DC. Work one DC into each chain across the row. (120 stitches, the skipped 3 chains counts as a stitch)
Row 1: CH 2 and turn. Work Front Post Double Crochet (FPDC) around each DC across the row. Your last stitch will be under and around the chain 3.
Row 2: CH 2 and turn. (The chain 2 counts as the first stitch on the graph now and throughout.) Work Back Post Double Crochet (BPDC) around each of the next 14 DC. Work FPDC around the next dc. *BPDC around each of the next 14 DC, FPDC around next DC. Repeat from * to the end of the row, your last DC worked under and around the CH 2 turning chain.
Row 3: CH 2 and turn. FPDC around each of the next 12 DC. BPDC around each of the next 2 DC. *FPDC each of the next 13 DC, BPDC each of the next 2 DC. Repeat from * to the end of the row, your last DC worked under and around the turning chain now and throughout.
Row 4: CH 2 and turn. FPDC each of the next 2 DC, *BPDC each of the next 12 DC, FPDC each of the next 3 DC. Repeat from * to the end of the row.
Row 5: CH 2 and turn. FPDC each of the next 10 DC. BPDC each of the next 4 DC. *FPDC each of the next 11 DC, BPDC each of the next 4 DC. Repeat from * to the end of the row.
Row 6: CH 2 and turn. FPDC each of the next 4 DC. BPDC each of the next 10 DC. *FPDC each of the next 5 DC, BPDC each of the next 10 DC. Repeat from * to the end of the row.
Row 7: CH 2 and turn. FPDC each of the next 8 DC. BPDC each of the next 6 DC. *FPDC each of the next 9 DC. BPDC each of the next 6 DC. Repeat from * to the end of the row.
Row 8: CH 2 and turn. FPDC each of the next 6 DC. BPDC each of the next 8 DC. *FPDC each of the next 7 DC, BPDC each of the next 8 DC. Repeat from * to the end of the row.
Row 9: CH 2 and turn. FPDC each of the next 6 DC. BPDC each of the next 8 DC. *FPDC each of the next 7 DC, BPDC each of the next 8 DC. Repeat from * to the end of the row.
Row 10: CH 2 and turn. FPDC each of the next 8 DC. BPDC each of the next 6 DC. *FPDC each of the next 9 DC, BPDC each of the next 6 DC. Repeat from * to the end of the row.
Row 11: CH 2 and turn. FPDC each of the next 4 DC. BPDC each of the next 10 DC. *FPDC each of the next 5 DC, BPDC each of the next 10 DC. Repeat from * to the end of the row.
Row 12: CH 2 and turn. FPDC each of the next 10 DC. BPDC each of the next 4 DC. *FPDC each of the next 11 DC, BPDC each of the next 4 DC. Repeat from * to the end of the row.
Row 13: CH 2 and turn. FPDC each of the next 2 DC. BPDC each of the next 12 DC. *FPDC each of the next 3 DC, BPDC each of the next 12 DC. Repeat from * to the end of the row.
Row 14: CH 2 and turn. FPDC each of the next 12 DC. BPDC each of the next 2 DC. *FPDC each of the next 13 DC. BPDC each of the next 2 DC. Repeat from * to the end of the row.
Row 15: CH 2 and turn. (Remember that your turning chain is the first stitch.) BPDC each of the next 14 DC. *FPDC next DC. BPDC each of the next 14 DC.
First rectangle finished! Rows 16 – 29 are essentially the same except you start row 16 with BPDC. Let’s keep going…
Row 16: CH 2 and turn. BPDC each of the next 14 DC. FPDC next DC. *BPDC each of the next 14 DC, FPDC next DC. Repeat from * to the end of the row.
Row 17: Ch 2 and turn. FPDC each of the next 12 DC. BPDC next 2 DC. *FPDC each of the next 13 DC. BPDC next 2 DC. Repeat from * to the end of the row.
Row 18: CH 2 and turn. FPDC each of the next 2 DC. BPDC next 12 DC. *FPDC each of the next 3 DC, BPDC next 12 DC. Repeat from * to the end of the row.
Row 19: Ch 2 and turn. FPDC each of the next 10 DC. BPDC next 4 DC. *FPDC next 11 DC, BPDC next 4 DC. Repeat from * to the end of the row.
Row 20: Ch 2 and turn. FPDC each of the next 4 DC. BPDC next 10 DC. *FPDC next 5 DC, BPDC next 10 DC. Repeat from * to the end of the row.
Row 21: CH 2 and turn. FPDC next 8 DC. BPDC next 6 DC. *FPDC next 9 DC, BPDC next 6 DC. Repeat from * across the row.
Row 22: CH 2 and turn. FPDC next 6 DC. BPDC next 8 DC. *FPDC next 7 DC, BPDC next 8 DC. Repeat from * to the end of the row.
Row 23: CH 2 and turn. FPDC next 6 DC. BPDC next 8 DC. *FPDC next 7 DC, BPDC next 8 DC. Repeat from * to the end of the row.
Row 24: CH 2 and turn. FPDC next 8 DC. BPDC next 6 DC. *FPDC next 9 DC, BPDC next 6 DC. Repeat from * to the end of the row.
Row 25: CH 2 and turn. FPDC next 4 DC. BPDC next 10 DC. *FPDC next 5 DC, BPDC next 10 DC. Repeat from * to the end of the row.
Row 26: CH 2 and turn. FPDC next 10 DC, BPDC next 4 DC. *FPDC next 11 DC, BPDC next 4 DC. Repeat from * to the end of the row.
Row 27: CH 2 and turn. FPDC next 2 DC, BPDC next 12 DC. *FPDC next 3 DC, BPDC next 12 DC. Repeat from * to the end of the row.
Row 28: CH 2 and turn. FPDC next 12 DC, BPDC next 2 DC. *FPDC next 13 DC, BPDC next 2 DC. Repeat from * to the end of the row.
Row 29: CH 2 and turn. (your turning chain is the first FPDC), BPDC next 14 DC, *FPDC next DC, BPDC next 14 DC. Repeat from * to the end of the row.
Yay! You just finished the second block and now go back to ROW 2 and repeat the instructions to row 29. You will repeat rows 2-29 until you have 6 blocks. But feel free to keep going, especially if you have used different yarn.
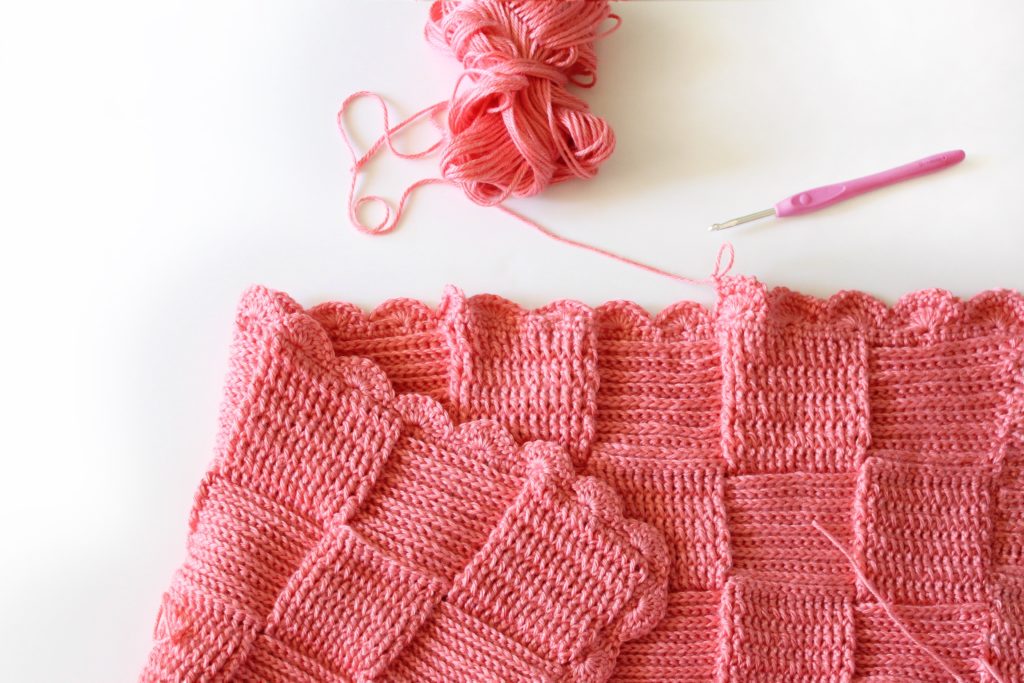
Border
Round 1: Do not cut or tie off. CH 2 and turn blanket to work down a side. Work 1 DC per row. Work 3 DC in each corner. Work DC around each post at the bottom of blanket, (choosing FP or BP it’s up to you) Do not join at the end of the round, work one DC into last corner and then work 3 alternating FPDC/BPDC around the starting ch 2.
Round 2: Continue on in the same direction alternating FPDC and BPDC on each stitch. Work 3 alternating FPDC/BPDC around the middle of the 3 DC that make up the corners. Do not join the round.
Round 3 and 4: as round 2.
Tie off and weave in all the ends.
Now, after you finish your blanket take a pretty picture and come and share it with us! We’d love to see! Either use #daisyfarmcrafts on your instagram post (must have a public account) or come to our Facebook page and share a picture!

Click here or on image below for printable pattern