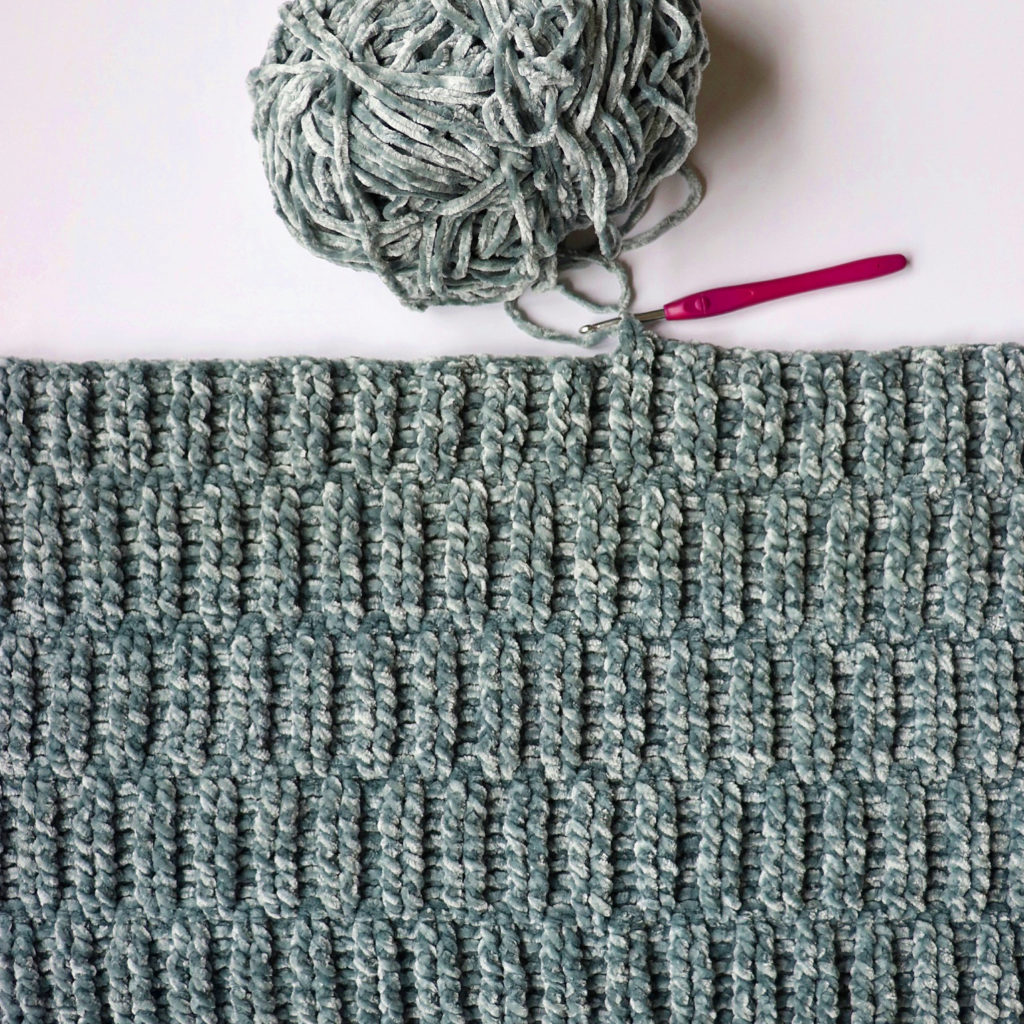
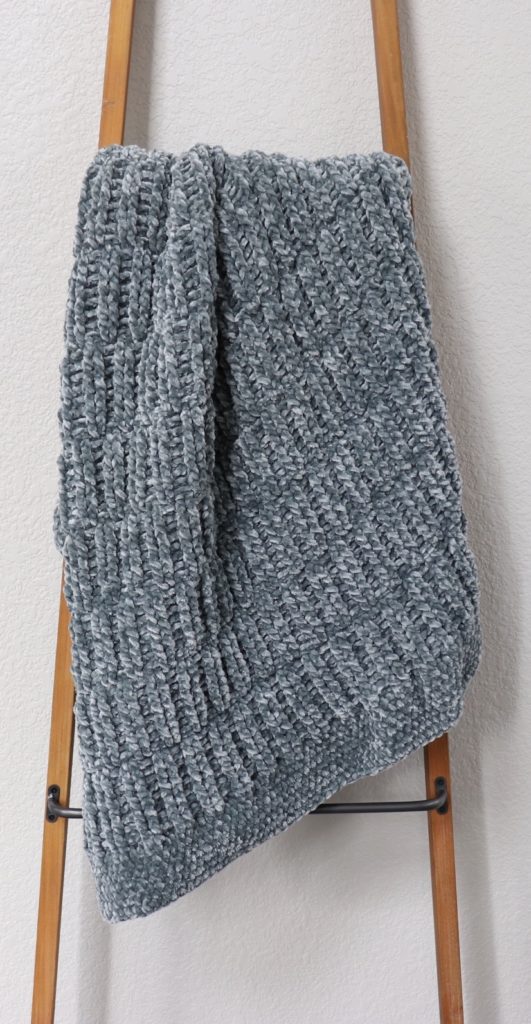
Hello crochet friends! Hannah here. I made a ribbed velvet throw for my living room and I love how it turned out!
I found this beautiful Smokey Green color in Bernat Velvet at my local Michael’s and I wanted to experiment with creating a cool texture using front and back post double crochet. After making a few velvet blankets, my mom and I both love using front and back post double crochet with this yarn because it helps keep everything tight and helps to prevent the yarn from ‘worming’ or having extra loops get pulled up.
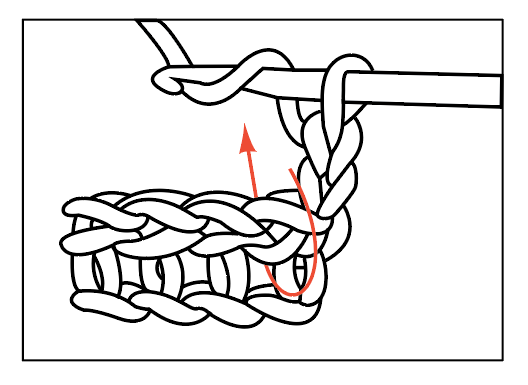
If you’ve never used front and back post double crochet before, below is a video made by my awesome mom to show you how! When I was first learning to crochet I was really intimidated by this stitch because it looks more complicated than it really is, but if you try doing a practice swatch before you get started I think you’ll find it’s not as hard as it seems!
Also, before you get started please note that for this blanket I used regular Bernat Velvet yarn and not Baby Velvet yarn. The regular velvet is a little heavier weight and is hand wash only. You can definitely make this blanket in Bernat Baby Velvet, just be sure to use an H, 5.00mm hook and measure your base chain to be the width you desire (The pattern repeat to adjust the size of the blanket is in the video and in the instructions below.)
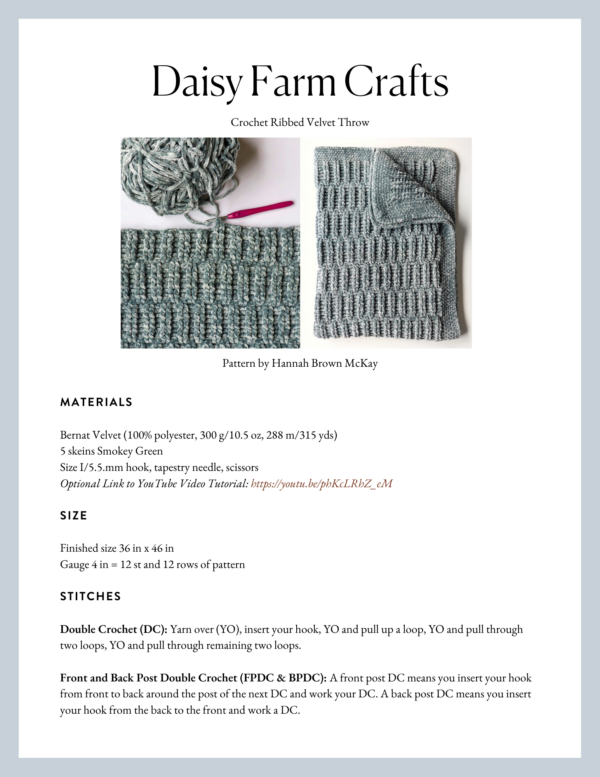
Materials
Bernat Velvet (100% polyester, 300 g/10.5 oz, 288 m/315 yds)
5 skeins Smokey Green
Size I/5.5.mm hook, tapestry needle, scissors
Size
Finished size 36 in x 46 in
Gauge 4 in = 12 st and 12 rows of pattern
Stitches
Double Crochet (DC): Yarn over (YO), insert your hook, YO and pull up a loop, YO and pull through two loops, YO and pull through remaining two loops.
Front and Back Post Double Crochet (FPDC & BPDC): A front post DC means you insert your hook from front to back around the post of the next DC and work your DC. A back post DC means you insert your hook from the back to the front and work a DC.
Half Double Crochet (HDC): YO, insert your hook, YO and pull up a loop, YO and pull through three loops.
Wide Half Double Crochet (WHDC): YO, insert your hook between stitch posts, YO and pull up a loop, YO and pull through three loops.
Pattern
Chain 102. (Or to make your own base chain, multiply an odd number by two, then add 4 for the turning chain. For example, for my blanket I multiplied 49 x 2, which equals 98, then added 4 for a base chain of 102.)
ROW 1: Starting in the 4th chain from the hook, work 1 DC in each chain. CH 2 and turn.
ROW 2: Work FPDC around the first two posts (not around the turning chain). Then work BPDC around the next two posts. Continue alternating 2 FPDC and 2 BPDC to the end of the row. At the end of the row work a regular DC, inserting your hook underneath the turning chain. CH 2 and turn.
ROW 3: Work BPDC around the first two posts. Then work FPDC around the next two posts. Continue alternating 2 BPDCs and 2 FPDCs to the end of the row. Then work a regular DC, inserting your hook underneath the turning chain. CH 2 and turn.
ROW 4: Repeat row 2
ROW 5: Repeat row 3
ROW 6: Repeat row 2
ROW 7: Repeat row 3
ROW 8: Repeat row 2
ROW 9: Repeat row 2
ROW 10: Repeat row 3
ROW 11: Repeat row 2
ROW 12: Repeat row 3
ROW 13: Repeat row 2
ROW 14: Repeat row 3
ROW 15: Repeat row 2
ROW 16: Repeat row 3
Repeat rows 2 through 16 until you reach your desired length. Essentially you are stacking the double crochets on top of each other for eight rows and then changing directions for the next eight rows. I ended up with 14 sections of 8 rows when my blanket was the length I wanted.
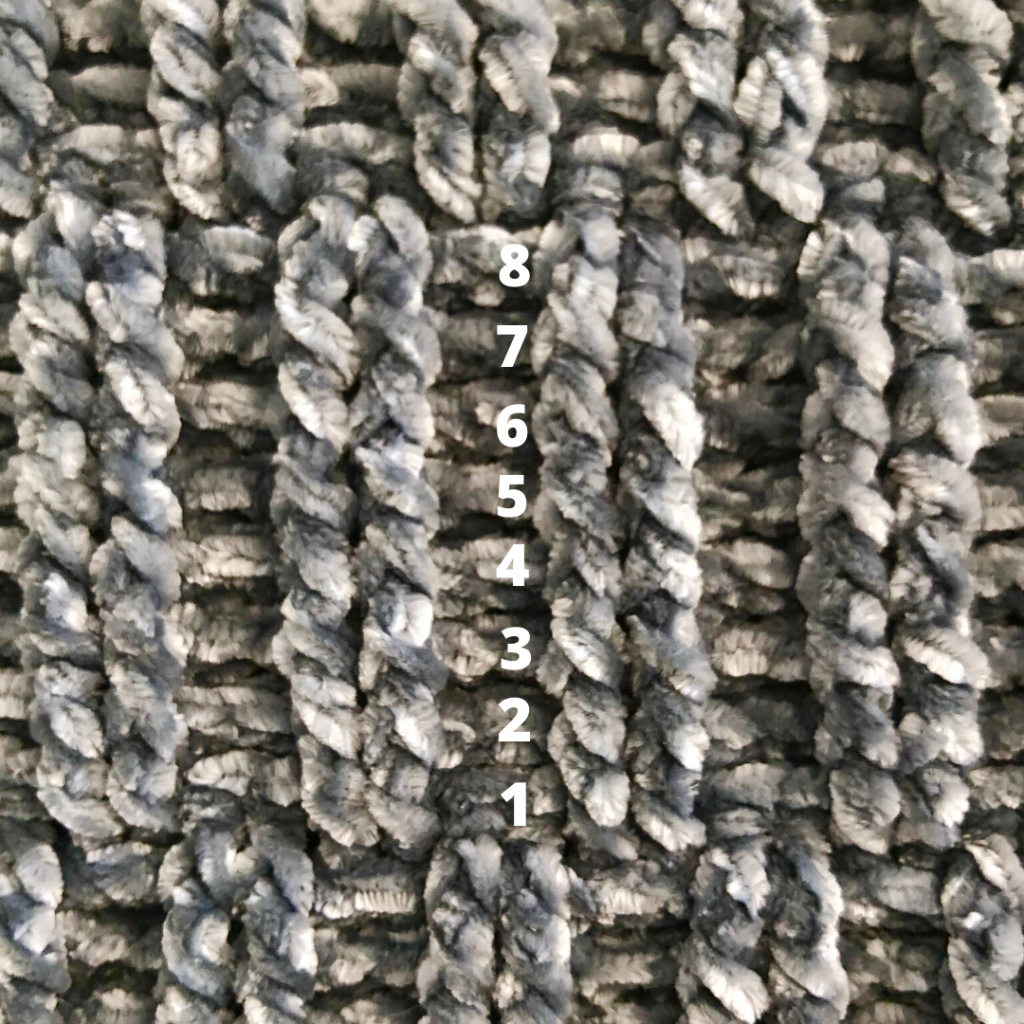
After you get in the rhythm of working your front and back post double crochets, the trickiest part of this blanket is keeping track of your rows so you know when to switch directions – I found that the easiest way to keep track was to count the horizontal lines for each section:
Border
When you finish the blanket, you don’t need to tie off, instead you can just start going around the blanket with the border. I worked 7 rows of Wide Half Double Crochet (WHDC) This stitch is the same as regular HDC except you are inserting your hook in between the posts of the row below instead of in the tops of stitches.
Round 1: Work one round of HDC, inserting your hook in between the DC posts and the DC rows on the sides of the blanket. Put three HDCs in each corner.
Round 2: When you reach the corner you started with, this time you are going to put 4 HDCs in the corner, 2 on each side of the middle stitch from the 3 HDCs you did on round 1. Continue working WHDC (insert your hook between stitch posts), putting 4 HDCs in each corner in the same way you did the first corner.
Round 3: When you reach the corner you started with, work 3 HDC’s in the middle of the 4 stitches from round 2, so that there are 2 stitches on each side of the 3 new stitches. I know that sounds confusing, so hopefully this diagram will make it a little more clear! You want to look at it like each line is a stitch:

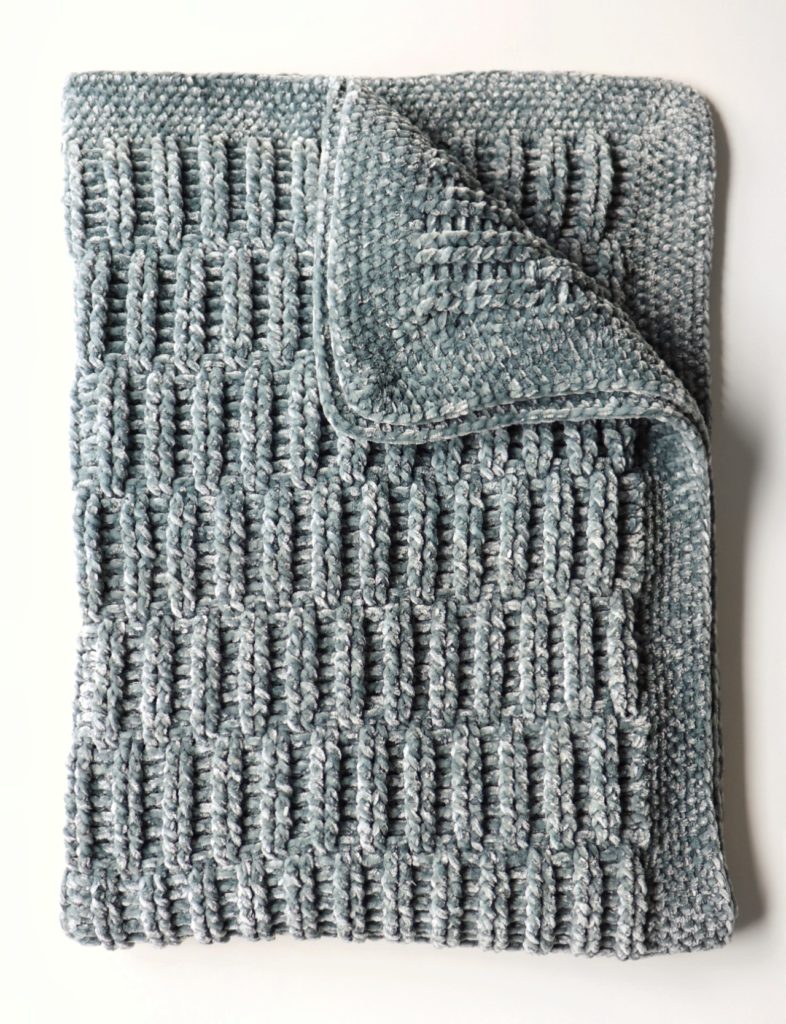
Continue alternating rounds 2 and 3 until you reach your desired border height. I had just enough yarn to go around 7 times total. When you finish the border, slip stitch into the starting corner and tie off, then weave in your tails with a tapestry needle. Then enjoy your super cozy velvet throw!
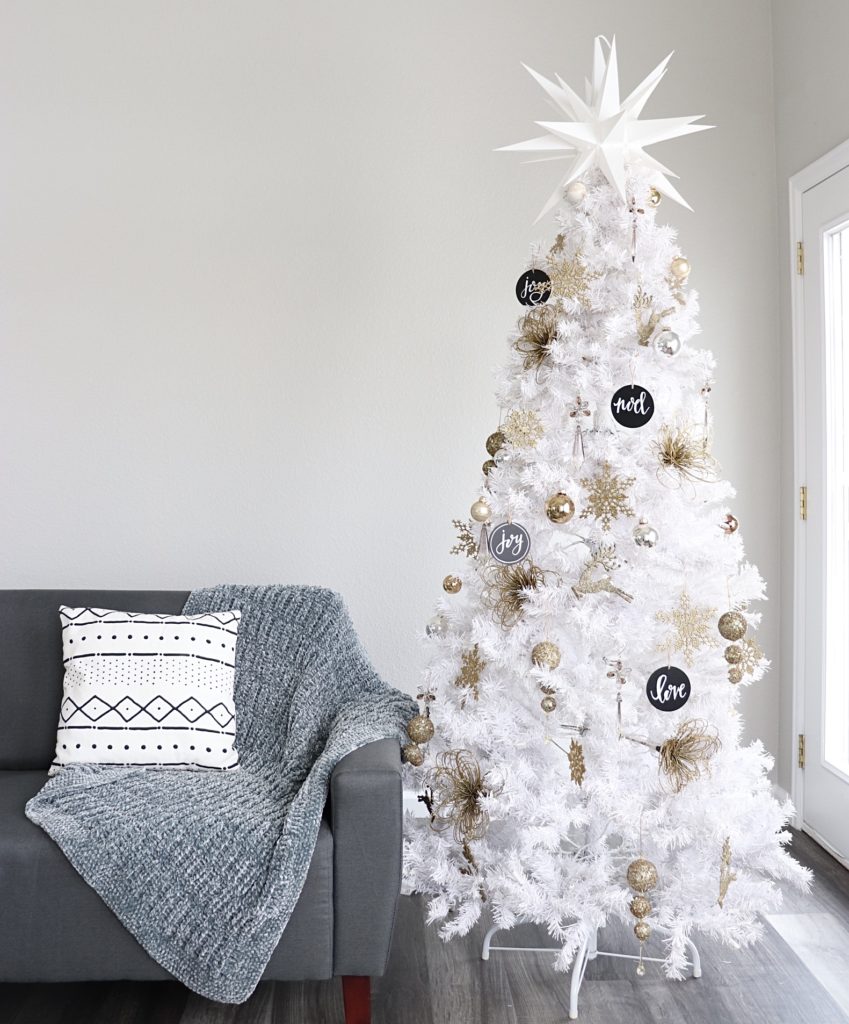
I originally made this as a Christmas throw, but my living room is mostly black and white with some green accents, so I think I will be keeping it out year round :).
Thank you so much for coming to read this pattern and best of luck with your project! My mom and I have had a such a fun year sharing our crochet projects with you and we are so grateful to be connected to so many other crocheters in the world!
I love this time of year not just because of the holidays but because my husband and I also had a December wedding! I was remembering the other day that the back of my wedding dress had really small buttons all the way down the back and when we were trying it on, the only way we could get the loops around the buttons was to use a small crochet hook.
Of course by the time my actual wedding day came a crochet hook was the last thing any of us had thought to bring to the place where I was getting married…and as soon as I put my dress on my mom and I started to panic…there was no way we were going to be able to get the buttons done up without that crochet hook!
We frantically searched around the bride’s room for anything that might help us get the loops around the tiny buttons and to our incredible shock, we found a small crochet hook miraculously sitting in an empty drawer.
I have no idea how or why a crochet hook ended up in that drawer, in a room where that is only used for brides to get dressed, but even though it was a small thing, I’ve always been grateful for that small wedding day miracle. And at the time I had no idea how much that little crochet hook would become my friend in later years!
A few years ago I wrote a post about how crochet helps me cope with infertility and my mom and I have loved hearing other stories since we started this blog of how crochet has helped bring some of you peace or comfort or a small source of joy in the midst of a turbulent time.
So I just wanted to take a second to say thank you for sharing and being our crochet friends and to wish you all the best during this holiday season!
xo, Hannah
Click here or on image below for printable pattern