I can’t help myself crochet friends, I love to make baby sweaters!
I tell my children to watch out because those future grandchildren just might have a little cardi for every outfit!
(Pardon the interruption for this post update!: I’m finally a grandma!)
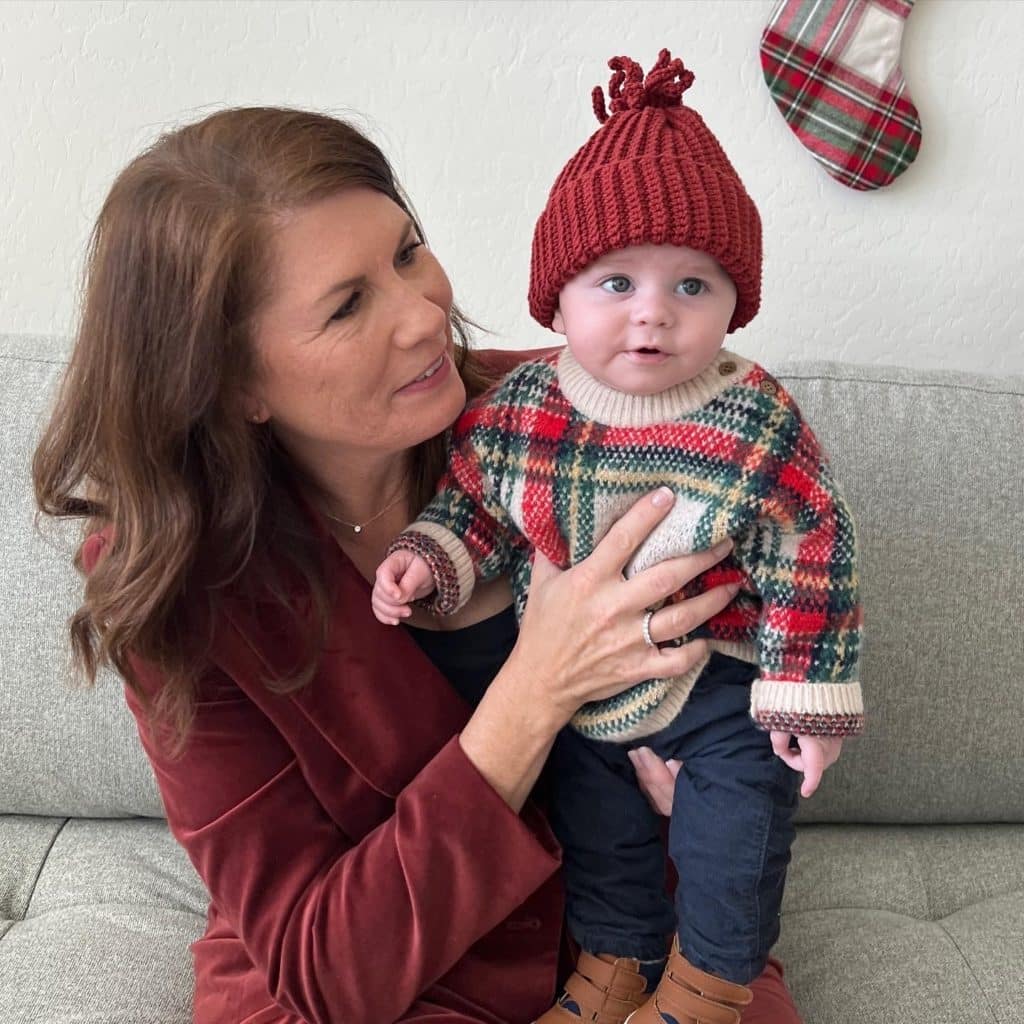
This is a photo of me and baby James and he’s wearing a fun fringe beanie.
Tap here for a pattern for the Fun Fringe Beanie
James is Hannah’s darling little boy, and my son Tanner and his wife now have two little ones, Jack and Kate. I can’t believe I have three little darlings to crochet for now.
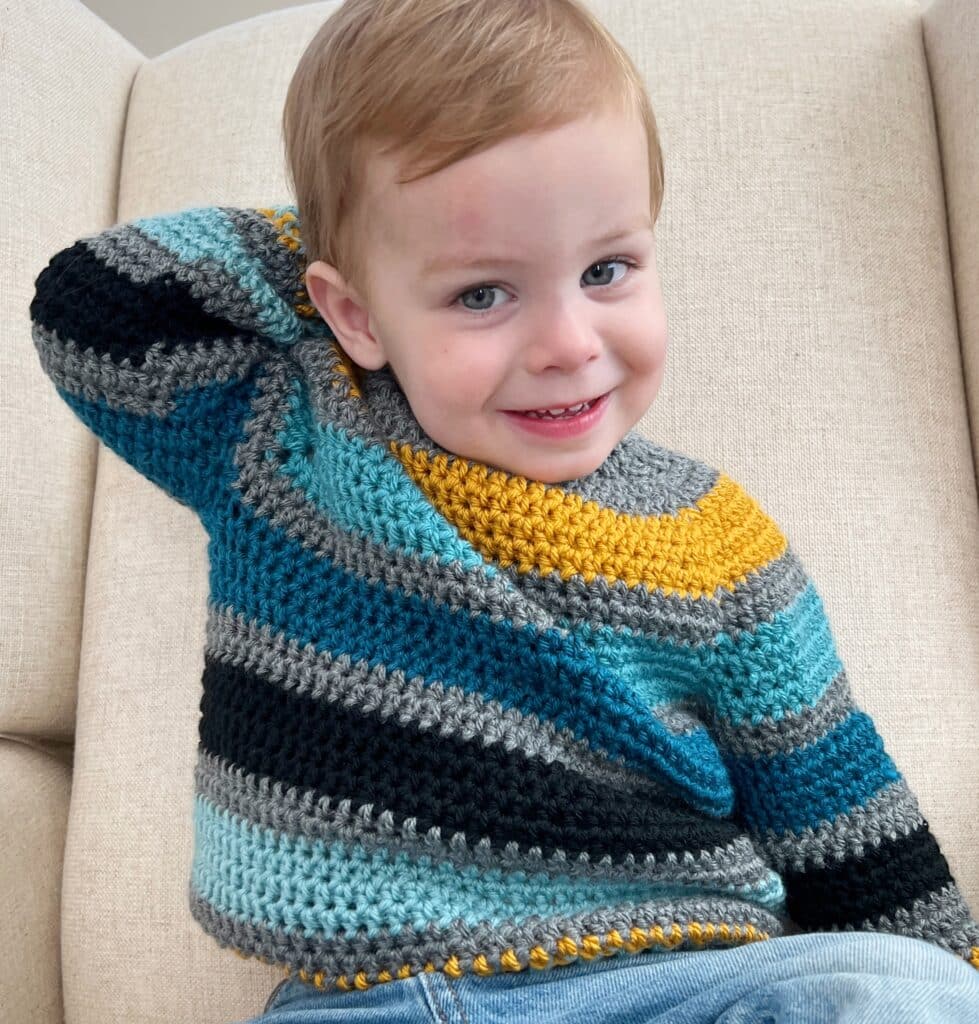
This is our little Jack who as I’m updating is two and a half years old. He is such a joy and I have had fun making him all sorts of sweaters.
This is Jack’s Multi-stripe Pullover that I made for him last fall. He loved wearing it!
Tap here for the pattern to Jack’s Multi-stripe Pullover
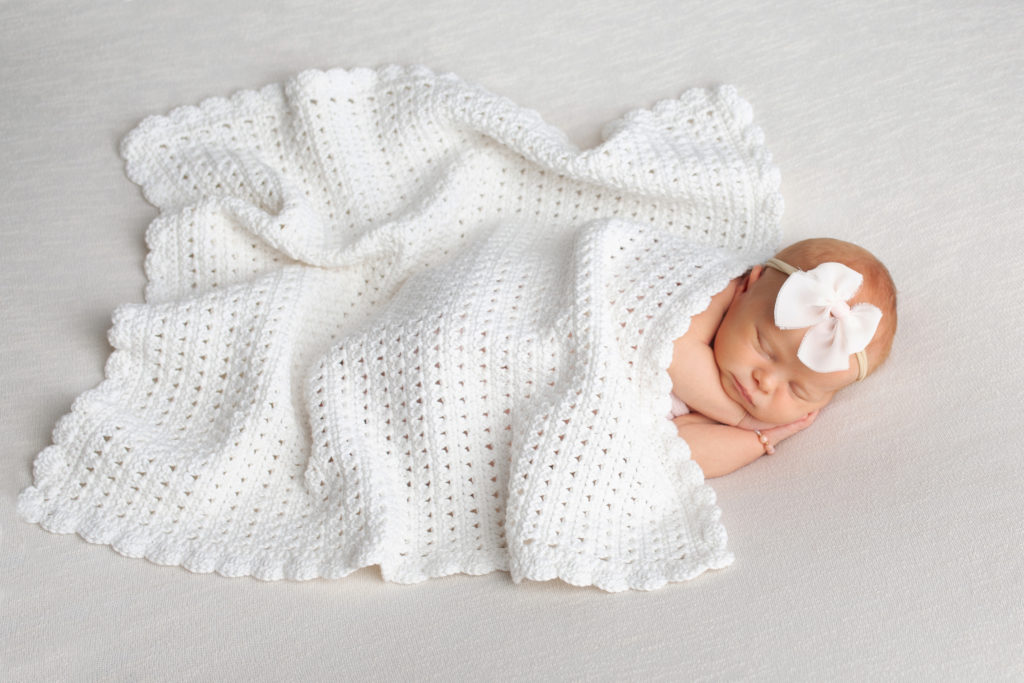
And here’s our darling baby Kate, so fresh from heaven and snuggled under the Kate’s Blessing Blanket.
As you can see, I have been enjoying making and crocheting so many more items for the kids.
Tap here for Kate’s Blessing Blanket Pattern
I know you’ve come here for the Scattered Dots Baby Sweater, but I have made so many more too. Be sure and check out our menu heading “clothing” to see all the designs.
Tap here to see the menu heading “clothing.”
And I need to get busy and make baby Kate a new Scattered Dots sweater myself.
Okay, let’s get back to the original post now.
I love to pick up a hook, separate a chain in four places and then just play with the yarn and see where it takes me.
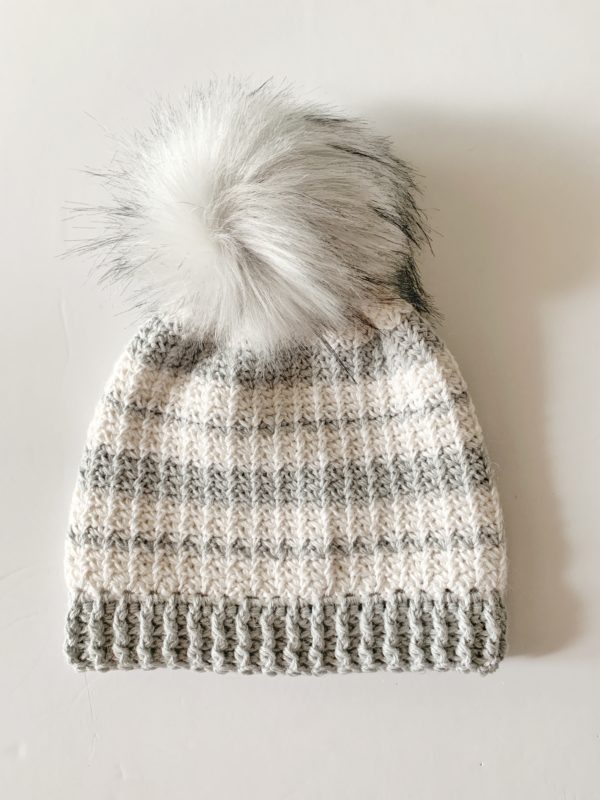
This time, it was Sugar Bush yarn I had leftover from the Spider Stitch Hat I made a few weeks ago.
tap here for Spider Stitch Hat pattern
This is lux yarn. This baby cardi would be that sweater you have the baby wear a few hours at church and then spot clean, or hand wash.
It’s made of alpaca and silk. It’s so incredibly soft and very fine.
The specifics of the yarn are as follows:
Content: 80% baby alpaca, 20% mulberry silk
Ball Size: 50 g/1.75 oz, 150 meters/164 yards
Care: Hand wash and dry flat
It is a super fine weight 1.
So with that in mind, I used the smallest hook I had on hand which was a “E-4 3.5mm”
This is not the recommended size given on the package but I wanted more drape to the sweater.
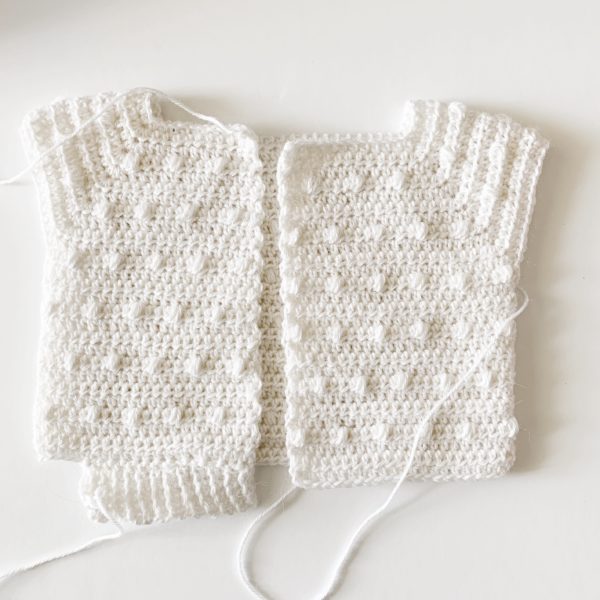
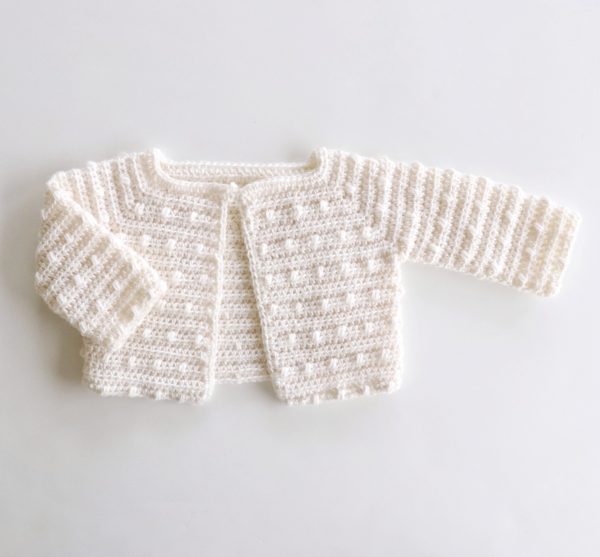
The above picture is a progress shot before I added sleeves. I was thinking about adding ribbing at the bottom, but then decided against.
I thought it looked cuter to end with more scattered dots.
I’m also going to tell you that the reason why I am calling the dots scattered is that I just worked them every 4th stitch, every 4th row no matter where they landed.
It took the pressure off of me to keep track and be exact. I wanted to see how it would all work out if I could keep it random and as far as I can tell, it worked!
I’m not bothered at all that sometimes the dots line up and sometimes not.
And that’s when Hannah gave me the idea to just call it “Scattered Dots Baby Sweater.” Good one Hannah!
Materials
Sugar Bush Nanaimo (silk/baby alpaca, 1.75 oz/50 g, 164 yds/150 m)
2 skeins any color
Size E/3.5mm hook, scissors, tapestry needle
Button (optional)
Size
For baby sweater size 3 – 6 month
Stitches
Half Double Crochet (HDC): Yarn over (YO), insert your hook, YO and pull up a loop, YO and pull through three loops on hook.
Puff Stitch (DOT): YO, insert your hook into the designated stitch, YO, pull through, *YO, work into the same space, YO and pull through, repeat one more time from *, then YO and pull through all 7 loops on the hook.
Pattern
Chain 66.
Row 1: HDC in 3rd chain from the hook, 1 HDC in each remaining chain space. (64 HDC)
Row 2: CH 1 and turn. 1 HDC in each of the next 10 sts, 3 HDC in 11th, 1 HDC in each of the next 8 sts, 3 HDC in the next, 1 HDC in each of the next 22 sts, 3 HDC into the next st. 1 HDC in each of the next 8 sts, 3 HDC into the next st. 1 HDC in each of the remaining 12 sts. CH 1 and turn.
Row 3: 1 HDC into each st, working 3 HDC into the middle st of the 3 HDC’s in each corner in the row below. CH 1 and turn.
Row 4: *1 HDC into the next 3 HDC, 1 DOT into the next. Repeat from * across the row, increasing each corner stitch as in ROW 3. (If a dot lands on one of those HDC’s that are all worked into the corner, still work the dot.
Tip: if you have trouble finding the middle stitch of the 3 HDC’s use a stitch marker to mark the stitch as soon as you complete making it. I have found that if I am off by even one, the front of the sweater will start slanting. It’s very important to work the 3 HDC’s into the middle stitch of the 3 HDC’s from the row below.)
Rows 5 – 7: Work as Row 3.
Row 8: Work as Row 4.
Rows 9 – 11: As row 3.
Row 12: (Joining for armholes) Work dots every 4th stitch to the first corner. work 1 HDC into the middle stitch, SKIP over all the stitches to the next middle stitch, work 1 HDC into that stitch. Continue the pattern across to the next middle stitch, only work 1 HDC, SKIP over all the stitches to the next middle stitch, work 1 HDC into that stitch, continue the pattern to the end of the row.
Tip: if a dot lands on any of the middle stitches, make it in the next, it’s in the armhole and it won’t be noticeable. (scattered dots, right? keep it simple.)
Row 13 – 15: CH 1 and turn, 1 HDC in each stitch across the row. Always CH 1 and turn at the end of each row.
Row 16: DOT row, work one dot every 4th st.
Rows 17 – 28: Work as rows 13 – 16. Tie off.
Sleeves
Round 1: Pull up a loop in the armpit, chain 1, work 1 HDC in same space you pulled up a loop. Work 1 HDC across the first two sts. (This helps to fill in gaps, YO, insert hook into st pull up a loop, YO insert hook into the next st, YO and pull up a loop, YO and pull through all loops on hook) Work 1 HDC in next st, work 1 dot. Work 1 HDC in next 3 sts, 1 DOT. Continue pattern around, end round by working HDC across the last 2 spaces as you did to start the round, join with a SL ST (slip stitch) to the first HDC. CH 1 and turn.
(Take time to count how many stitches are in this round so you can keep the number the same for the remaining rounds. And for the other sleeve.)
Rounds 2 – 4: Work 1 HDC around, join with a SL ST to first stitch, CH 1 and turn.
Round 5: *Work 1 HDC in 3 sts, 1 dot in next. Repeat from * around. Join with a SL ST to first stitch, CH 1 and turn.
Rounds 6 – 21: As rounds 2 through 5.
Finishing
Weave in all ends. Pull up a loop in the lower front right corner as the sweater faces you with the dots facing forward. This is the right side out. Work 1 HDC in each stitch around and working 1 HDC per row up the sides of the sweater. Work 3 HDC into each corner space.
If you choose to add a button, when approaching the upper left hand corner, work the 3 HDC, then chain however many you would need to form a loop to fit the button you purchase, and then continue down the front left side of the sweater with HDC. If no button, continue as normal.
Join the round with a SL ST and tie off. Weave in the ends.
A few guesses about sizing this larger.
I based the starting chain off of my Color Block Sweater, which is made with Caron Simply Soft a size 4 weight yarn. That sweater is approximately a size 4 -5 Small child. But I used a taller stitch for the main part of the sweater. I would guess that if you used a 4 weight yarn, using this pattern with HDC, your sweater would be around a size 4 toddler.
What I do is take the child’s shoulder to shoulder measurements and don’t join for the armholes until I have that much width across. If you live with the child you are making this for, just keep trying the sweater across the shoulders and estimating how much width you’d need before you join for the armholes.
Then you could add length to the sleeves easily. And, length to the bodice.
I hope that helps. I need to apologize that I don’t make multiple sizes of the sweaters I make.
Some of you finding this don’t know that I call myself a grandma in training and I just blog about the projects I’m making to prepare for the day it’s real!
I’ve learned so much from all of you as well as I’m on this journey and I thank you for it!
I really had no idea there were so many of you already sharing about your love of crochet too.
Come and find me on Instagram! It’s so fun to see what everyone is making and if you make this sweater I’d love to share in my stories.
I do a thing every Sunday called “Sunday Shares” where if you tag your post with the hashtag #daisyfarmcrafts I share it up in stories for more people to see. It’s really inspirational for all!
I do the same on Facebook if you share a picture to the page. But I usually don’t wait until a Sunday, it’s just when I can find them. Facebook makes everything so complicated these days, but I’ve been finding them eventually!
I hope you have a beautiful baby you can make this for!
xo,
Tiffany
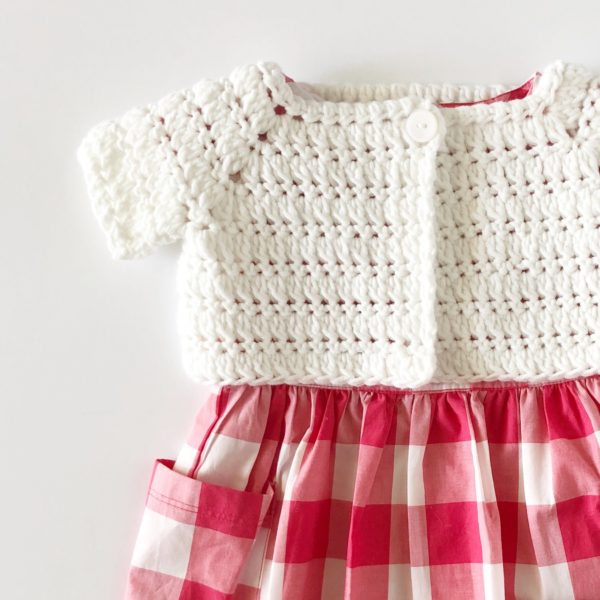
P.S. I just remembered I do have this baby shrug I made last year for Easter if you need another idea:
P.P.S. POST UPDATE!
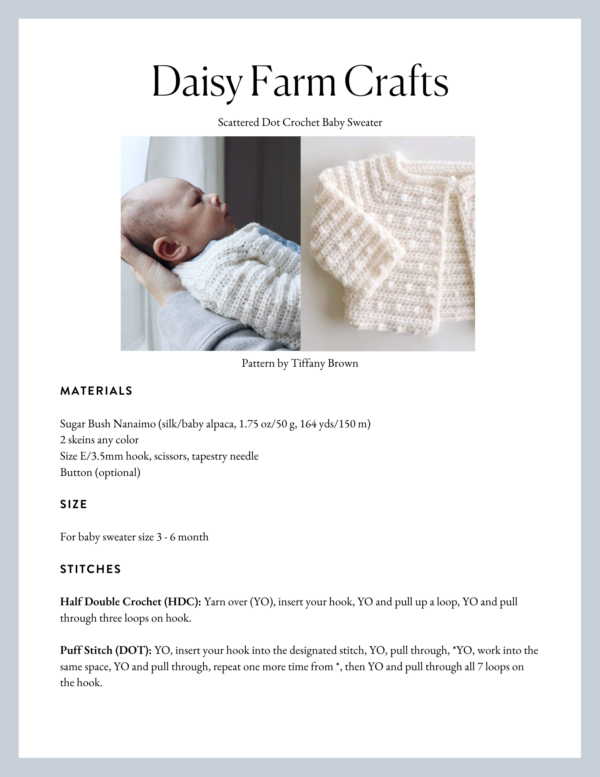
The baby girl I made this for was born! And she looks amazing in her little baby sweater:
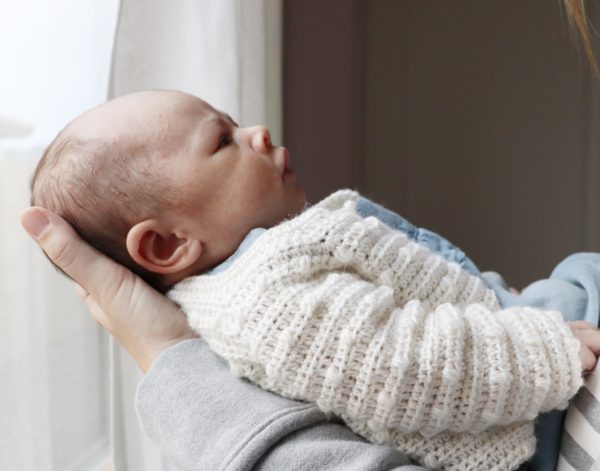
Olivia is the firstborn daughter to Annie’s Golf Pro, Cecelia and her husband James. (ahem..former NY Giants football player.)
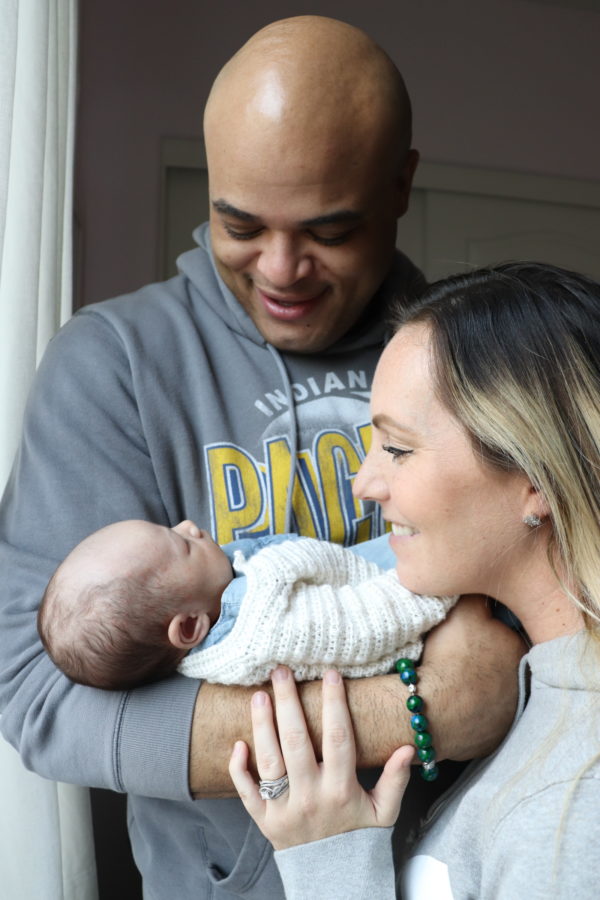
Welcome to the world Olivia! You have wonderful parents and we can’t wait to watch you grow.

