I am never sad when I have a gingham blanket on my hook and I hope gingham never goes out of style. In case you are new to Daisy Farm Crafts and this is your first time seeing a crocheted gingham blanket, this is my eleventh gingham blanket to design. You can see 8 of my other gingham blankets and choose one with an easier stitch if you are hesitant to make this one with a herringbone stitch. (The ninth gingham blanket is a darling mango color using the cluster stitch, and the tenth gingham is this beautiful herringbone in purple and lilac.)
Also, you might want to check out this post about frequently asked questions about gingham blankets. I know that the first time you see these blankets you have a lot of questions about how I am crocheting with two colors at a time and make the color changes seamlessly. You are not alone! I designed the first gingham blanket almost two years ago and so many have reached out to me with lots of questions so I wrote that post to help you make a gorgeous, modern gingham baby blanket!

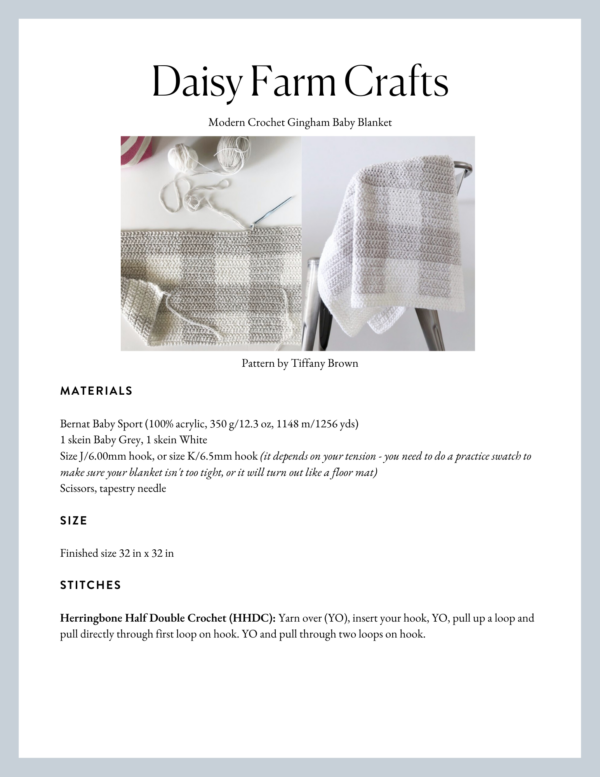
In order for you to achieve the proper shading of color for this blanket, you will need to combine your skeins of yarn. I highly recommend that you use a 3 weight, baby yarn. For this blanket I am using Bernat Baby Sport yarn. It is 100% acrylic.
If you use a 4 weight yarn, the blanket bulks up and is very warm. This is not a bad thing, I just want you to be aware that when you double up the yarn, the blanket is thicker. (Feel free to experiment with size 2 weight if you really are wanting a thinner baby blanket, but you want this gingham look.)
My best suggestion is to make your balls about softball size and make extra when you combine the white and grey together. This white and grey striped yarn will be used in every row throughout the entire blanket, whereas the all white and the all grey balls will only be used every 8 rows.
This makes the correct shades for gingham. If you choose to just use two colors, you are making a checkerboard blanket.

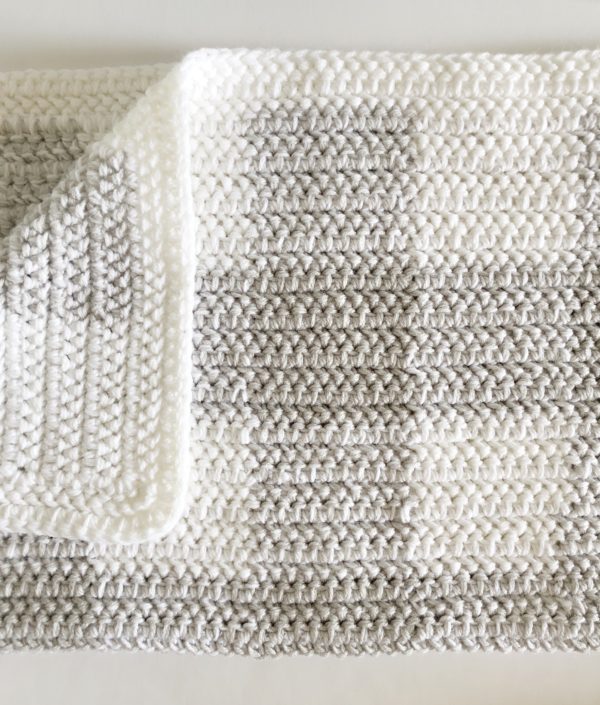
The subtle color changes between the white/grey and all white or all grey rows are what make this blanket so beautiful! And if you are wanting to make it a different color, my best suggestion is that you make it a very light color. This is the best way to disguise the yarn that is being carried through.
The stitch I am using for this blanket is called the herringbone half double crochet. You may click here for a quick demonstration if you need a refresher on how that stitch is made. Don’t be afraid of it if you have never used this stitch! It’s very similar to a double crochet and you only make one very small change.
Below is a video tutorial that accompanies this pattern to show you how to carry the yarn to create the gingham effect. (In case the video isn’t loading, here is the link to YouTube).
Okay, I think that is all the suggestions I have for you so let’s get to the pattern.
Materials
Bernat Baby Sport (100% acrylic, 350 g/12.3 oz, 1148 m/1256 yds)
1 skein Baby Grey, 1 skein White
Size J/6.00mm hook, or size K/6.5mm hook (it depends on your tension – you need to do a practice swatch to make sure your blanket isn’t too tight, or it will turn out like a floor mat)
Scissors, tapestry needle
Size
Finished size 32 in x 32 in
Stitches
Herringbone Half Double Crochet (HHDC): Yarn over (YO), insert your hook, YO, pull up a loop and pull directly through first loop on hook. YO and pull through two loops on hook.
Pattern
With the double strands of white, chain (CH) 72.
Row 1: In the third chain from the hook, work 1 herringbone half double crochet (HHDC), work 1 HHDC in each of the next 9 chains for a total of 10 HHDC, (The first 2 chains do not count as a stitch.) Before completing the 10th HHDC, pull through with the double strand of white/grey stripe. HHDC with stripe in next 10 chains, crocheting over the white strands and bringing them along the work. Before completing the 10 stitch with the stripe, pull through with white.
Continue switching every 10 chains between the white and stripe. You should have 7 blocks. CH 2 and turn bringing the stripe around the end.
Rows 2 – 8: With white, and working over the stripe, HHDC in the next 10 stitches, turning chains never count as a stitch. Always pull through on the 10th stitch with the next color. Cut off the white after the 8th row to be woven in later. Never cut the stripe, it will be used in the entire blanket.
Rows 9 – 16: Begin the row using the stripe, on the tenth stitch pull through with the grey. Alternate every 10 stitches between stripe and grey. Cut grey leaving in a long tail to weave.
Rows 17 – 56: Repeat Row 2-8 and Row 9-16. You will be finished when the blanket is 7 blocks wide and 7 blocks high.
Weave in all ends before beginning the border.
Border
In any corner, pull up a loop and chain 2. In the next stitch, work one HHDC. Work one HHDC in each stitch across the top and in each row along the side. Work 3 HHDC in each corner space. (The first chain 2 does not count as a stitch.) When returning to original corner, work 3 HHDC and then slip stitch to first HHDC. CH 2 and turn.
Work the rounds in the same manner as the first until you have the thickness you like, (I worked three rounds.)
Cut off and weave in all the ends.
If you used Bernat Baby Sport and would like to soften up the blanket before gifting, toss into a hot dryer with a dryer sheet for about 10 minutes. Then finger press the hot blanket into a square and let it cool off. The blanket should soften significantly.
Or feel free to wash the blanket with fabric softener and then put in the dryer.
I absolutely love this blanket! I hope you love yours too and want to share it with me! I have a facebook page, and if you want to share it to my wall, I will share it with the group! Or, if you are on Instagram, use the hashtag #daisyfarmcrafts and I will share up in my stories!
I love seeing gingham blankets!
Thank you all for following us here on the farm!
Tiffany
Click here or on image below for printable pattern