
Oh sweet baby Nora! We tried so hard to have this hat shared for Valentine’s Day but it’s probably okay to just celebrate all of February as the month of love, all things pink and hearts.
We were able to share on our social accounts this adorable photo below of Nora living her best life taking a snooze on the Velvet Post Lines Throw:
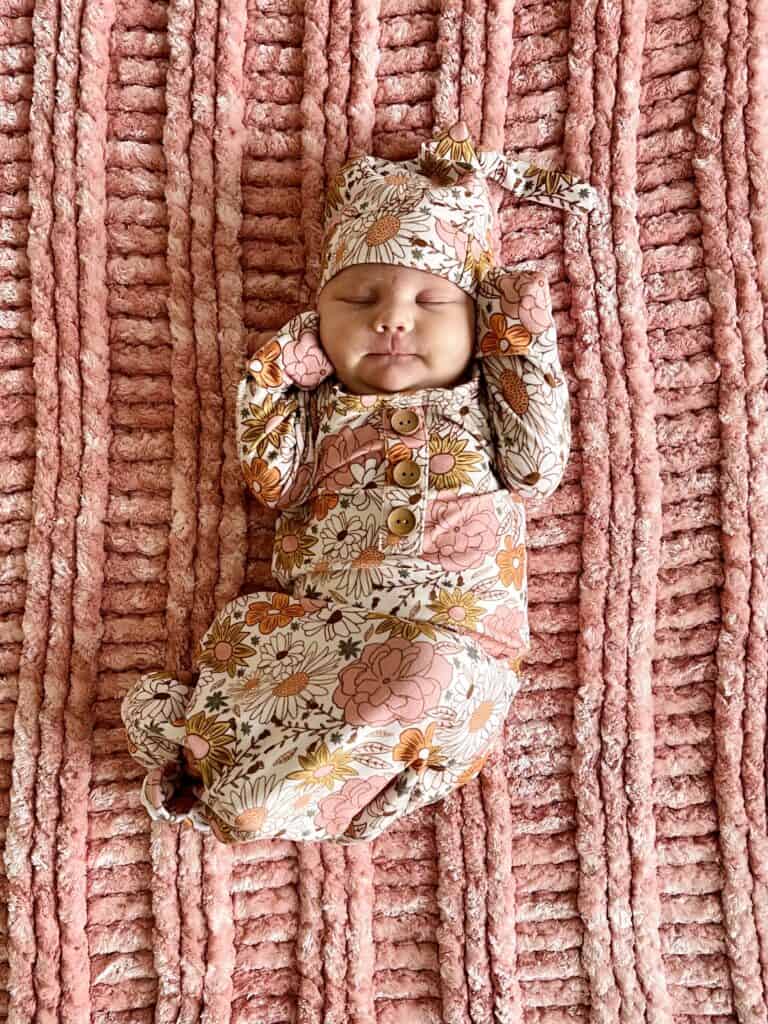
Wrapping her up in velvet has been so much fun. She’s a Colorado baby and Hannah reports that keeping her cuddled and warm makes Nora very happy.
The Velvet Post Lines Throw is made with Velvet Plus so it’s extra plush. If you’ve never worked with velvet before, but want to give it a try, we highly recommend that you read our post How to Successfully Crochet with Velvet Yarn, and then choose a pattern from our Velvet Category.
Once we experimented enough with the yarn, found the perfect stitch to use, we have been fans, and cuddling Nora in velvet has been wonderful.
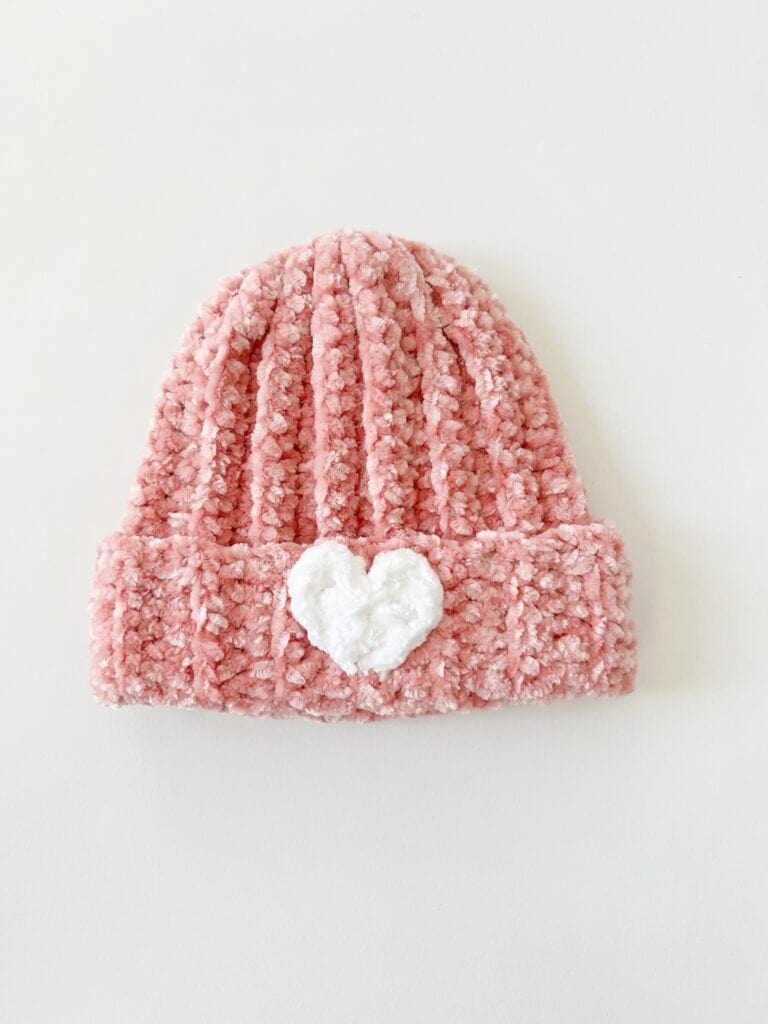
Her velvet hat is made with Bernat Baby Velvet. I made the little heart motif in velvet as well. I used a G hook to keep my tension really tight as I wanted to experiment with a back loop half double crochet stitch. I used the pattern for the Baby James Beanie.
Tap here for the pattern to the Baby James Beanie
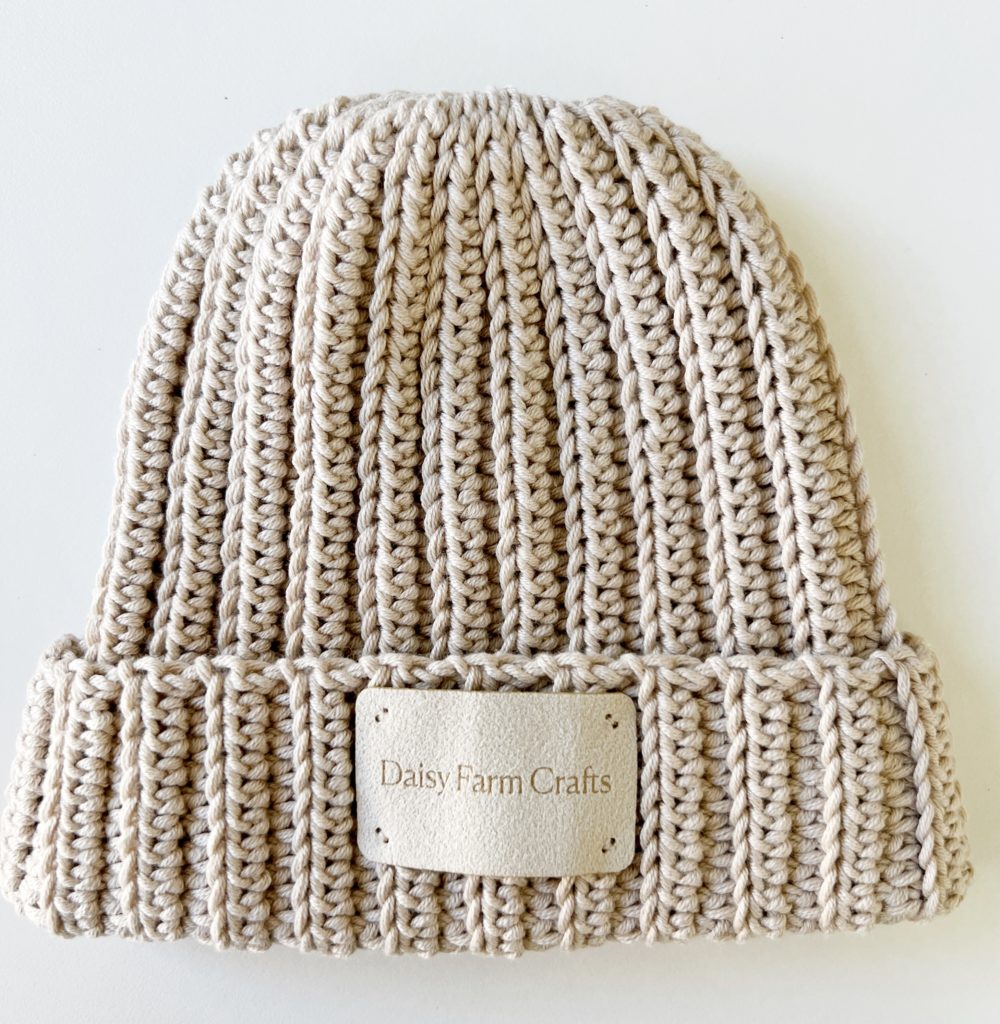
That pattern will have a size chart and you can make the hat any size that you need. It is a basic rectangle, with a bit of slip stitches on one end to decrease the width at the top of the hat so it can be cinched in nicely.
If you’d like to add the heart motif, it’s a simple set of stitches worked around a magic circle/ring, and then cinched in tight.
In a magic ring work: Chain 3, Treble Crochet, Double Crochet, Half Double Crochet, Single Crochet, CH 2, Single Crochet, Half Double Crochet, Double Crochet, Treble Crochet, CH 3, Slip Stitch. Pull the magic ring closed, leave a long tail and use a tapestry needle to sew the heart onto the brim of the hat.
I have a short video clip showing how to make a magic circle. You are making a slip knot that you don’t pull tight, instead you start working the stitches and then pull it tight. In the video where you see the first chain 1, that is where you will chain 3 to begin the series of stitches worked around the loop.
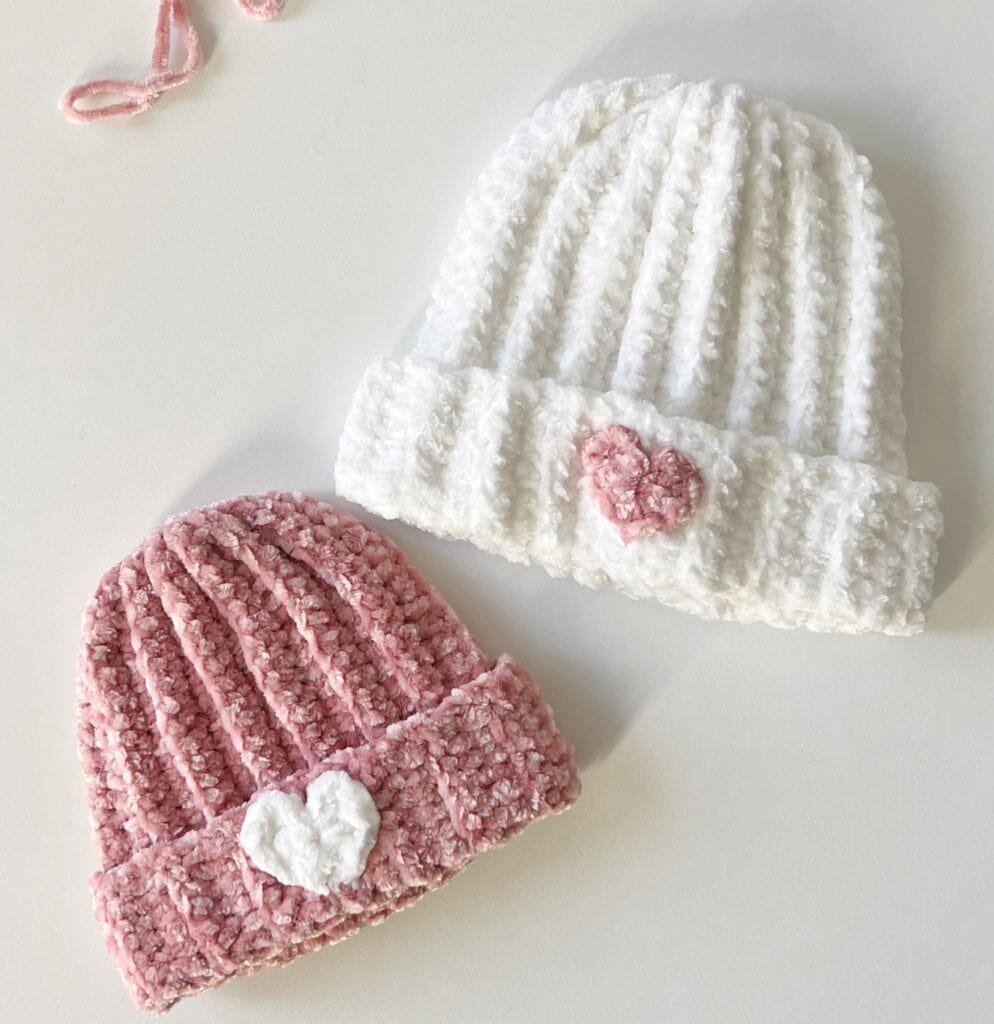
I made her an extra hat, slightly larger, as babies grow so incredibly fast. I’m working on getting her a lot of hats made as Hannah loves to take her and James out for walks every day. It’s part of her daily routine.
I’m going to be making her a Baby Maude hat for sure and probably a Winterberry Hat as well. Here is the Maude Hat pattern:
And this is the Winterberry Hat:
![]()
I’d really like to make her and James brother sister hats as well. I just can’t decide what to make just yet.
Here is our entire category of hats that we have made so far if you’d like to browse with me.
And before I go, here is one last photo of Hannah with Nora. She has that beautiful new mom glow about her.
![]()
And baby Nora is just now starting to open her eyes more and more and maybe a bit of red hair is starting to appear? We are crossing our fingers! She will be in good company if she does.
Thank you all for stopping by and also letting us share our love of crochet and family with you. It has made my love of crochet even that much more special.
Have a beautiful day,
XO, Tiffany