Hello! It’s Tiffany and thank you so much for stopping by for the Baby Maude hat pattern. It is all single crochet and a few slip stitches if you can believe it–even the textured portion.
You may be familiar with this stitch if you have made the Baby Kate Bonnet. It is the same mixed loop single crochet stitch. What I mean by mixed loop is that I work one SC stitch into the front loop and the next SC stitch into the back loop. Then I alternate those two ways of making the SC across the row.

I really love the look of the stitch and I really love how it looks using Bernat Softee Cotton. However, I did work up a hat in acrylic and it looks just as good. So you can use any yarn you’d like with this pattern.
I am giving you a stitch count for a 12 month to 18 month size since I made this one for baby Kate. But for other sizes, you’ll want to refer to the size chart.

Essentially, for all sizes, the brim portion is four inches, and then you’ll add however many inches you need for the height of the hat for the size you are making. If you refer to the size chart, the hat height includes the 4 inches for the brim. You can use any number for chains, it won’t matter if it’s an odd or even number. The last 5 stitches of the row for all sizes is 5 slip stitches. This brings the hat in at the top for less bulk.
The hat is made as a rectangle and then sewn up one side and gathered in at the top.
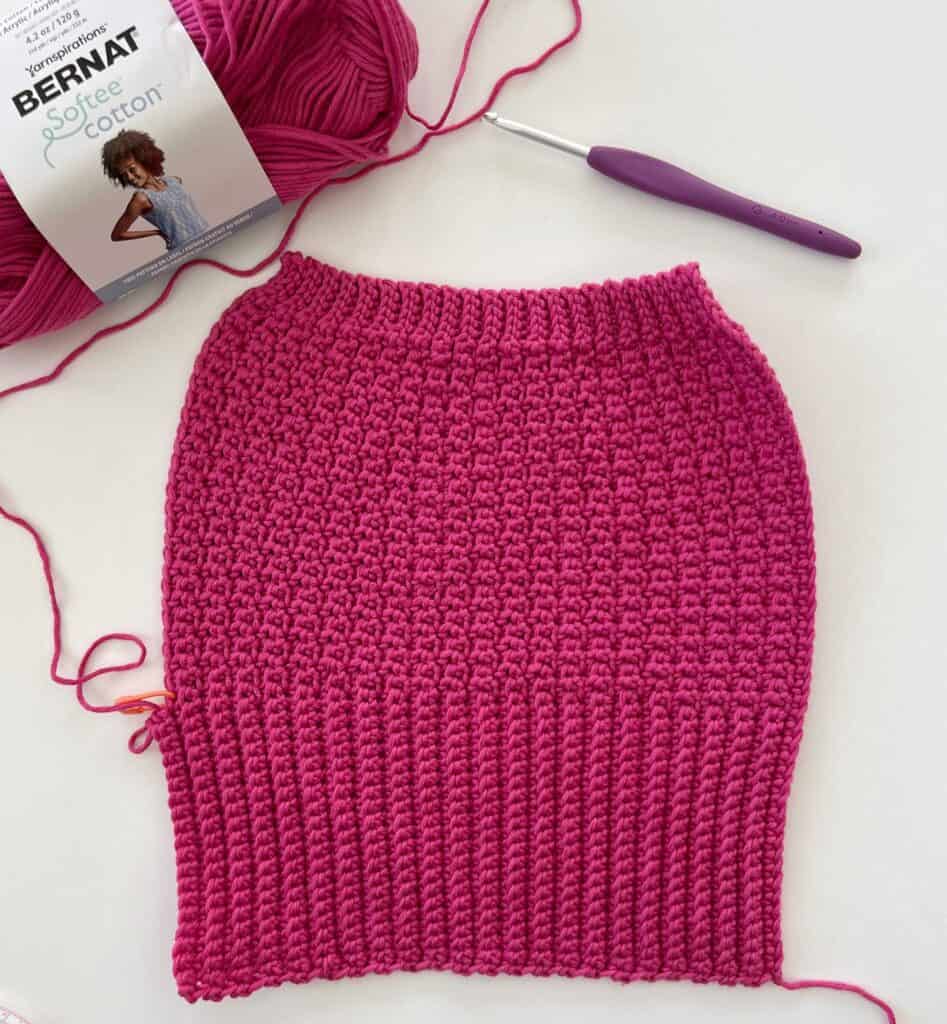
In the photo above maybe you can tell where I made the brim section one or two stitches too many. I figured out on this first sample that I made that I really needed to use a stitch marker on the last stitch of the brim section. It helped me to stay on track in the next hat that I made for Kate.
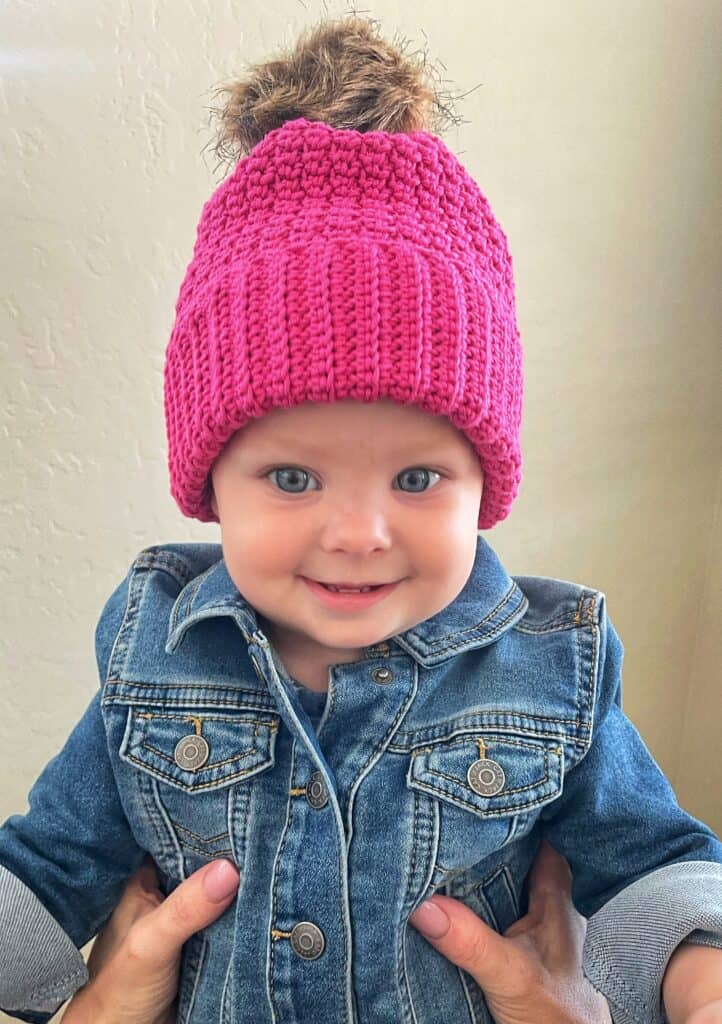
Isn’t she so adorable? Look at those blue eyes. Kate is 12 months and I made the chain 9.5 inches long. She has a 17 inch head circumference for size reference and to let you see how it sits on her head. You will want to make this hat anywhere from 3 to 5 inches less than the head circumference. It really will depend on what yarn you use and how stretchy it is.
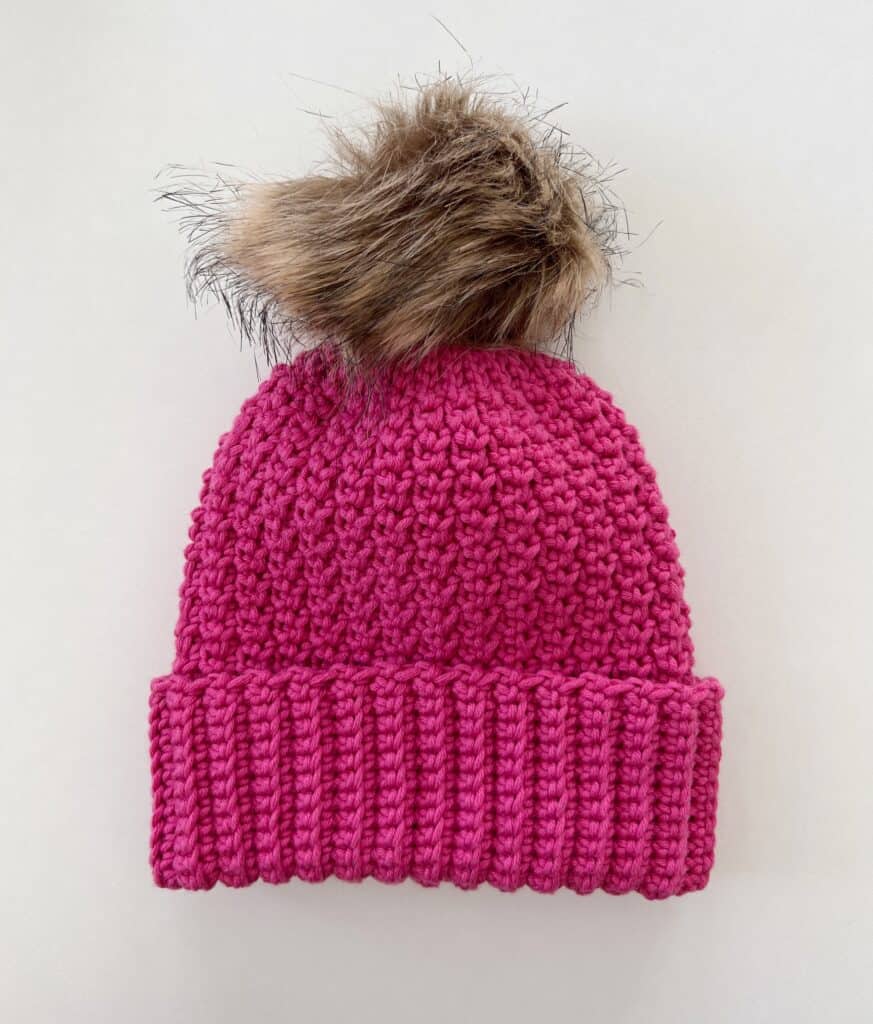
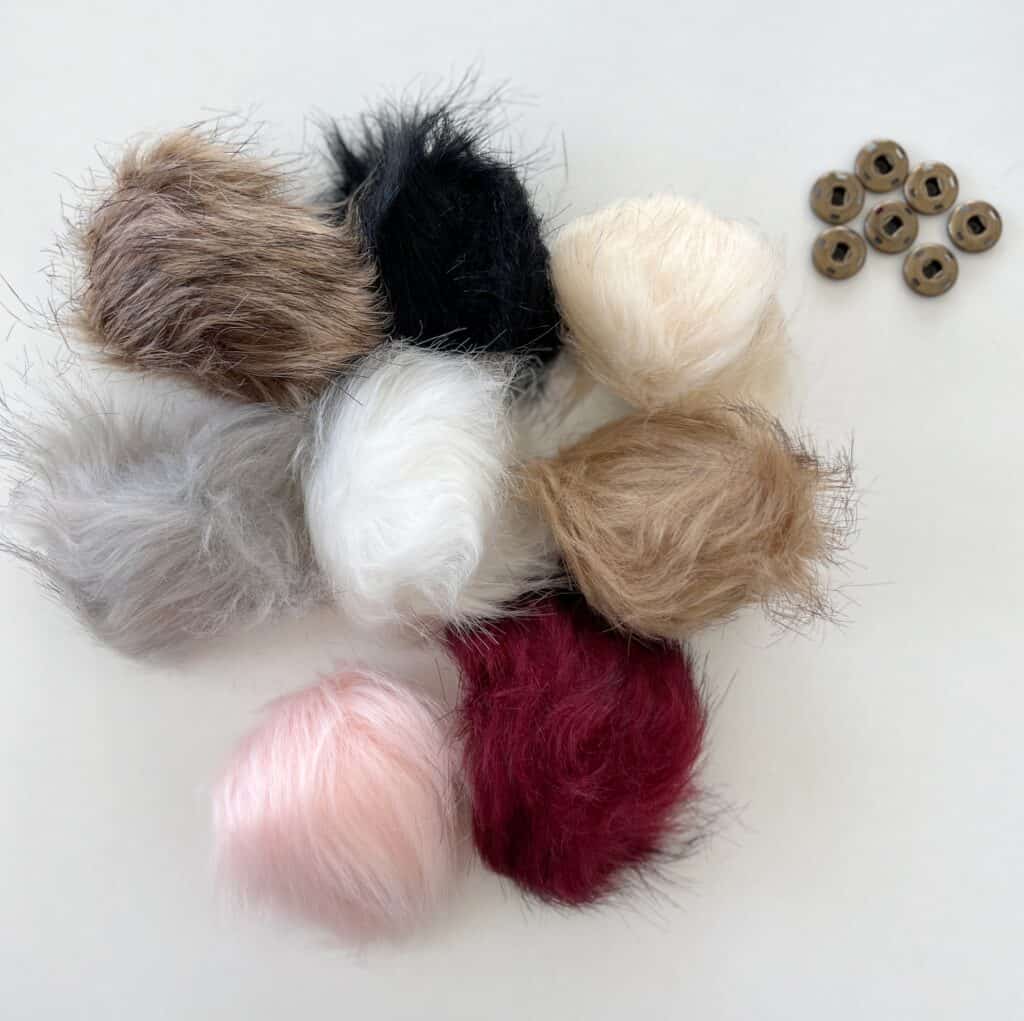
She loved her little hat and the best part was the pom pom I found. It has a snap on it! Game changer for me. All I did after finishing the sewing portion was thread the snap portion onto the top of the hat and then snap the pom pom on.

Don’t worry if none of that made sense, I made a video tutorial for the hat and I show you how to sew it on at the end.
But here’s the pom poms I found on *Amazon that I really love. I ordered the 4 inch size for the kids hats and the 6 inch size for the adult hats I’m making.
*As an Amazon Associate we may earn from qualifying purchases.
I hope you love making this hat as much as I did. I have so many more to make. I need one for James and one for Jack. I’ll do those with different pom pom though, or leave it off all together.
Anyway, happy crocheting and thank you again for stopping by. XOXO, Tiffany
P.S. Be sure and scroll to the end for the free printable pattern and for the video tutorial. Oh, and if you want to see our other hat patterns, tap here for the menu heading hats and headbands.
Materials
For one hat size 12 months
Gauge 4 inches= 21 SC and 19 rows taken from the brim portion of the hat.
Bernat Softee Cotton (tap name for yarn details on Yarnspirations.com)
1 skein Fuscia
G 4.00mm hook, tapestry needle, stitch marker, pom pom with snaps
Stitches
Single Crochet (SC): Insert your hook, YO, pull back through, YO, pull through two loops.
Front Loop Single Crochet (FLSC): As SC, insert hook into the front loop.
Back Loop Single Crochet (BLSC): As SC, insert hook into back loop.
Slip Stitch (SLST)
Pattern
Chain 52 or (9.5 inches or length needed for size) 9.5 inches is for the 12-month-old to 18 month size.
ROW 1: SLST into each of the first 5 sts. SC into each stitch to the end of the row. CH 1 and turn. (51)
ROW 2: SC into the first st. BLSC into each of the next 19 sts. Place a stitch marker in that SC. Work *FLSC into next st, work BLSC into the next st. Repeat from * across the row until the final 5 sts. Work BL-SL ST into final 5 sts. CH 1 and turn.
TIP: when making larger sizes, measure 4 inches from the start of row 2 and place stitch marker in that stitch. For all sizes the brim is 4 inches.
ROW 3: BL-SL ST into each of the first 5 sts. *FLSC into the next st, BLSC into the next st. Repeat from * to the marked st. BLSC in each st. Work regular (under both v’s) SC into the last st. CH 1 and turn.
Repeat rows 2 and 3 until you have the width needed for size making your last row end at the brim side of the hat.
Tie off with an extra long tail. Use a tapestry needle to sew the sides together and gather in the top of the hat. Gather the top of the hat with your needle several times to continue tightening the top.
If you purchased the snap pom poms, sew the half of the snap onto the top of the hat as you are finishing the last round of gathering. Weave in the end.
Snap on the pom pom.
Video tutorial is below:
*Note: in the video, please disregard what I say about the size chart, the size chart includes the brim measurement.
Click here or image below for printable pdf.
![]()