Re-sharing a popular pattern! It’s almost that time of year to start crocheting for the fall too. Enjoy! The free printable pdf is at the end of the post. XO
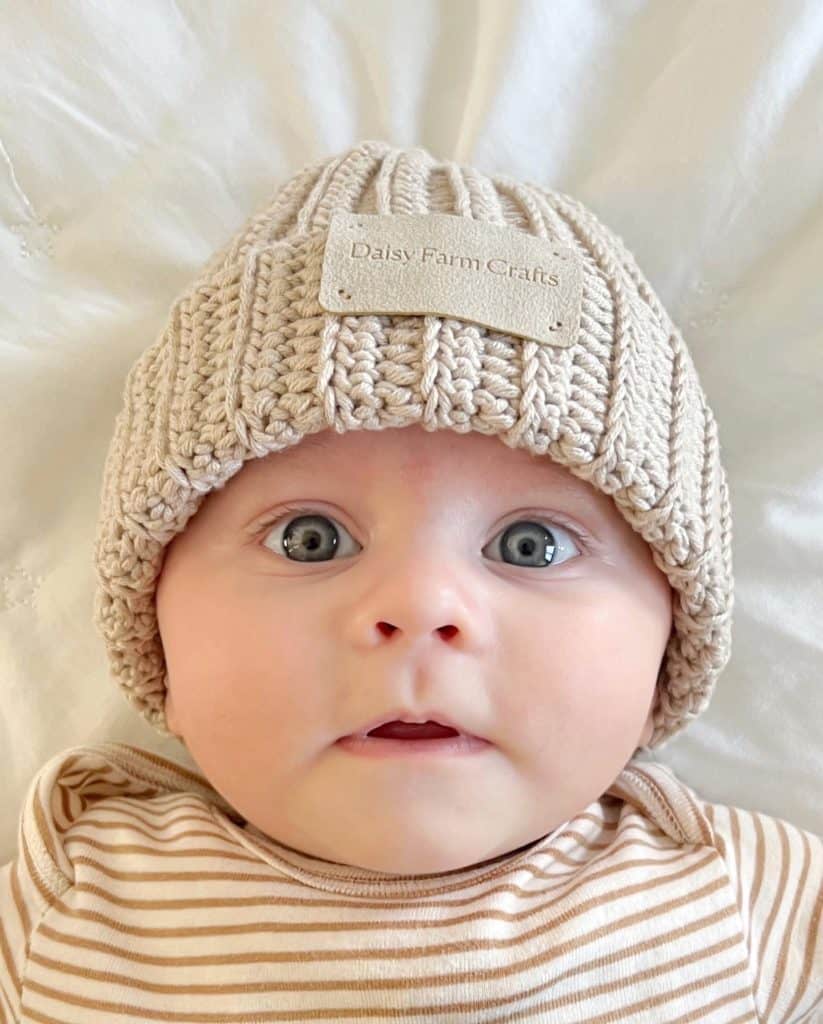
I can’t get enough of this precious little face! This is Baby James, Hannah’s first long-awaited baby boy. I was able to visit him just before Thanksgiving and take a picture of him wearing this hat.
He is a little guy just waking up to this giant world around him and not so sure what to think, but I was able to get him to smile a bit for me.
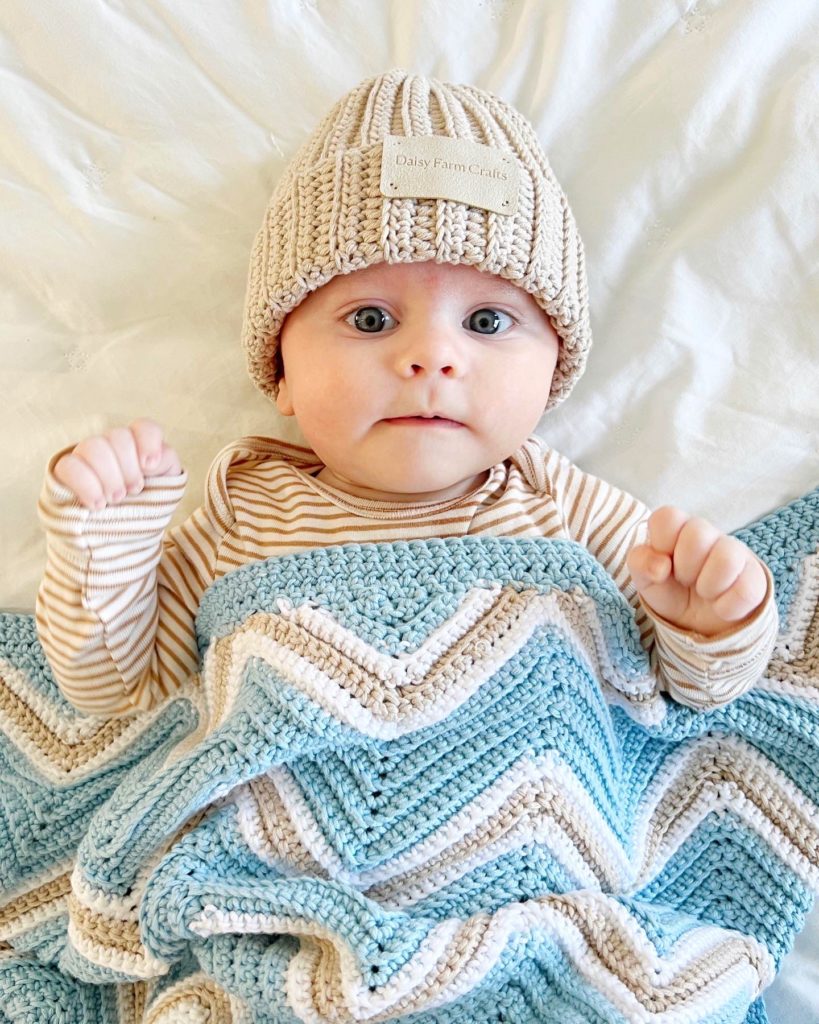
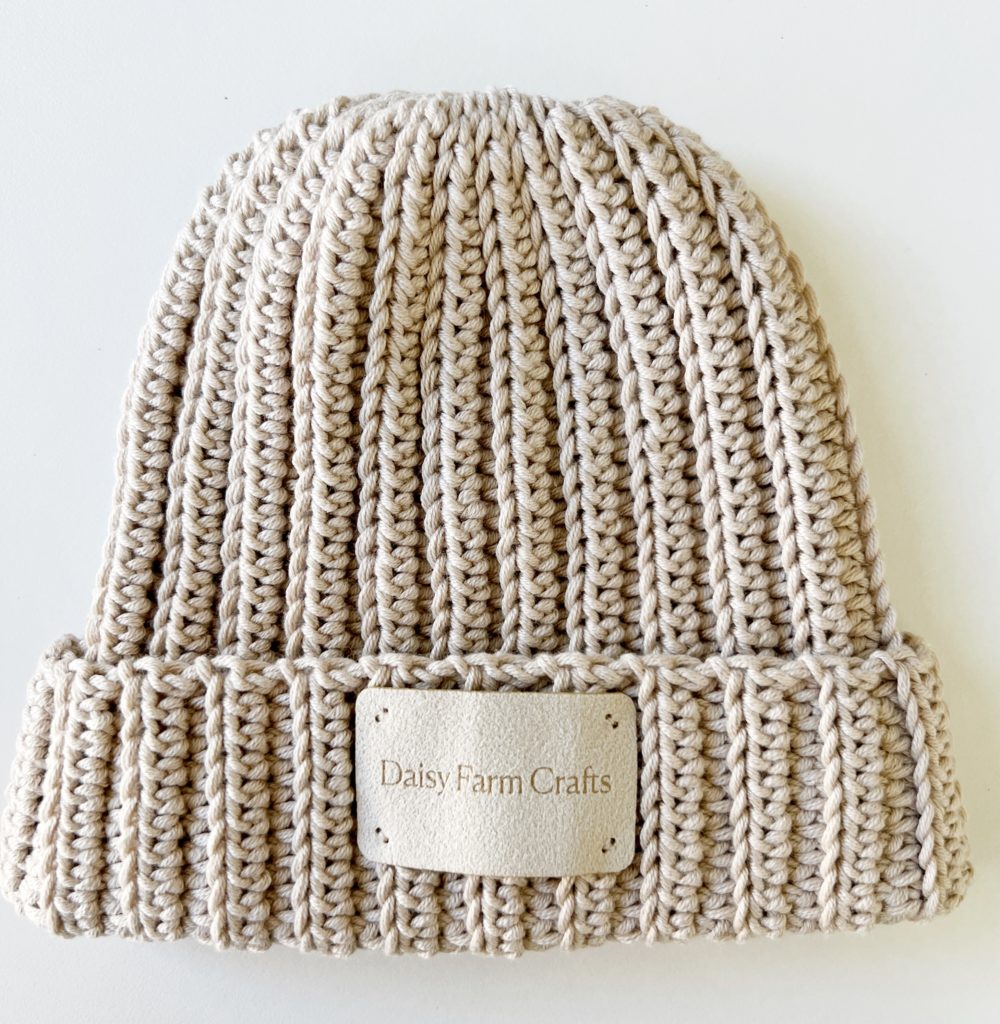
When I shared these photos on Instagram, many of you asked me for the hat pattern. I made it for him out of the same yarn as his blanket, my favorite, Bernat Softee Cotton in Feathered Grey.
It’s simple and easy and I like having them on hand to pass out as gifts. (You also could make this in the new Fun Fringe look that is very popular right now, just substitute the SC for back loop HDC.)

I can’t believe I have not one but two little grandbabies to crochet for, plus baby Jack who is almost 2! It has been so much fun.
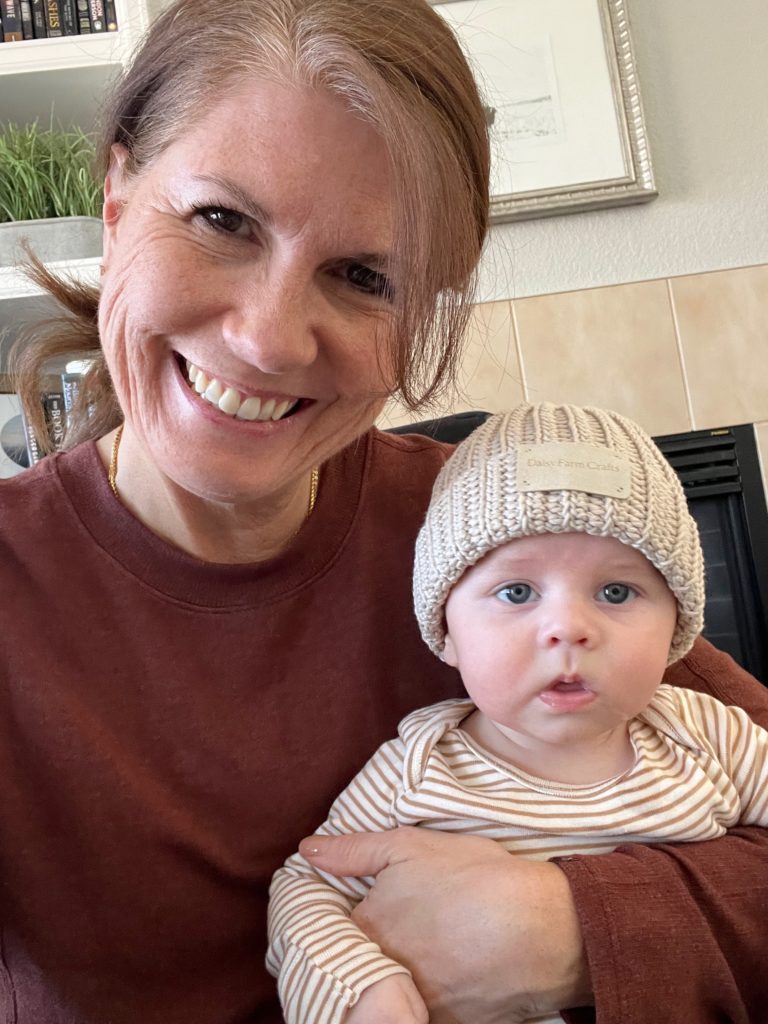
Here’s a little selfie I took with him, look at those chubby cheeks!
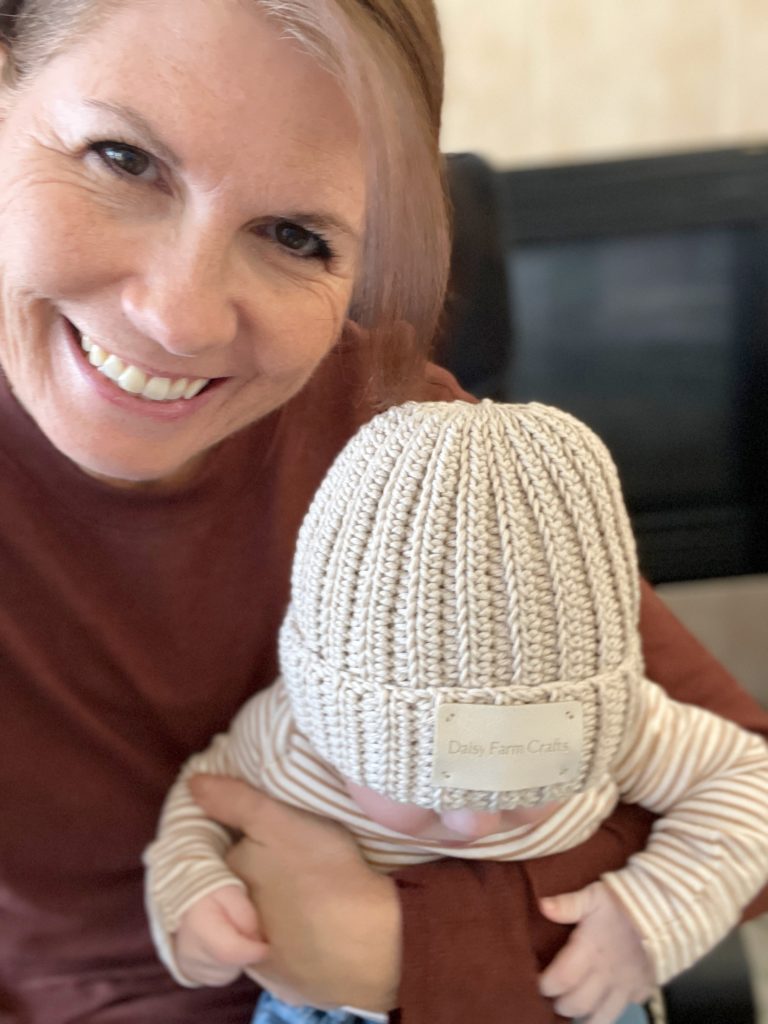
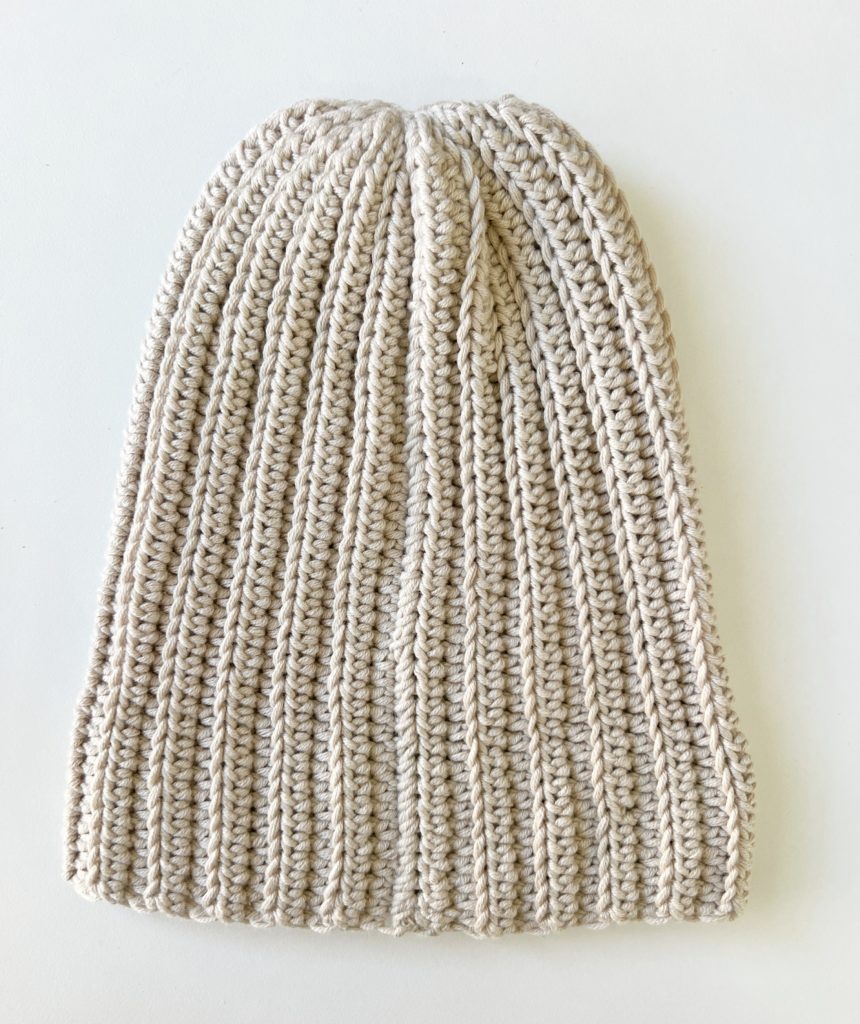
And one more to show you the stitch definition of a Half Double Crochet worked in Bernat Softee Cotton.
Materials
Bernat Softee Cotton (60% cotton, 40% acrylic, 120g / 4.2 oz, 232 meters / 254 yards, machine wash and dry, Gauge, 3 light) tap name of yarn to find on Yarnspirations.com
1 skein Feathered Grey
Size G, 4.0 mm hook, scissors, tapestry needle, leather tag (optional, find them on Etsy)
Stitches
Half Double Crochet (HDC):YO, insert your hook, YO and pull up a loop, YO and pull through all three loops on hook.
Slip Stitch (SL ST): Insert your hook, YO and pull a loop back through and through loop on hook.
Size
This pattern can be adapted for any size and with any yarn. The general guideline is to make your starting chain from about the chin to the crown of the head. This allows for a generous brim to be folded up. Can be worn with a floppy look as well.
Or measure from about under the nose to the crown for a tighter beanie look, but also if you can get a head circumference measurement that is helpful too.
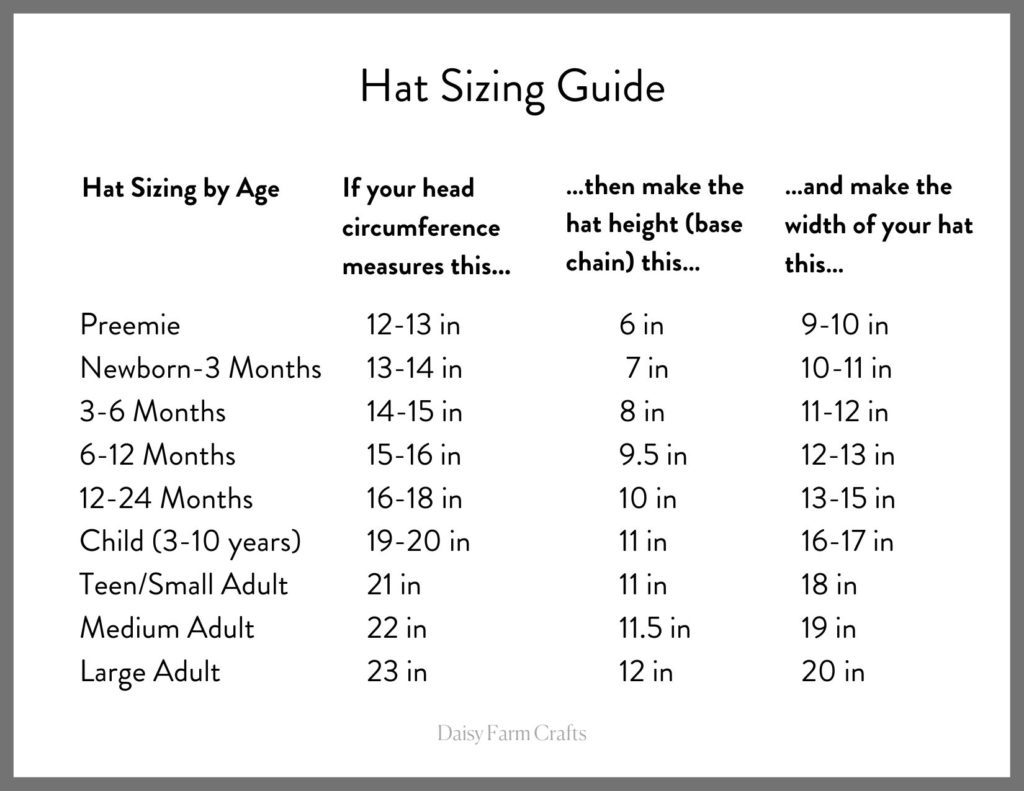
Here is a size chart for guidance, James is wearing a 3-6 month size for height and a circumference of a 12 month old (16 inches) so I made the hat 8 inches tall and 15 inches wide allowing about an inch for stretch:
Pattern
Chain 41.
Row 1: Begin in the second chain from the hook with HDC. HDC into each of the next 34 chains. Work SL ST into the final 5 chains, CH 1 and turn.
Row 2: In the back loop of the first st, work 1 SL ST, SL ST into the remaining 4 SL ST. Work HDC into the back loops of all HDC. CH 1 and turn.
(Tip: Option to chain 2 and turn at the end of the HDC rows, I prefer CH 1 since it will be the brim of my hat, I wanted a more crisp look, but it will make finding the last stitch of the row tricky, for best practice place a stitch marker into the first HDC of the row, so you’ll know it’s the last stitch to work into.)
Row 3: Work Back Loop HDC into each HDC, SL ST into the back loop of the remaining 5 SL ST’s, CH 1 and turn.
Repeat rows 2 and 3 until hat is the width you need. Refer to the size chart. This hat is 8 inches tall and 15 inches wide.
Tie off with a long tail for sewing. Fold hat in half and sew the sides together matching the stitches to be even, weave your needle in and out around the top to gather in. Weave in the end and clip.
Attach a leather tag (Or even an iron decal is a cute idea too!)
Thank you so much for letting me share my crochet with you! I just love making crocheted items for friends and family and sharing with you.
Click here or image below for free download of pattern.
![]()
XO, Tiffany