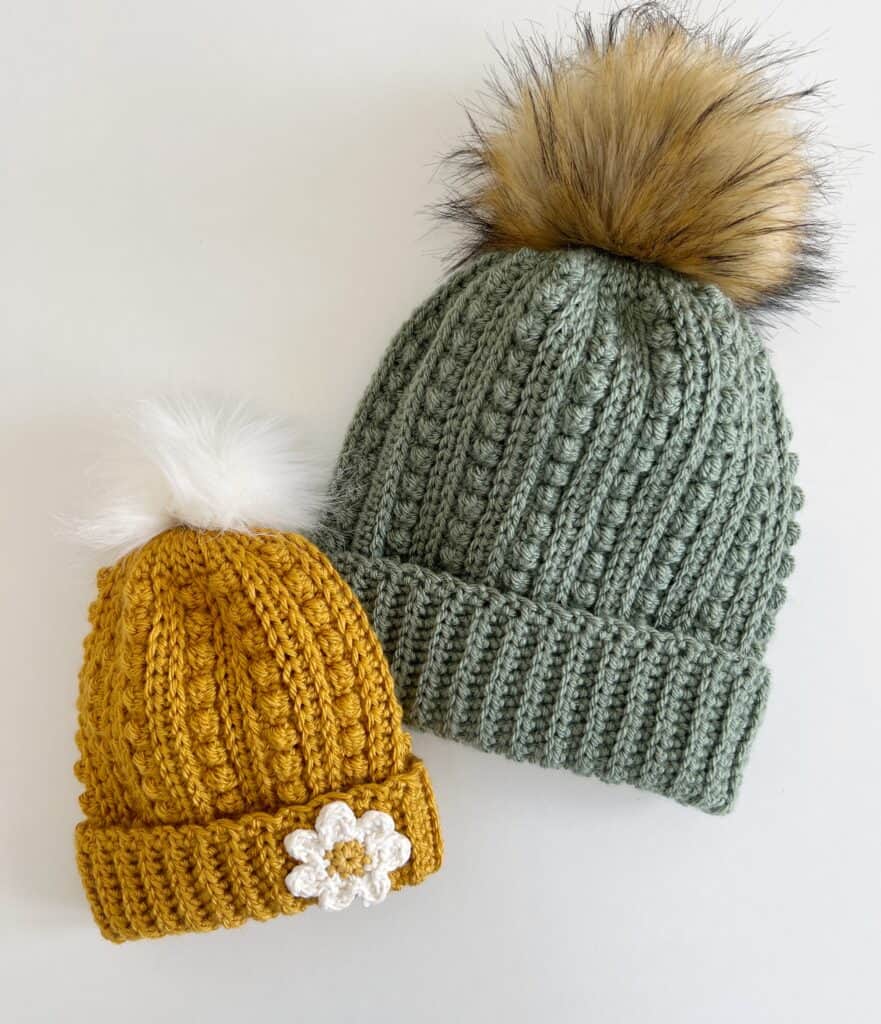
Hello! Thank you so much for stopping by for the pattern for the crochet Winterberry Hat. This hat is going to be fun for you if you love using a variety of stitches. There are about seven stitch variations that are used in this hat. Don’t worry though if you are unfamiliar with any of them, there is a video tutorial available to help you along.
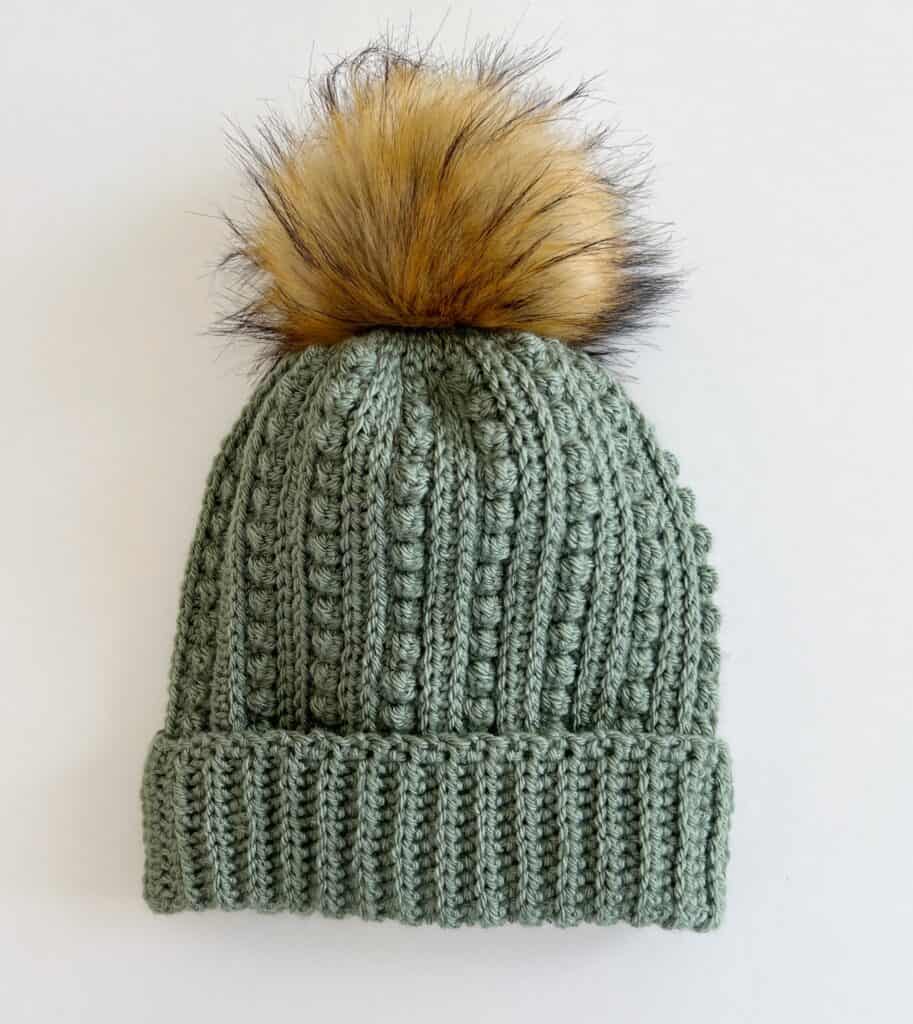
There also is a stitch description for each stitch. This hat is made as a rectangle, then the sides are sewed together and gathered at the top. We used a pom pom that has a snap to finish this off easily. Simply sew one half of the snap to the top, then snap on the pom pom.
In the materials section, you’ll find a link to Amazon where we found these special kinds of poms. A helpful tip that we learned from several of our Facebook and Instagram followers is to give the fur poms a blowout with a hot blow dryer for a minute or two.
The poms are sent through the mail in a tight plastic bag and need a bit of fluffing and using the hair dryer was a quick and easy way to get them looking good.
If this design looks familiar to you, you may remember a blanket we have on our site called Berry Ridge Textured Throw. It was designed by Cyndi aka, SugarJoye. We absolutely loved the ridges combined with the berries.
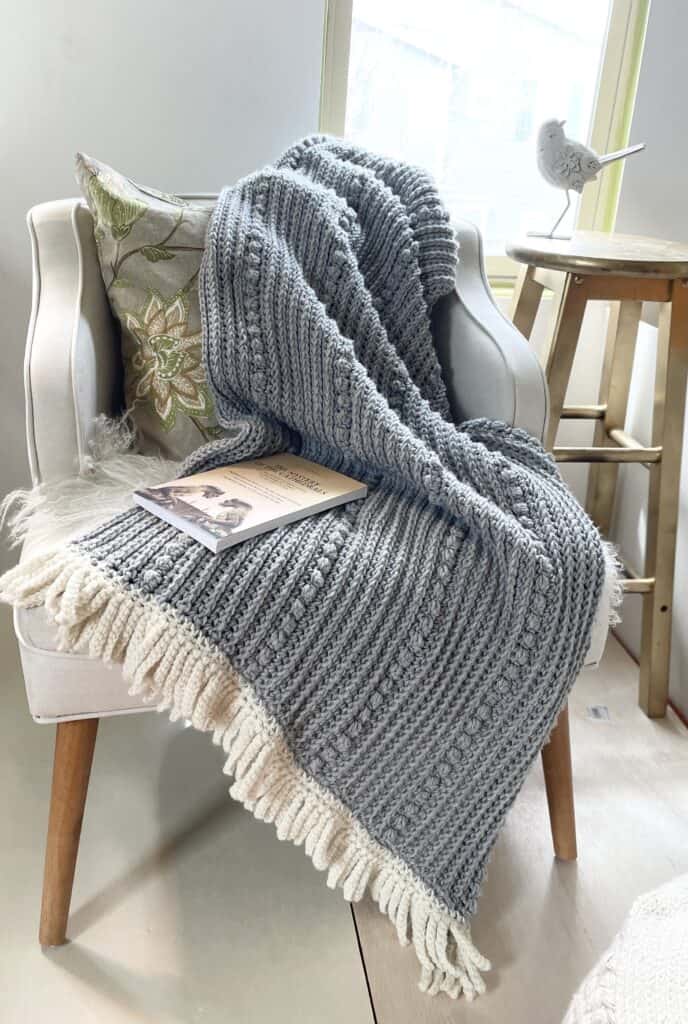
In this version of the hat, we are substituting the ridge rows made out of front post single crochet, for a combination of half double crochet stitches. We hope it will prove to be a great way to get the same look.
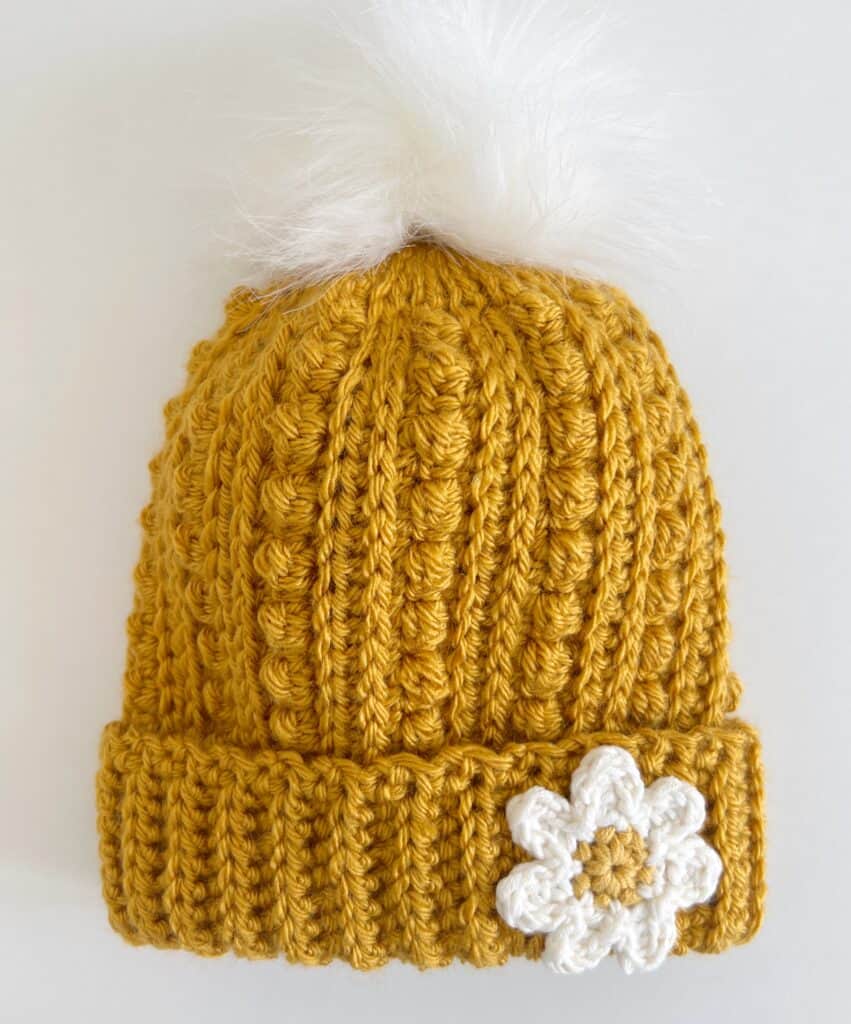
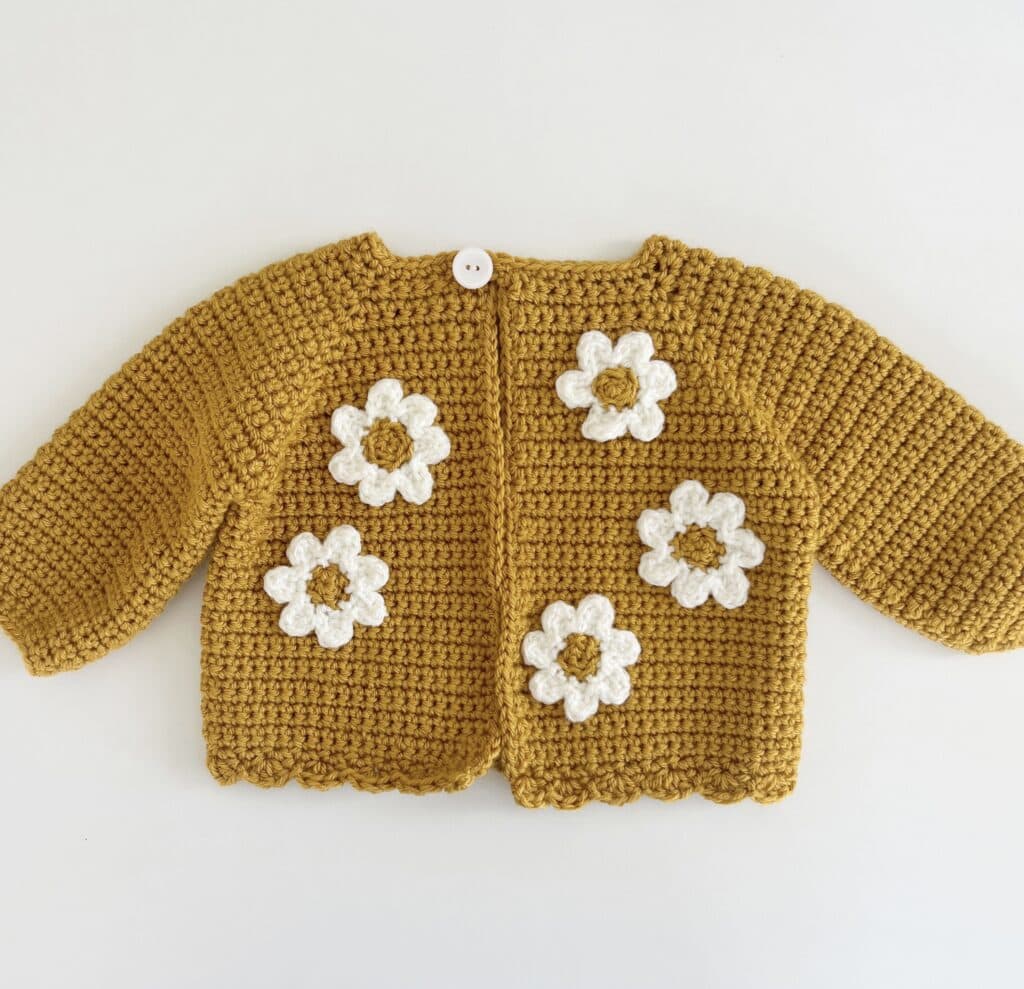
Optional is to add our signature daisy onto the brim! This flower pattern is shared in the Flower Sweater post. It is made out of Bernat Softee Cotton. You can find that pattern here if you choose to add a flower.
Materials
Patons Canadiana (100 g / 3.5 oz, 187 m / 205 yds, 4 weight)
tap name of yarn to see on Yarnspirations.com
1 skein for up to 24 month hat, 2 skeins for larger sizes
Medium Green Tea, Fool’s Gold
Size H 5mm hook, tapestry needle, scissors, measuring tape
Pom Pom with snaps, tap size below to see on Amazon (As an Amazon Associate we may earn from qualifying purchases.)
Stitches
Back Loop Slip Stitch (BL-SLST): Insert hook into back loop, YO and pull loop back through and through loop on hook.
Half Double Slip Stitch (HD-SLST): (also called Yarn Over Slip Stitch) YO, insert your hook, YO, pull up a loop and pull directly through two loops on hook
Back Loop Half Double Slip Stitch (BL-HD-SLST): YO, insert your hook into back loop, YO and pull up a loop, and pull through all two loops on hook
Single Crochet (SC): Insert your hook, YO and pull up a loop, YO and pull through two loops on hook
Half Double Crochet (HDC): YO, insert your hook, YO and pull up a loop, YO and pull through all three loops on hook
Front Bottom Loop Half Double Crochet (HDC): YO, insert your hook under front bottom loop, YO and pull up a loop, YO and pull through all three loops on hook.
Berry Stitch (Berry): YO, insert hook, YO and pull up a loop, YO, pull through one loop on hook, YO, insert hook, YO and pull up a loop, YO, pull through all five loops on hook
Pattern
Gauge: taken from the brim of the hat, 2 inches= 10 sts and 8 rows
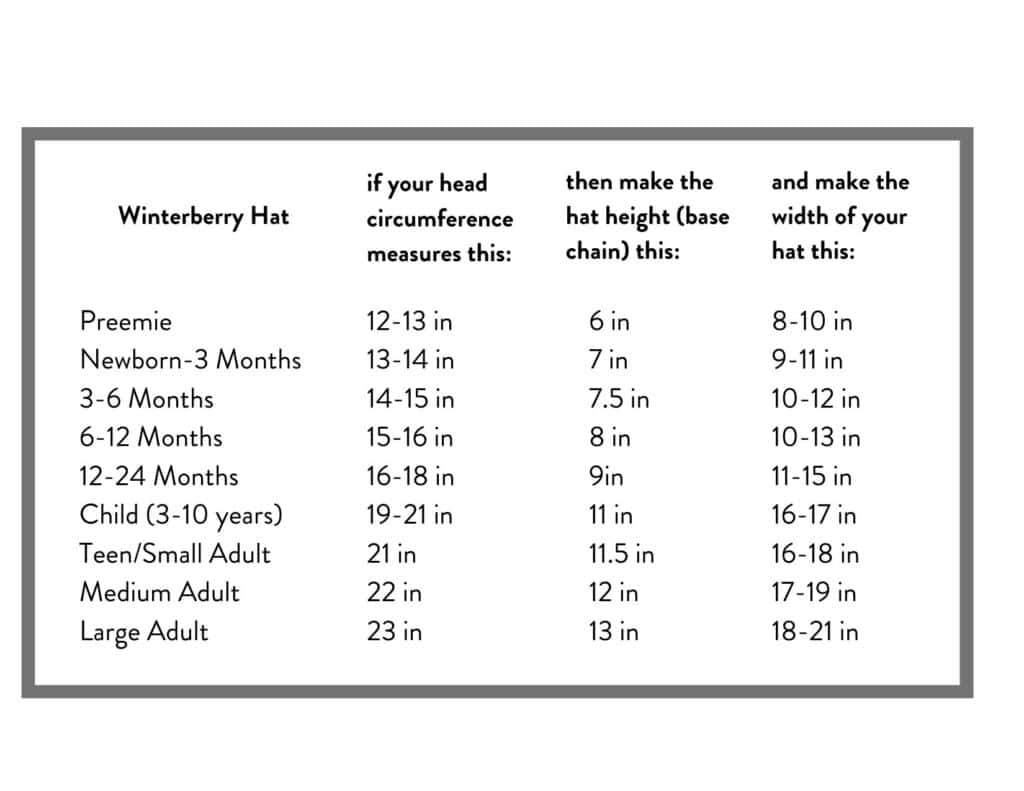
12-24 months
CH 40 (or any number that measures 8.5 inches) For other sizes, refer to the size chart and chain the length needed.
ROW 1: SL ST in the first 5 chains, HDC into each chain to the end. CH 1 and turn. (39) (The starting slip stitches are the top of the hat.
Tip: If you are using different yarn, measure from the bottom of the hat 3.5 inches for the brim for children’s sizes, 4 inches for adults and place stitch marker. Count the remaining HDC stitches and make sure it’s an odd number. If not, adjust stitch marker one stitch.
If you use the same yarn and have the same gauge and started with 40 chains, the pattern going forward will give stitch numbers.
ROW 2: HD-SLST into the first st. BL-HD-SLST into each of the next 14 sts. (Place marker in final HD-SLST) SC into the next st, *Berry into the next st. SC into the next st. Repeat from * until 5 sts remain. Back Loop SL ST into last 5 sts. CH 1 and turn.
TIP: Always mark the back loop HDC stitch that begins and ends the brim section. This will help to keep the brim straight.
ROW 3: Back Loop SL ST into each of the first 5 sts. HDC into each of the next 19 sts. Back Loop HD-SLST into each of the remaining 14 sts, HD-SLST into final st. CH 1 and turn.
ROW 4: HD-SLST into first st. BL-HD-SLST in each of the next 14 sts. Front Bottom Loop HDC into each of the next 19 sts. Back Loop SL ST into each of the remaining 5 sts. CH 1 and turn.
ROW 5: Back Loop SL ST into first 5 sts, back loop SC into each of the next 19 sts. Back Loop HD-SLST into next 14 sts, HD-SLST into final st. CH 1 and turn.
Repeat rows 2 through 5 until you have the width needed for size. Paton’s Canadiana is very stretchy so we made ours 5 inches less than the head circumference. Finish on a row that ends at the brim. Tie off with an extra long tail for sewing.
Fold wrong sides together, use tapestry needle to sew the starting chain and last row worked together, sewing toward the top of the hat, work tapestry needle in and out the top slip stitches to gather the hat in at the top. Work needle around the top several times to continue gathering in the hat.
Sew the bottom half of the snap to the top of the hat, thread through the holes several times to secure. Weave in the end on the underside of the hat.
Weave in the beginning tail, snap on the pom pom.
Tip: if the pom pom is smashed from packaging, use a hot blow dryer to puff up the pom.
Here is a summary of the textured rows that repeat: 1 row berry and single crochet, 1 row HDC, 1 row front bottom loop HDC, 1 row single crochet.
The top of the hat is always 5 slip stitches, the brim is half double slip stitches.
Please watch the video tutorial if you need any help at all:
Click here or image below for free printable pdf!
![]()