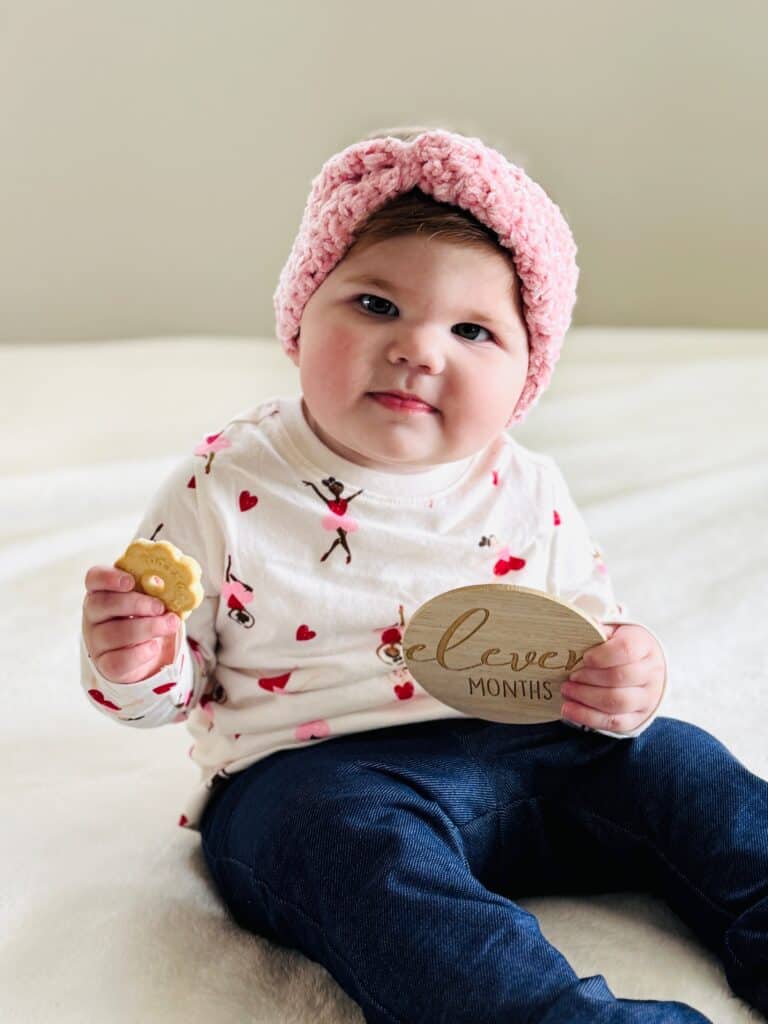
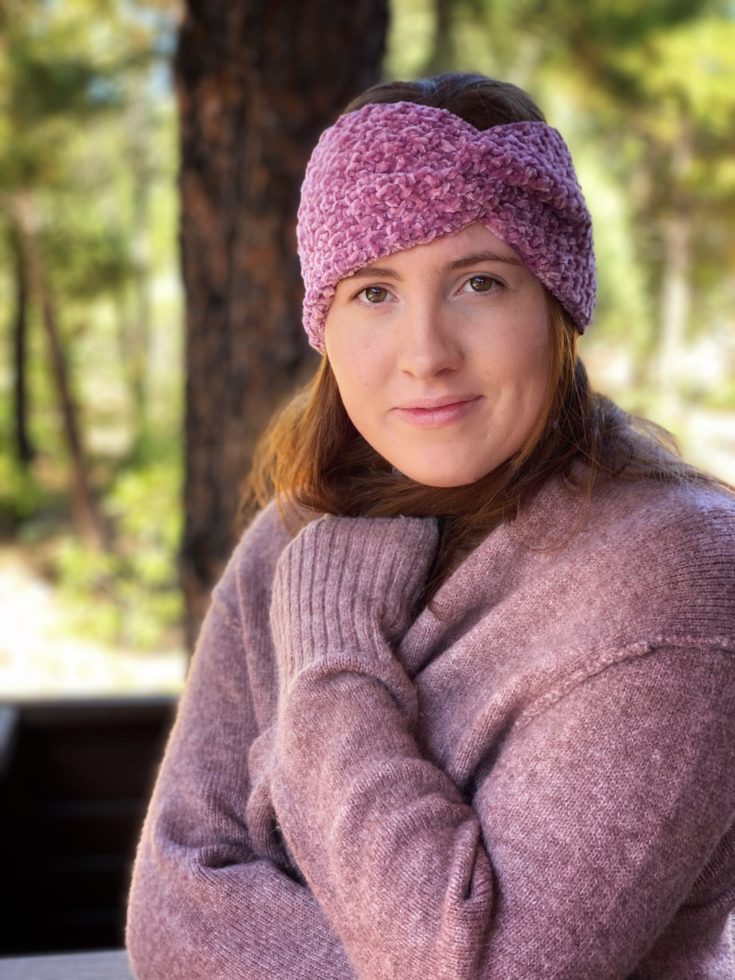
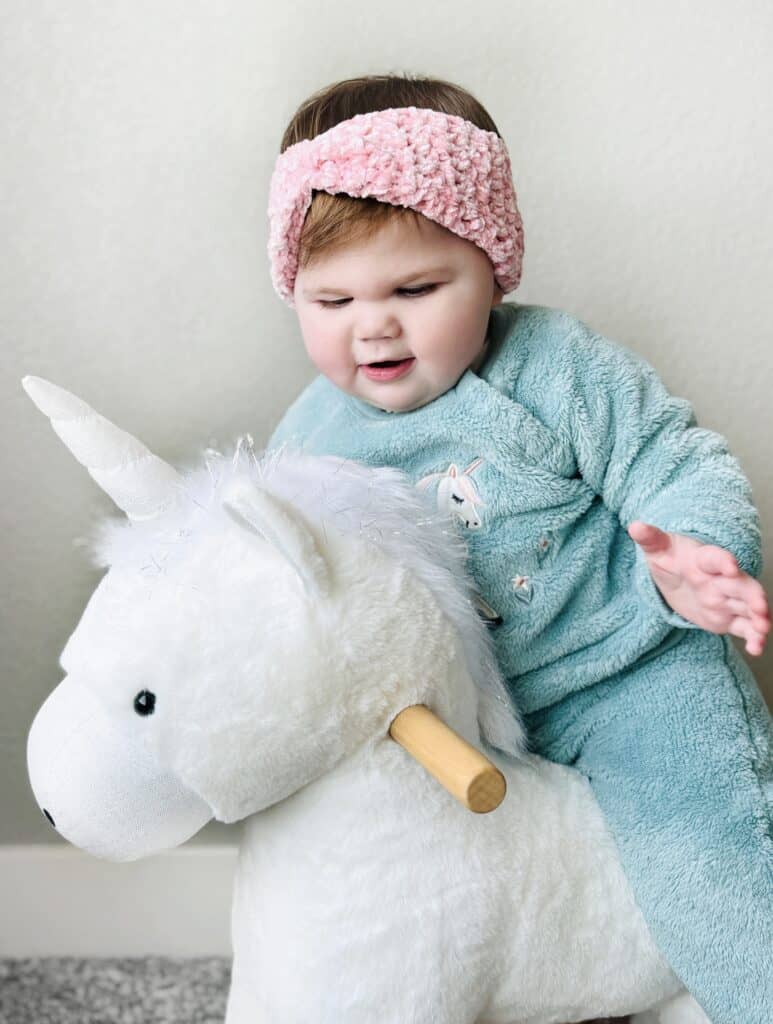
Baby Nora is 11 months old! Since it’s been a cold and snowy January so far here in Colorado I made her a new velvet twist headband this week since she’s outgrown all her hats and headbands from last winter!
Velvet Twist Headbands are one of our favorite things to make for a quick and easy Christmas or Valentine’s Day gift and we’ve made several different versions over the years. Here’s a quick list of all the patterns we have so far!
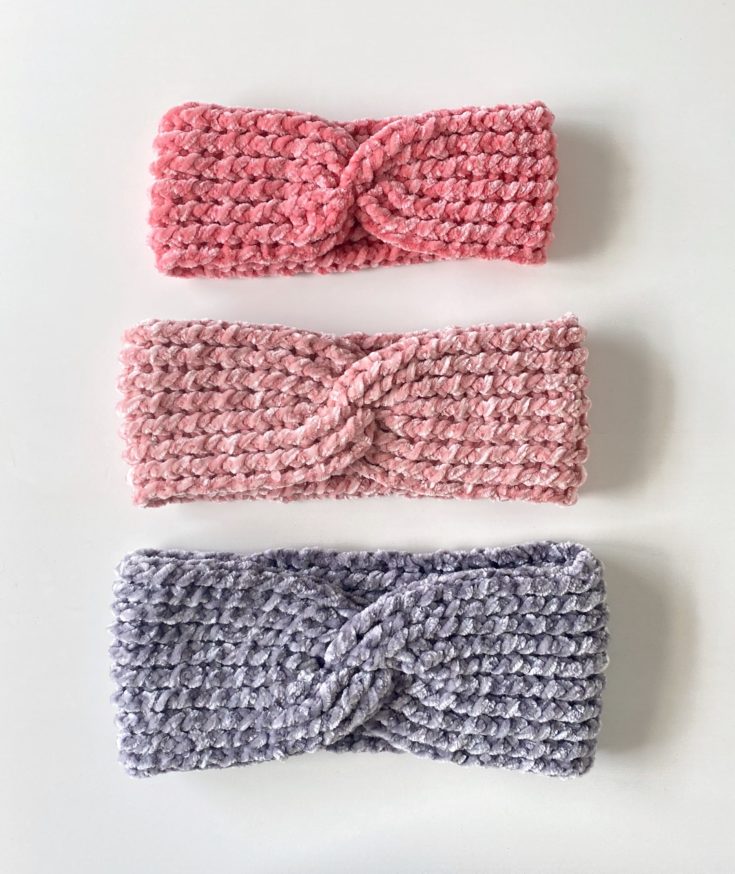
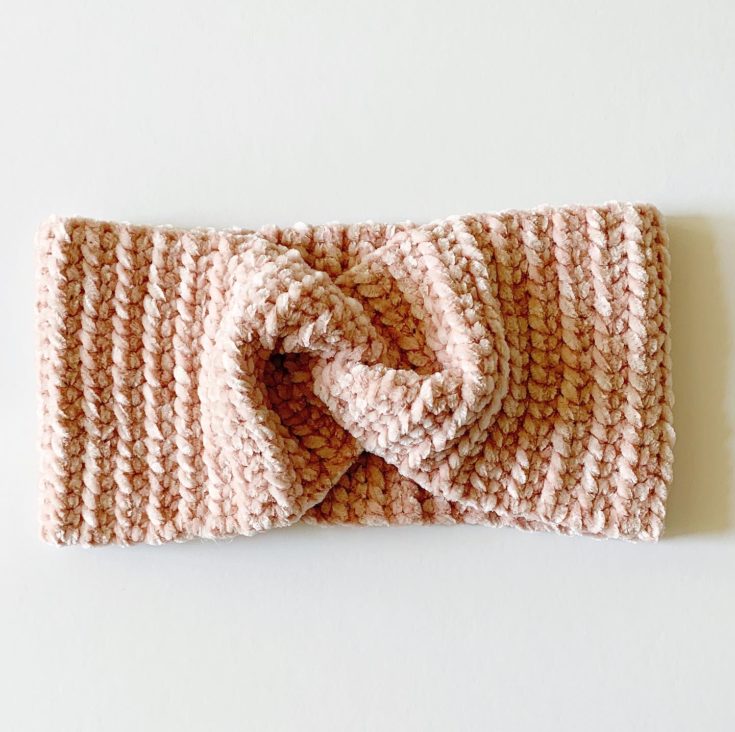
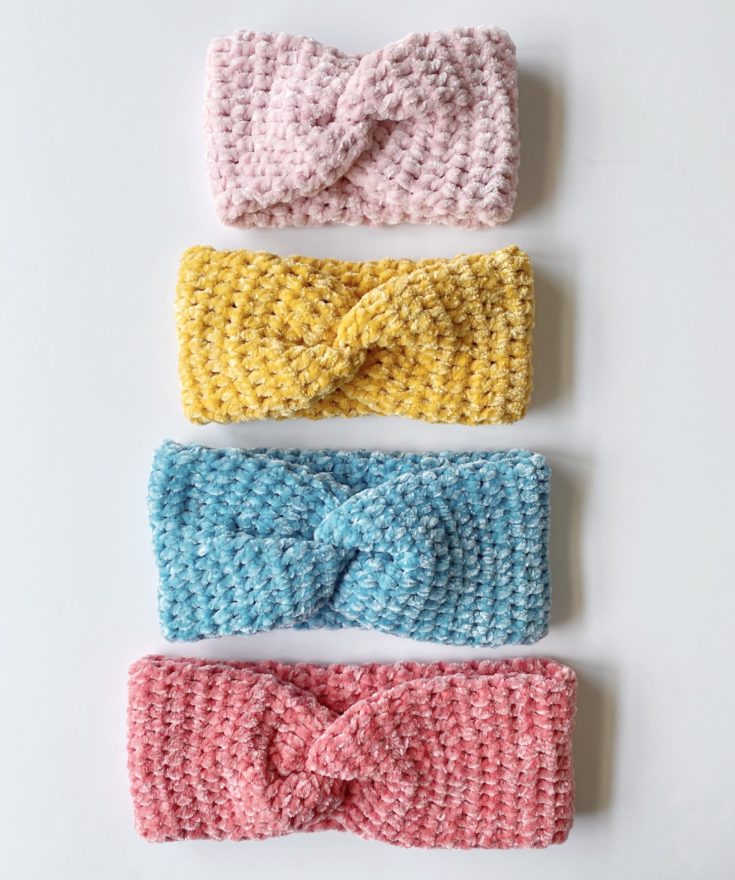
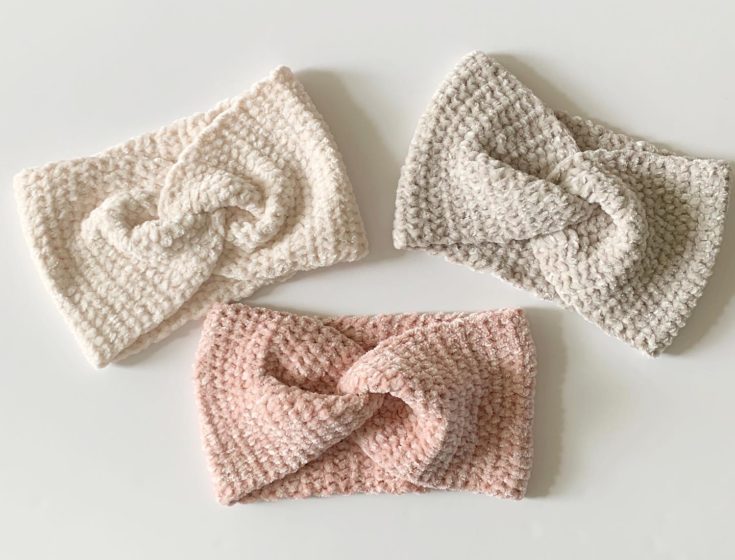
All of these headband patterns can be made with either Bernat Velvet or Bernat Baby Velvet – you just want to make sure that you keep your tension tight and go down a hook size if you need. You can find all the beautiful shades for this yarn on Yarnspirations.com!
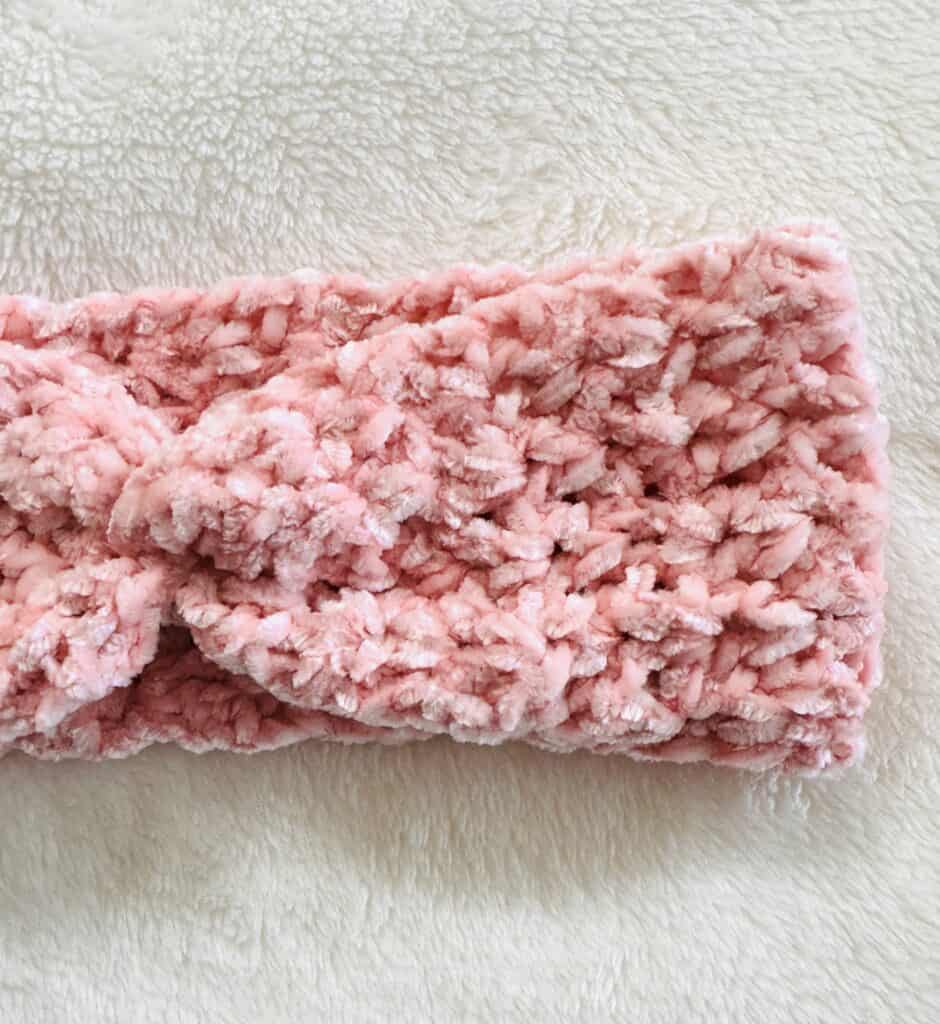
For Nora’s headband this time, I decided to try using the V-Stitch, which is pairs of double crochets worked in between each other. This version is a little lighter and more stretchy than some of our other versions, so you definitely want to err on the smaller side when measuring – I found that the best fit for Nora was to make the headband 3 inches smaller than her head circumference.

Here’s a quick video for the v-stitch if you’d like to watch before you get started!
Materials
Bernat Baby Velvet (100% polyester, 300 g/10.5 oz, 450 m/492 yds)
1 large skein any color makes at least 3 to 4 headbands
Size H/5.00mm hook, tapestry needle, scissors
Stitches
Double Crochet (DC): Yarn over (YO), insert your hook, YO and pull up a loop, YO, pull through two loops, YO, pull through remaining two loops.
Pattern
Chain 14 for babies/kids or chain 18 for adults.
Row 1: Work 2 DC in the 4th chain from the hook. *Skip the next chain, and work 2 DC in the next chain. Repeat from * across the row. In the last chain, work 1 DC. CH 2 and turn. (This will count as your first DC for the next row.)
Row 2: Work 2 DC in the space between the second and third DC posts, splitting the pair to form a “V.” *Skip 2 stitches, then work 2 DC in between the next pair of DC from previous row. Repeat from * across row. End row with 1 DC into the top of the turning chain (or work into space the turning chain created if easier). CH 2 and turn.
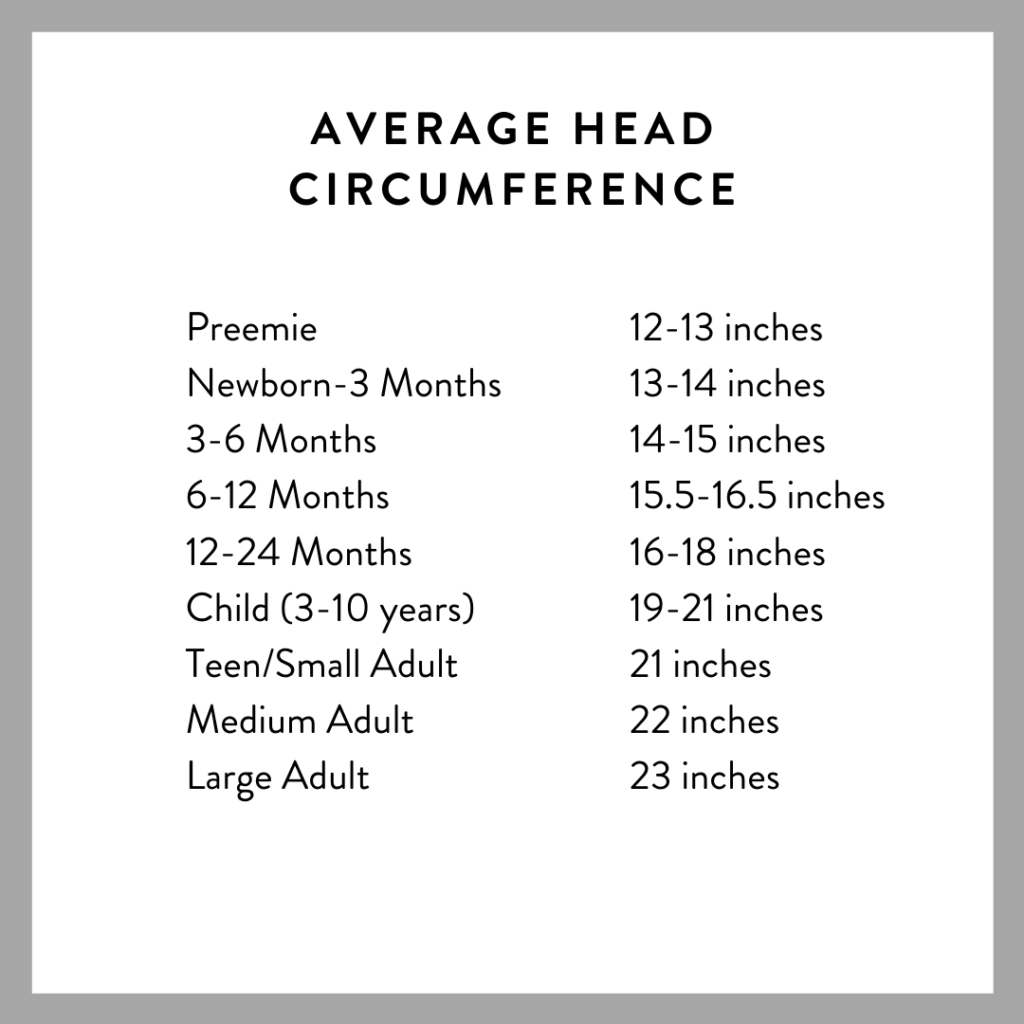
Repeat row 2 until headband measures 3 inches less than head circumference. Be sure to leave yourself an extra long tail when you tie off. If you are not able to measure in person, here is a standard head size chart you can use (you’ll want to make your headband 3 inches less than the chart):
 v
v
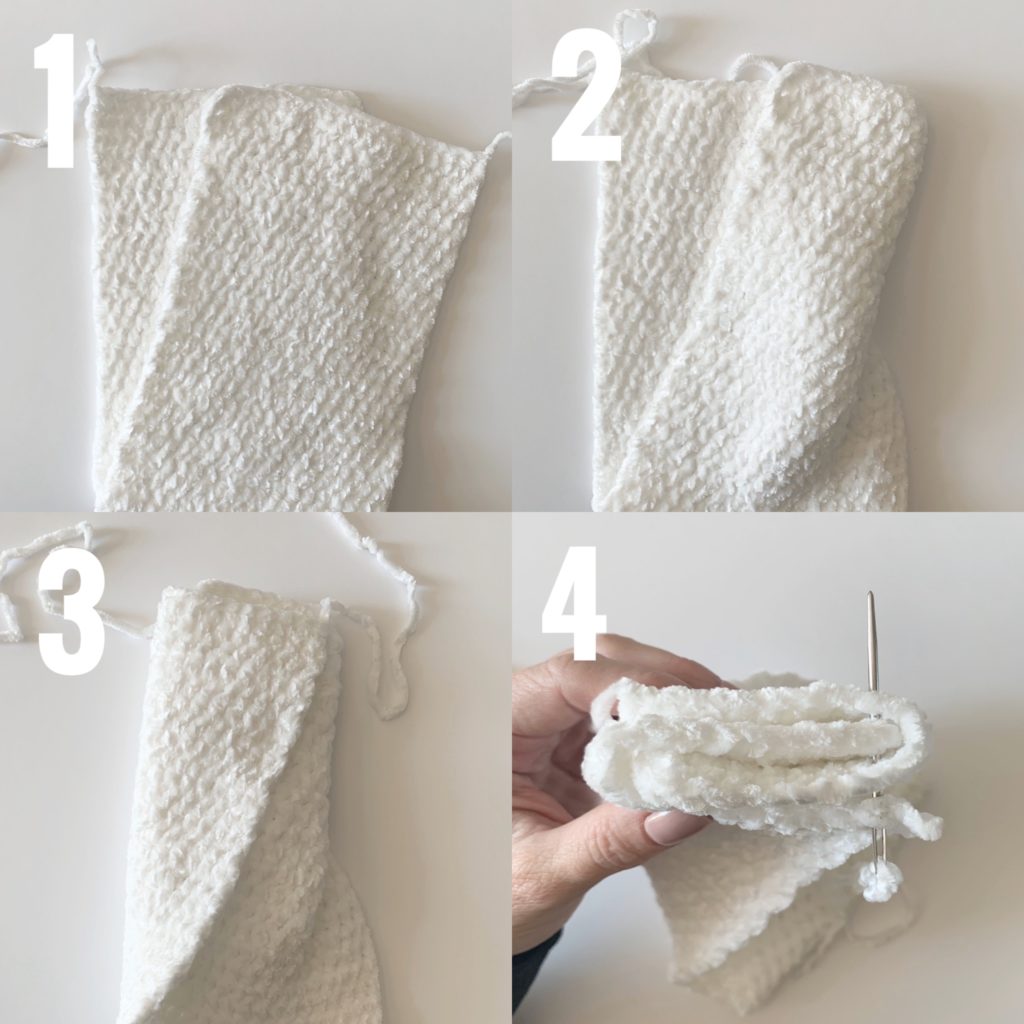
For the twist:
Step 1: Lay the band out and fold in half and slide one side of the band across so one end is matched up to the middle of the other.
Step 2: Fold the right hand side around the back.
Step 3: Fold the left hand side around the front, giving you four layers
Step 4: Sew with the tapestry needle through all four layers, then turn inside out.
After you finish your twist weave in any tails with a tapestry needle and then enjoy your cozy velvet headband!
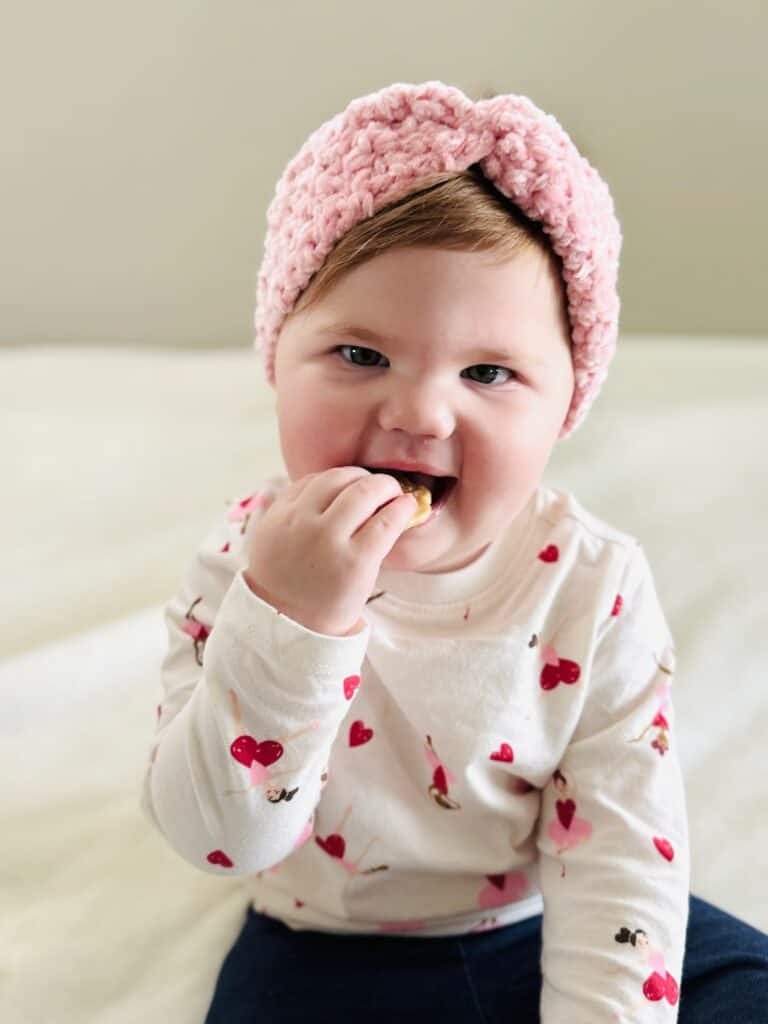
Here’s one more picture of baby Nora enjoying her headband! Thanks for visiting Daisy Farm Crafts! xo, Hannah
Click here or on image below for printable pattern
![]()