POST UPDATE:
I’m excited to let you know that I found a technical crochet editor that was able to size this baby sweater from 3 months to adult size 5x!
The free pattern is at the end of the post as a free printable pdf. The original pdf is still available too. I’m excited to see you make this sweater in different sizes!
XO, Tiffany
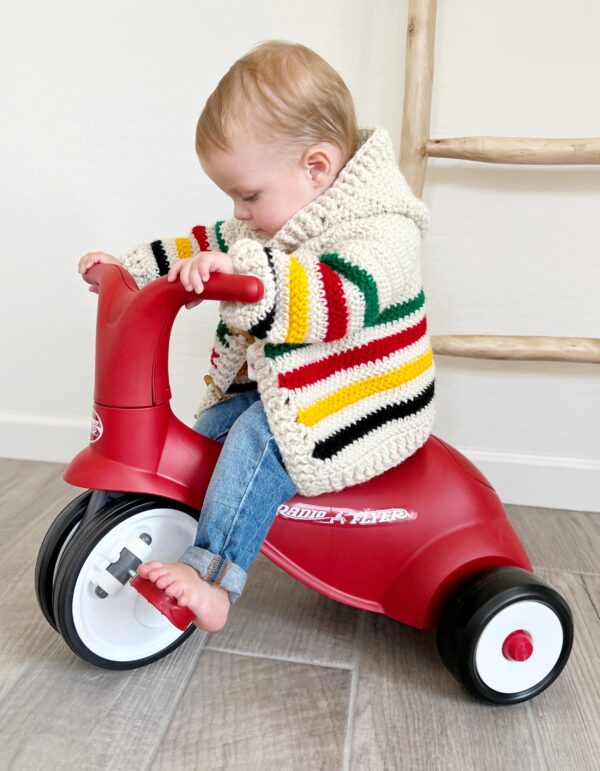
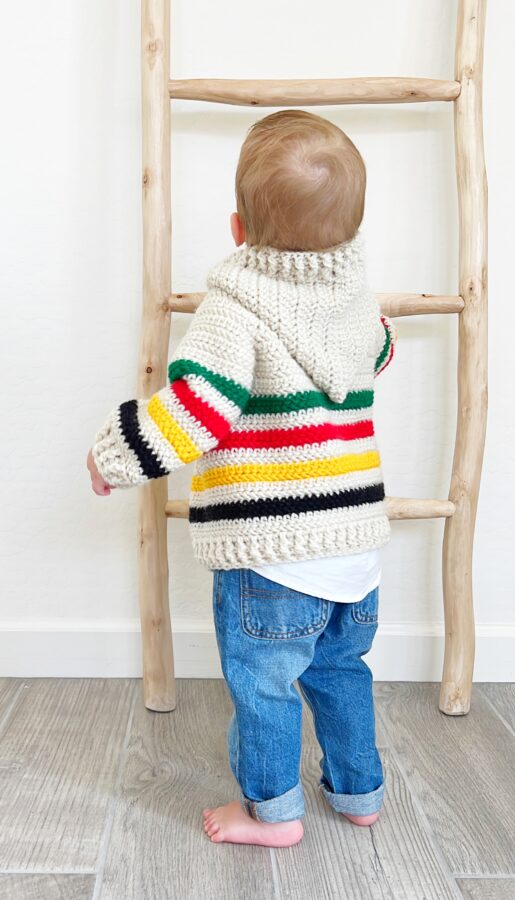
Baby Jack is headed way up north on a family vacation! And I thought the classic Glacier National Park colors would be so cute for him to wear and keep him warm.
(And to clarify, it is similar to Hudson Bay, but in Canada, they use navy blue instead of black.)
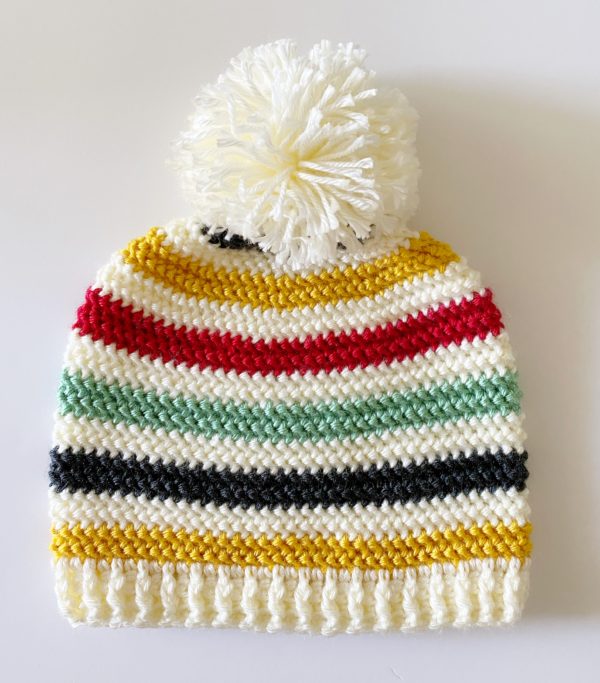
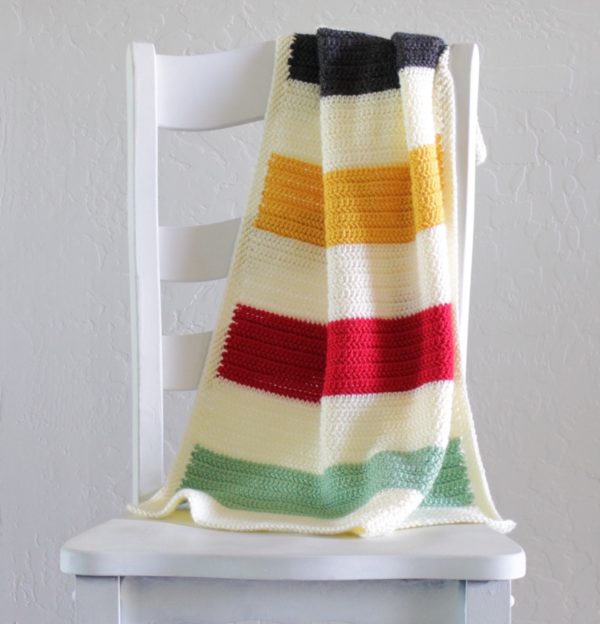
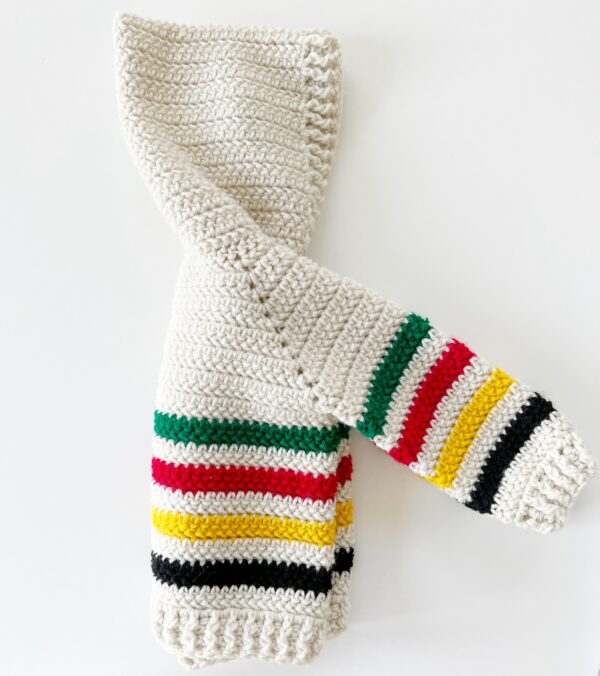
I have made this combo before in a hat, sweater and blanket. These colors together are always a hit. (click on each photo to be taken to the patterns.)

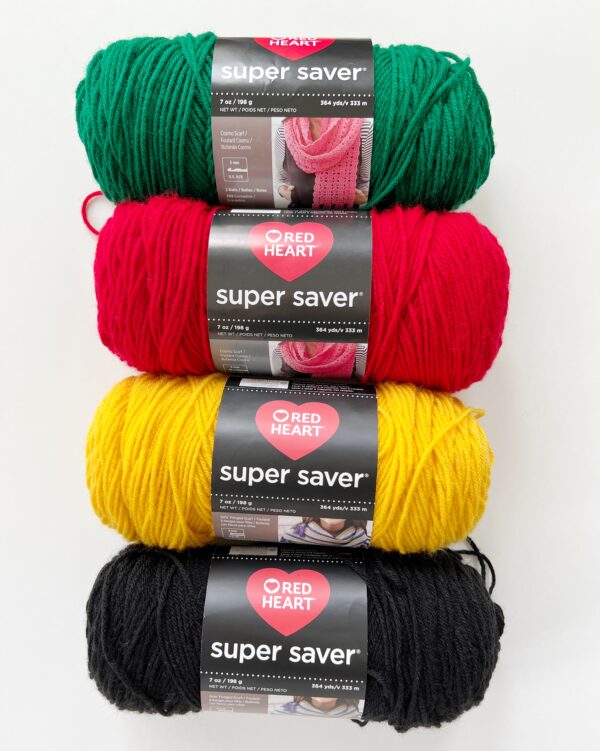
When I decided to make him this sweater the only store I had access to was Walmart so luckily, Red Heart Super Saver had all the colors I needed.
I usually don’t use Super Saver as it can be scratchy however, I’d been wanting to try the tips I’ve been seeing on how to soften the yarn after the sweater was made.
I’m happy to report that after I made this sweater, I soaked it in a solution of 2 gallons of cool water and 1/4 cup vinegar for about thirty minutes. Then I tossed it into my washer and used fabric softener. Then after it was done, I tossed it into my dryer, on high, for about 10 minutes.
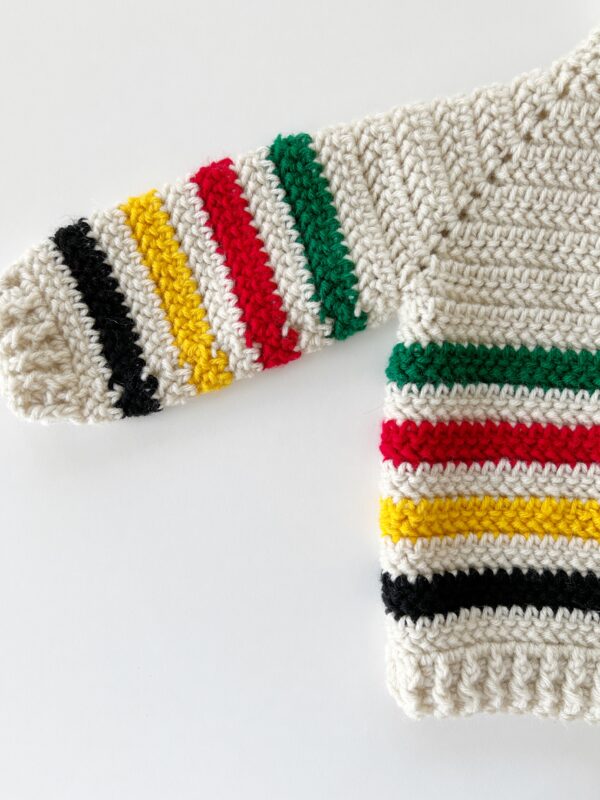
It came out so soft! I have new respect for Super Saver. The colors are so vibrant and the yarn gives the stitches great definition, and now that I know how to soften it right up, I think I’ll be using that yarn a bit more.
Plus, it has so many color choices. I also was a little worried about the red bleeding onto the cream color, but it did not. In the picture of Jack riding the scooter and the photo below, the sweater had been washed and dried.
I did record a Youtube tutorial if you need extra help. Look for the link in the pattern section of this post.
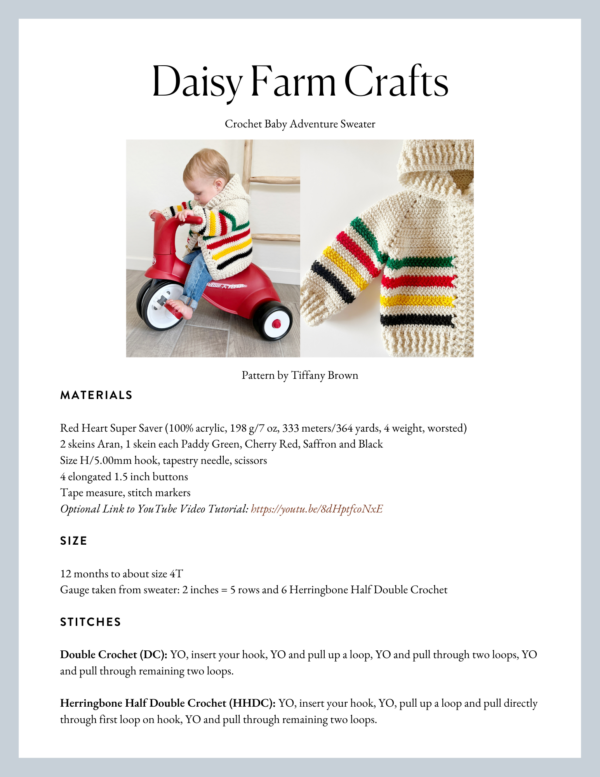
Materials
Red Heart Super Saver (100% acrylic, 198 g/7 oz, 333 meters/364 yards, 4 weight, worsted)
2 skeins Aran, 1 skein each Paddy Green, Cherry Red, Saffron and Black
Size H/5.00mm hook, tapestry needle, scissors
4 elongated 1.5 inch buttons
Tape measure, stitch markers
Size
18 months
Gauge taken from sweater: 2 inches = 5 rows and 6 Herringbone Half Double Crochet
Stitches
Double Crochet (DC): YO, insert your hook, YO and pull up a loop, YO and pull through two loops, YO and pull through remaining two loops.
Herringbone Half Double Crochet (HHDC): YO, insert your hook, YO, pull up a loop and pull directly through first loop on hook, YO and pull through remaining two loops.
Front and Back Post Double Crochet (FPDC & BPDC): A front post double crochet means you insert your hook from front to back around the post of the next DC and work a DC. A back post double crochet means you insert your hook from back to front around the post of the next DC and work a DC.
Pattern
With Aran, chain 44.
Row 1: Begin in the 3rd chain from the hook with 1 HHDC. HHDC in each chain across the row, CH 1 and turn. (42)
Mark the 8th, 13th, 29th, and 34th stitches
Row 2: Work 1 HHDC in each st to the marked st. In each marked st, work “HHDC, CH 2, HHDC.” CH 1 and turn at the end of the row.
Row 3: Work 1 HHDC in each st to the ch 2 space. In each ch 2 space work “HHDC, CH 2, HHDC.” CH 1 and turn at the end of the row.
Repeat row 3 until size needed. 12 month: 9 rows, 18 month, 11 rows, 24 month-2 Toddler, 13 rows, 3 to 4 Toddler 15 rows. CH 1 and turn after each row.
Joining for armholes: (This will be either row 10, 12, 14, or 16 depending on size.) *Work HHDC in each st to the ch 2 space, work 1 HHDC into the chain 2 space, chain 2, skip over all stitches to the next ch 2 space, work 1 HHDC into the chain 2 sp. Repeat from * to make the next armhole. Work HHDC in each st to the end of the row, CH 1 and turn.
Row 11, 13, 15 or 17: Work 1 HHDC in each st and work 2 HHDC around the ch 2 space that makes the armhole. CH 1 and turn.
Row 12, 14, 16, or 18: Work 1 HHDC in each st, Pull through with Paddy Green in last step of last st. CH 1 and turn. (Don’t cut aran)
Body of sweater: Work 2 rows in green, 2 rows in aran, 2 rows in red, 2 rows in aran, 2 rows in saffron, 2 rows aran, 2 rows black, 1 row in aran. Always CH 1 and turn, cutting the color after each use and pulling aran up along the edge of the row when needed. CH 2 and turn after finishing the last row of aran to begin the bottom edge ribbing.
Bottom edge ribbing: Work 1 DC into each stitch across the bottom of sweater. CH 2 and turn. *Work 1 FPDC around next DC. Work BPDC around next DC. Repeat from * across the row. Work 1 DC around the turning chain, CH 2 and turn. Repeat ribbing for 3 to 5 rows to your preference. For the smaller size, I preferred 3 rows, larger, 5 rows. Tie off.
Sleeves Round 1: Pull up a loop with Aran, in between the 2 sts in the ch 2 space of the armhole. CH 1 and HHDC in that same sp. Work Herringbone 2 together (HHDC2tog) around the side (post) of next stitch and into ch 2 space. HHDC into each stitch around. HHDC2tog into ch 2 sp and around side (post) of next st. Work 1 HHDC next to starting stitch, join with a slip st to starting st. CH 2 and turn.
Sleeves Round 2: Turning chain counts as first st. Work HHDC into the next st and each st around. When it’s time to change color, pull through with color on the sl st, CH 2 and turn. Keep ends to the inside of the sleeve.
Repeat rounds according to color changes in body of sweater.
Wrist: *Work 1 DC into each of the next 4 sts, skip 1 st, repeat from * around. Join with a slip st to first st. CH 2 and turn. Work alternating front and back post DC for 3 to 5 rows depending on width wanted. Tie off.
Hood Row 1: Pull up a loop with aran in neck corner. CH 1 and HHDC into that same sp. Work 1 HHDC in each sp around to the other next corner. CH 1 and turn.
Hood Row 2: Work 1 HHDC in each stitch, CH 1 and turn.
Repeat row 2 to size needed: 12 month: 18 rows, 18 month: 20 rows, 24 month 2T: 22 rows, 3T-4T: 24 rows.
Front Placket and Hood Ribbing: Pull up a loop in bottom corner. CH 2. Work 2 DC per row of DC, work 3 DC per each 2 rows of HHDC all the way up the side around the hood edge and back to the other bottom corner. CH 2 and turn. Work 3 or 5 rows of alternating front and back post DC as desired. End with 1 round of single crochet in each st if desired.
Tie off and weave in all the ends.
Here is the Youtube tutorial that can help with more instructions. (Especially with joining for the armholes and starting the sleeves and if you haven’t seen how to work DC around the posts.)
I think the combo of the written and pattern and video will be of most help if you are new to making sweaters.
I can’t wait to see photos of your little one! Come and share into the Daisy Farm Crafters group so we can all see!
xo, Tiffany

Click here or on image below for the original printable pattern, the extended sizes link is below:
Click here to download the Adventure Sweater Sizes 3 months to 5x as a pdf.