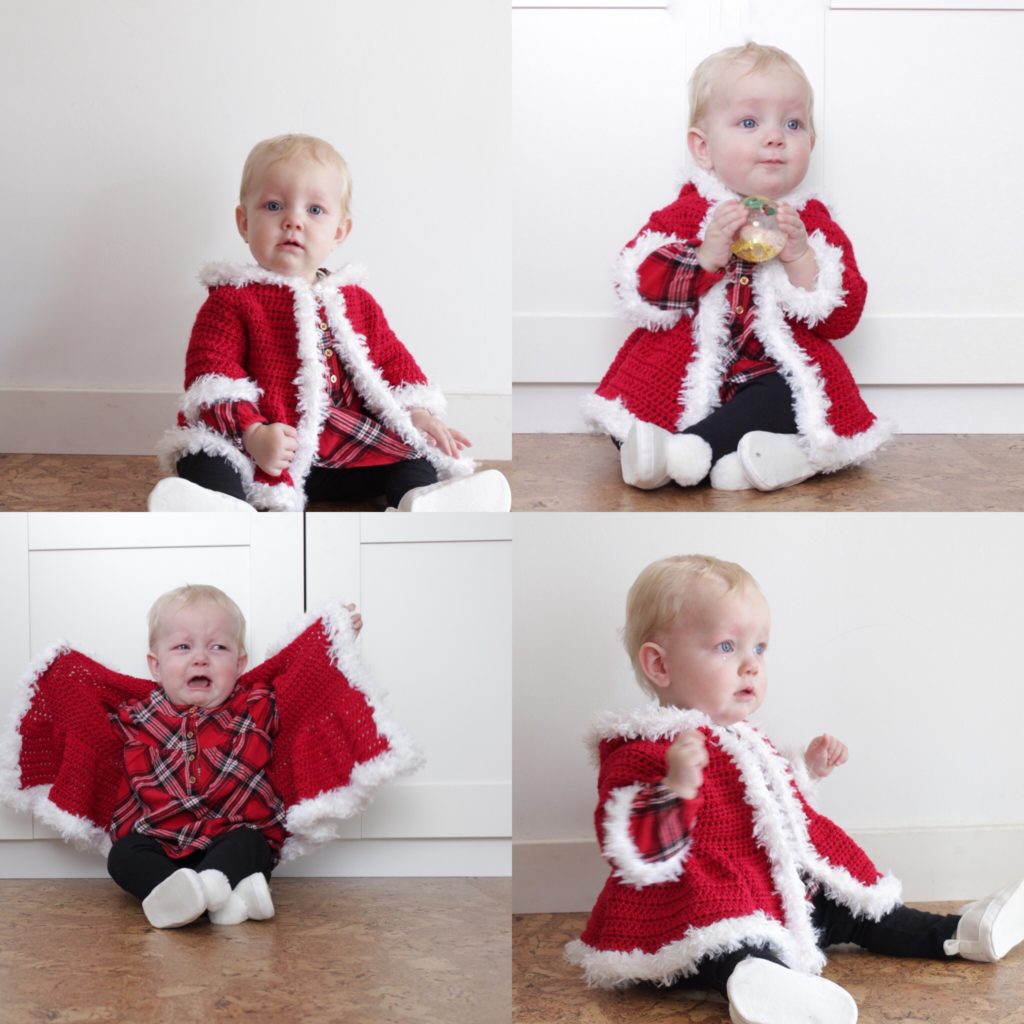
Pattern update! We now have sizes available from 3 months to 5x! Scroll to the end of the post for the link to print a free pdf of the multiple sizes. The original pdf is still available as well.
XO, Tiffany
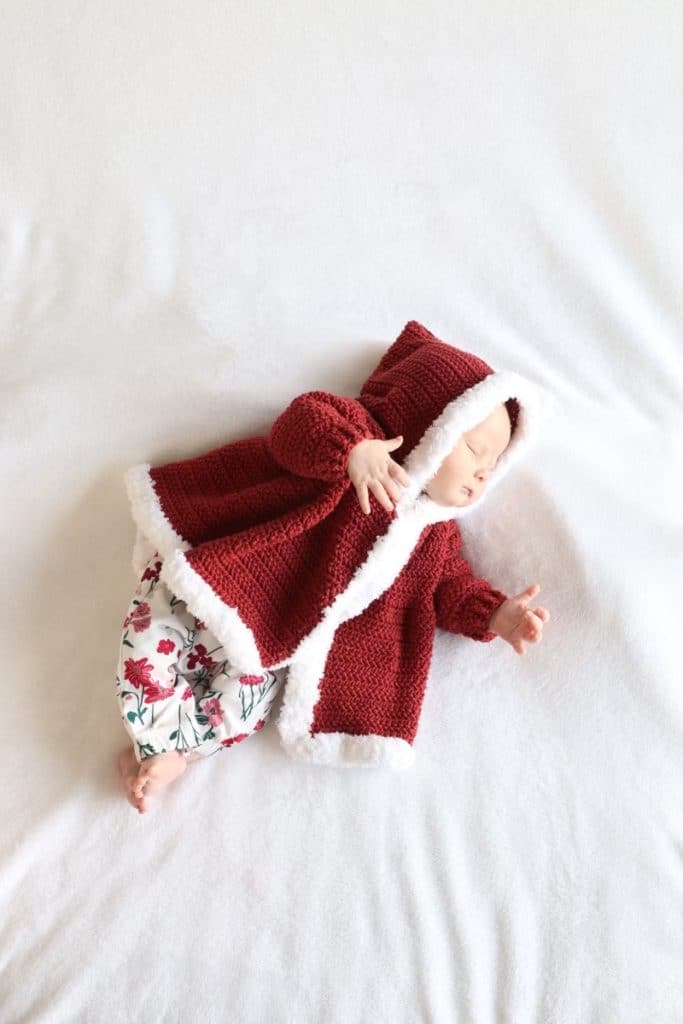
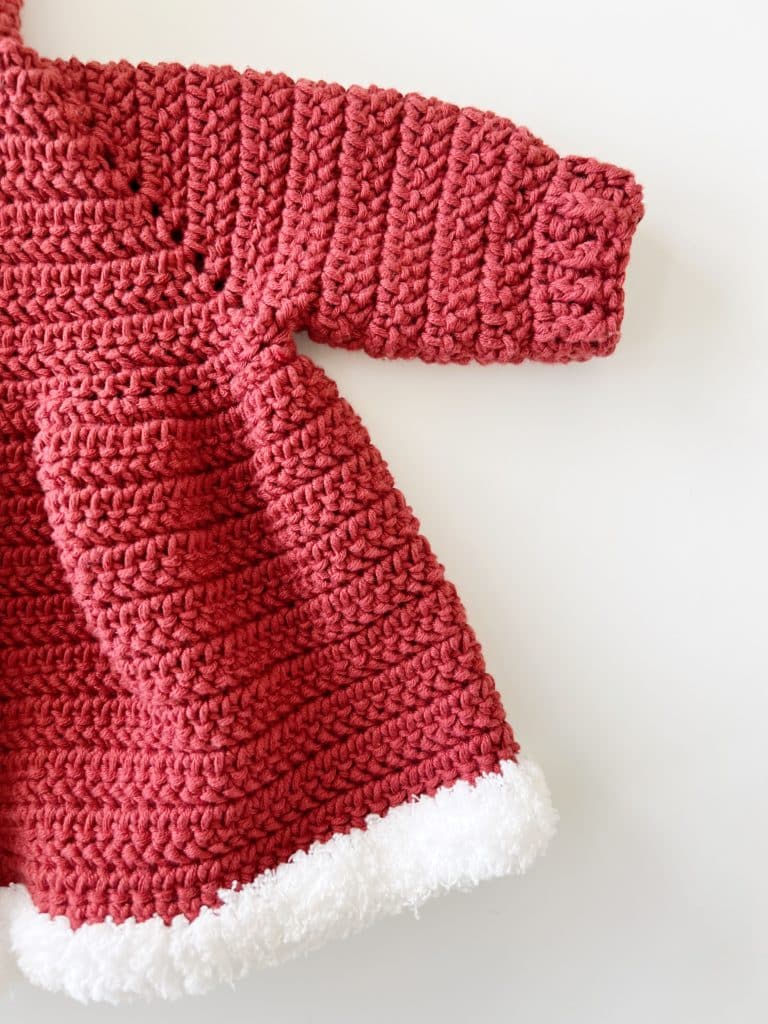
Oh how I love our new grandbaby Kate! I have been so excited to make her this sweater and I can’t believe this day is finally here!
I originally made a version of this sweater several years ago for my neighbor’s baby girl Gigi. I had this vision of a Christmas coat similar to something you see in the old-fashioned movie White Christmas.
My crochet skills were increasing and I loved experimenting with baby sweaters. I really was amazed to learn how ruffles were made by just putting 2 stitches into one to increase and that made the darling peplum.
And now, I can’t believe I get to re-make that sweater for my own granddaughter.
So if you’ve been following me for a while, and making baby sweaters, I pretty much keep to the same techniques. I’ve modified a few stitches here and there but overall, these are top-down, no-sewing, add the trim as the last step type sweaters.
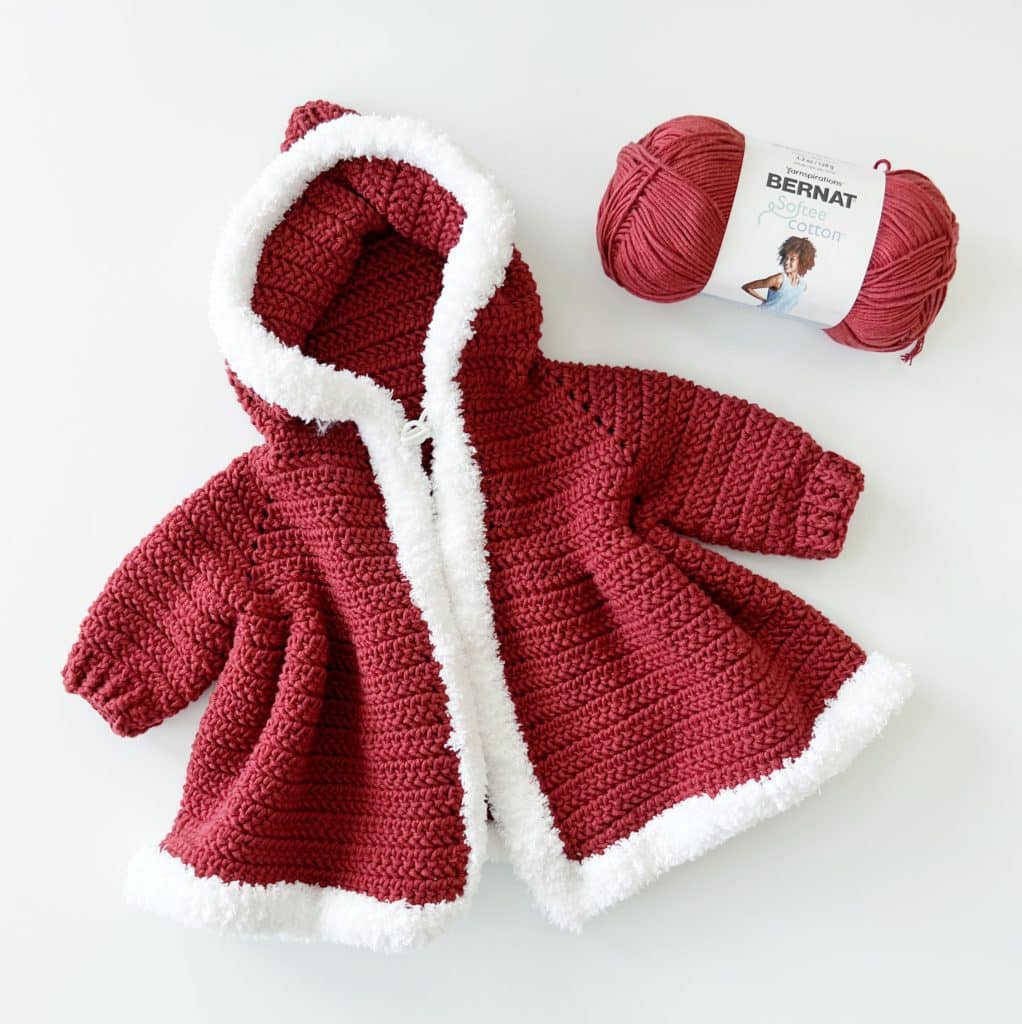
I wanted to use 3-weight Bernat Softee Cotton for Kate since she is so tiny. The original Christmas Sweater is done with 4-weight yarn Caron Simply Soft.
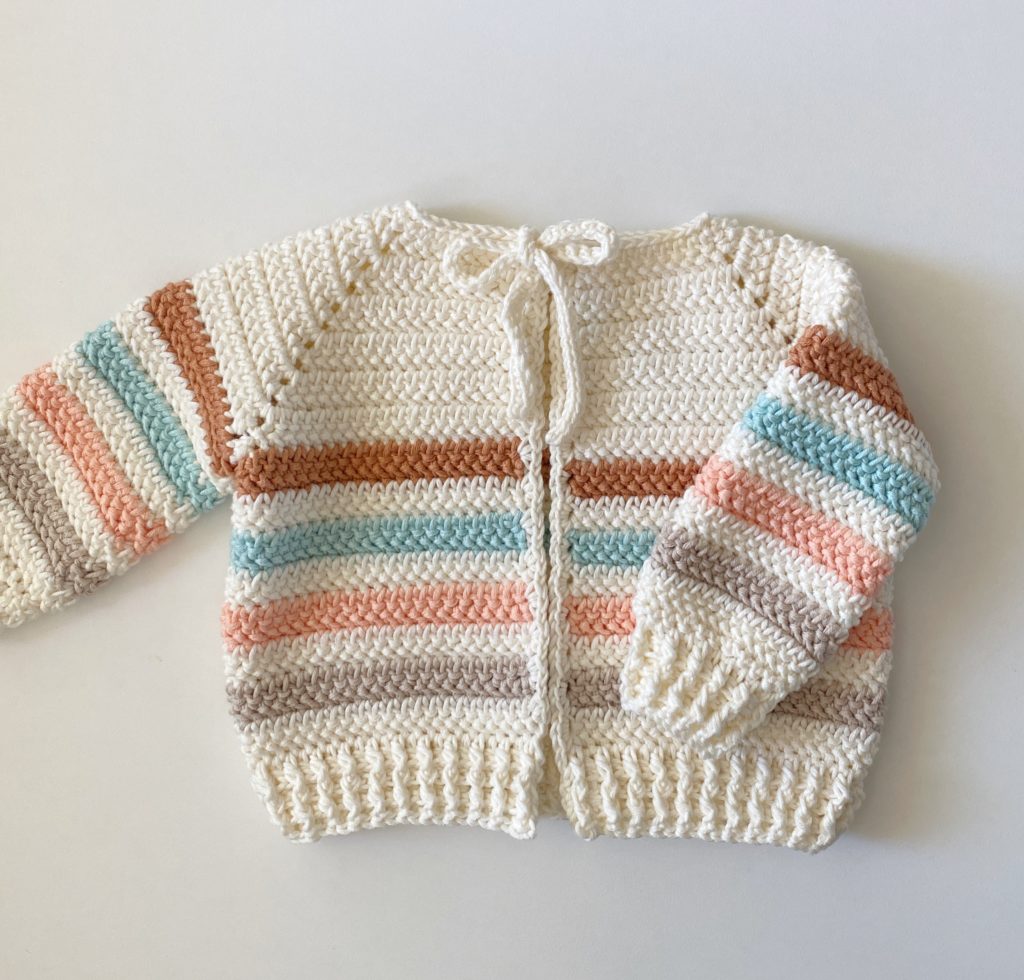
I basically started with the Crochet Cotton Stripes Sweater pattern I made last year since it was made with the same yarn.
If you have made this one, you’ll be adding a hood and making an adjustment when you join for the armholes and then adding stitches for the peplum.
Please refer to that pattern if you need a video tutorial. You could always make that version in red and add a hood for a boy then trim with the fur.
The fur is Bernat Pipsqueak, and I really liked how it turned out compared to the one I made years ago.
Materials
Bernat Softee Cotton (60% cotton, 40% acrylic, 120g/4.2oz, 232m/254yds)
3 skeins Warm Red (I had a lot left over of the third skein so that should accommodate up to the 18 month size)
Bernat Pipsqueak (100% Polyester, Ball Size: 100g / 3.5 oz, 92 meters / 101 yards)
1 skein Whitey White
Size G 4.00 mm hook for main sweater, Size I 5.5mm for trim, tapestry needle, scissors, stitch markers
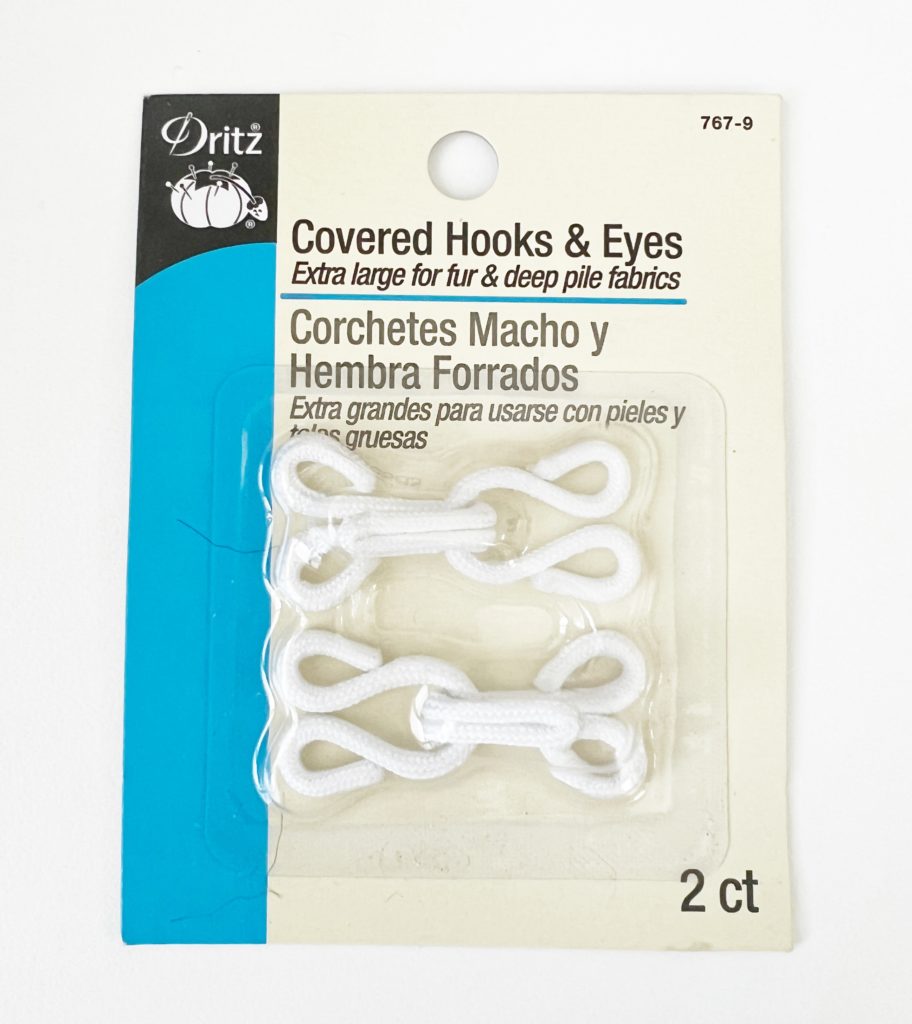
hook and eye for a closure. (look in the sewing notions of your local craft store)
Stitches
Herringbone Half Double Crochet (HHDC): YO, insert your hook, YO, pull up a loop and pull directly through first loop on hook, YO and pull through remaining two loops.
Half Double Crochet (HDC):YO, insert your hook, YO and pull up a loop, YO and pull through all three loops on hook
DOUBLE CROCHET (DC): YO, insert your hook, YO and pull up a loop, YO and pull through two loops, YO and pull through remaining two loops.
Size
I’m estimating that you can make this up to about 18 month size by adding rows before you join for the armholes to achieve the armhole depth size in chart below, then add length to the sleeve and peplum and height to the hood.
Here is a size chart for guidance but it’s best to measure the baby you are making this for.

Pattern
CHAIN 51 with Warm Red.
ROW 1: Begin in the second chain from the hook with HDC. Work 1 HDC in each chain across the row. CH 1 and turn.
Mark stitch numbers 11, 15, 36,40
ROW 2: Begin in the first stitch with 1 HHDC. *Work 1 HHDC into each stitch. In the spaces with the stitch markers work “HHDC, CH 2, HHDC”. Repeat from * around. CH 1 and turn.
ROW 3: *Work 1 HHDC in each stitch, work “HHDC, CH 2, HHDC” around each chain 2 space. Repeat from * around. CH 1 and turn.
ROWS 4 THROUGH 11: Repeat row 3 instructions.
For size 3 to 6 months, continue with row 12, for size 6 to 9 months, add 2 more rows and then join for armholes. For size 9 to 12, add 4 more rows then join for armholes, and for 12 to 18 add 6 more rows before joining for armholes.
Consult this size chart and measure the armhole depth as you increase to make sure you are getting the width you need. If you are using different yarn, you might not need to add as many rows, the important thing about adding rows is to make sure you are adding 2 at a time.
ROW 12: Joining for the armholes. *Work 1 HHDC in each stitch until the chain 2 space. Work 1 HHDC into the chain 2 space, skip over stitches until the next ch 2 space, work 1 HHDC into the chain 2 space. Repeat from * for the next armhole. Work 1 HHDC into each stitch to the end of the row, CH 1 and turn.
ROW 13: Work 2 HHDC into each stitch. CH 1 and turn.
ROWS 14 – 32: Work 1 HHDC into each stitch. CH 1 and turn.
(3-6 month size 7 inches of peplum, add a 1/2 inch per size up)
Tie off and weave in ends.
SLEEVES:
ROUND 1: With Warm Red, pull up a loop in one of the center chains in the armpit. Ch 1 and work 1 HHDC into that same space. 1 HHDC into each stitch around the arms, join with a slip stitch to the first HHDC of the round. CH 1 and turn.
ROUNDS 2 through 8: Work HHDC into each stitch around, join with a slip stitch to the first stitch of the round, CH 1 and turn.
(For larger sizes add more length here before decreasing)
ROUND 9: (Decrease) *Work 1 SC into each of the next 2 stitches, work SC2tog across the next 2 stitches. Repeat from * around. Join with a sl st, CH 2 and turn.
ROUND 10: Work 1 DC into each stitch around, join with a slip stitch to chain 2. CH 2 and turn.
ROUND 11 : Work 1 FPDC around next DC post and 1 BPDC around next post. Alternate around. Join with a sl st to chain 2, CH 2 and turn.
ROUNDS 12 AND 13: Work FPDC around FPDC and BPDC around BPDC, join with slip stitch to chain 2, CH 2 and turn.
Tie off and weave in all ends.
Hood
Row 1: With Warm Red, pull up a loop in the front neck edge. (The bottom side of the starting chain) Work HHDC into each chain around the neck. CH 1 and turn.
Row 2-22: Work HHDC into each stitch, CH 1 and turn. (Size 3-6 month 8 inches of length)
Fold hood in half and seam together with tapestry needle.
Weave in ends.
Trim
With Bernat Pipqueak and size 5.5mm hook, pull up a loop in bottom corner of the jacket, HDC into each stitch around the bottom, up one side, working 1 HDC per end of a row, around the front edge of the hood, down the other side, to starting stitch.
Work a second round of HDC feeling for the top of each stitch (Do your best on this round, the stitches are hard to see.)
Tie off, weave in the end.
Attach the clasp with the pipsqueak yarn using a tapestry needle and tying it with a knot to the fur, one on each side.
As mentioned at the first of this post, I’m excited to let you know that I found a technical crochet editor that was able to size this baby jacket from 3 months to adult size 5x!
The free pattern is at the end of the post as a free printable pdf. The original pdf is still available too. I’m excited to see you make this jacket in different sizes!
Click here or image below for free pdf download of pattern, the extended sizes link is below.
![]()
Click here to download Kate’s Crochet Christmas Jacket Sizes 3 Months to 5x Adult as a pdf.