
This red buffalo checked crochet blanket is amazing. Seriously, it is one of my very favorites I’ve made so far on this crocheting my way to grandma-hood project. I’ve discovered a new yarn to use too that might just be the reason I’m so in love.
First, in full disclosure, Yarnspirations.com sent me this yarn to make anything I’d like with it. Every month I have this opportunity so this is a paid review of the yarn, however, I’m ordering more for myself. It’s awesome. It’s called Paton’s Canadiana. It’s 100% acrylic, and it’s the softest, non-piling, vibrant colored yarn I’ve held in my hands thus far!
I’ve used my griddle stitch gingham stitch pattern for the bumpy texture and added a back loop only half double crochet border. It looks like a sweater to me! It’s a sweater blanket! It is not too heavy, or too light.

I’m going to hopefully clear up some confusion about the name of the blanket. When I googled the words red buffalo check, so many images showed up of this color pattern.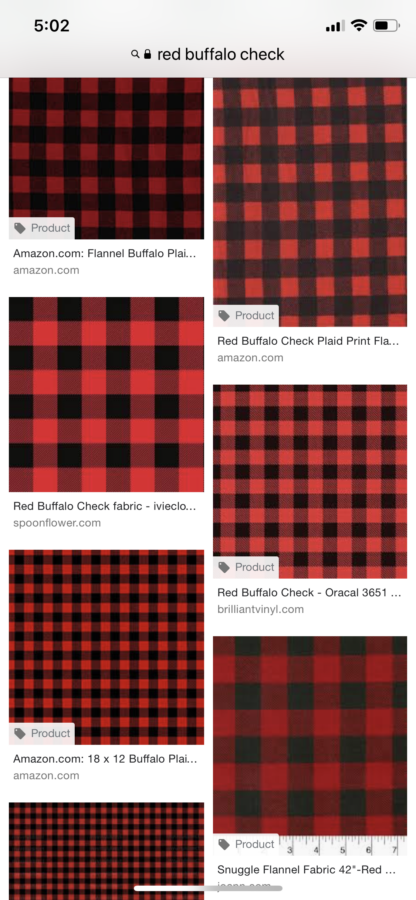
To me, it’s still a “gingham” type look, and I have no idea how buffalo check became its name, but if you google black and white buffalo check, you still get a “gingham” type look. Those terms only refer to the colors of the blanket and how they look.
To me, gingham is the blending of two shades of the same color, mixed with white or cream. And, maybe buffalo check is two colors mixed with black? I’m guessing, but if you were wondering, this is how I see it.
Some of you have picked three very different colors to make your blankets, and to me, those look like the checkerboard pattern. Which is still quite lovely! But I wouldn’t call it gingham.
If you are brand new to my website, and you have not seen all the other gingham blankets I’ve made, and you have questions, please consult the frequently asked questions post, or see the 8 gingham patterns and read a bit more about them.
Also, if you are curious about why I am sharing my patterns, you can read about how I started on this journey and why.
Materials
Patons Canadiana (100% acrylic, 100 g/3.5 oz, 187 m/205 yds)
4 skeins Cardinal, 4 skeins Burgundy, 3 skeins Black
Size H/5.oomm hook, size I 5.5mm hook, tapestry needle, scissors
Size
Finished size 34 in x 34 in
Stitches
Single Crochet (SC): Insert your hook, yarn over (YO) and pull up a loop, YO and pull through two loops on hook.
Double Crochet (DC): YO, insert your hook, YO and pull up a loop, YO and pull through two loops, YO and pull through remaining two loops.
Pattern
Chain 111. (Pattern repeat is 10 + 1 if you’d like to make yours bigger with Cardinal. Use a foundation SC chain if you’d like. I did and the video instruction on how to do this is at the end of the post.)
In the second CH from the hook, (or first foundation chain if you chose to make one) work one SC. In the next stitch, work a DC. Alternate SC and DC in the next 8 stitches for a total of ten. However, before finishing the tenth stitch, (which will be a DC) pull through with Burgundy. SC in the next stitch, crocheting over the Cardinal color and bringing it along as you continue alternating SC and DC for ten stitches, and before you pull through on the tenth DC, drop the burgundy and now pull back through on the last step of the DC with the Cardinal.
Repeat changing colors across the entire row and carry the yarn not in use along with you through the work. Keep in mind that you will always be changing colors on a DC. When you get to the end of the row, CH one and turn. Bring the carried yarn around the side of the blanket and make sure you are working over the yarn. Start this row with a SC. You will be working into the top of the last DC you made from the row below. Begin alternating the stitches as before.
When you complete a block of eight rows high, cut the red yarn, leaving a nine-inch tail to be woven in later. Pull the burgundy color through, CH one and turn. Work alternating SC, DC with the burgundy into the top of the red stitches. On the tenth stitch, pull through with the black color. Continue on as before with your alternating SC, DC, always crocheting over the strand not in use, and then pulling it up the new color after ten stitches.
Each block of color is eight rows high. The complete blanket is 11 blocks of color wide by 11 blocks of color high.
And here is tip for griddle stitch, SC stitches are always worked into the DC stitches of the row below, and DC stitches are always worked into SC stitches. (These are US terms) You will always chain 1 and turn.
Weave in all the ends before you start the border.
Border

If you’ve done a foundation chain, finish the remaining three sides of the blanket with SC, working 3 SC into each corner. If you started with a regular chain, work SC into each stitch and 3 SC in the corners on all four sides of the blanket.
Change to the smaller hook — size H.
Working in the same direction, and not joining the round, chain 9, In the third chain from the hook, work HDC and then work HDC into each chain for a total of 7 HDC. Slip stitch into the next space and the next (2 slip stitch) turn, skip over the slip stitches and work 7 HDC into the back loops of the HDC you just made down the chain. CH 2 and turn. Work 7 back loop only HDC back down to the edge of the blanket, slip stitch into the next two spaces. Repeat in this manner down the side of the blanket.
When you reach the corner, instead of slip stitching over two times, slip stitch into the corner space three times in a row. Meaning, after you work up and down the HDC’s, slip stitch back into the same corner space, repeating three times. This will fan the work around the corner. Then you return to slip stitching over the next two spaces.
When you have gone all the way around the blanket, finish the last corner by slip stitching 3 times into the same space, then end on the outside edge of the blanket. Tie off leaving a long tail. Sew the last edge to the first edge of the border. Then weave in all remaining ends.
Block if you feel you need to, but I did not need to.

Now I know that is a lot of explanation! And it might sound complicated, but if you watch this video, maybe it will clear up any confusion:
Thank you for stopping by! Come and share a picture of your finished blanket with me to my facebook page or use the #daisyfarmcrafts on Instagram! I love sharing your work with others, it’s so fun to see and so motivating for others to see beautiful blankets made by hand!
xo, Tiffany