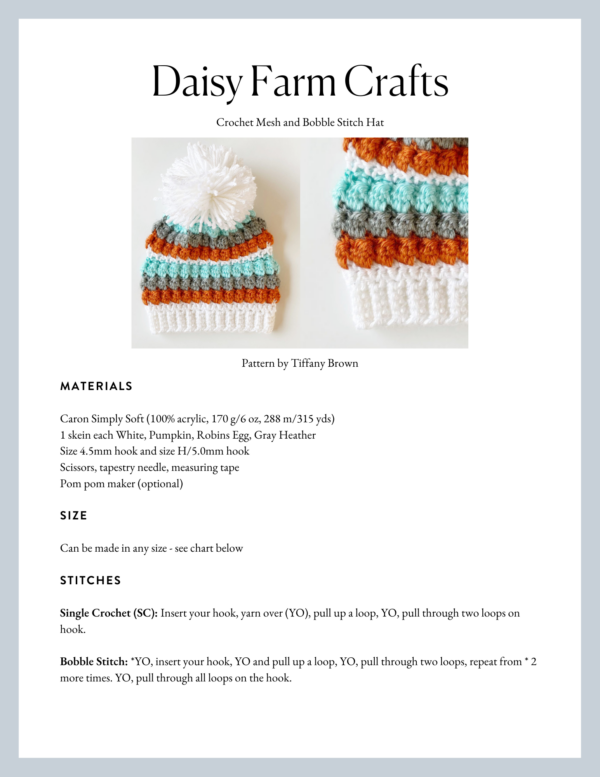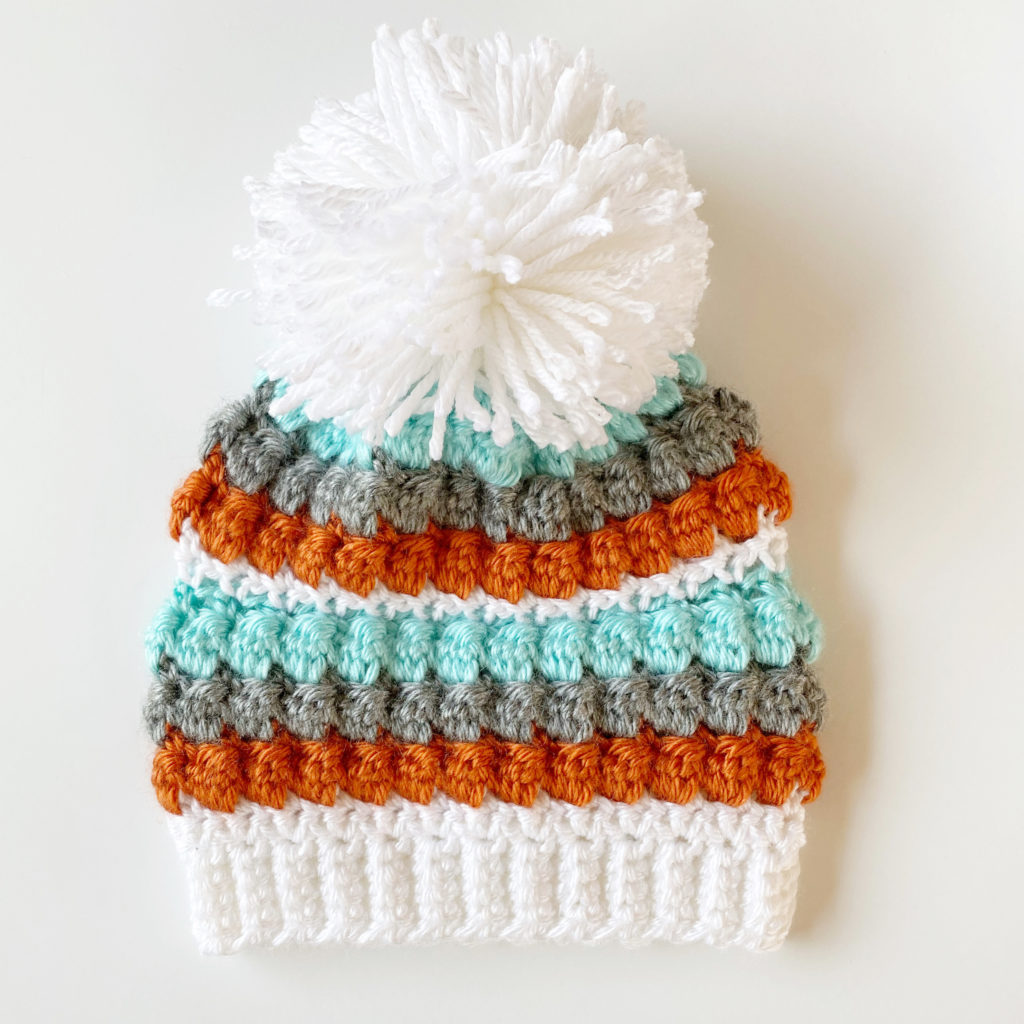
This darling Mesh and Bobble Hat is a variation of our Baby T Hat where we use the mesh stitch. We are substituting a Bobble stitch for the CH 1 stitch in one of the rounds.
Here are some tips to consider before you begin. I use a hook one size smaller than the hook size recommended on the side of the package for the brim of the hat. If you use a different yarn than Caron Simply Soft, consider doing this as well. You need a tighter stitch for the band, and then switch to the larger hook for the hat portion in order to have enough width for the mesh stitch to work.
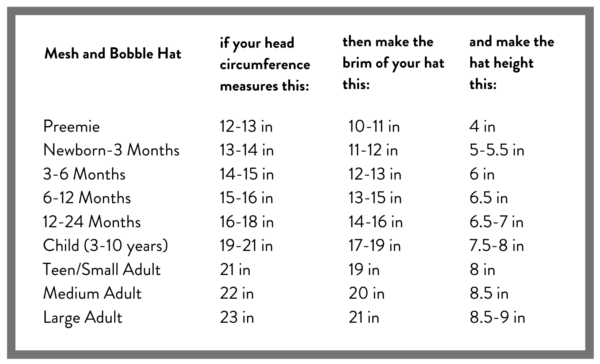
This hat can be made any size you’d like if you follow the chart below for the sizing guide. Generally, you need to make the brim/starting band 2 inches less in length than the circumference of the head size.
The size and pattern I am giving is for the Newborn to 3 month size. But you can repeat the Bobbles and make this hat taller to get the height you need.
Materials
Caron Simply Soft (100% acrylic, 170 g/6 oz, 288 m/315 yds)
1 skein each White, Pumpkin, Robins Egg, Gray Heather
Size 4.5mm hook and size H/5.0mm hook
Scissors, tapestry needle, measuring tape
Pom pom maker (optional)
Size
Stitches
Single Crochet (SC): Insert your hook, yarn over (YO), pull up a loop, YO, pull through two loops on hook.
Bobble Stitch: *YO, insert your hook, YO and pull up a loop, YO, pull through two loops, repeat from * 2 more times. YO, pull through all loops on the hook.
Pattern
Brim
With White and size 4.5mm hook, chain 5. (Leave a long tail to use to sew the brim together. If you are making this for an adult size, chain 10. you want the brim about 2 inches.)
ROW 1: Work 1 SC in the second chain from the hook. 1 SC in each chain across the row, CH 1 and turn. (9)
ROW 2: Work 1 SC under both loops in the first stitch, 1 SC in the back loop of each of the next 2 stitches. 1 SC in both loops of the last stitch, CH 1 and turn.
Repeat row 2 until your band measures the size you need. Refer to the size chart.
Don’t tie off but mark the stitch as a place holder. Remove your hook while you join the band with your tapestry needle and sew the ends together forming a circle.
Hat
ROUND 1: Change to your size H/5mm size hook. Return to the marked stitch and turn the band so that you are working into the side of the first row of SC made for the brim. Work 1 SC into that space. Work 2 SC into the end of the next row. *Skip one row, work 2 SC into the end of the next row. Repeat from * around the edge of the circle. Join with a slip stitch to the first SC. CH 1 and turn.
ROUND 2: Work 1 SC into the first SC. *CH 1, skip the next stitch, 1 SC into the next stitch. Repeat from * around. Join with a slip stitch, CH 1 and turn.
ROUND 3: Repeat instructions for round 2, pulling through with new color on the slip stitch, CH 1 and turn.
ROUND 4: (Bobble Stitch Round) Work 1 SC into the first SC. *Bobble Stitch into the ch 1 space. 1 SC into the next stitch. Repeat from * around. Join with a slip stitch, CH 1 and turn.
ROUND 5: Repeat Round 2 instructions. At the end of the round, pull through with new color. CH 1 and turn.
ROUND 6 and 7: Repeat rounds 4 and 5. At the end of the round, pull through with new color. CH 1 and turn.
ROUND 8 and 9: Repeat rounds 4 and 5. At the end of the round, pull through with White. CH 1 and turn.
ROUNDS 10 – 11: Repeat round 2. At the end of the round, pull through with color used in round 4.
Repeat rounds 4 – 11 until you reach the height you need.
FIRST DECREASE ROUND: With White, work 1 SC into each SC around. Join with a slip stitch to first stitch, CH 1 and turn(you are skipping over the ch 1 spaces).
SECOND DECREASE ROUND: Work 1 SC into first SC, *skip one SC, work 1 SC into the next SC. Repeat from * around. Join with a slip stitch, CH 1 and turn.
Tie off and leave a long tail for sewing.
Gather the hat the rest of the way in by using your tapestry needle and weaving in and out of last row of SC. Pull tight and weave in the end.
Attach a pom pom.
Here’s a video tutorial that can help you get started with the brim and the mesh stitch. It doesn’t show the bobble stitch however, it shows the BERRY STITCH. But you can substitute the bobble stitch as it is worked in the same stitch. (I hope that isn’t too confusing.)
I share the difference in the video of the different hats at the end of the video.
If that video is too confusing, try watching the one in the post for the Baby T hat that just shows the mesh stitch. The hats are all constructed in essentially the same manner.
Thank you so much for stopping by! We wish you happy crochet times as you make this darling little hat!
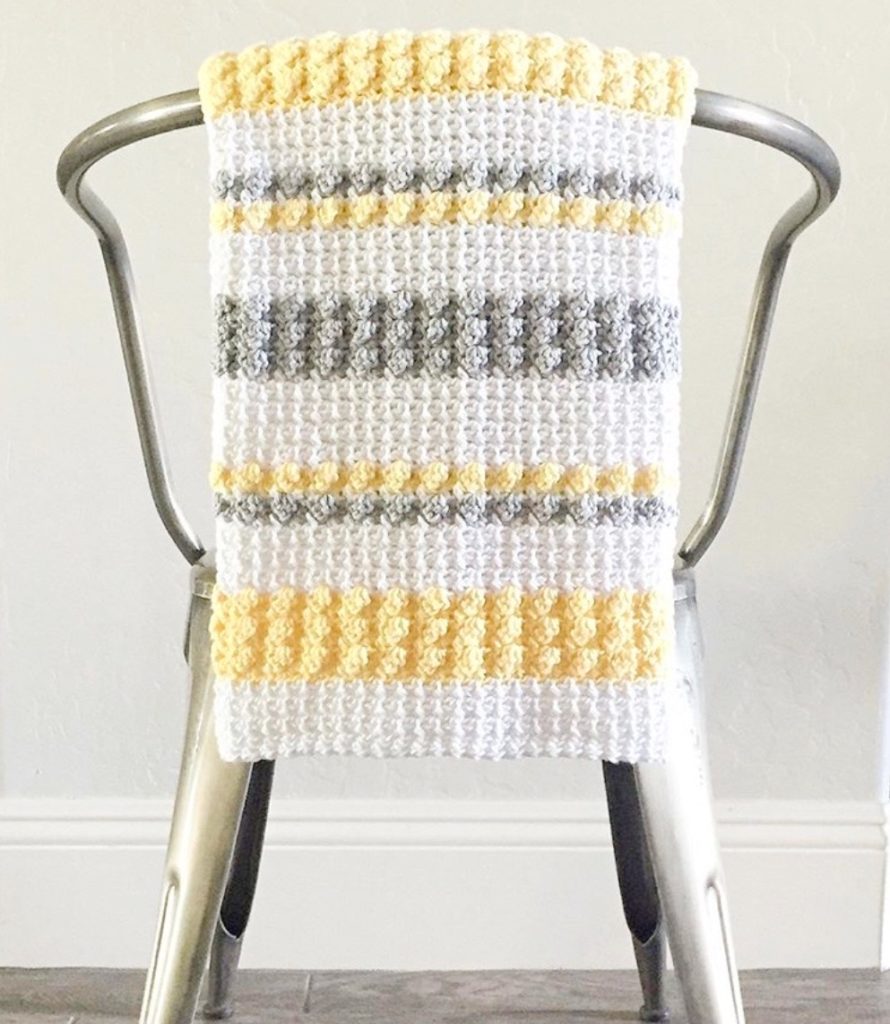
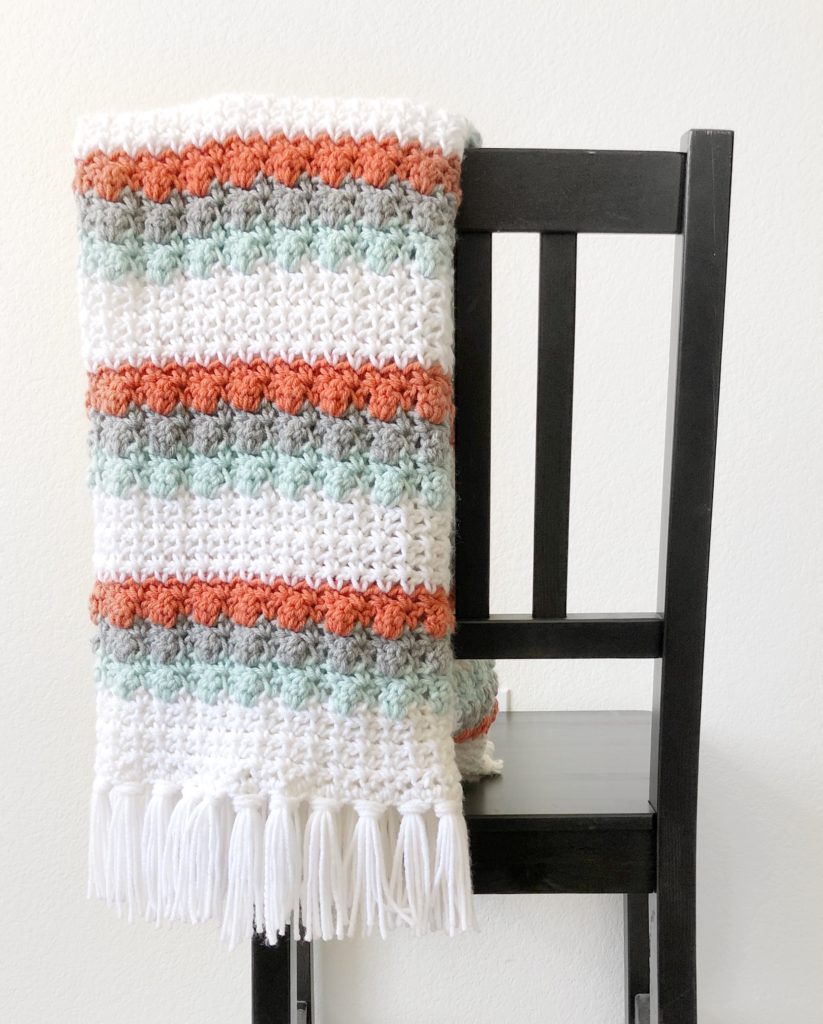
We also have Mesh and Bobble blankets that can match the hat. We have two versions. Our Yellow and Gray Mesh and Bobble Stitch Blanket,
and a fall version of the Mesh and Bobble Stitch Blanket:
xo, Tiffany
Click here or on image below for printable pattern