Hello! Hannah here – I’m excited to share the pattern for this crochet mesh and bobble blanket because it’s a pattern I’ve wanted to try for a while, but it took me a few projects to get my crochet skills where they needed to be in order to understand how to do the bobbles. This pattern is actually one of the first patterns my mom shared when she started this website – she made a darling gray and yellow baby blanket that is still one of our favorites:

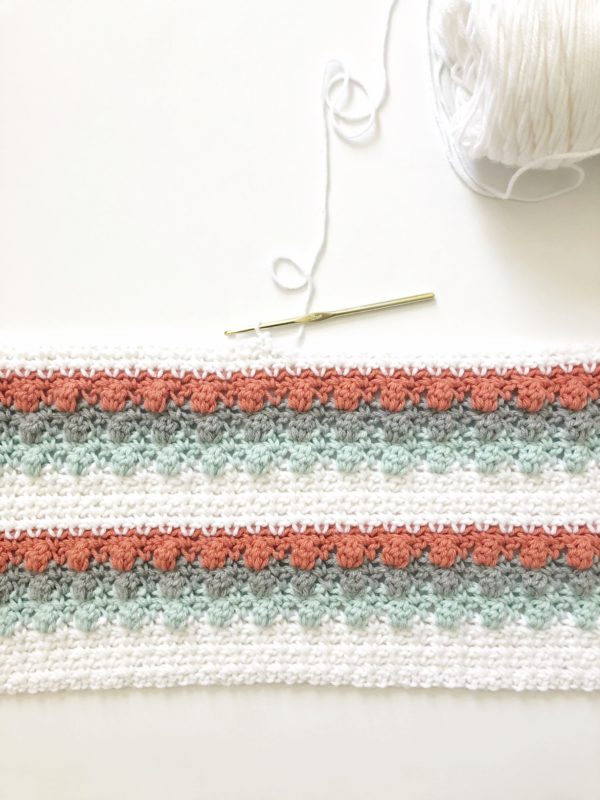
For my version of the bobble and mesh, I decided to experiment with some Caron One Pound yarn my sister Annie and I picked up a few weeks ago. None of us had have worked it with it before, and Annie decided to make a lovely Joanna Gaines inspired baby blanket and I decided to finally try out the bobble and mesh pattern.
At first I wasn’t sure if I really liked the One Pound because it doesn’t appear to be quite as soft as some other yarns, but once I started working it I found that it is a great yarn for blankets! I think it’s also a great yarn for beginners because the thicker texture seems to help keep the tension more consistent throughout the blanket.

I spent a long time standing in the aisle of Joann’s debating with myself whether or not the colors I chose actually went together, but I once I started crocheting and put them together I loved how they created a sort of ombre look, which was not what I had been planning at all, but I love how it turned out. As much as I like to plan, sometimes I just have to jump in to figure out what works and what doesn’t. 🙂
Here is some video help that demonstrates how to work the stitches in this blanket!
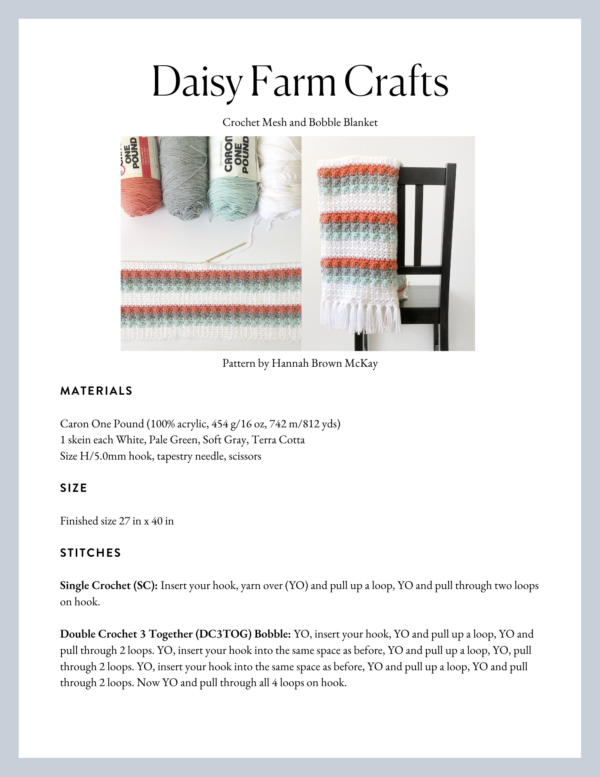
Materials
Caron One Pound (100% acrylic, 454 g/16 oz, 742 m/812 yds)
1 skein each White, Pale Green, Soft Gray, Terra Cotta
Size H/5.0mm hook, tapestry needle, scissors
Size
Finished size 27 in x 40 in
Stitches
Single Crochet (SC): Insert your hook, yarn over (YO) and pull up a loop, YO and pull through two loops on hook.
Double Crochet 3 Together (DC3TOG) Bobble: YO, insert your hook, YO and pull up a loop, YO and pull through 2 loops. YO, insert your hook into the same space as before, YO and pull up a loop, YO, pull through 2 loops. YO, insert your hook into the same space as before, YO and pull up a loop, YO and pull through 2 loops. Now YO and pull through all 4 loops on hook.

Pattern
With White, chain 98. (Pattern repeat is a multiple of 4, plus 2.)
Row 1: With White, SC in the 2nd chain from the hook and CH 1. Skip one chain, then SC, CH 1. Skip the next chain and continue the pattern of SC, CH 1, SK 1 all the way across. Your last stitch in the final chain should be a SC. CH 1 and turn. (mesh stitch)
Row 2: SC into SC of previous row, and CH 1. Skip next CH, SC in next SC of previous row, and CH 1. Repeat across. Your last stitch should be a SC. CH 1 and turn.
Rows 3 – 6: Repeat row 2. On the last stitch of row 6, pull through with Pale Green.
Row 7: (Bobble row) SC in first SC, CH 1. *DC3TOG Bobble in next SC space, CH 1, SC in next SC of previous row, CH 1*, repeat ** across. CH 1, turn.
Row 8: *SC in first SC, CH 1, SC into top of bobble stitch, CH 1*. Repeat ** across. (In other words, you are working SC, CH 1 in every other stitch). On the last SC, pull through with Soft Grey. CH 1 and turn.
Row 9: (Bobble Row) Repeat instructions for row 7.
Row 10: Repeat instructions for row 8, and pull through with Terra Cotta at end of row.
Row 11: (Bobble Row) Repeat instructions for row 7.
Row 12: Repeat instructions for row 8, and pull through with White at end of row.
Then repeat row 2, working 6 rows of mesh stitch in white before working 3 rows of bobbles again. Repeat until blanket measures appx. 40 in or desired length.
A few things to remember – the bobble row will always be done so the bobbles pop out on the right side. There is a right side and wrong side to this blanket. You’ll know you might have done one too many rows of mesh stitch if your bobbles are popping out the wrong way. Remember that you will always do a row of mesh stitch in between the bobble stitch row so that you are doing them on the right side.

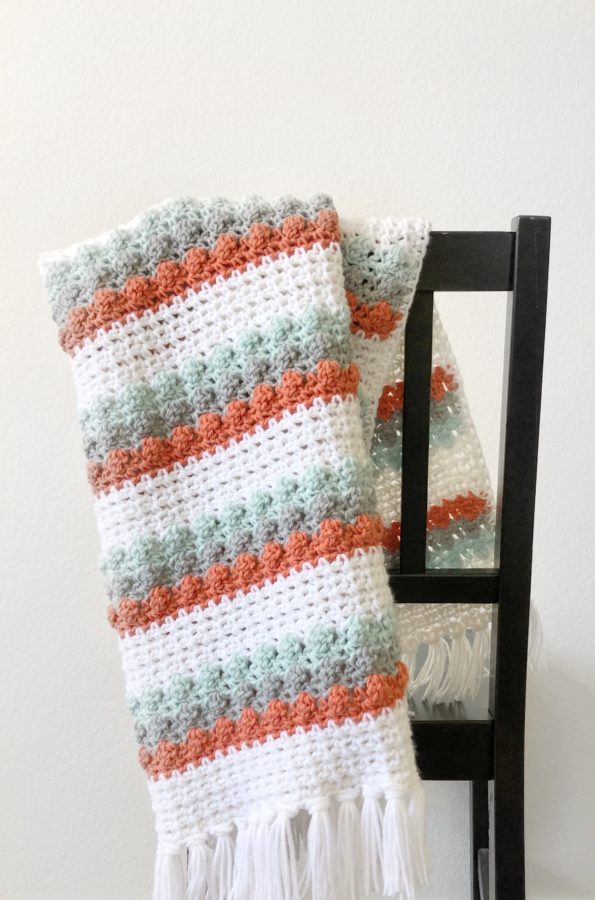
Border and Tassels
When I finished the blanket, I wove in all the ends and worked one row of SC around the outside of the blanket, putting 3 SC’s in each corner. Then I added tassels on the ends. (You don’t have to do a row of SC, you can just add the tassels if you want – I just thought my sides turned out a little messy, so I wanted to make them a little straighter with a thin border.)
For the tassels, I used the same simple method that I used in my Diamond Berry Stitch Blanket.
Supplies: A small notebook (the one I used is about 6 in. x 4in.), Scissors, Yarn

Wrap a piece of yarn around the notebook horizontally. Then cut the yarn in half.

Take two to three pieces of yarn (depending on how thick you want your tassels) and fold them in half. Insert the folded end into the chain space above the last row of single crochet.

Pull the ends through the loop…

And pull tight to make a knot.

And that’s it! For the mesh and bobble blanket, I think I ended up putting a tassel in every other stitch on the ends, but you can space yours out however you desire. You can also make the tassels longer by using a bigger notebook, or trim them down if you want them to be shorter.

Thanks so much for coming to visit, I hope you enjoy making this crochet mesh and bobble blanket! If you are on Instagram or Facebook, please let us know when you finish your project, we’d love to see your creativity! You can post your picture to the Daisy Farm Crafts Facebook wall or using the #daisyfarmcrafts on Instagram!
Happy Crocheting!
Hannah
Click here or on image below for printable pattern