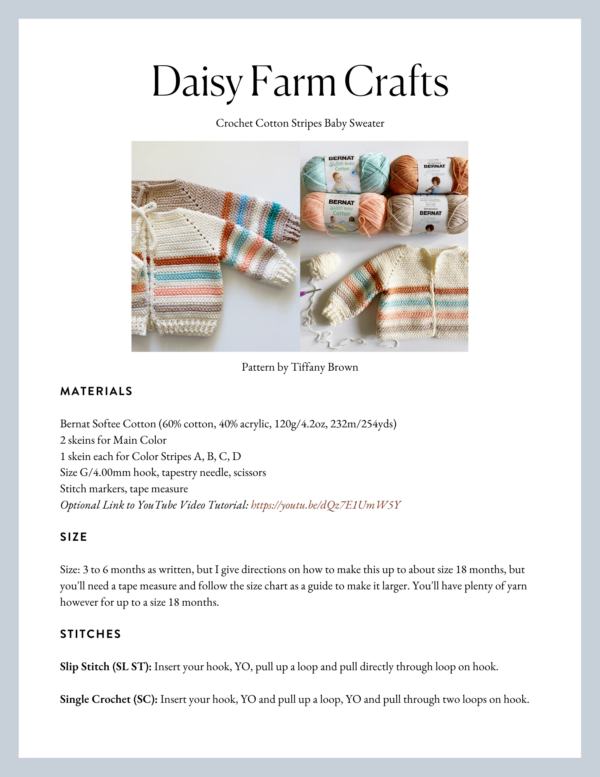
I love making a quick and easy baby sweater to give as a baby shower gift-especially in Bernat Softee Cotton with all the trendy colors they have out right now.
Did you know that Bernat Softee Baby Cotton and Bernat Softee Cotton are essentially the same yarn, they just have more “grown up” colors in the Softee Cotton line and all the pastels are in the baby line. I don’t know why it’s taken me so long to discover this gem.
There also is a packaging difference, but as to the yarn itself, it is the same.
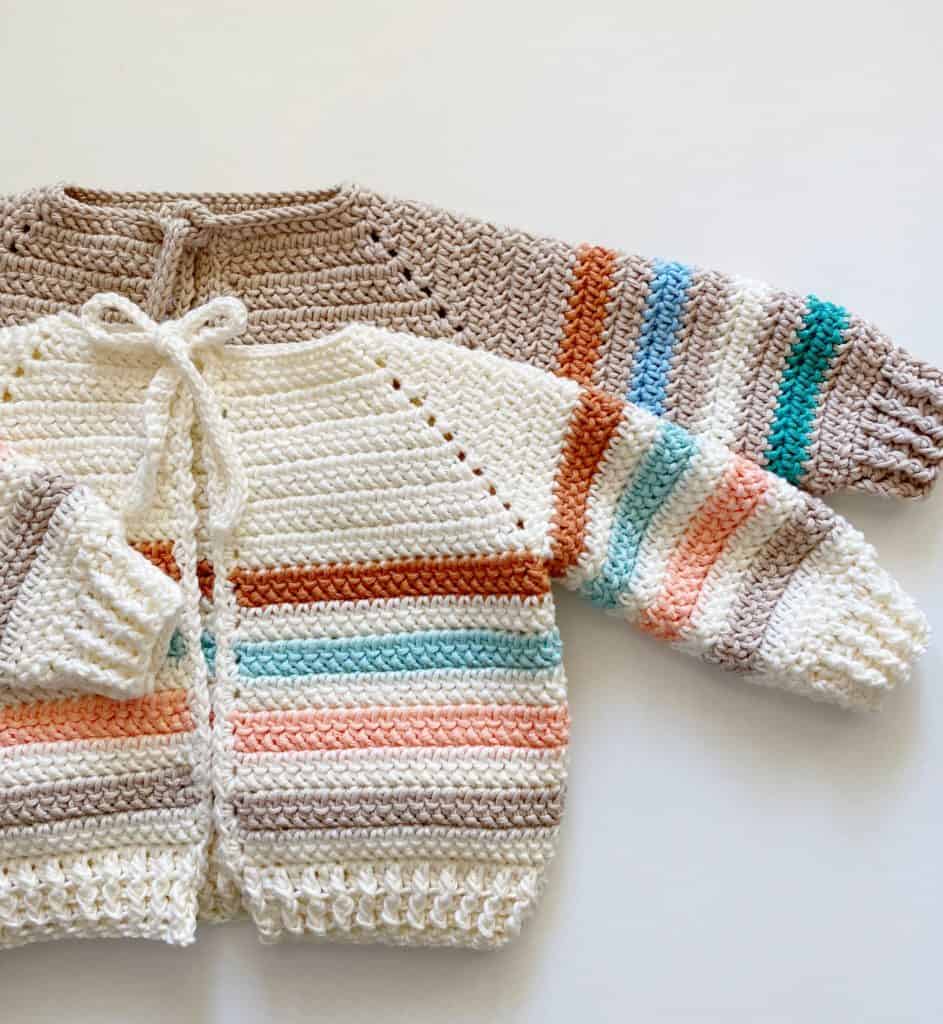
I made baby Jack’s Fall Sweater in Bernat Softee Cotton and fell in love with it. It has a nice drape and is perfectly soft for a baby.

I made a Youtube Tutorial for this sweater so that is why there are two versions, but I also wanted to do a girl and boy version.
And one more thing before I get to the pattern, I am giving suggestions on making them larger, but I haven’t personally tested it out, I highly recommend using the tape measure and measure as you increase the rounds. Based on experience I’m giving you my best estimate on the size.
Yarn type can make a sweater larger as well as going up a hook size. Bernat Softee Cotton is a light size 3 weight yarn. Using a 4 weight yarn following the pattern as written for the 3 to 6 month size will also increase the size to probably a 12 month size.
But in the pattern, I suggest adding rows before joining for the armholes if you are using the cotton yarn.
Materials
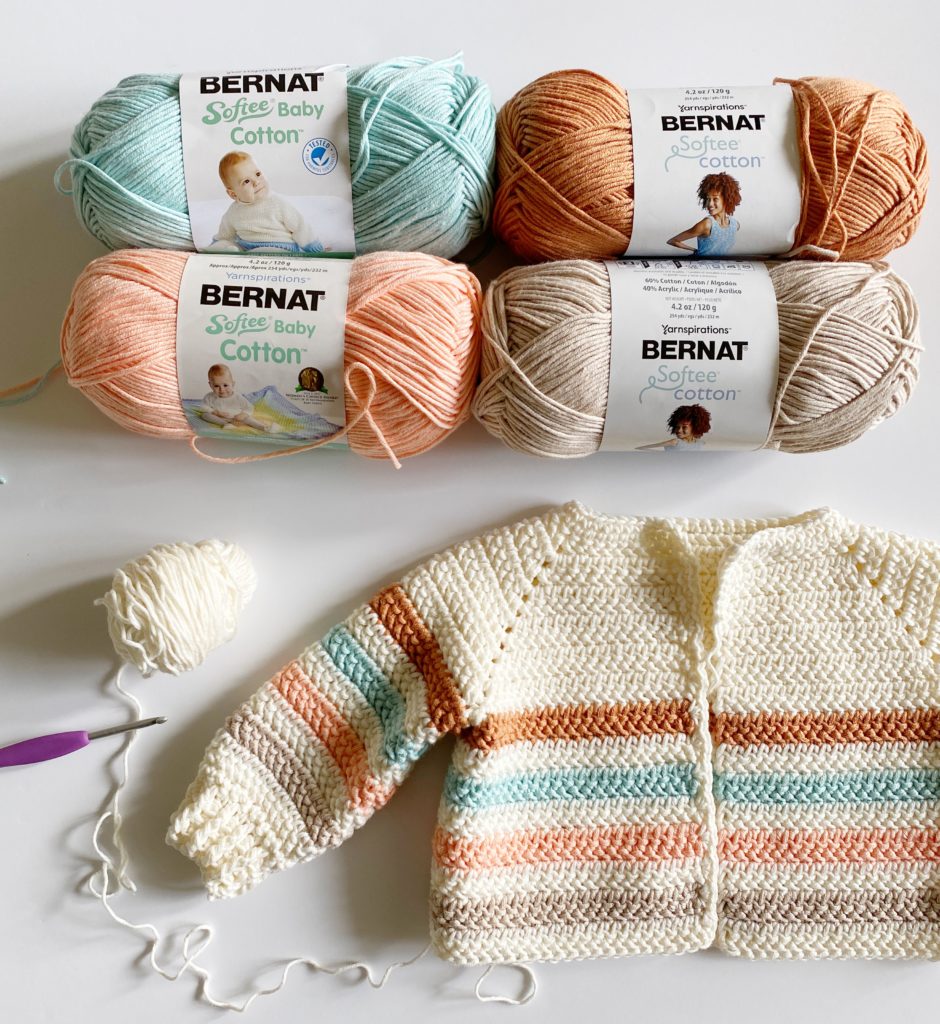
Bernat Softee Cotton (60% cotton, 40% acrylic, 120g/4.2oz, 232m/254yds)
2 skeins for Main Color – either Feather Gray or Cotton
1 skein each for Color A, B, C, D. (For the girl sweater I used Softee Cotton in Sandstone and Feather Gray and in Baby Softee Cotton Jade Frost and Blush. For the boy sweater I used Softee Cotton in Sandstone, Cotton, and Pool Green. And Baby Softee Cotton in Dusk Sky.)
Size G/4.00mm hook, tapestry needle, scissors
Stitch markers, tape measure
Size
Size: 3 to 6 months as written, but I give directions on how to make this up to about size 18 months, but you’ll need a tape measure and follow the size chart as a guide to make it larger. You’ll have plenty of yarn however for up to a size 18 months.
Stitches
Slip Stitch (SL ST): Insert your hook, YO, pull up a loop and pull directly through loop on hook.
Single Crochet (SC): Insert your hook, YO and pull up a loop, YO and pull through two loops on hook.
Double Crochet (DC): YO, insert your hook, YO and pull up a loop, YO and pull through two loops, YO and pull through remaining two loops.
Herringbone Half Double Crochet (HHDC): YO, insert your hook, YO, pull up a loop and pull directly through first loop on hook, YO and pull through remaining two loops.
Pattern
Chain 51 with Main Color.
Row 1: Begin in the second chain from the hook with HHDC. Work 1 HHDC in each chain across the row. CH 1 and turn.
Mark stitch number 11, 15, 36,40
Row 2: Begin in the first stitch with 1 HHDC. *Work 1 HHDC into each stitch. In the spaces with the stitch markers work “HHDC, CH 2, HHDC”. Repeat from * around. CH 1 and turn.
Row 3: *Work 1 HHDC in each stitch, work “HHDC, CH 2, HHDC” around each chain 2 space. Repeat from * around. CH 1 and turn.
Rows 4 through 11: Repeat row 3 instructions.
For size 3 to 6 months, continue with row 12, for size 6 to 9 months, add 2 more rows and then join for armholes. For size 9 to 12, add 4 more rows then join for armholes, and for 12 to 18 add 6 more rows before joining for armholes.
Consult this size chart and measure the armhole depth as you increase to make sure you are getting the width you need. If you are using different yarn, you might not need to add as many rows, the important thing about adding rows is to make sure you are adding 2 at a time.

Row 12: Joining for the armholes. Work 1 HHDC in each stitch to the chain 2 space. Work 1 HHDC into the chain 2 space, CH 4, skip over stitches until the next ch 2 space, work 1 HHDC into the chain 2 space. Repeat from * for the next armhole. Work 1 HHDC into each stitch to the end of the row, CH 1 and turn.
Row 13: Work 1 HHDC into each stitch and into each 4 chains under the armpit. Pull through on last step of the stitch with color A, do not cut Main color, CH 1 and turn.
Rows 14 and 15: Work 1 HHDC into each stitch, pull through with Main Color on last step of the stitch, cut color A, CH 1 and turn.
Rows 16 and 17: Work 1 HHDC into each stitch, pull through with Color B on last stitch, CH 1 and turn.
Rows 18 and 19: Work 1 HHDC into each stitch, pull through with Main Color on last stitch, CH 1 and turn.
Rows 20 and 21: Work 1 HHDC into each stitch, pull through with Color C on last stitch, CH 1 and turn.
Rows 22 and 23: Work 1 HHDC into each stitch, pull through with Main Color on last stitch, CH 1 and turn.
Rows 24 and 25: Work 1 HHDC into each stitch, pull through with Color D on last stitch, CH 1 and turn.
Rows 26 and 27: Work 1 HHDC into each stitch, pull through with Main Color on last stitch, CH 1 and turn.
Rows 28 and 29: Work 1 HHDC into each stitch, CH 2 and turn.
(Tip for larger sizes, consult the size chart and if you need more length, repeat the colors before adding the ribbing on the bottom of the sweater.)
Ribbing on bottom of sweater:
Row 30: Work 1 DC into each stitch (including the first one, ch 2 does not count as a stitch). CH 2 and turn.
Row 31: *1 FPDC around the next post, (not the post directly underneath the turning chain) 1 BPDC around the next post. Repeat from *. End with 1 DC around the ch 2 turning chain. CH 2 and turn.
Row 32: Work FPDC around FPDC and BPDC around BPDC across the row. End with 1 DC around the ch 2 turning chain. CH 2 and turn.
Row 33: Repeat row 32 instructions. At the end of the row ch 1 and turn to work up toward the neck.
Front edging and neck ties:
Round 1: Working around the end of the post rows, work 3 SC around each post. Work 3 SC per each 2 rows of Herringbone.
(Tip: work 3 SC into one space that divides the 2 rows for a neater appearance.)
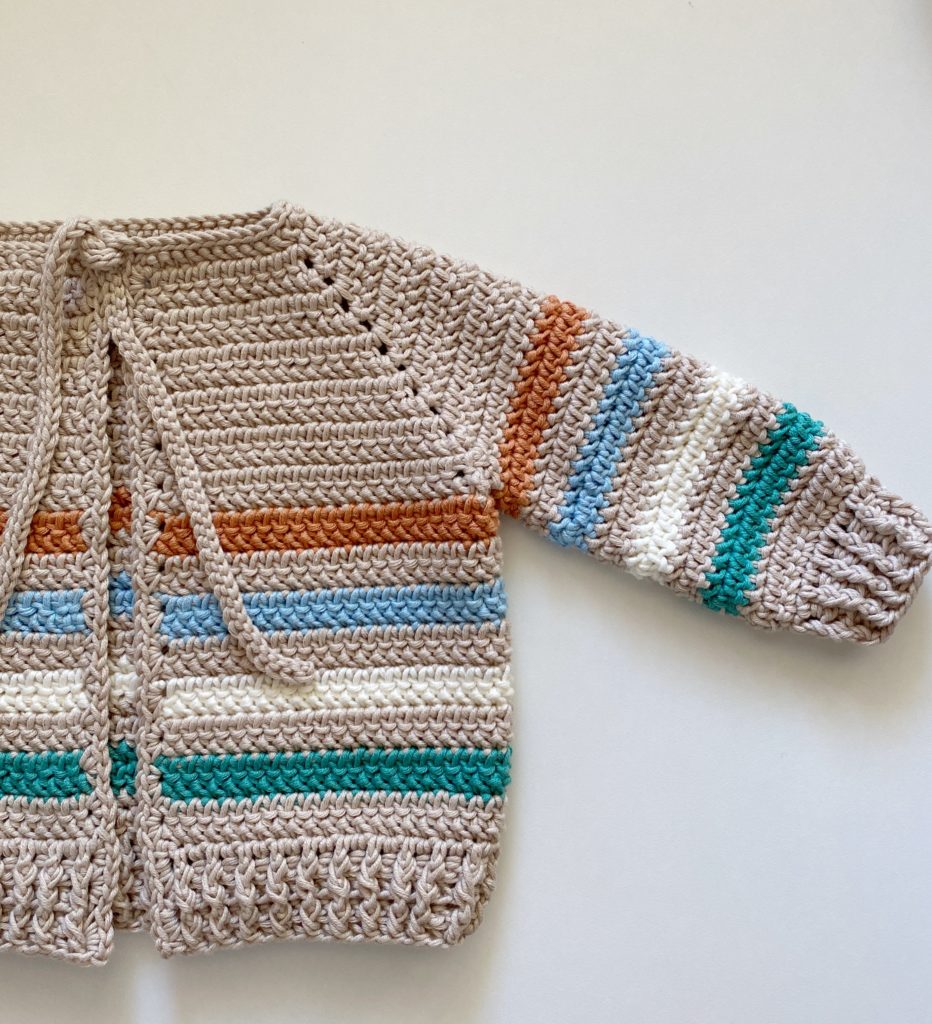
1 SC into the corner that begins the neck, chain 50. SL ST in the back bump of each chain. SL ST into the corner that began the neck and in each stitch around the neck stopping at the corner. Chain 50. SL ST in the back bump of each chain. SC into the corner and work 3 SC per two rows at the end of the Herringbone rows and 3 around the end of the posts. Tie off.
![]()
Sleeves:
Round 1: With Main color, pull up a loop in one of the center chains in the armpit. Ch 1 and work 1 HHDC into that same space. Work 1 HHDC into the next ch, work 1 HHDC2tog across the side of the next stitch and up to the first stitch of the arm. 1 HHDC into each stitch around the arm, working the last stitch as a HHDC2tog across the last stitch and side of stitch. Work 1 HHDC into each of the chain stitches, join with a slip stitch to the first HHDC of the round. Pull through with Color A, CH 1 and turn. (Do Not cut main color.)
Tip: HHDC2tog is an abbreviation for Herringbone 2 together and is worked by yarning over, inserting your hook into the first space, yarning over pulling a loop back through and through the first loop on hook, then yarning over, inserting your hook into the next space, yarning over and pull a loop back through and through the first loop on the hook, then yarning over and pulling through all loops on the hook.
Rounds 2 and 3: Work HHDC into each stitch around, join with a slip stitch to the first stitch of the round, CH 1 and turn. Pull through with Main color at the end of round 3.
Rounds 4 and 5: Repeat previous rounds, pull through with color B at the end of round 5.
Rounds 6 and 7: Repeat previous rounds, pull through with main color at end of round 7.
Rounds 8 and 9: Repeat, pull through with color C at end of round 9.
Rounds 10 and 11: Pull through with main color at end of round 11.
Rounds 12 and 13: Pull through with color D at end of round 13.
Rounds 14 and 15: pull through with main color at end of round 15.
Rounds 16 and 17: 1 HHDC into each stitch, join with a slip stitch to first st, CH 1 and turn.
Round 18: (Decrease) *Work 1 SC into each of the next 2 stitches, work SC2tog across the next 2 stitches. Repeat from * around. Join with a sl st, CH 2 and turn.
Round 19: Work 1 DC into each stitch around, join with a slip stitch to the chain 2. CH 2 and turn.
Round 20: Work 1 FPDC around next DC post and 1 BPDC around next post. Alternate around. Join with a sl st to chain 2, CH 2 and turn.
Rounds 21 and 22: Work FPDC around FPDC and BPDC around BPDC, join with slip stitch to chain 2, CH 2 and turn. Tie off after round 22.
Tie off and weave in all ends.
I hope your baby sweater turns out adorable! I’m off to the store to find cute baby jeans and a onesie to complete my gift.
xo, Tiffany
Click here or on image below for printable pattern