Post Update!
Welcome to the world and newest member of the Daisy Farm family Miss Nora Rose! She entered the world on February 4, at 4:01 am a healthy 9lbs and 2 oz and 20 3/4 inches long. Her beautiful mommy Hannah, is recovering nicely.
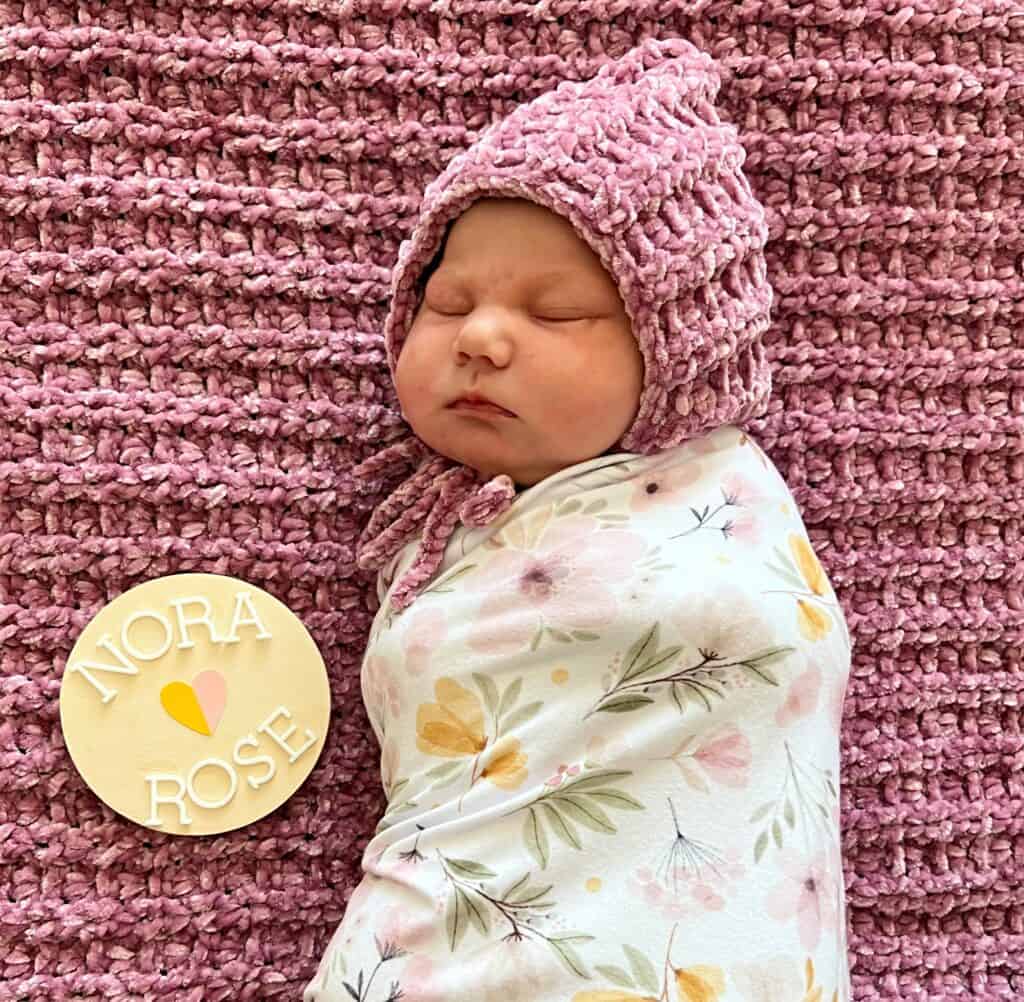
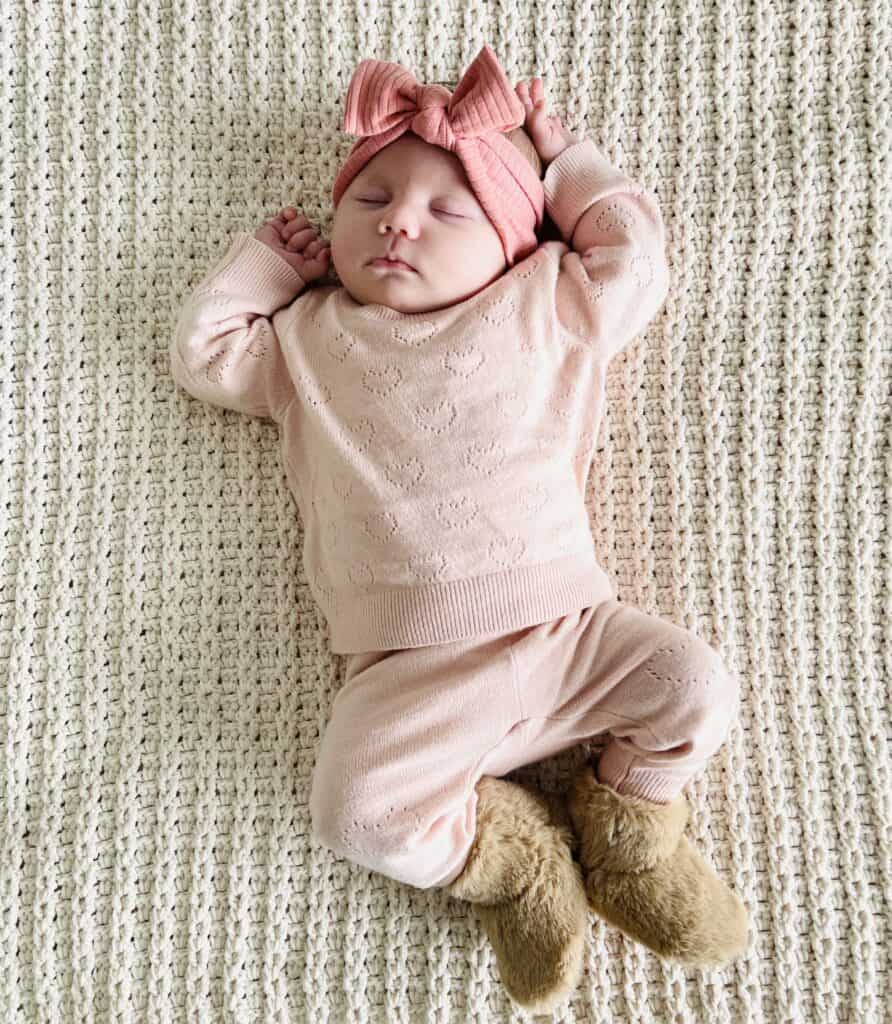
And of course, less than 24 hours old, we wrapped her right up in a crochet blanket and bonnet. Some of you may recognize this blanket as I shared the pattern last month. I wanted to wait until she was born to make sure I had the sizing correct to share the bonnet pattern.
So this post will have the addition of the bonnet pattern at the end of the post.
But first, I want to thank you all for your kind comments and expressions of love and congratulations when I shared the news to our Facebook and Instagram feeds. You all are so overwhelmingly generous and kind to our whole family. I have such deep gratitude for you all.
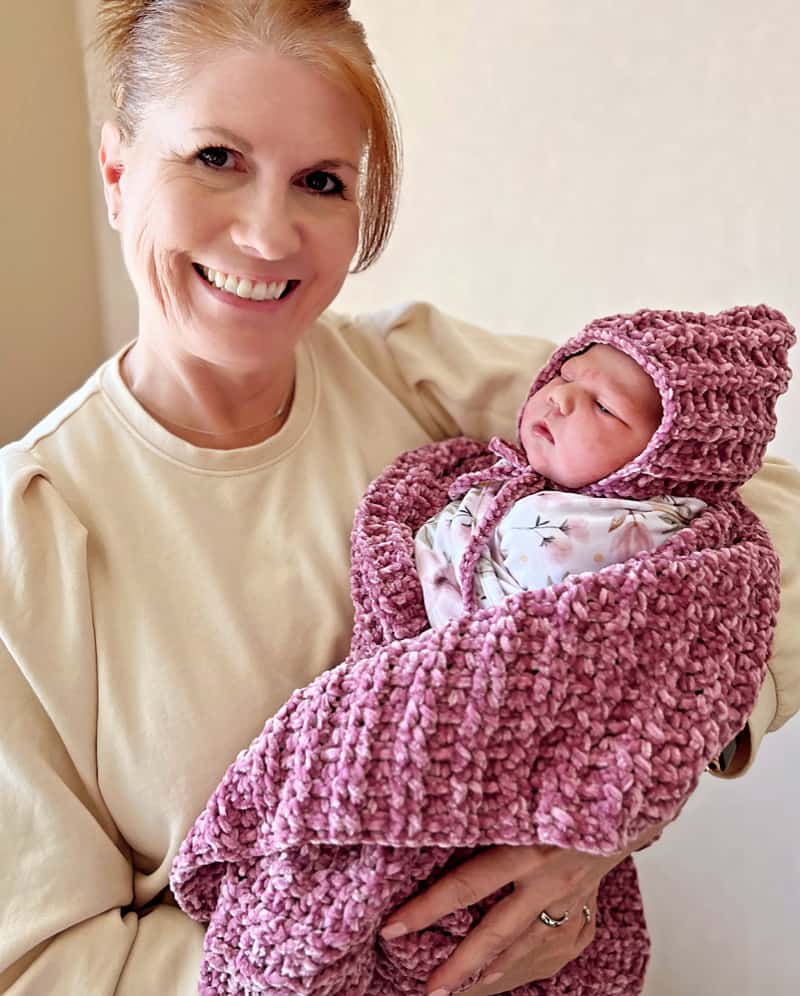
I started crocheting in hopes of becoming a grandma someday and also in hope for Hannah to be able to have a baby. She struggled with infertility for 10 years before IVF helped to bring darling baby James into the world. And now Nora, just 17 months later, is a miracle and a wonderful surprise.
Along the journey my son Tanner and his wife Elizabeth also had two darling babies, Jack and Kate. This brings the total to 4 grandbabies in 3 years! Oh how life can just change so quickly. I’m so in love with each one of these little ones.
I’m also incredibly grateful for all my 5 children and 2 in-laws, Hannah and Will, Nicolina, Tanner and Elizabeth, Haley, and Annie who love and support each other and are the extra help to running this website. I could not do it alone and they help me every step of the way.
I also am so lucky that as our site has grown I have the help of my sisters. Cyndi is my older sister and learning how to crochet and also is my partner on Crochet Sister Chat. My younger sisters are Nichole and Natalee and are helping behind the scenes with roundup posts and extra crochet projects.
I love that my mom has inspired all of us girls through her love of crochet and artistry. She always was creating, from decorating wedding cakes, to painting, drawing and her gorgeous crochet.
My goal is to recreate more of her vintage crochet blankets that she has made through the years.
If you want more information about who we are and how this website started, please see our About section, or see the Blog section where I have written about how the Daisy Farm all began.
Again though, my gratitude this week is overflowing for what my love of crochet has brought into my life. Sharing what I’m making has been my greatest joy. And to have so many crochet friends around the world wanting to make our patterns is just incredible to me. I’m sending you all my warmest internet hug I can possibly give you. Thank you for loving crochet as much as me.
xo, Tiffany
Now back to the original post:
Hello friends! Thanks for stopping by!
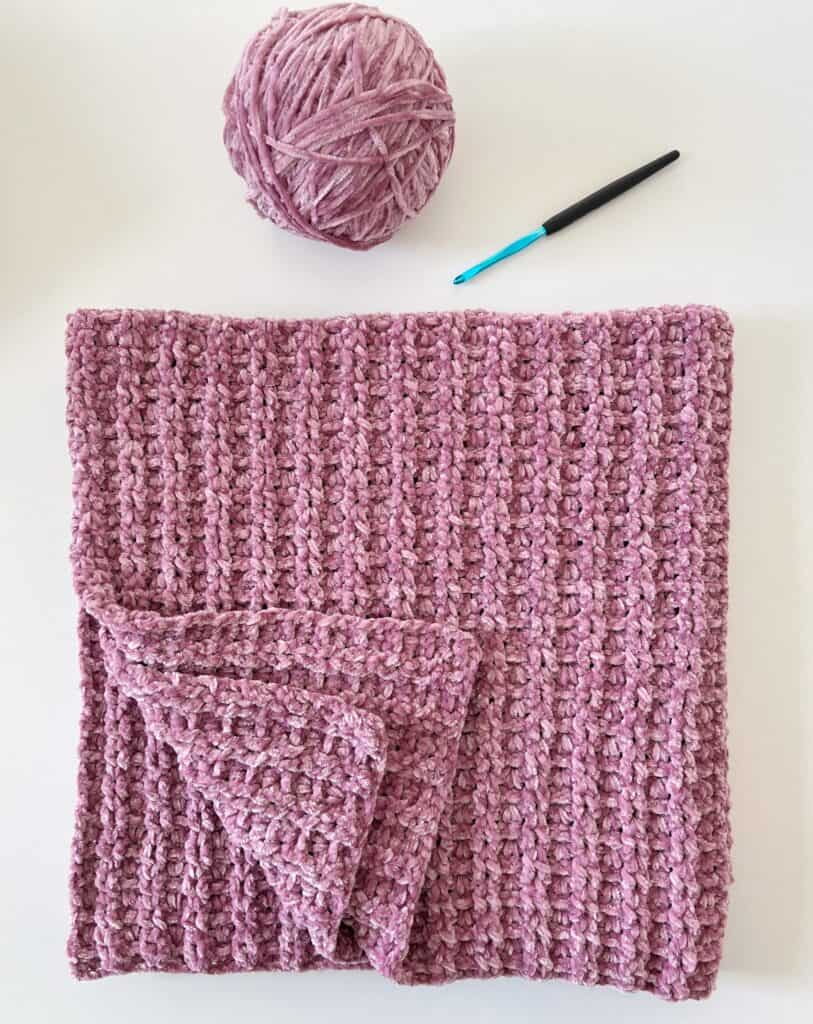
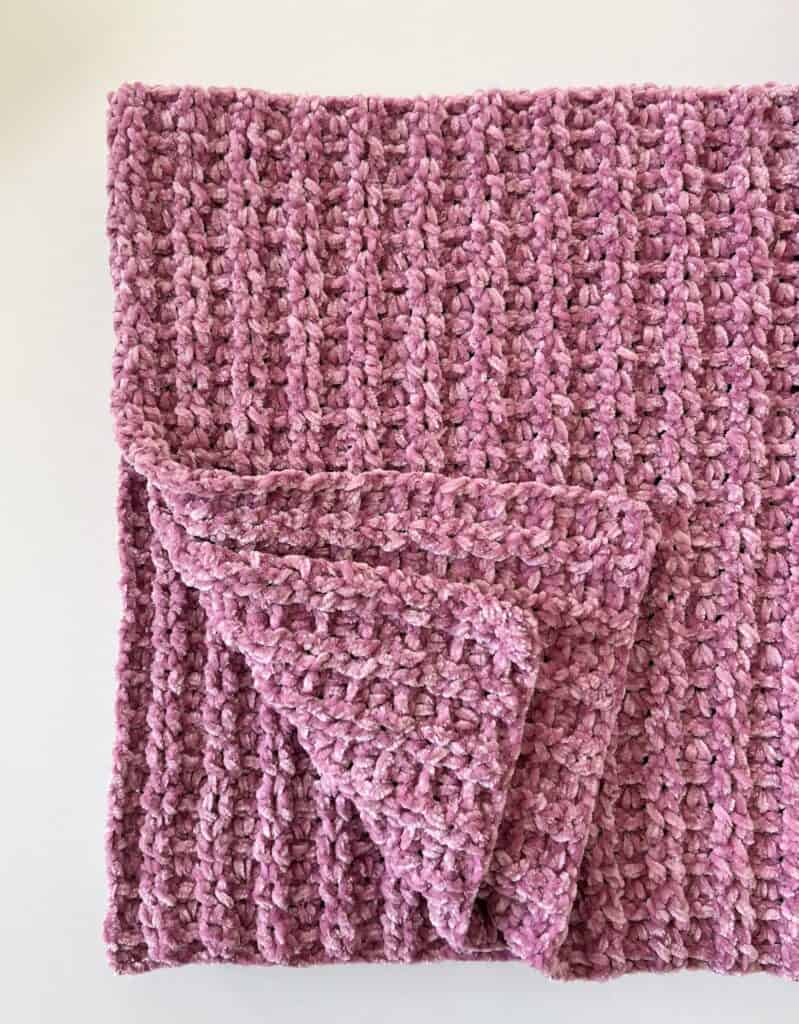
I have another very beginner-friendly, perfect for using velvet yarn, baby blanket pattern to share. I hope you’ll watch the video to see just how exquisite the texture of this blanket is. I am so in love with how it turned out.
I’m calling this one the Velvet Ribbed V-stitch baby blanket. I made it for Hannah’s baby girl who is going to be arriving in a few short weeks. We love bringing the baby home from the hospital with a velvet blanket and also hope to get those first photos in the hospital with this blanket.
I love working a ribbed stitch with velvet yarn. Since the yarn is furry, it’s hard to see the tops of stitches, so instead of trying to mess with that, I will work post-stitches. Also, the v-stitch works well too since you are working in between the pair of double crochet of the previous row.
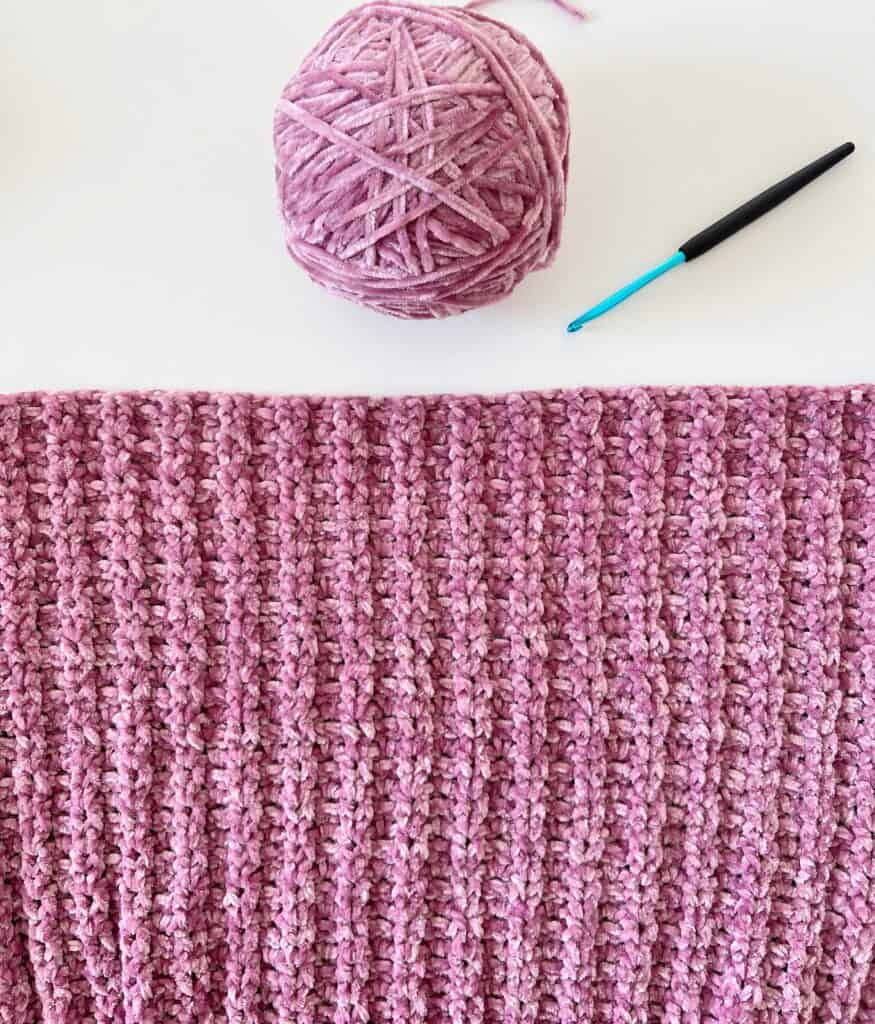
The blanket looks the same on each side. The sides turn out so straight that a border isn’t needed. You can make this the size you need and when you’re done, it’s done. I was so pleased with how it looked so finished on all four sides without having to add a border.
I have a few tips about working with velvet that I’d like to share if you choose to use this stitch with velvet. Be sure and keep your tension tight. If you need to use a smaller hook to do so, please consider it. Velvet is slippery and if tension is loose, loops tend to slip free and it’s hard to get them tucked back in. So keep it tight.
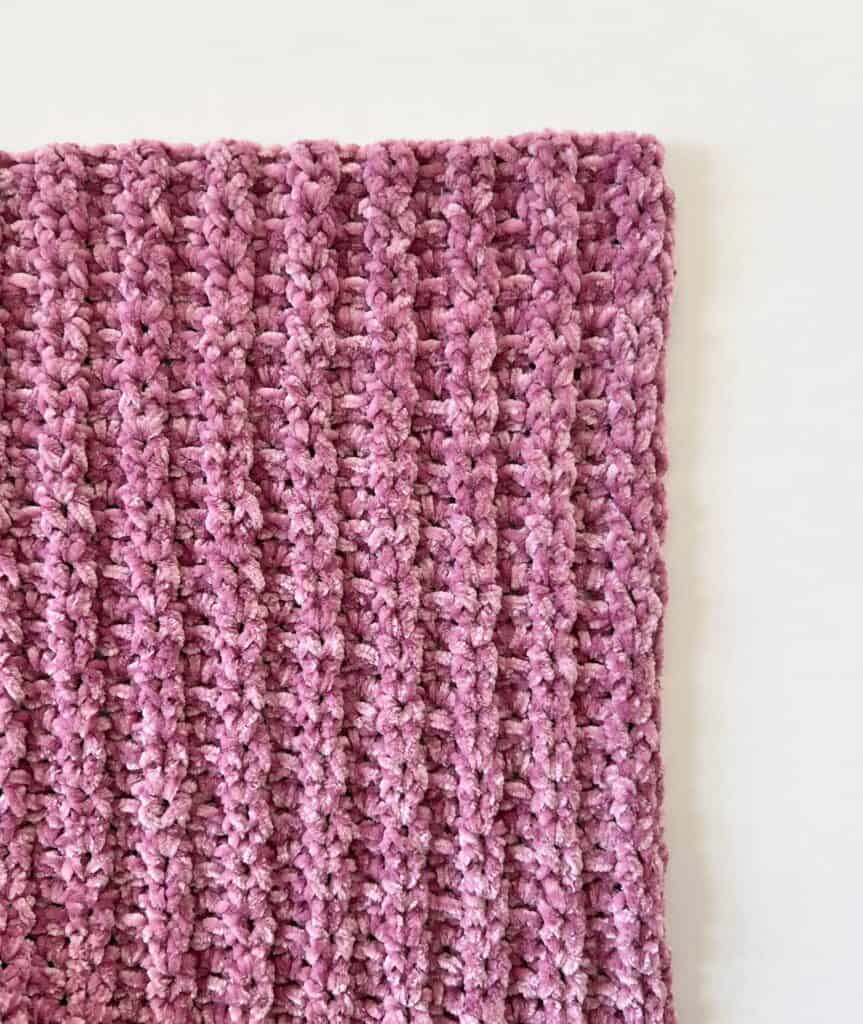
My other tip is just simply the type of stitch and I went over that above. Using the v-stitch and post stitches are a good choice for velvet since the tops of stitches are so hard to see.
I do have a video tutorial that I’d love for you to watch if you need any help at all. See the video below:
We have a whole category dedicated to blankets made with velvet if you’d like to see our other patterns. It has a little bit of a learning curve to it, but whenever we give a velvet blanket as a gift, it is very well received.
I also have written an entire blogpost dedicated to crocheting with velvet yarn if you’d like even more information.
And, since this blanket pattern was first published, we have now made this pattern in other types of yarn and yarn weight.
Tap here for the Ribbed V-stitch in Bernat Bundle Up a 4 weight.
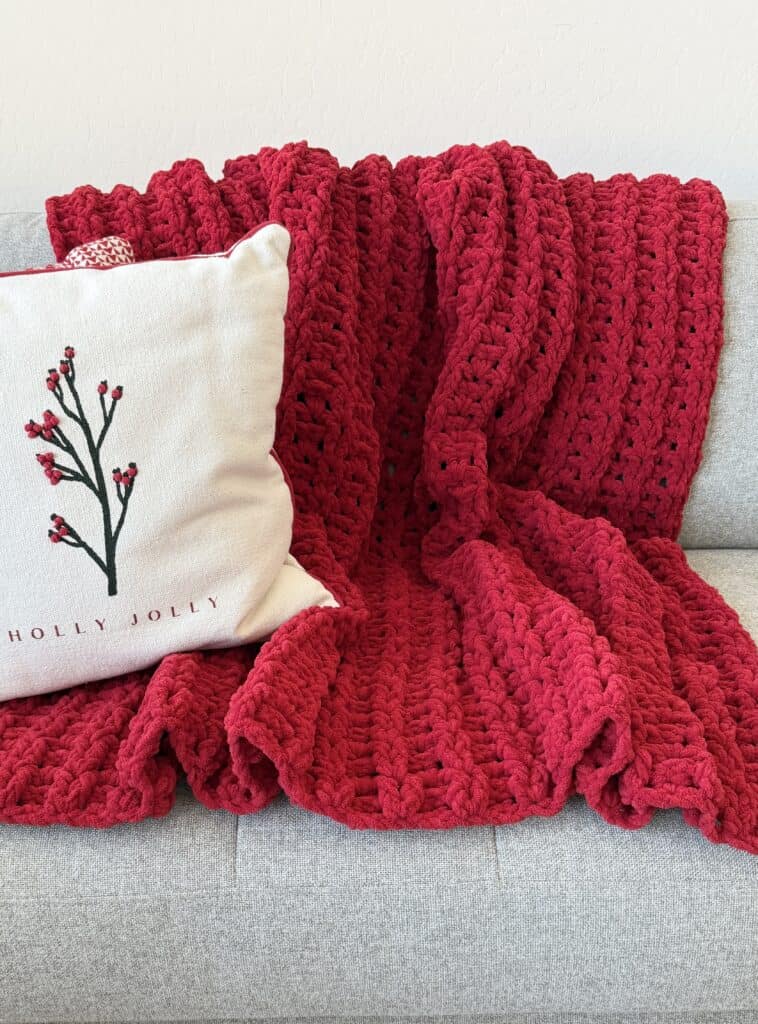
Tap here for the Christmas Ribbed V-stitch made with Bernat blanket Yarn a chunky weight.
Materials
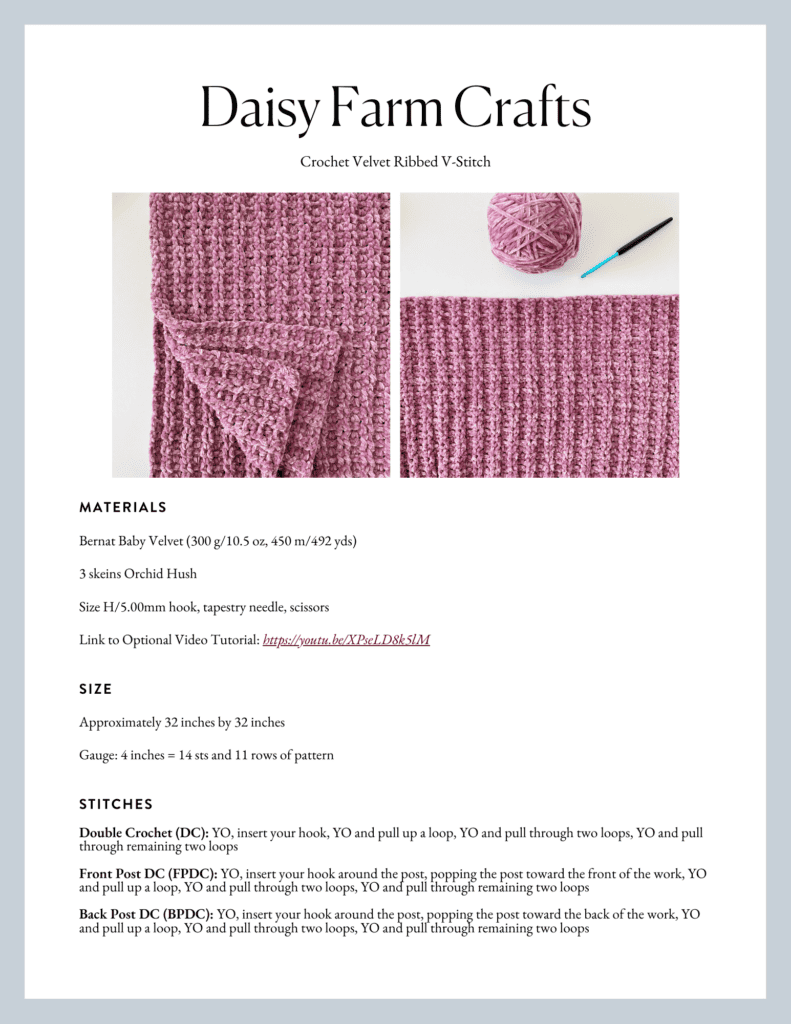
Bernat Baby Velvet (300 g/10.5 oz, 450 m/492 yds)
3 skeins. Tap name of yarn above to see on Yarnspirations.com. Orchid Hush, the color I used is a discontinued shade unfortunately on their site, but you may be able to find it elswhere.
Size H/5.00mm hook, tapestry needle, scissors
Stitches
Double Crochet (DC): YO, insert your hook, YO and pull up a loop, YO and pull through two loops, YO and pull through remaining two loops
Front Post DC (FPDC): YO, insert your hook around the post, popping the post toward the front of the work, YO and pull up a loop, YO and pull through two loops, YO and pull through remaining two loops
Back Post DC (BPDC): YO, insert your hook around the post, popping the post toward the back of the work, YO and pull up a loop, YO and pull through two loops, YO and pull through remaining two loops
Pattern
Approximately 32 inches x 32 inches
Gauge: 4 inches = 14 sts and 11 rows of pattern
Chain 120 (or any EVEN number to the width you’d like)
ROW 1: Begin in the fourth chain from the hook with 2 DC. Skip (SK) the next chain space, *2 DC in the next chain space, SK the next chain. Repeat from * across the row and work one DC into the very last chain. Chain 2 and turn. (This will count as your first DC) on the next row.
ROW 2: Begin with the first set of DC that are worked into one chain from the previous row and work 1 FPDC around each. *1 BPDC around each of the next set. 1 FPDC around each of the next set. Repeat from * across the row. End with 1 DC worked around the turning chain, CH 2 and turn.
ROW 3: Begin row by working 2 DC in between the first pair of DC of the previous row. *2 DC in between the next pair. Repeat from * across the row. End with 1 DC worked around the ch 2 turning chain, CH 2 and turn.
Repeat rows 2 and 3 until the blanket is the height desired.
Tie off and knot and then weave in the ends.
Thanks so much for stopping by! I hope you enjoy this pattern as much as I did. Such a relaxing stitch for the new year.
XO, Tiffany
Click here or image below to download a pdf of pattern.

Bonnet Pattern
Newborn size:
Chain 46 or any even number to 11.5 inches.
Follow Rows 1 through 3 of blanket pattern until you have 5.25 inches of height.
Fold rectangle in half and join the two sides together with a slip stitch, or you may cut yarn and use a tapestry needle to sew. Tie off yarn and cut.
Pull up a loop in either corner, ch 1 and SC into the same space. Work 2 SC around the posts of each DC along the edge. CH 60 for the first tie. CH 1 and turn.
Work SL ST into each CH. *SC into the next 2 SC, SKIP one SC, repeat from * across the bottom of the bonnet. CH 60 for the second tie. CH 1 and turn.
SL ST into each ch. Rotate bonnet to trim around the face with SC into each st. SL ST to the corner before the tie. Tie off and weave in the ends.
You can easily make this bonnet any size by using the size chart from Pattern Paradise. (I doubled the number of inches shown in the chart for the bonnet height for the starting chain.)
Thank you again for all your love. I have enjoyed holding this little baby in velvet more than I can say. It was a perfectly soft blanket.

