
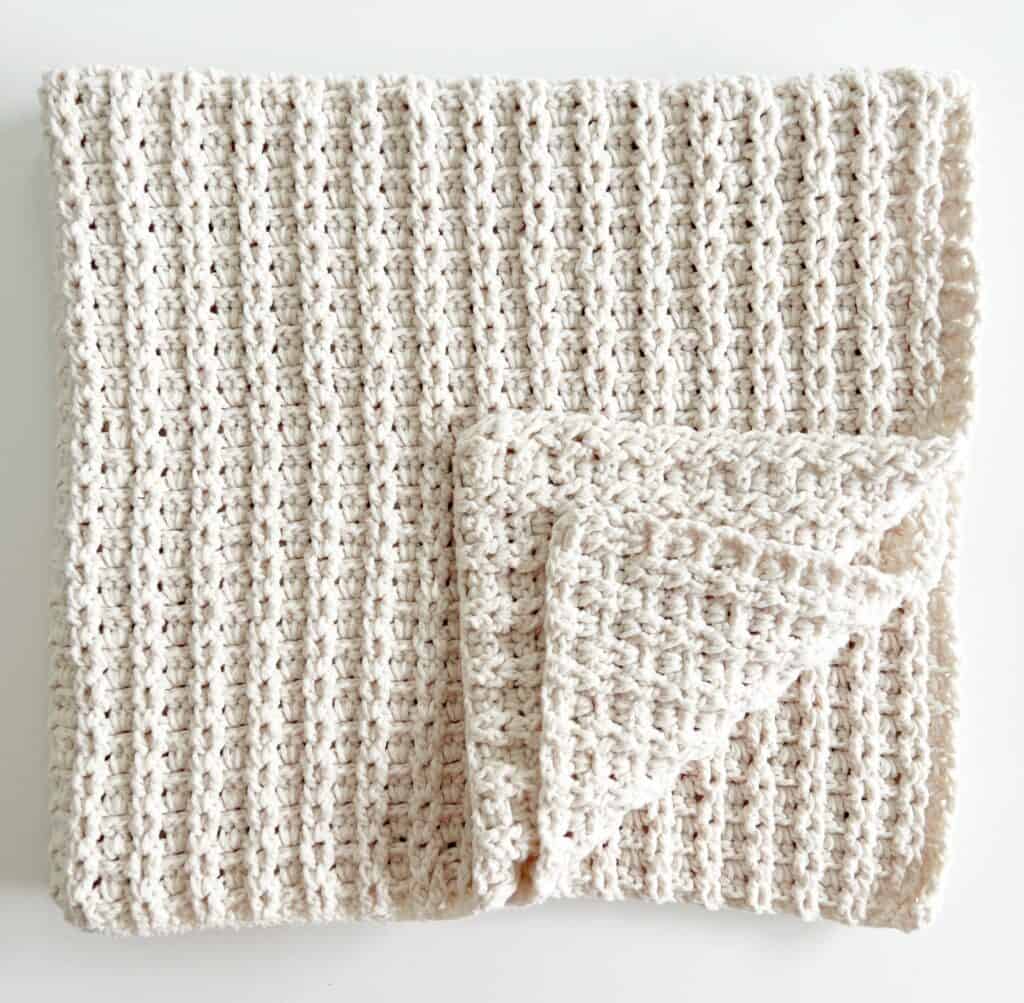
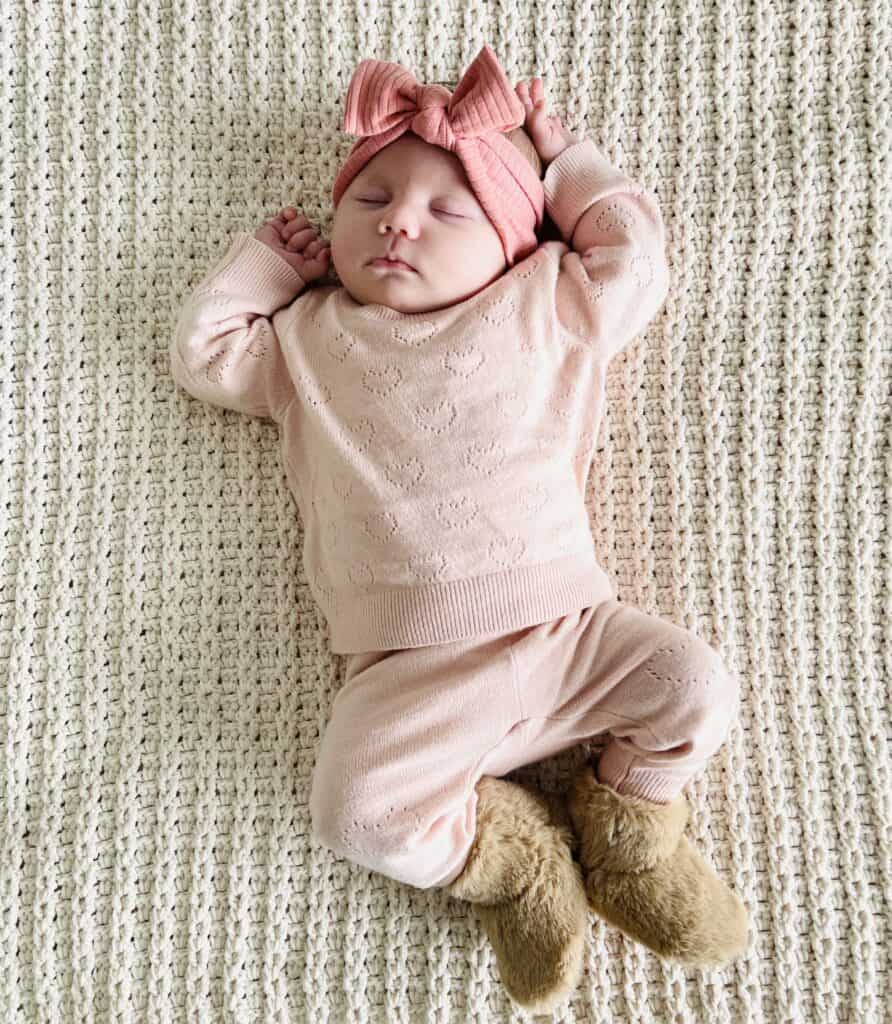
Precious baby Nora has had so many Aunties make her beautiful blankets! Her Graunty Cyndi made this one in Bernat Bundle Up yarn. It turned out so beautiful!
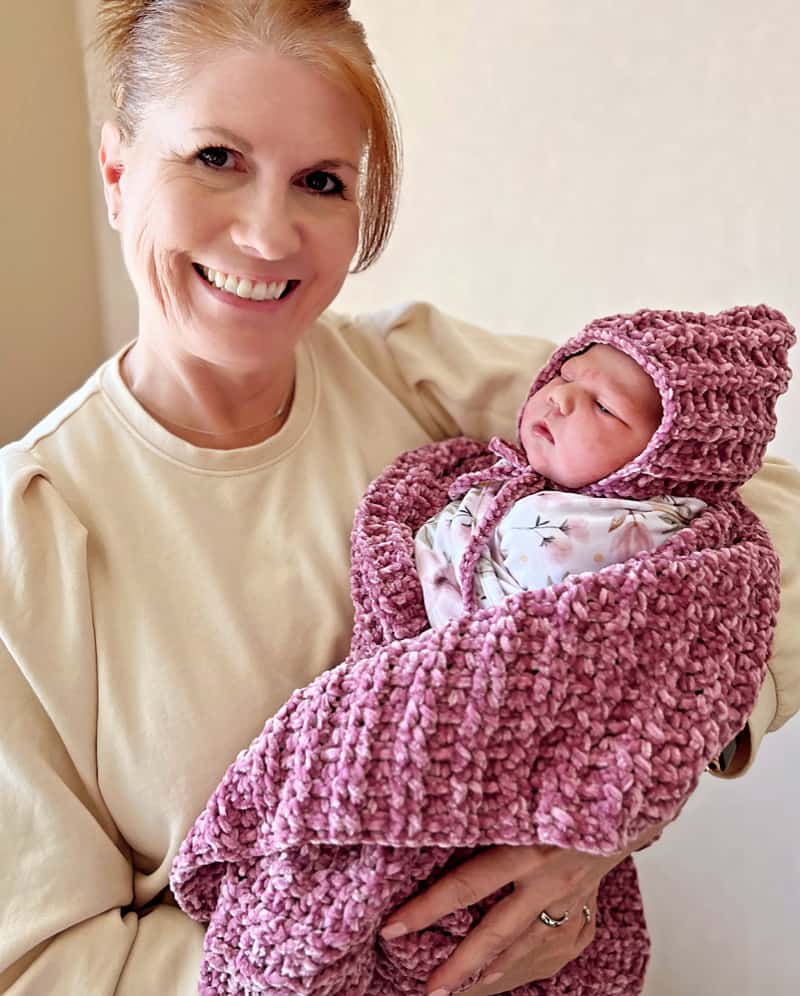
The Ribbed V-stitch is Nora’s signature blanket. I made her the original ribbed v-stitch in velvet for her coming home from the hospital blanket. It’s a beautiful deep purple that I also made a matching bonnet for her.
Tap here for the pattern to the Ribbed V-Stitch Blanket in Velvet and Bonnet
If you’ve been following along with us on the farm for the last year, my sister Cyndi has been learning how to crochet and when I made this original ribbed v-stitch in velvet, I knew this would be a good one for her to learn and continue practicing her skills.
It is a wonderful way to practice working front post and back post double crochet. She found it so relaxing to work this blanket since the post stitches are worked every other row. There is a break row of the v-stitch in between the post stitch rows. Making post stitches every row can be a bit tedious after awhile, so having one row of regular double crochet helps to move the blanket right along.
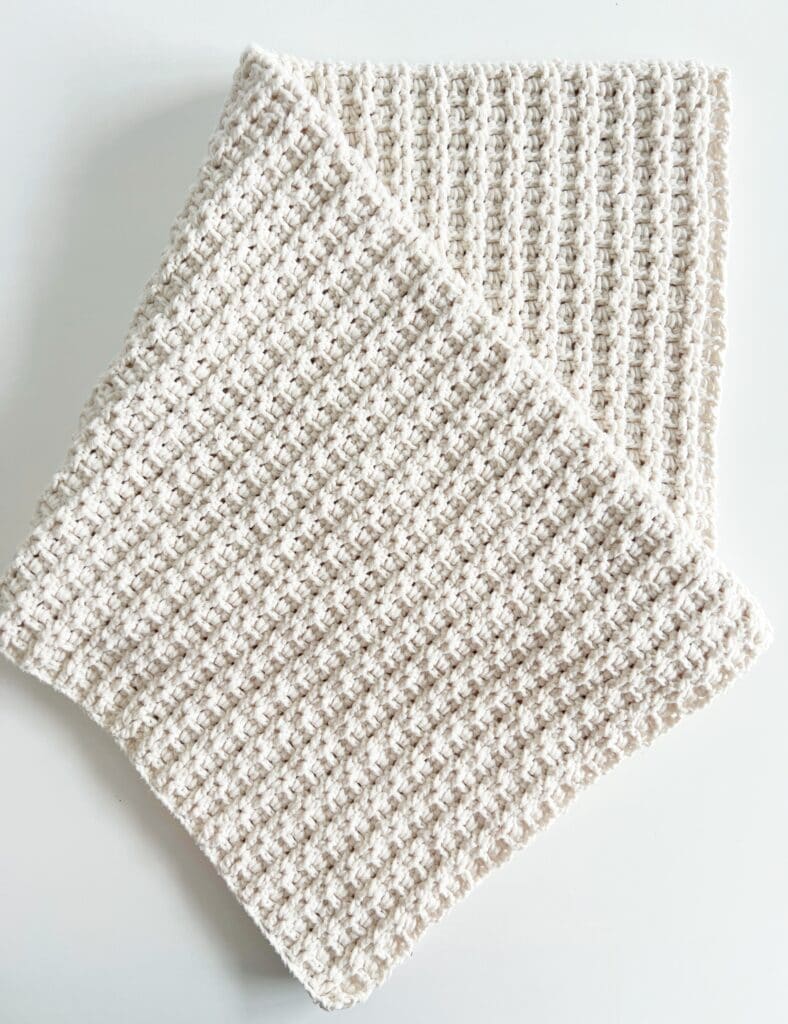
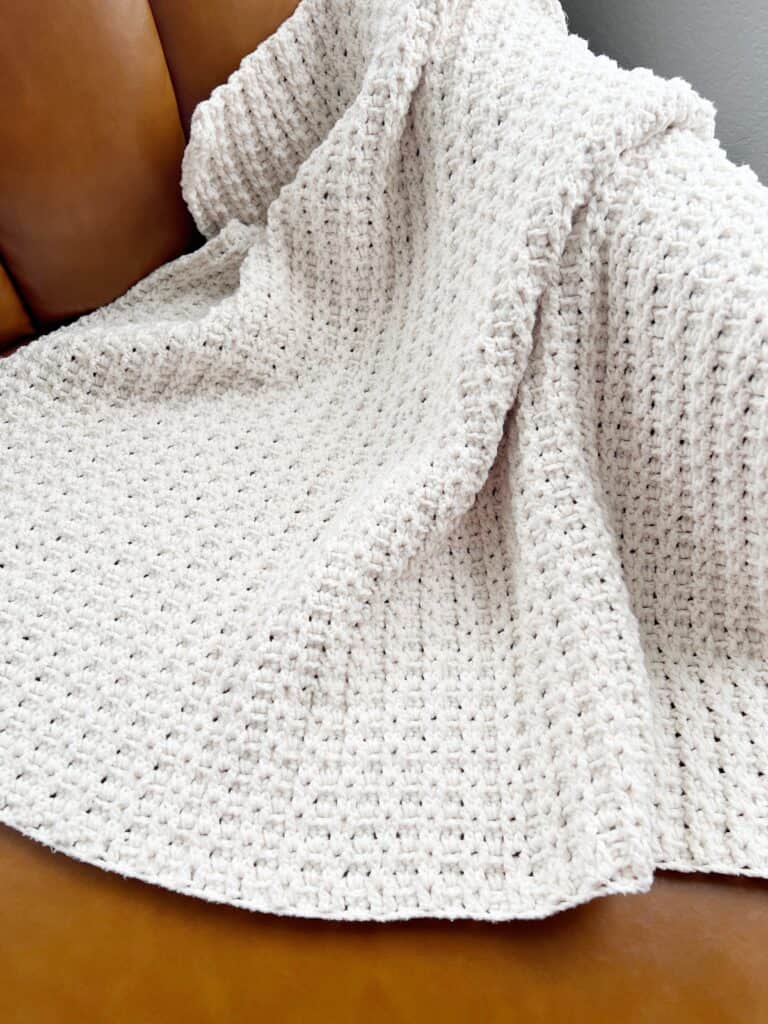
I also wanted her to make it in Bernat Bundle Up yarn so the texture of the blanket could really be seen and wow, I love it! When she gave it to Nora, I almost wanted to call it a chain link blanket. The post stitches really look like chain links to me.
This is also a wonderful beginner blanket to crochet since there is no need for a border. The edges finish off perfectly and look great. You can work the blanket, finish it and feel confident to give it away just as it is.
I also can’t say enough about working with Bernat Bundle Up yarn. There is just enough bounce and elasticity to help keep your stitches in shape and looking good.
And if you are wondering, the blanket looks exactly the same on both sides.
Cyndi, who is on Instagram as @sugarjoyecrochet and on Youtube as @sugarjoye, loved this pattern so much, she experimented with color. She was so curious as to how this would look alternating colors. And she was not wrong, it really looked so, so good!
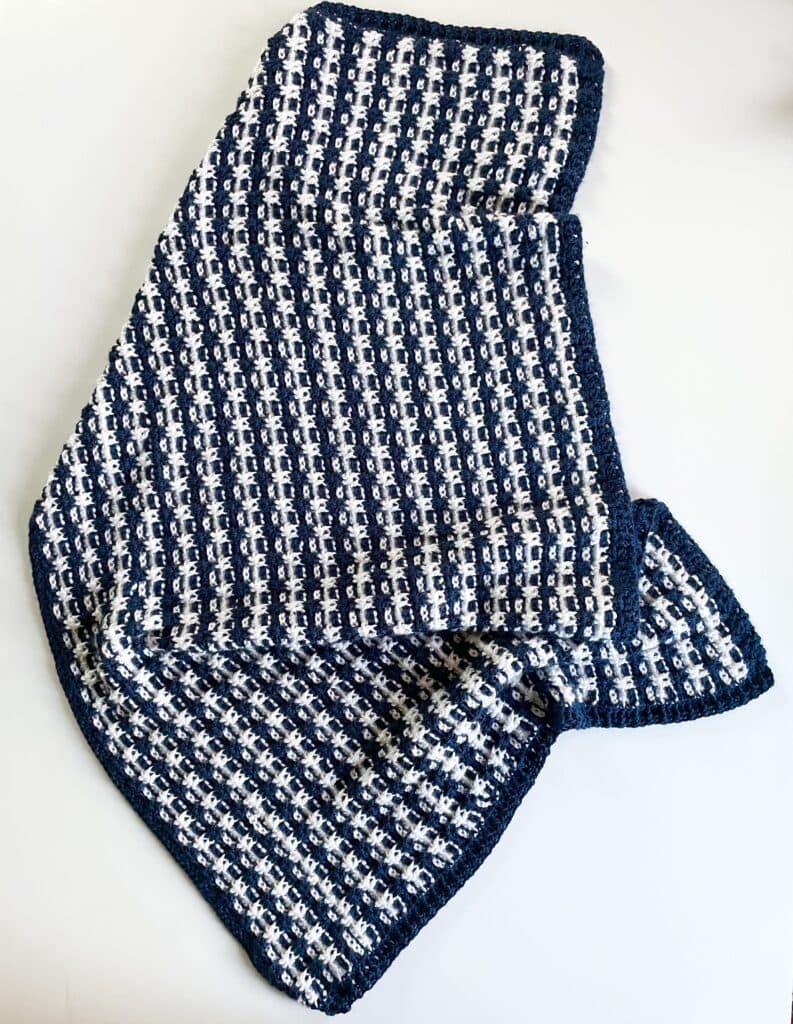
She made a shawl for herself in navy blue and white which turned out so incredibly beautiful. It reminded her of a Japanese Sashiko design. Again, I’m so amazed at her artistic approach to crochet!
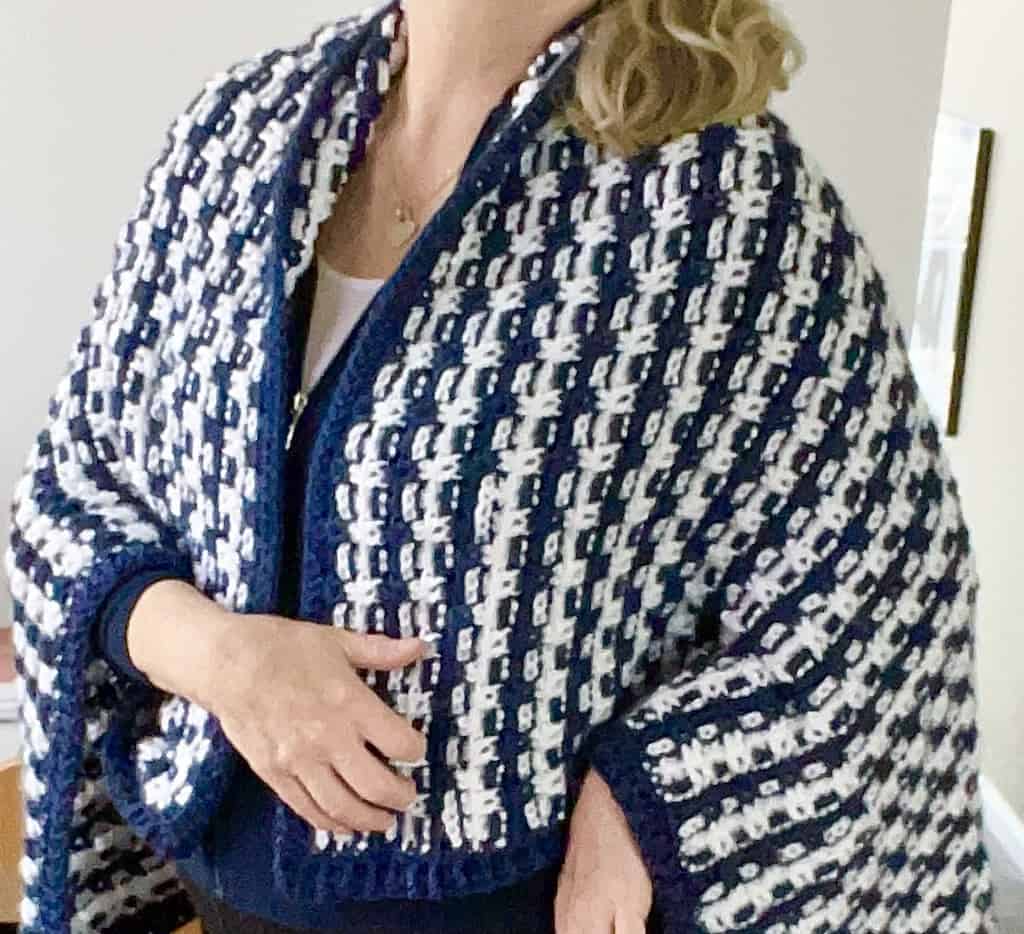
She did work a border around her shawl, so if you want to make her version and learn how she worked the color changes, she made a YouTube tutorial to explain everything.
Let’s get to the pattern! Be sure and scroll to the very end of this post to print the pdf version of this pattern. And, if you’d like to see other blankets with beautiful texture, be sure and visit the blanket pattern category “Textures and Bobbles” to get some extra inspiration.
Materials
Bernat Bundle Up (Tap name of yarn to shop and see more colors) (140 g/4.9 oz, 244 m/267 yds, 100% polyester)
4 skeins Marshmallow (or any color)
size I 5.5mm hook or size needed for a nice drape.
Stitches
DOUBLE CROCHET (DC): YO, insert your hook, YO and pull up a loop, YO and pull through two loops, YO and pull through remaining two loops
FRONT POST DC (FPDC): YO, insert your hook around the post, popping the post toward the front of the work, YO and pull up a loop, YO and pull through two loops, YO and pull through remaining two loops
BACK POST DC (BPDC): YO, insert your hook around the post, popping the post toward the back of the work, YO and pull up a loop, YO and pull through two loops, YO and pull through remaining two loops
Size
36 x 36 inches
Pattern
Chain 138 (or any EVEN number to the width you’d like)
ROW 1: Begin in the fourth chain from the hook with 2 DC. Skip (SK) the next chain space, *2 DC in the next chain space, SK the next chain. Repeat from * across the row and work one DC into the very last chain. Chain 2 and turn. (This will count as your first DC) on the next row.
ROW 2: Begin with the first set of DC that are worked into one chain from the previous row and work 1 FPDC around each. *1 BPDC around each of the next set. 1 FPDC around each of the next set. Repeat from * across the row. End with 1 DC worked around the turning chain, CH 2 and turn.
ROW 3: Begin row by working 2 DC in between the first pair of DC of the previous row. *2 DC in between the next pair. Repeat from * across the row. End with 1 DC worked around the ch 2 turning chain, CH 2 and turn.
Repeat rows 2 and 3 until the blanket is the height desired.
Tie off and knot and then weave in the ends.
Thank you so much for stopping by! I hope you enjoy making this pattern as much as we do! Another variation will be coming soon. I’m playing around with the idea of making it a basketweave look. So far it’s looking great and I can’t wait to show you.
Be sure and scroll to the end for the free pdf.
XO, Tiffany
Click here or image below to download a printable pdf.
![]()