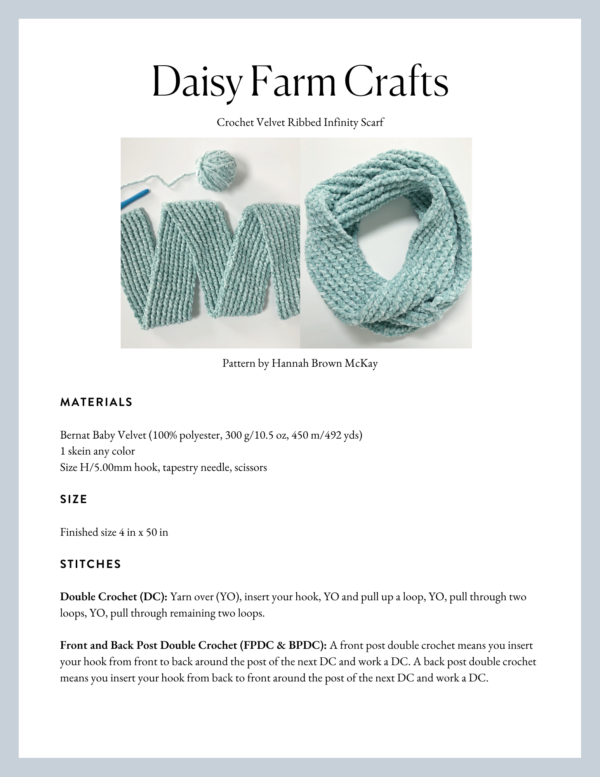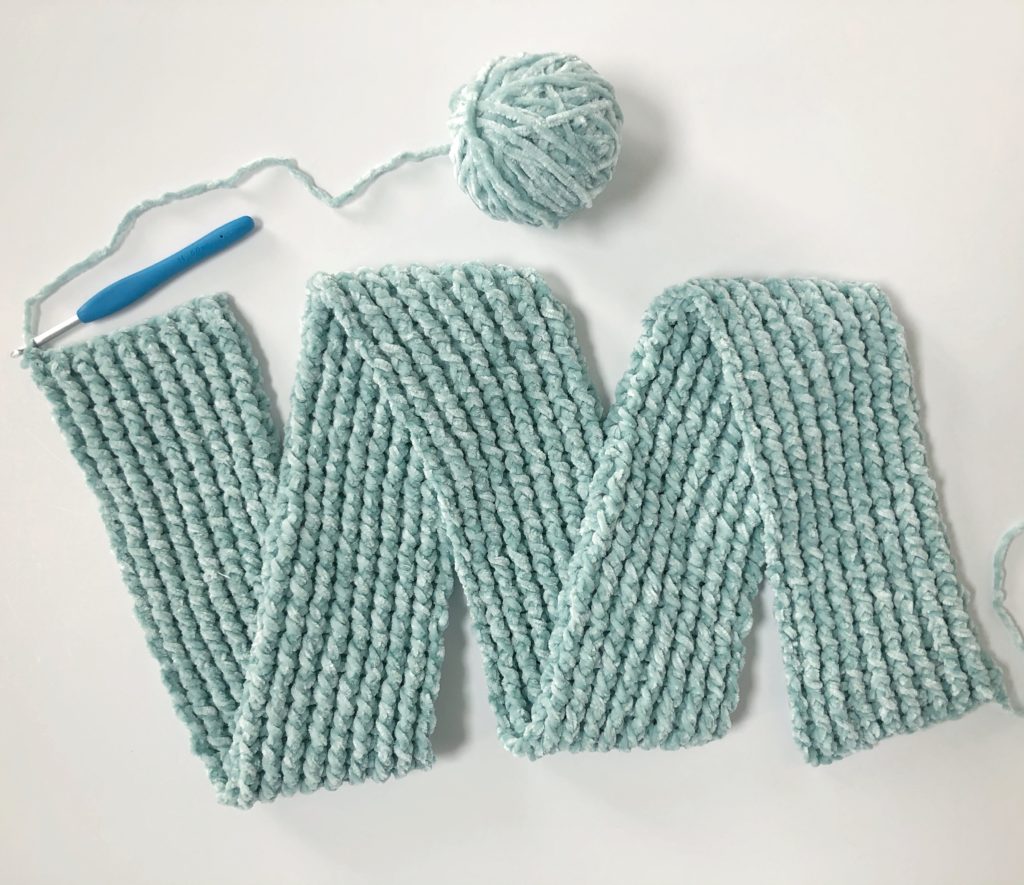
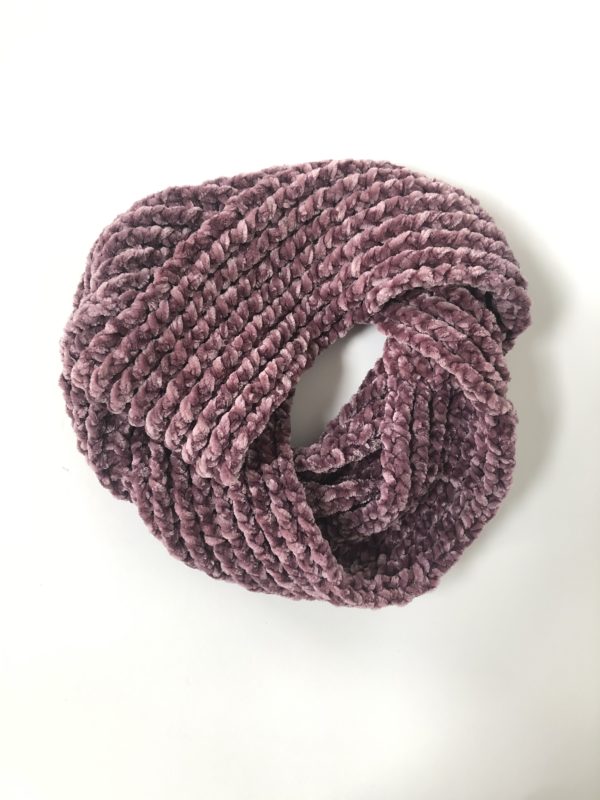
Well I’m a little obsessed with using front and back post double crochet with velvet yarn so last week I made some infinity scarves to go with my Ribbed Velvet Headbands 😊. I made some Beginner Velvet Infinity Scarves a few months ago with a flatter stitch, which I love, but using the ribbing just makes these infinity scarves extra squishy and soft!
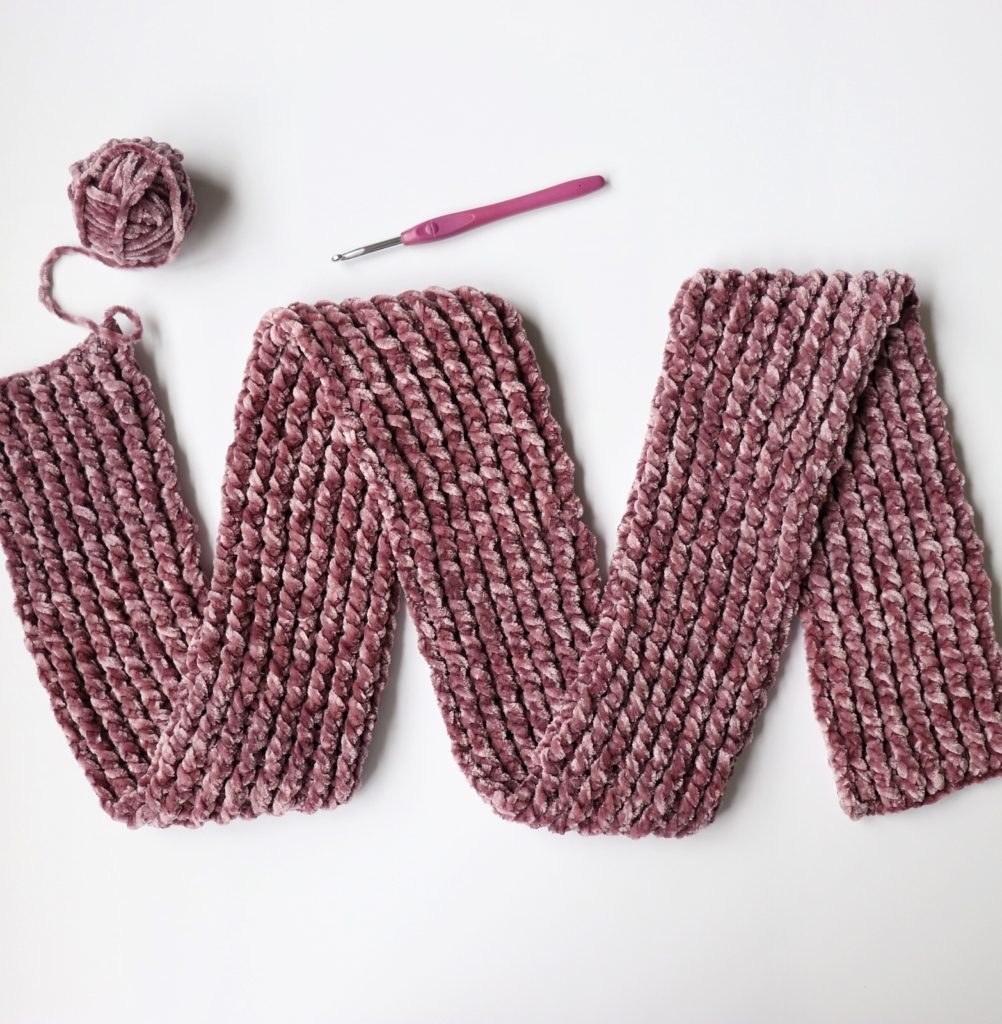
The pictures above are of a scarf made with baby velvet yarn and the purple one below is made with regular velvet yarn. The main difference between the two is that the regular is a little bit thicker, and its hand wash only. If you’ve never used velvet yarn before, be sure to keep your tension nice and tight as you work to avoid any loose loops from popping up. We love using this stitch with the velvet because it really helps to keep things nice and tight!
If you’ve never used front and back post double crochet before you can watch this quick video to see the stitch before you get started!
Materials
Bernat Baby Velvet (100% polyester, 300 g/10.5 oz, 450 m/492 yds)
1 skein any color
Size H/5.00mm hook, tapestry needle, scissors
Size
Finished size 4 in x 50 in
Stitches
Double Crochet (DC): Yarn over (YO), insert your hook, YO and pull up a loop, YO, pull through two loops, YO, pull through remaining two loops.
Front and Back Post Double Crochet (FPDC & BPDC): A front post double crochet means you insert your hook from front to back around the post of the next DC and work a DC. A back post double crochet means you insert your hook from back to front around the post of the next DC and work a DC.
Pattern
Chain 20.
ROW 1: Starting in the 4th chain from the hook, work 1 DC in each chain. CH 2 and turn.
ROW 2: The chain 2 counts as the first stitch. Around the next stitch, work a Front Post Double Crochet (FPDC). Around the next stitch, work a Back Post Double Crochet (BPDC). Continue alternating FPDC and BPDC to the end of the row. When you reach the end of the row, work a regular DC underneath the turning chain. CH 2 and turn.
ROW 3: The chain 2 counts as the first stitch. Around the next stitch, work a BPDC. Then work a FPDC. Continue working BPDC, FPDC to the end of the row. Chain 2 and turn. (In other words, you are always working around the post in a way that it sticks out in the same direction as the row below.)
Repeat rows 2 through 3 until your scarf measures between 50 and 55 inches or your desired length.
After my scarf was about 50 inches long, I slip stitched the two ends together by lining them up evenly and inserting my hook through both sides, yarning over, then pulling directly through the loop on my hook. After I slip stitched the sides together, I tied off and left myself a long tail, then used a tapestry needle to weave the tail in and out of the seam to keep it extra secure.
When you are finished, weave in all your ends with a tapestry needle, turn it inside out so the seam is on the inside, then enjoy your super cozy infinity scarf!
Thanks so much for coming to read this pattern; I hope you enjoy making this scarf! When you’re finished please come share a picture with us on Facebook or Instagram using #daisyfarmcrafts, we’d love to see!
xo, Hannah
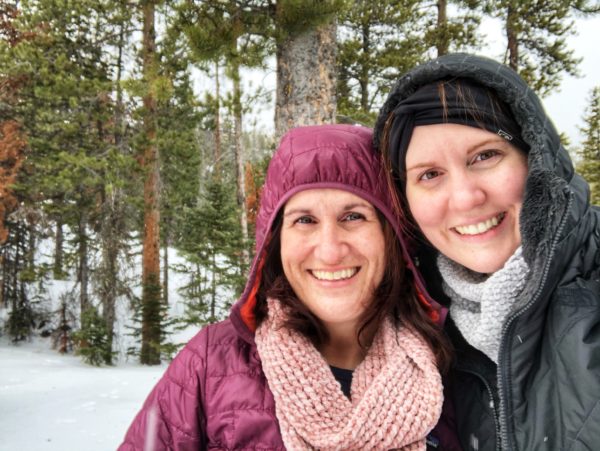
P.S. Here’s a pic of my aunt and I on a winter hike in Rocky Mountain National Park this week wearing our velvet infinity scarves! They definitely helped keep us warm!
Click here or on image below for printable pattern