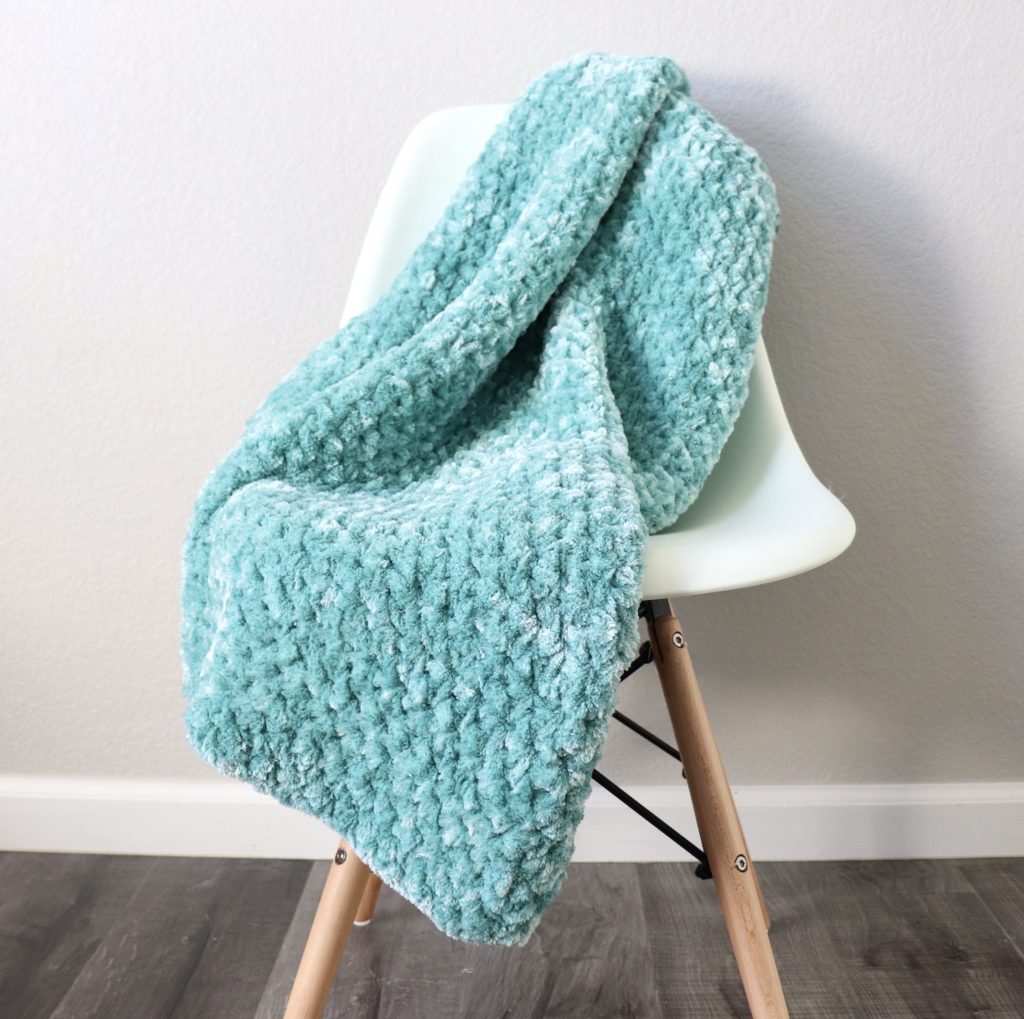
Hello, Hannah here, I’m starting off the new year by trying out some new yarn! This is Bernat Velvet Plus, and if you saw my mom’s post from a few days ago you know she’s been busy using this yarn for scrunchies and headbands, but I wanted to see how this yarn would work up as a blanket!
Here’s what I’ve learned so far about working with this yarn:
-It’s just as soft and luxurious as regular Bernat Velvet, but it works up much differently. It’s not nearly as slippery as the regular velvet, so I don’t feel like I have to worry as much about extra loops coming loose.
-Since it’s more furry, it does shed a little bit more than the other velvet yarns. I don’t think I would make something with this yarn that involves a lot of color changes or tassels – the less cutting the better.
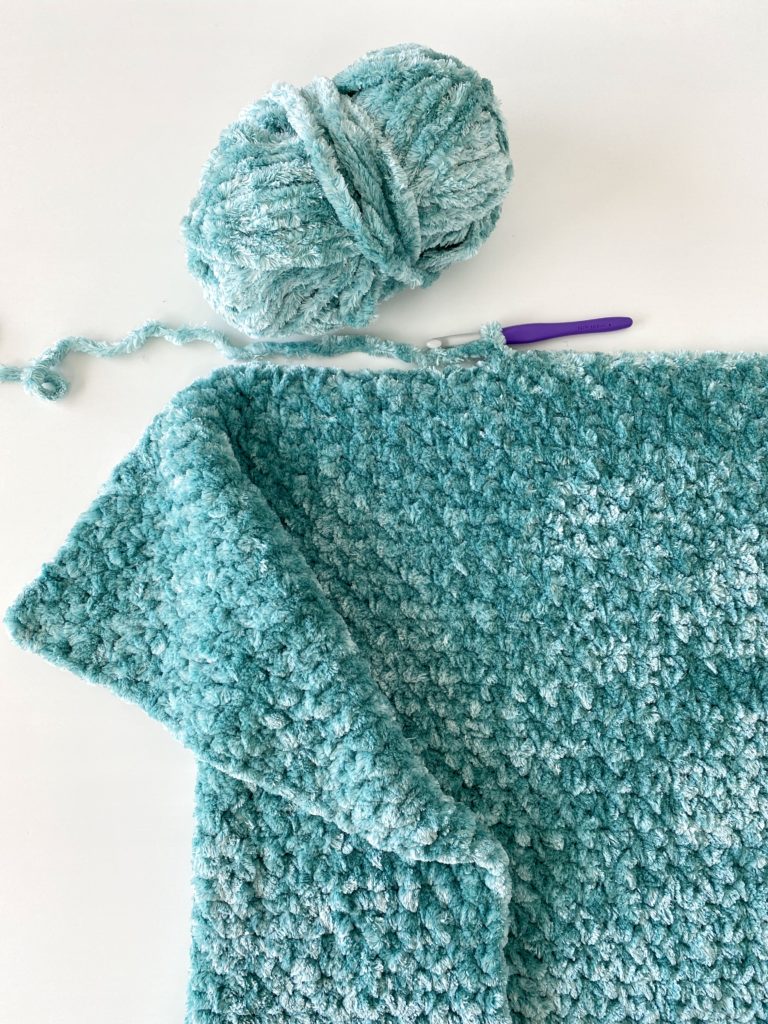
-It’s hard to see stitches, so any stitches where you insert your hook into a space instead of a stitch makes things go faster. I used the moss stitch for this one, which is SC, chain one, skip one, and it helps to use my finger to find the space for each stitch. It gets easier to find the stitches the more your blanket grows, but I don’t think I would recommend this yarn for a brand new crocheter – it helps to have a few other projects under your belt so you know where to feel for the stitch spaces.
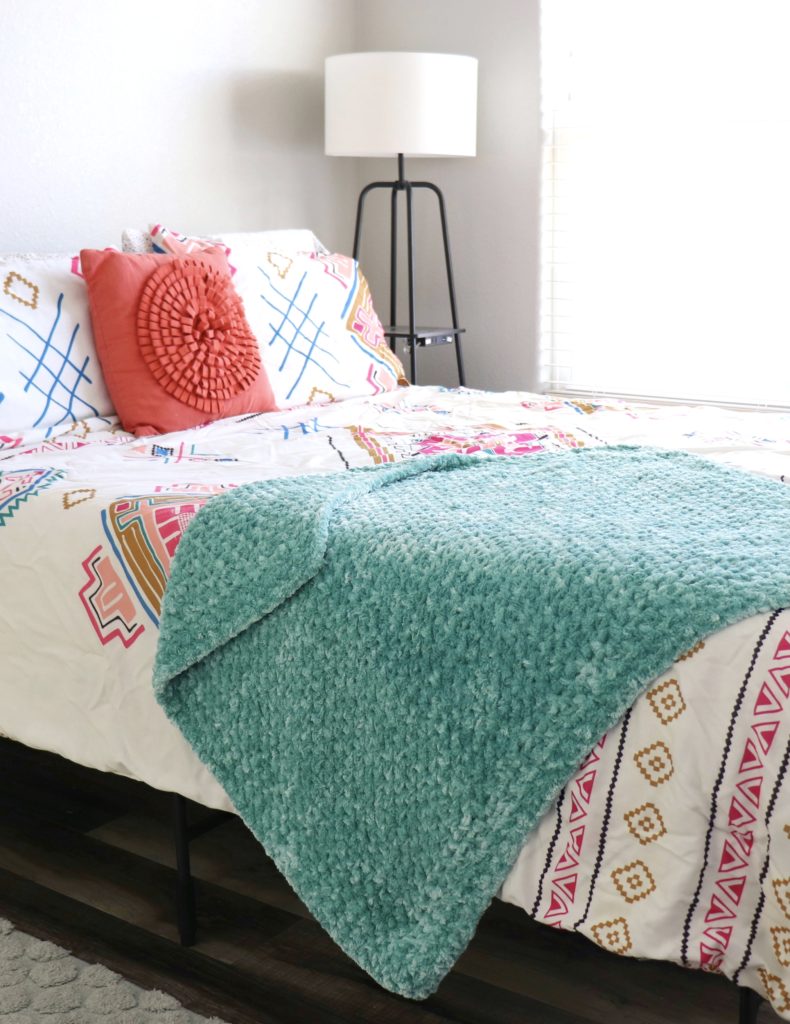
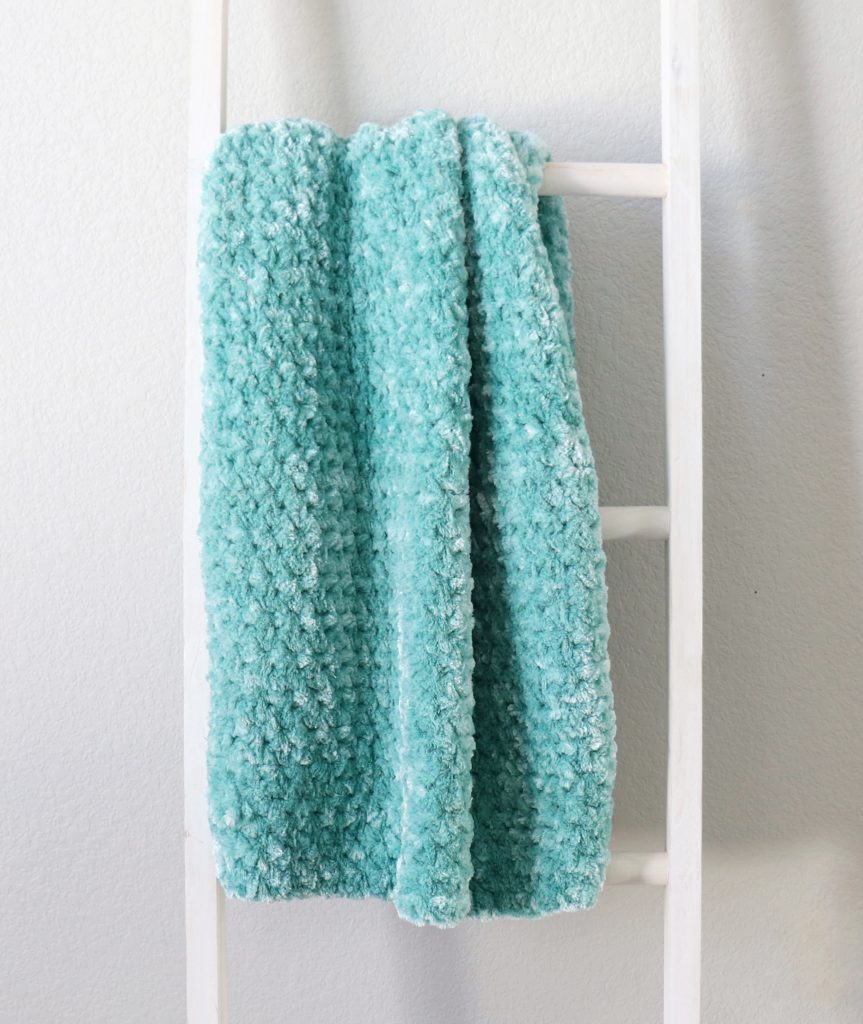
All that being said, this yarn does work up really fast and so far I really love how wonderfully soft my blanket is turning out. It is a little bit heavy, but since I live in Denver I can never have too many warm blankets! I made this one for my guest room:
I have some more of this yarn in a really pretty cream color that I want to use to make a throw for my living room couch and I’m excited to keep experimenting with which stitches work best with this yarn! Thank you to our friends at Yarnspirations* for sending us this yarn to try!
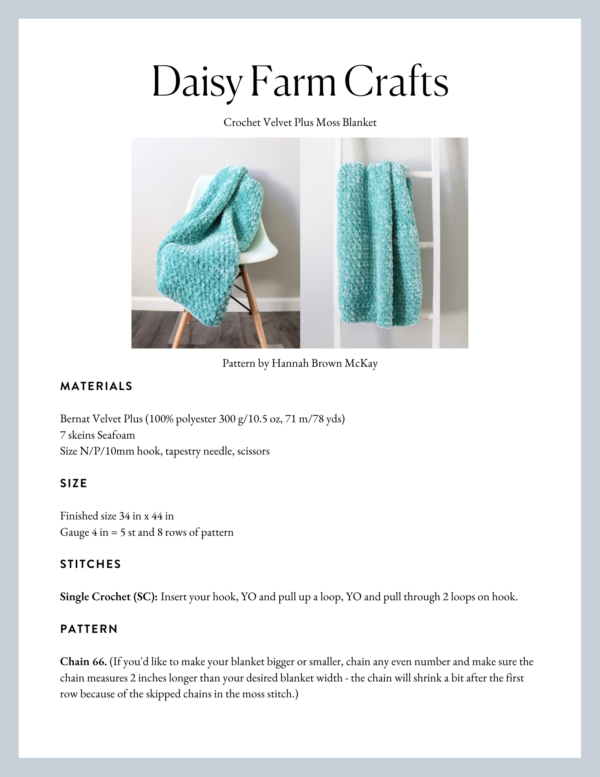
Materials
Bernat Velvet Plus (100% polyester 300 g/10.5 oz, 71 m/78 yds)
7 skeins Seafoam
Size N/P/10mm hook, tapestry needle, scissors
Size
Finished size 34 in x 44 in
Gauge 4 in = 5 st and 8 rows of pattern
Stitches
Single Crochet (SC): Insert your hook, YO and pull up a loop, YO and pull through 2 loops on hook.
Pattern
Chain any even number. (I chained 66. If you’d like to make your blanket bigger or smaller, chain any even number and make sure the chain measures 2 inches longer than your desired blanket width – the chain will shrink a bit after the first row because of the skipped chains in the moss stitch.)
ROW 1: Starting in the 4th chain from the hook, work a SC, CH 1. Skip the next chain then work SC, CH 1. Continue working SC, CH 1 in every other chain. You should end with one SC in the last chain. CH 2 and turn.
ROW 2: Work SC, CH 1 into the chain one space of the row below. Skip the next stitch, then work SC, CH 1 in the next chain one space. Continue working SC, CH 1 into the all the chain one spaces from the row below. End with a SC that is between the last stitch and the turning chain of the row below. Chain 2 and turn.
Repeat row 2 for the remainder of the blanket.
Here is a quick video of the moss stitch (worked in a different yarn) if you’d like to see how it’s done:
Border
Weave in all ends before beginning the border.
Round 1: Pull up a loop in any corner and chain 2. Work the moss stitch (SC, Ch 1) around the blanket. On the sides you want to work your SC, Ch 1 on the end spaces of every other row. Work 3 SCs into each corner, then chain one, then resume working the moss stitch around the blanket. When you get back to the corner you started with, slip stitch into the corner, then chain 2 and turn.
Round 2: Continue working the moss stitch (SC, Ch 1) around the blanket. When you get back to the corner you started with, slip stitch into the corner, then chain 2 and turn.
Repeat round 2 until you reach your desired border thickness (I had enough yarn to go around 4 times total.)
Thank you so much for visiting our blog! If you decide to make this blanket please take a picture and share with us on Facebook or Instagram using #daisyfarmcrafts, we’d love to see!
xo, Hannah
Click here or on image below for printable pattern
*Daisy Farm Crafts in sponsored by Yarnspirations