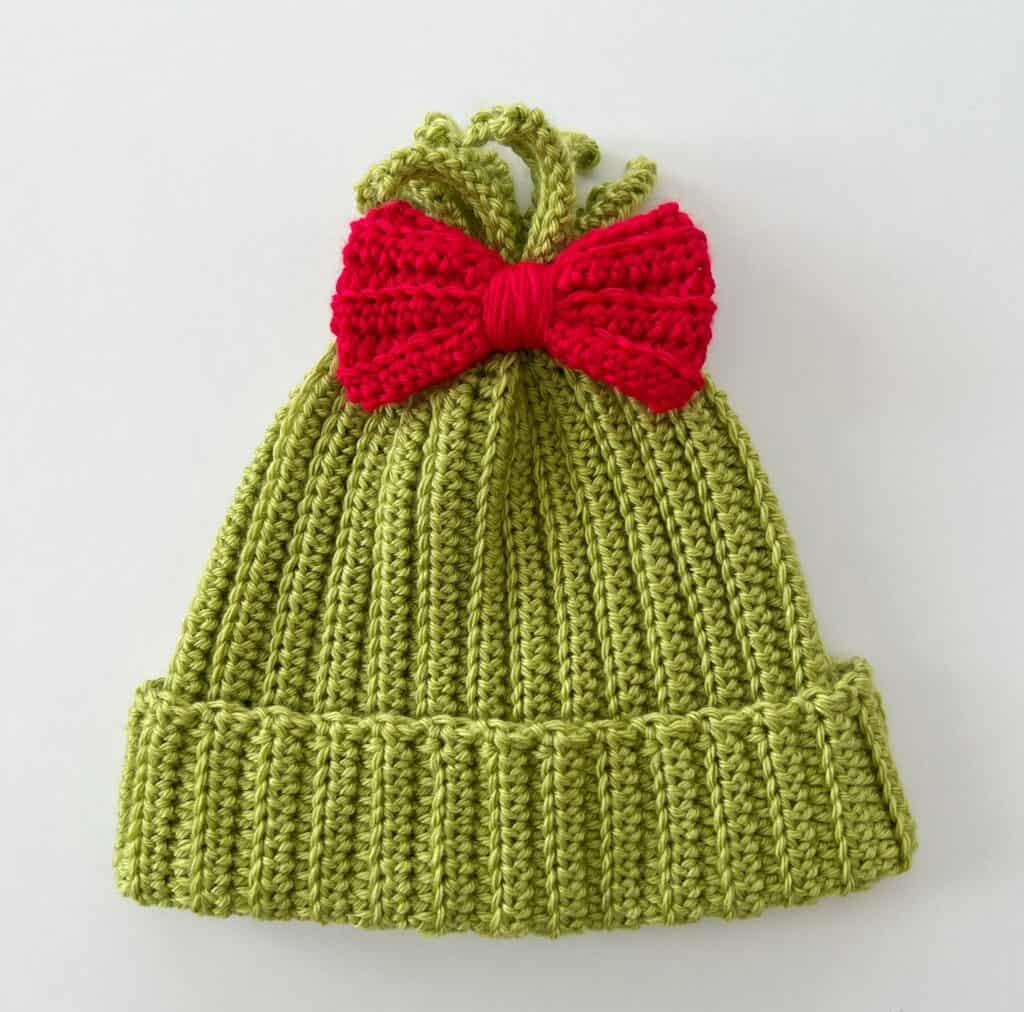
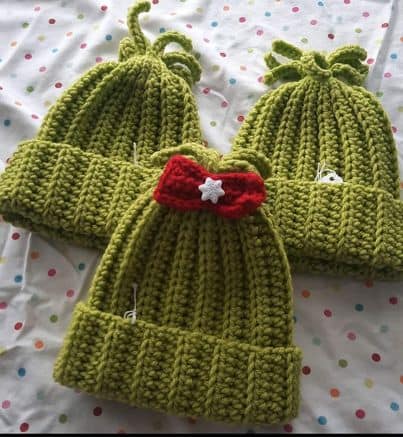
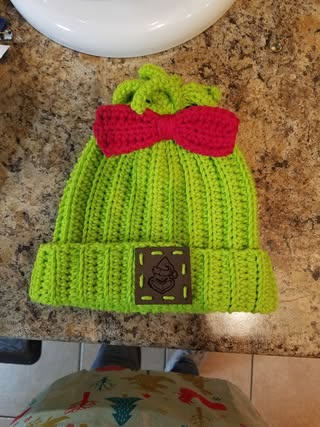
I have a whole lot of Grinch-inspired hats to show you today! Several years ago a trend started happening in the Daisy Farm Crafters Group. Many crocheters used the Ribbed HDC Fun Fringe Hat pattern to make a Grinch-themed hat.
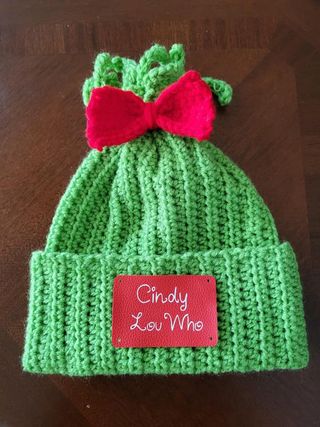
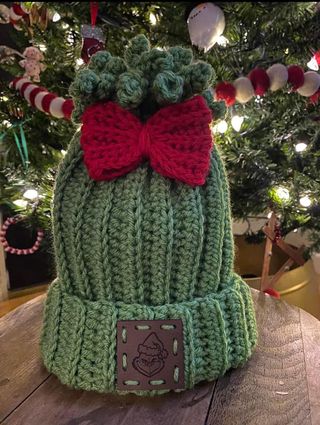
These hats are a cross between the Grinch and Cindy Loo-hoo. They are a great Christmas-time hat to make when you need something fun and different.
Today I will share the pattern for the bow I created to add onto the top. The hat pattern that I used is the Ribbed HDC Fun Fringe Hat.
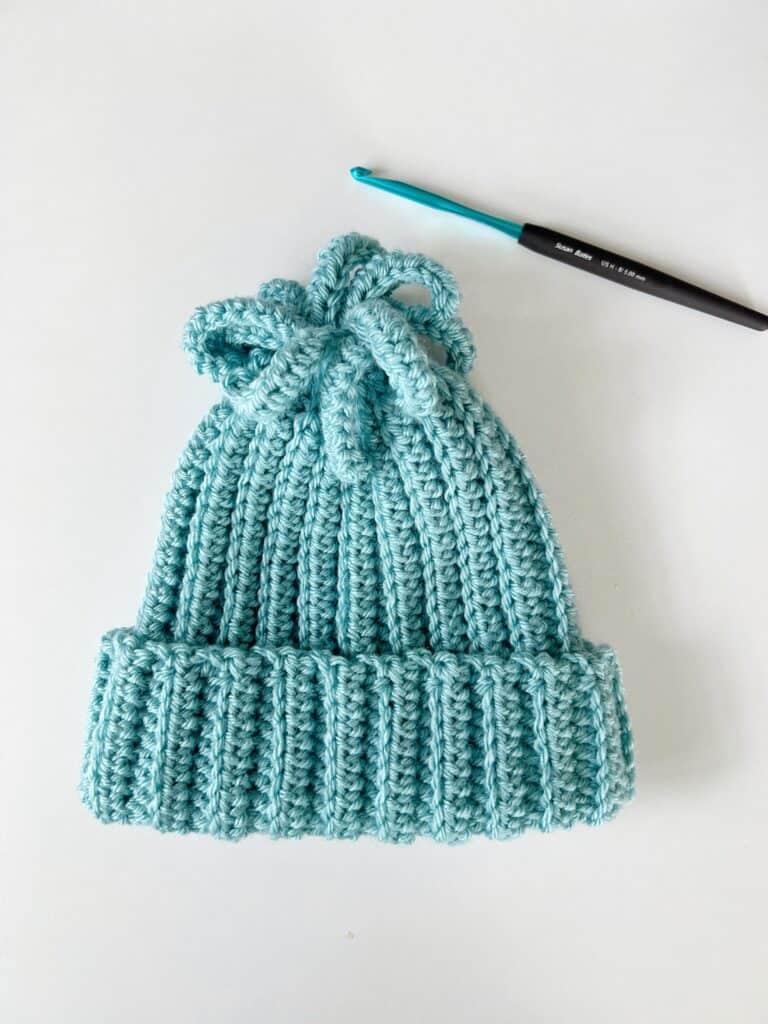
However, you can also use the original Fun Fringe Beanie if you prefer using the single crochet stitch. Each hat pattern has size charts and video tutorials to help you make the hat. The fringe is made at the same time as the hat. They are then folded in half and seamed up the side. The top of the hat is cinched together just under the fringe to create the little sprout of fun.
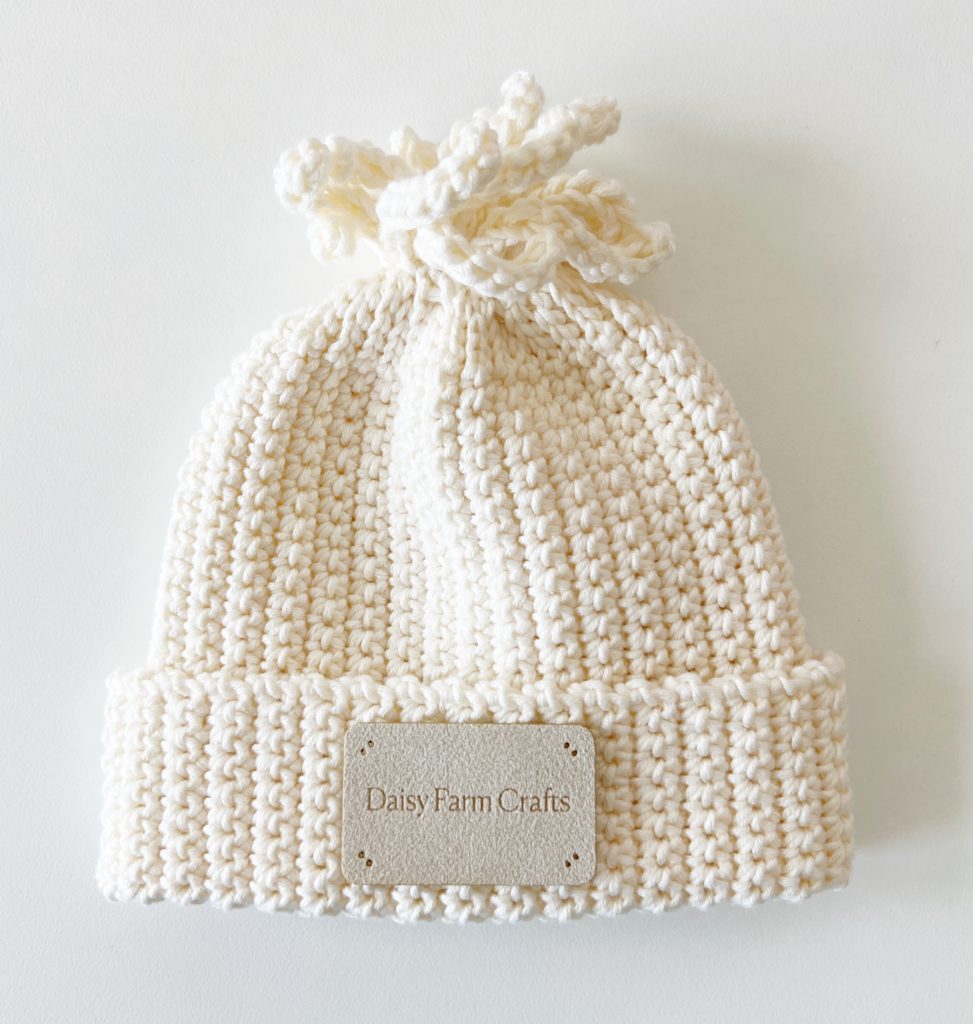
I am using Caron Simply Soft yarn in the color Chartreuse and Red for the bow. (You can tap the highlighted words to shop on Yarnspirations.com) But, there also is a great green in Red Heart Super Saver called Spring Green. Or you might want to try the new Caron All Day Cotton in Kiwi.
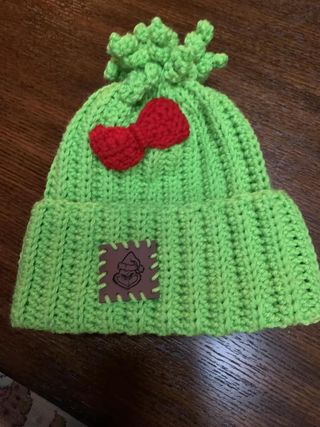
Many of the ladies in the group headed to Etsy to buy leather tags to add onto their hats. You want to find a leather tag that has pre-punched holes to make attaching it to the hat simple.
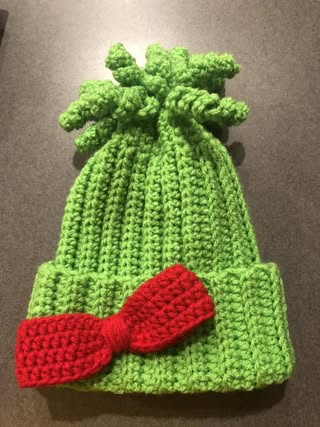
The red bow is attached with yarn and just sewn on after you make it. It is a simple rectangle that is sewn together in a loop then cinched together with a long tail then you wind that tail around and around the center of the bow. Leave enough length to then attach it to the hat. Work the needle in and out under neath all the fringe then weave the end in.
I made a chain that is 9 inches long. Then worked 6 rows of back loop Half Double Crochet, the same stitch used in the hat pattern. I tied off with at least 4 feet of tail to make sure I had enough to wrap it around the center of the bow.
I hope this gives you enough information to make your own cute hat. The following pictures are from the Daisy Farm Crafters Group to help you with more ideas. Thank you to all the ladies who posted pictures of their darling hats, I just love them. Check the caption of each photo for the name of the creator.
Thank you so much for stopping by and good luck on your hat! XO, Tiffany
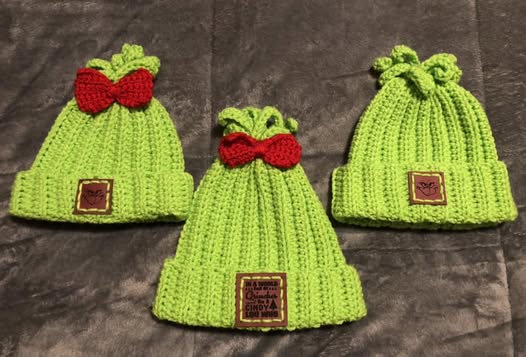


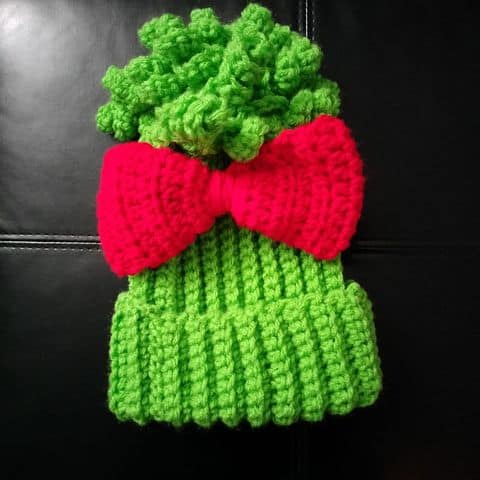



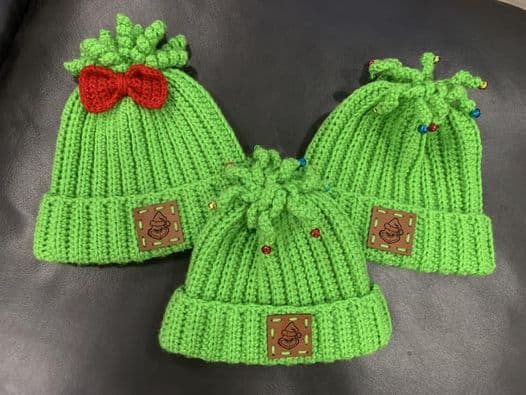



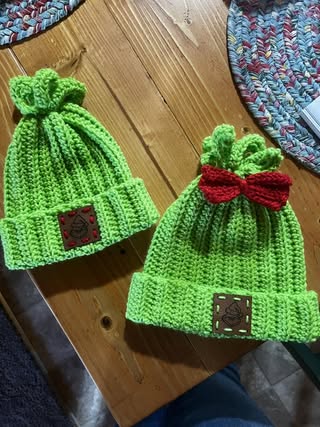

P.S. You’ll notice that some of the hats have extra curly fringe, that is made by working 2 sc per chain, or 2 hdc per chain depending on the pattern you are using. The extra stitch will make the fringe extra curly.
