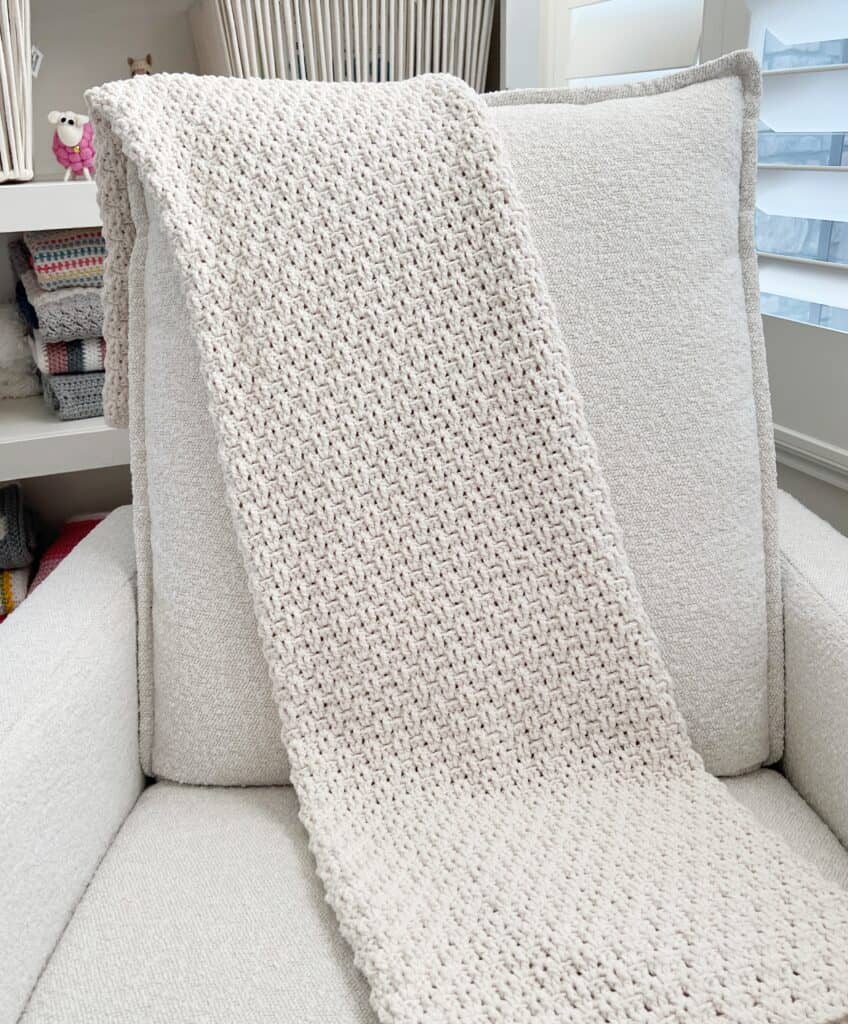
I have had so much fun making this Diamond Weave Throw the past few weeks! It’s a blanket I’m happy to have had on my lap to watch grow. I absolutely love the texture!
I also love that it was an easy and relaxing throw to make. It looks so complicated to make, but isn’t.
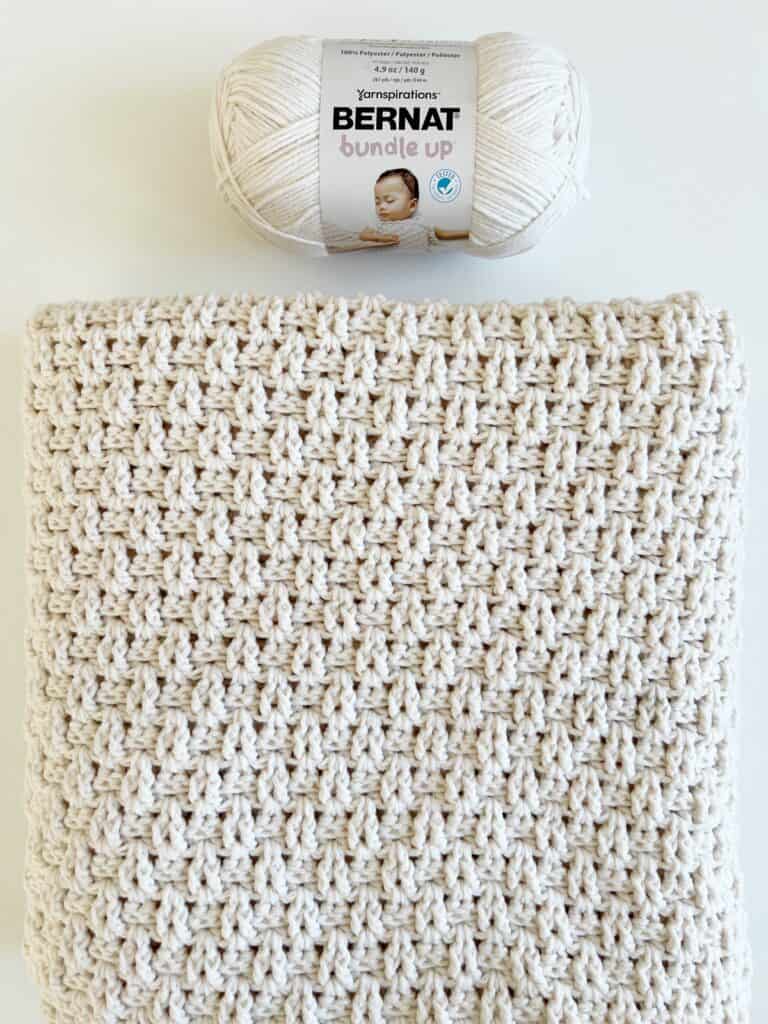
This is a variation of a blanket I made for baby Nora in velvet, that my sister Cyndi then made in Bernat Bundle Up. I had a feeling the texture of the ribbing stitches would show up better in Bundle Up versus the velvet, so I was delighted to see her make it.
![]()
And that got me thinking of what if I reversed the direction of the ribbing stitches (post stitches) every other time? I worked a sample swatch, and fell in love with its appearance. So I made my own throw in Bernat Bundle Up!
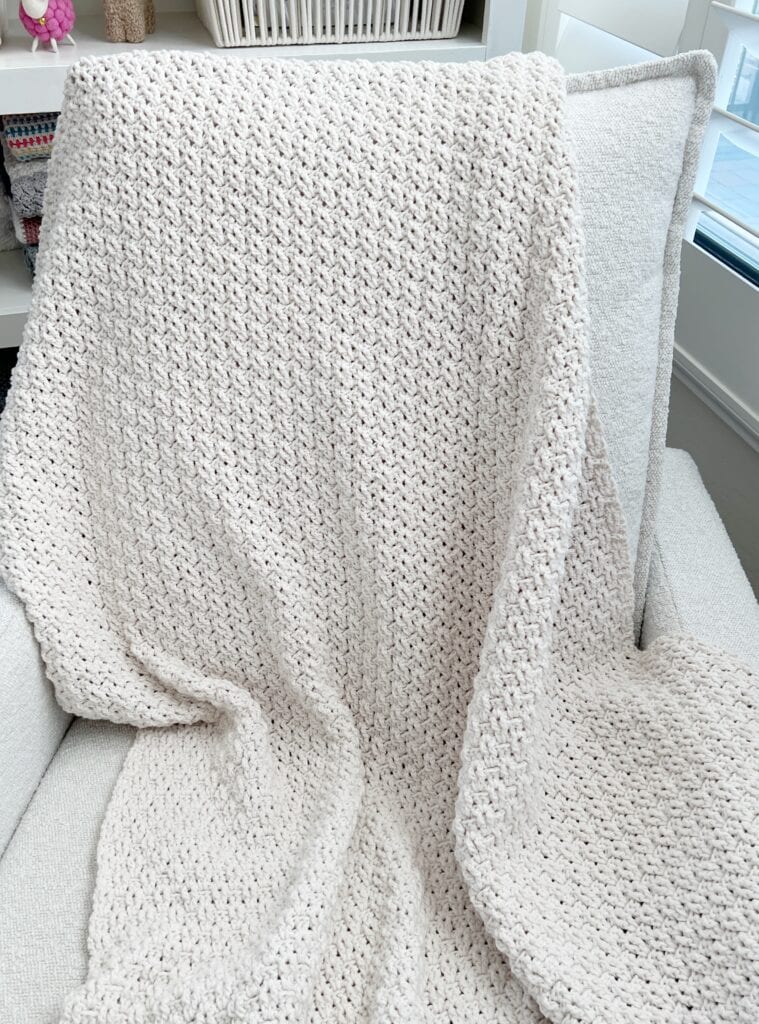
This one I really want to keep for my Daisy Farm room, I have a rocking chair I love to sit in and crochet, and have wanted a lap quilt. This will be perfect! For using 8 skeins of yarn, it still is relatively light weight.
And, Bundle Up is so very soft, it feels like flannel.
![]()
I love that the post stitching is only one row across. You’ll get a nice break in between the ribbing rows with working regular double crochet v-stitch. This helps to make the blanket work up so much faster than if you were working ribbing stitches the entire time.
The blanket looks exactly the same on both sides and does not need a border. You of course are free to add one, but I wanted to keep this so beginner-friendly and when you’re finished, you’re finished.
You can also make this any size that you’d like. You only need to make an even number of chains to the width you’d like.
It is such a fun pattern, I’m so happy to share it with you.
I made a video tutorial as well if you prefer watching. Otherwise, be sure and scroll to the end of the post for the free printable pdf!
Enjoy!
Materials
Bernat Bundle Up (Tap name of yarn to shop and see more colors) (140 g/4.9 oz, 244 m/267 yds, 100% polyester)
8 skeins Marshmallow (or color of your choice)
Size I 5.5 mm hook or size needed for a nice drape
scissors, tapestry needle
Size
48 inches x 60 inches
Gauge: 4 inches = 8 rows and 14 stitches
Stitches
DOUBLE CROCHET (DC): YO, insert your hook, YO and pull up a loop, YO and pull through two loops, YO and pull through remaining two loops
FRONT POST DC (FPDC): YO, insert your hook around the post, popping the post toward the front of the work, YO and pull up a loop, YO and pull through two loops, YO and pull through remaining two loops
BACK POST DC (BPDC): YO, insert your hook around the post, popping the post toward the back of the work, YO and pull up a loop, YO and pull through two loops, YO and pull through remaining two loops
Pattern
Chain 150 (or any EVEN number to the width you’d like).
ROW 1: Begin in the fourth chain from the hook with 2 DC. Skip (SK) the next chain space, *2 DC in the next chain space, SK the next chain. Repeat from * across the row and work one DC into the very last chain. Chain 2 and turn. (This will count as your first DC) on the next row.
ROW 2: Work 2 DC in the space between the second and third DC sts, splitting the pair to form a “V.” *Skip 2 stitches, then work 2 DC in between the next pair of DC from previous row. Repeat from * across row. End row with 1 DC worked around the turning chains. CH 2 and turn.
ROW 3: Begin with the first set of DC from the previous row and work 1 FPDC around each. *1 BPDC around each of the next set. 1 FPDC around each of the next set. Repeat from * across the row. End with 1 DC worked around the turning chains, CH 2 and turn.
ROW 4: Repeat row 2 instructions.
ROW 5: Begin with the first set of DC from the previous row and work 1 BPDC around each. *1 FPDC around each of the next set of DC. 1 BPDC around each of the next set. Repeat from * across the ros. End with 1 DC worked around the turning chains. CH 2 and turn.
Continue repeating Rows 2 through 5 for the remainder of the blanket. End the last row of the blanket with Row 2 instructions.
Tie off and weave in all the ends.
Thank you so much for stopping by!
Click here or image below for free printable pdf download.
![]()
