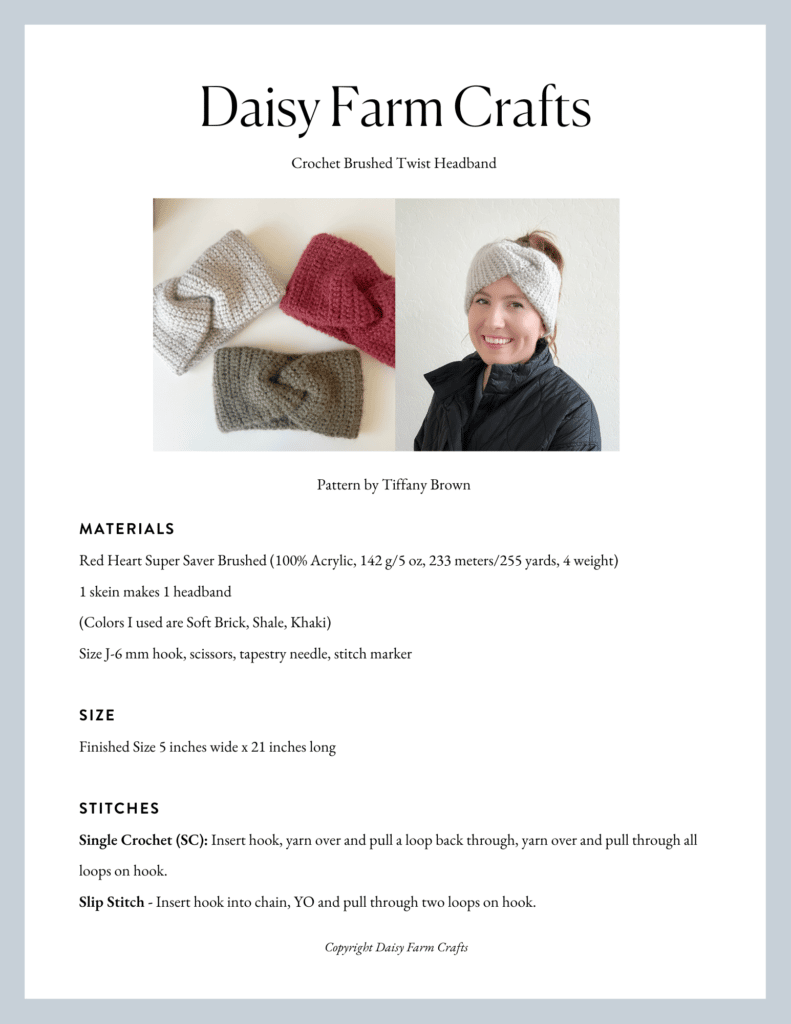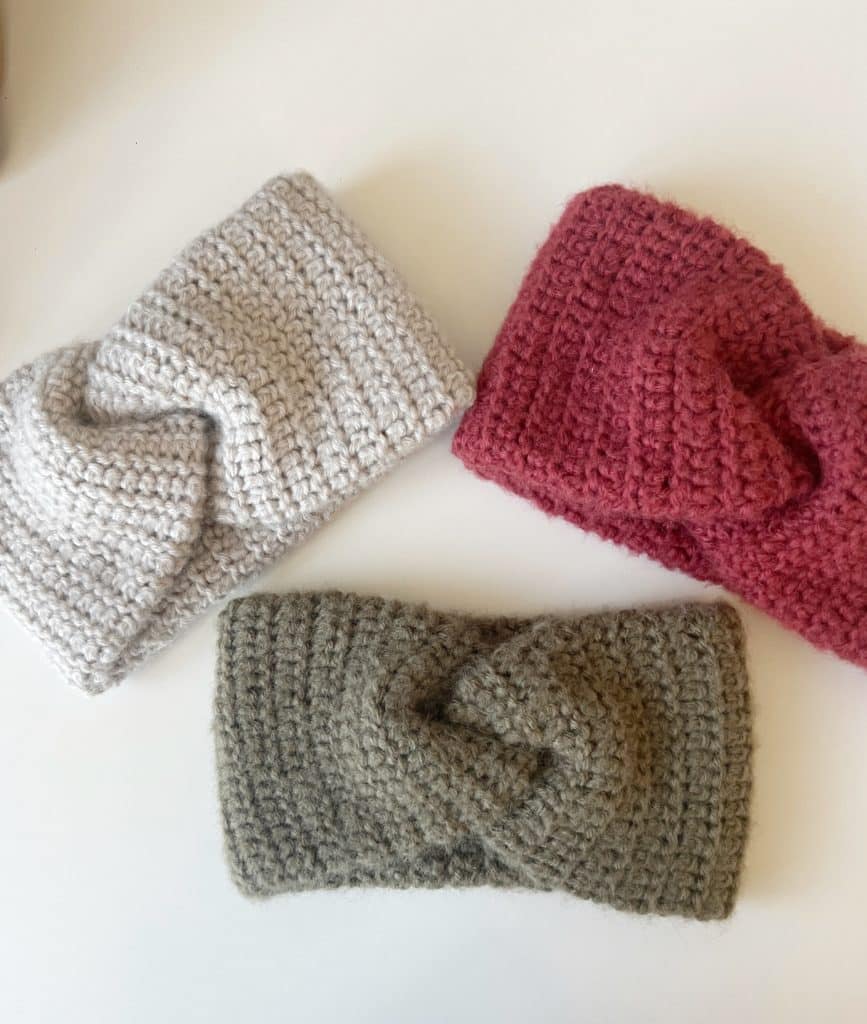
My girls in Montana, Utah and Colorado love wearing these twist headbands! These are extra thick and warm.
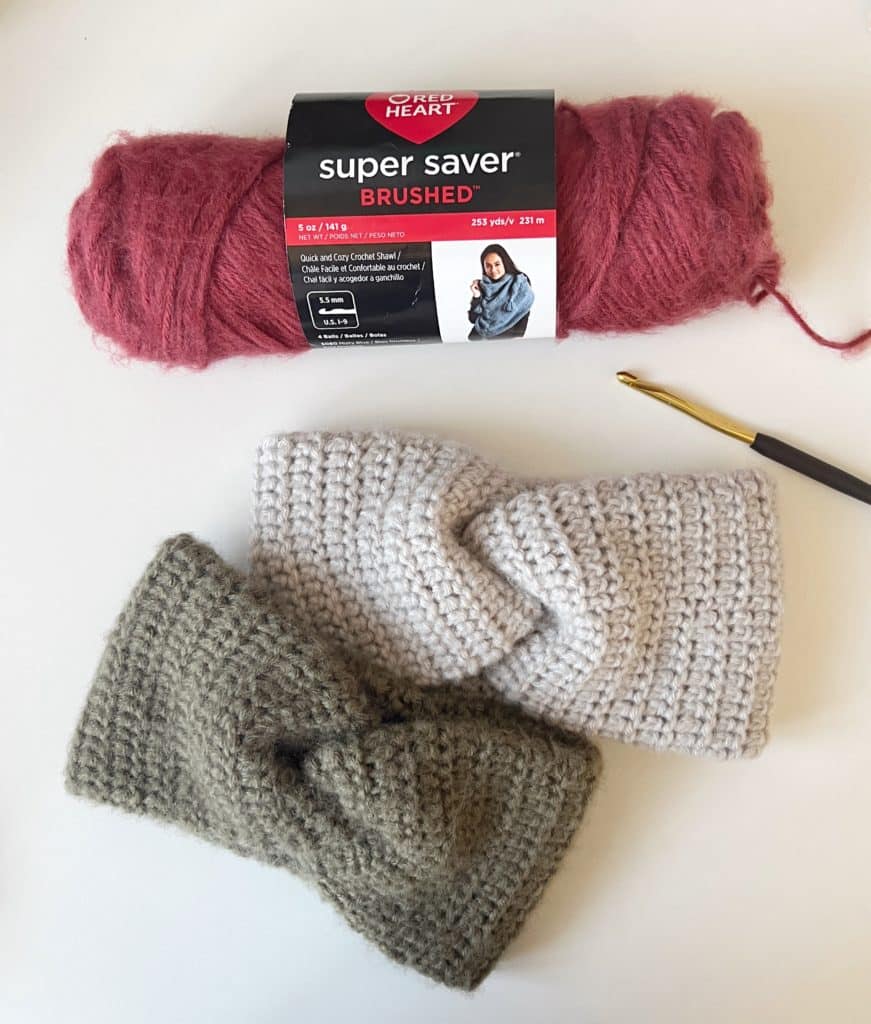
Red Heart Super Saver Brushed is a really nice affordable acrylic too! It’s relatively new and very similar to Red Heart Dreamy which they discontinued.
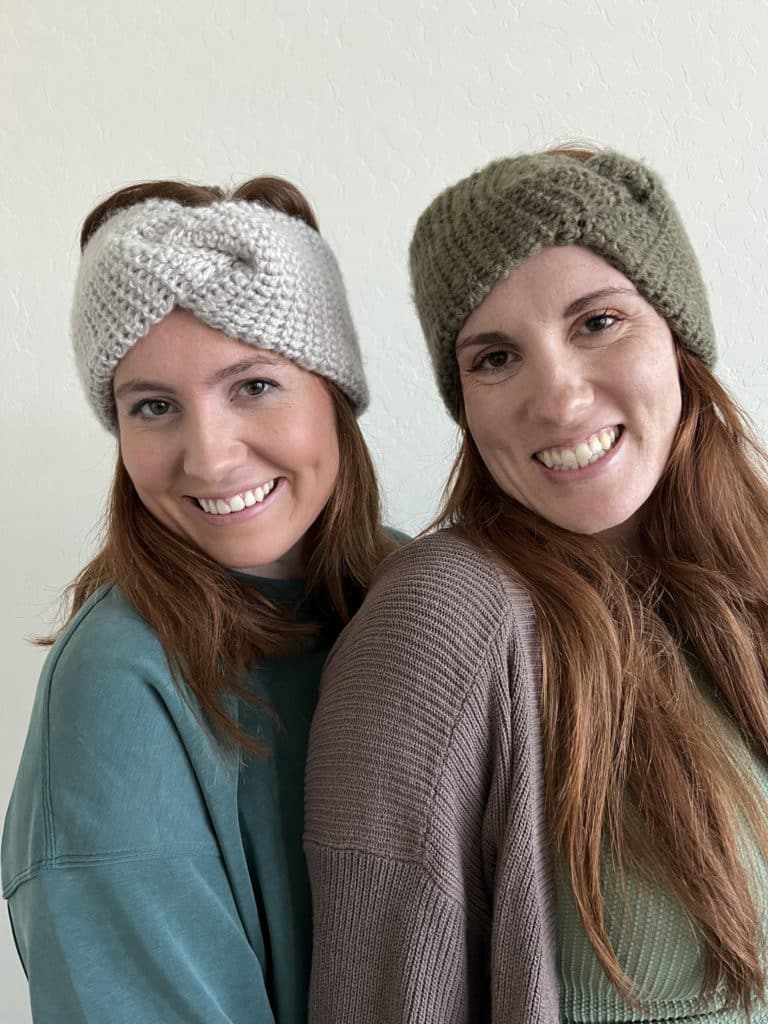
Annie and Nicolina helped me out by modeling them so you can see how they fit. The pattern is very simple and beginner friendly.
They also are a bit less time-consuming than the headbands I made last year for them.
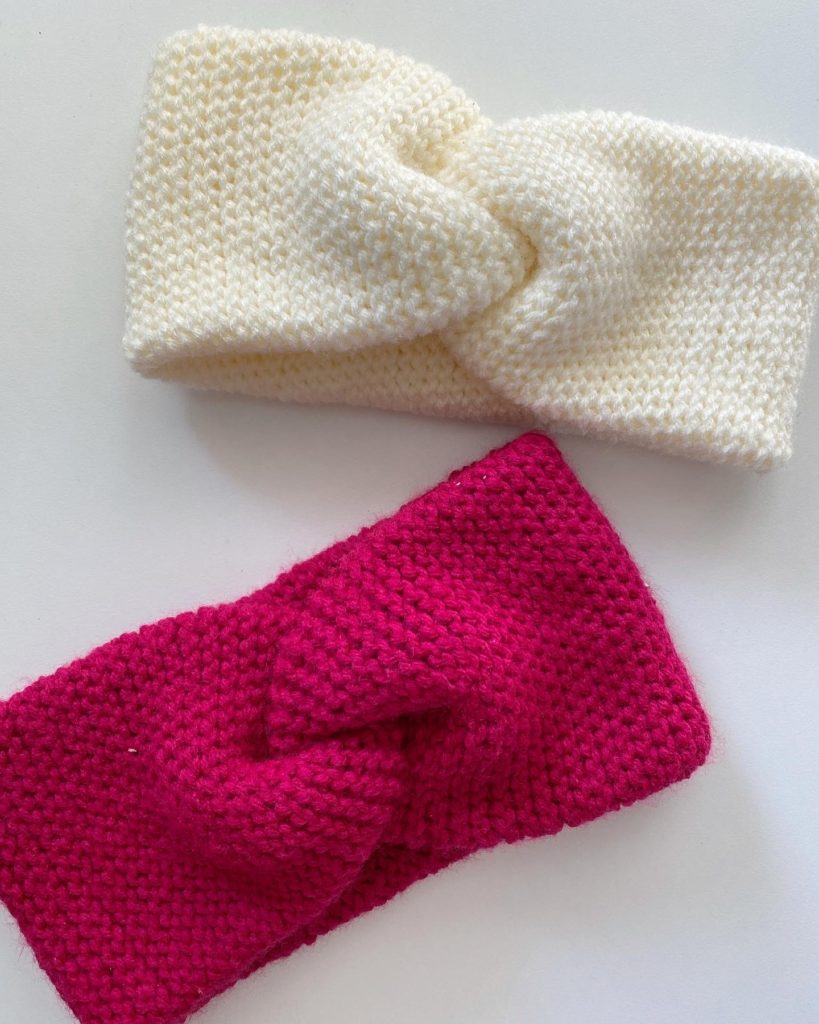
Last year’s version were completely worked with a back loop slip stitch in the round. (Which I do love!) They just took a lot longer to make. This year, I worked a round of single crochet in between each round of slip stitch and they worked up faster.
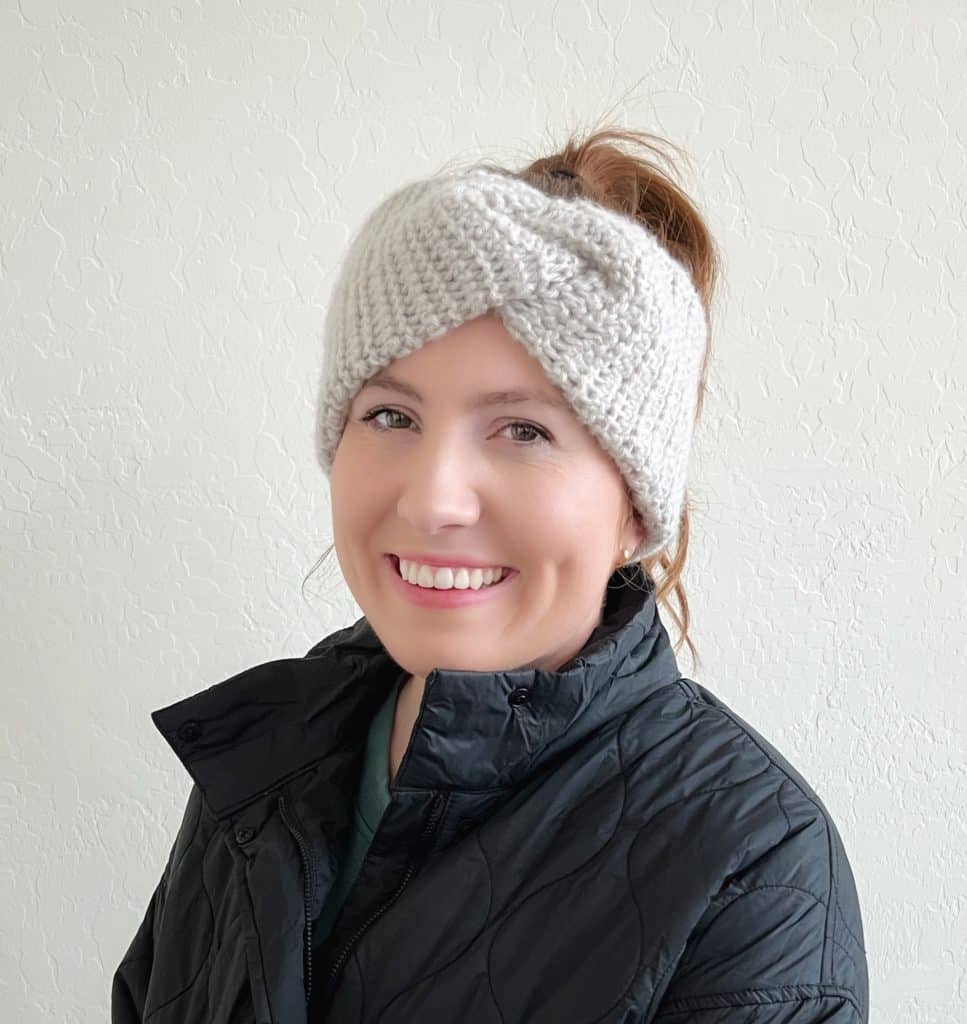
Materials
Red Heart Super Saver Brushed (100% Acrylic, 142 g/5 oz, 233 meters/255 yards, 4 weight)
(tap name of yarn to shop on yarnspirations.com)
1 skein makes 1 headband
(Colors I used are Soft Brick, Shale, Khaki)
Size J-6 mm hook, scissors, tapestry needle, stitch marker
Stitches
Slip Stitch (SL ST): Insert your hook, YO and pull up a loop and continue pulling through loop on hook.
Single Crochet (SC): Insert your hook, YO and pull up a loop, YO and pull through two loops on hook.
Size
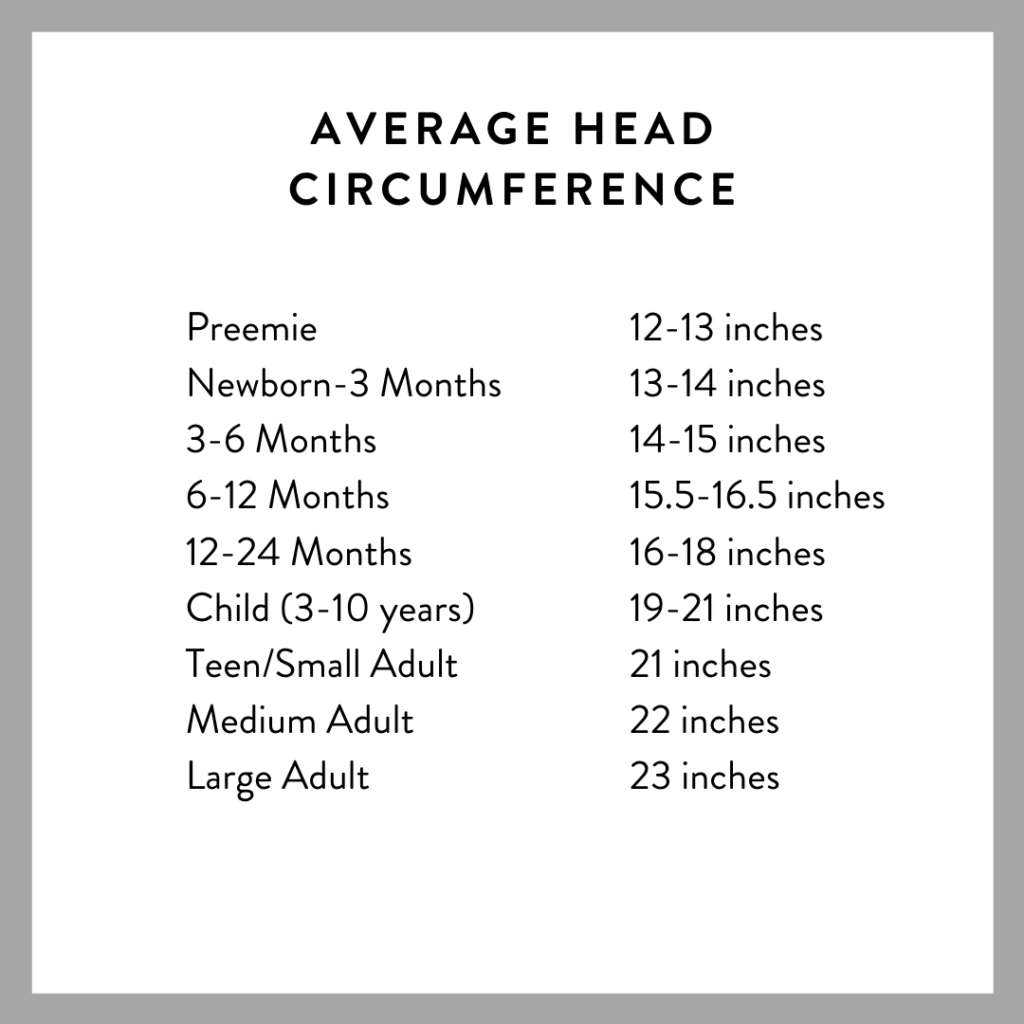
The width of the headband is approximately 5 inches wide by 21 inches long. You can make this any size. I made them 1 inch less than head circumference, for a tighter fit, make them 2 inches less.
Pattern
Chain 36 chains or 10 inches of length.
Round 1: Join your chain into a circle by working slip stitch into the first chain. Mark with a stitch marker. SL ST into each chain around.
Round 2: Work SC into the back loop of the marked SL ST. Move stitch marker to the front loop of the SC. Work SC into each back loop of the previous round.
Round 3: Work SL ST into the back loop of the marked SC. Move stitch marker to the front loop of the SL ST. Work SL ST into each back loop of previous round.
Repeat rounds 2 and 3 until the headband measures 21 inches (or size desired).
Tie off with a long tail for sewing.
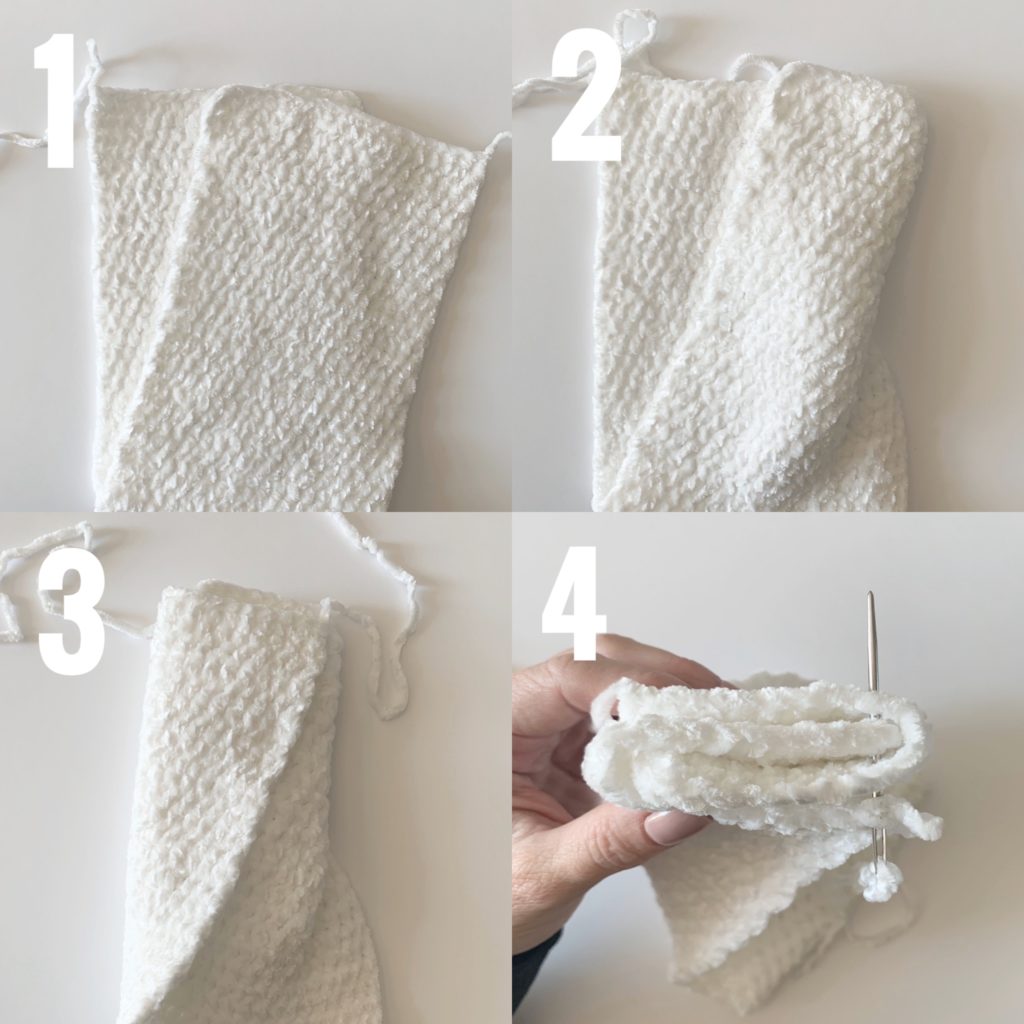
Fold band in half, making sure the joins are on the outside. Wrap each end, one to the back, one to the front. Sew through all layers. Secure with a knot, clip ends.
Turn the headband inside out, the joins will be on the inside of the band.
For visual help see video tutorial below:
Click here for free download of pattern or image below.
Happy Holidays!
XO, Tiffany

