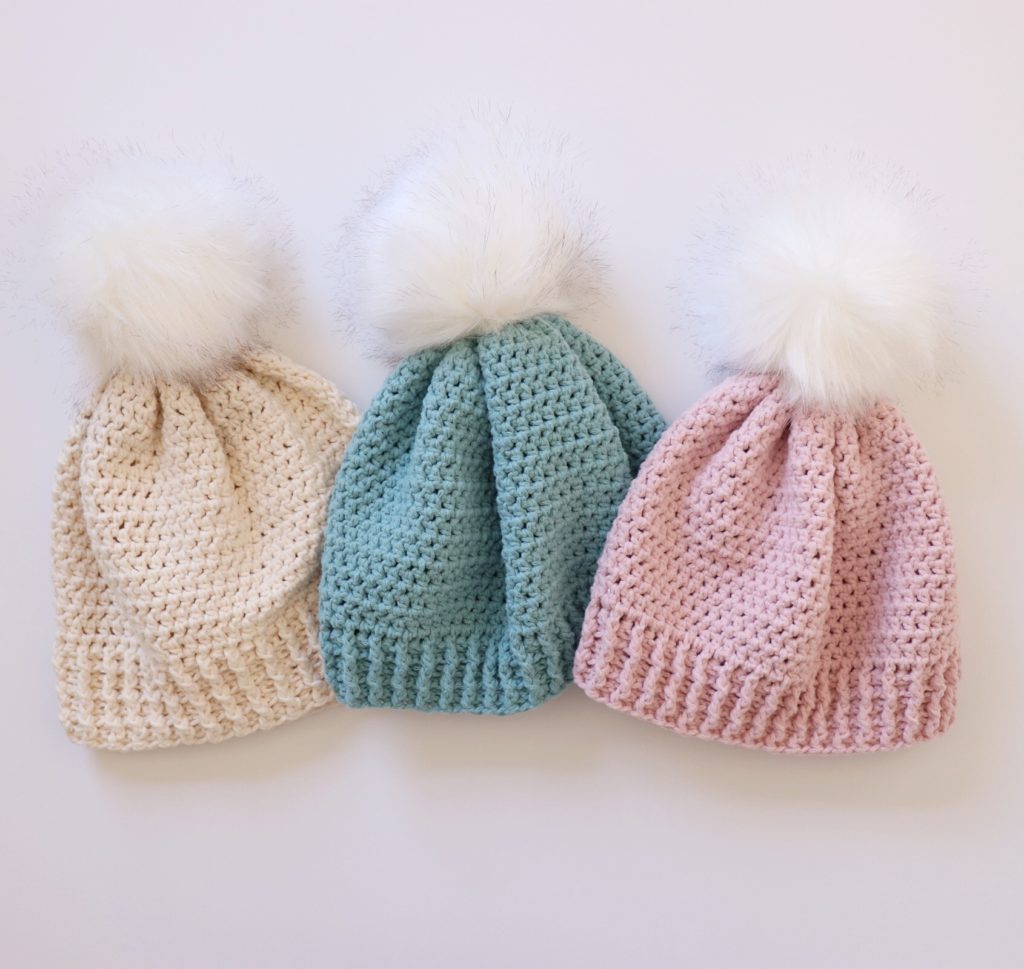
Hello crochet friends! I made some more simple winter hats like my Velvet Winter Hats, but this time I used Red Heart Amore yarn! It’s a worsted weight polyester yarn that works up in a really stretchy and comfortable hat!
These hats are made by making a large rectangle and then sewing the two sides together and gathering the top, which is a nice quick way to make hats! Here’s my lovely sister Nicolina wearing one so you can see what it looks like on :).

Materials
Red Heart Amore (100% polyester, 3.5 oz/100 g, 181 m/198 yds)
1 skein Peaceful, Restful or Chamomile
Size I/5.5mm hook, tapestry needle, scissors
Faux fur pom pom
Size
Women’s medium size hat
Gauge 4 in = 14 st and 14 rows of WHDC
Stitches
Half Double Crochet (HDC): Yarn over (YO), insert your hook, YO and pull up a loop, YO and pull through three loops.
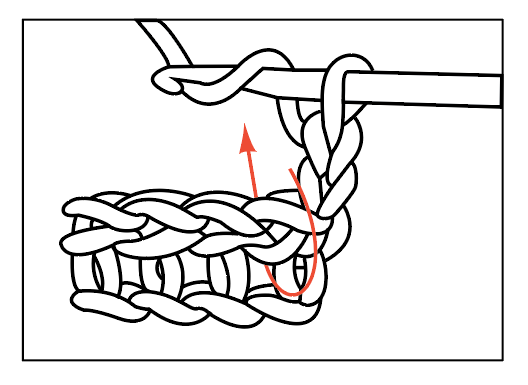
Wide Half Double Crochet (WHDC): Yarn over (YO), insert your hook between stitch posts, YO and pull up a loop, YO and pull through three loops.
Double Crochet (DC): YO, insert your hook, YO and pull up a loop, YO and pull through two loops, YO and pull through remaining two loops.
Front and Back Post Double Crochet (FPDC & BPDC): A front post DC means you insert your hook from front to back around the post of the next DC and work your DC. A back post DC means you insert your hook from the back to the front and work a DC.
Pattern
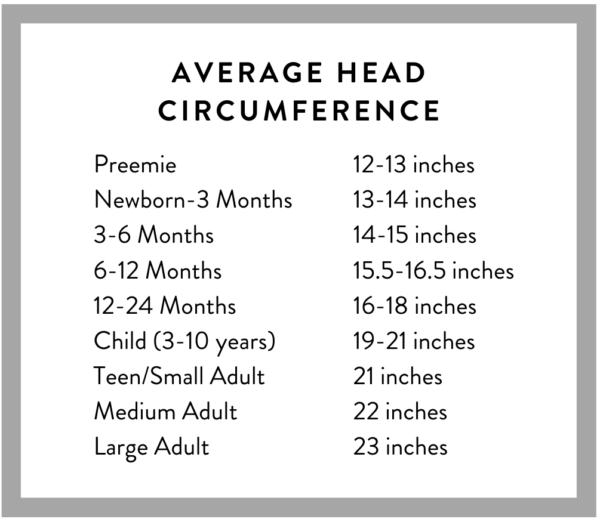
Chain 76. (Or you can measure the diameter of your head or the person you are making that hat for and making your chain the same length, or use the head chart from above. The hat itself will measure one to two inches smaller than your base chain when it’s finished, which you’ll want because this yarn is so stretchy.)
Row 1: Starting in the 3rd chain from the hook, work 1 HDC in each chain. CH 2 and turn.
Row 2: Work 1 WHDC in each space across the row. Make sure the last stitch is between the last post and the chain 2 turning chain. CH 2 and turn.
Rows 3 – 23: Repeat row 2.
Row 24: Work 1 row of DC, still inserting your hook in between the posts. CH 2 and turn.
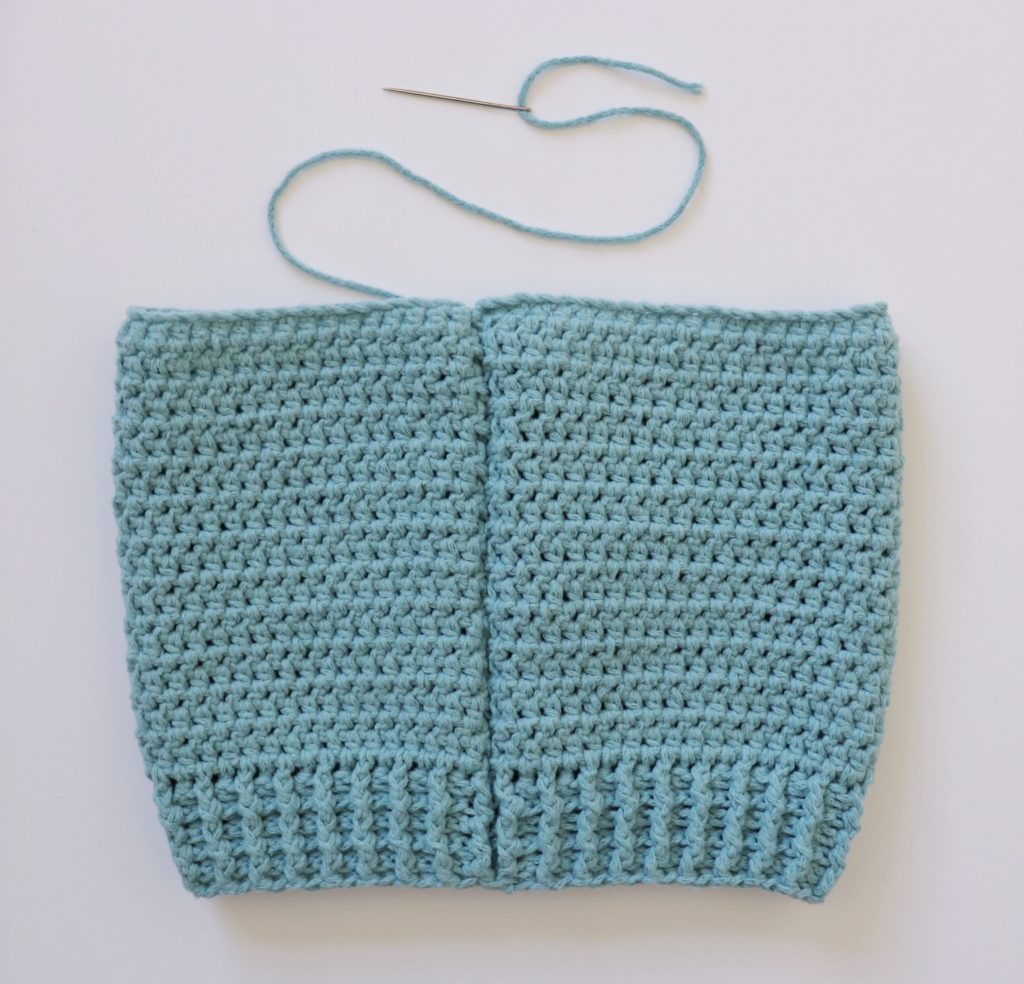
Rows 25 – 29: Alternate front and back post DC across the row. Work one DC underneath the turning chain. CH 2 and turn. Make sure that DC posts are always popping out in same direction as previous row. At the end of row 29, tie off and give yourself a 20 to 25 inch tail.
Use the tail to sew the two sides of your hat together with a tapestry needle. (You can also slip stitch them together if that’s easier.)
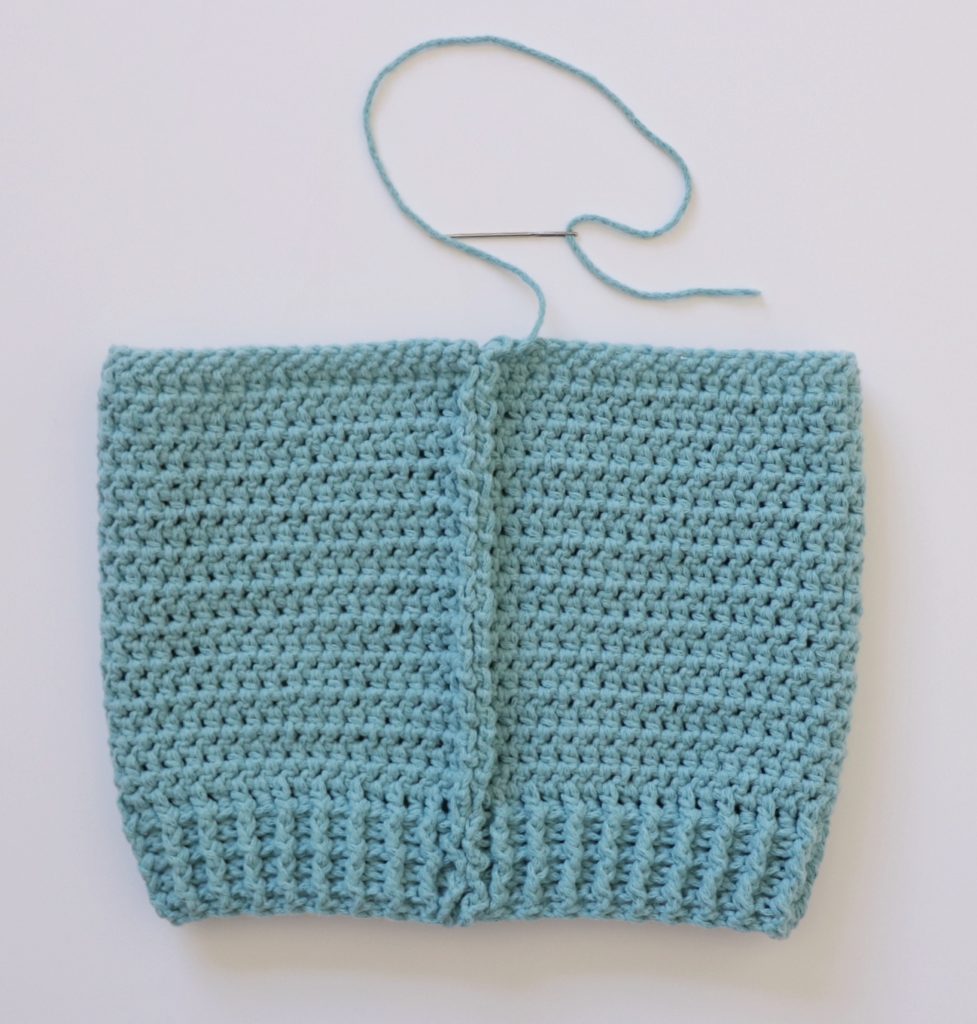
Then turn the hat inside out so that your seam is on the inside.
Now use your tail to gather the top of the hat, weaving the yarn in and out of every stitch, pulling the yarn as you go to gather the top together.
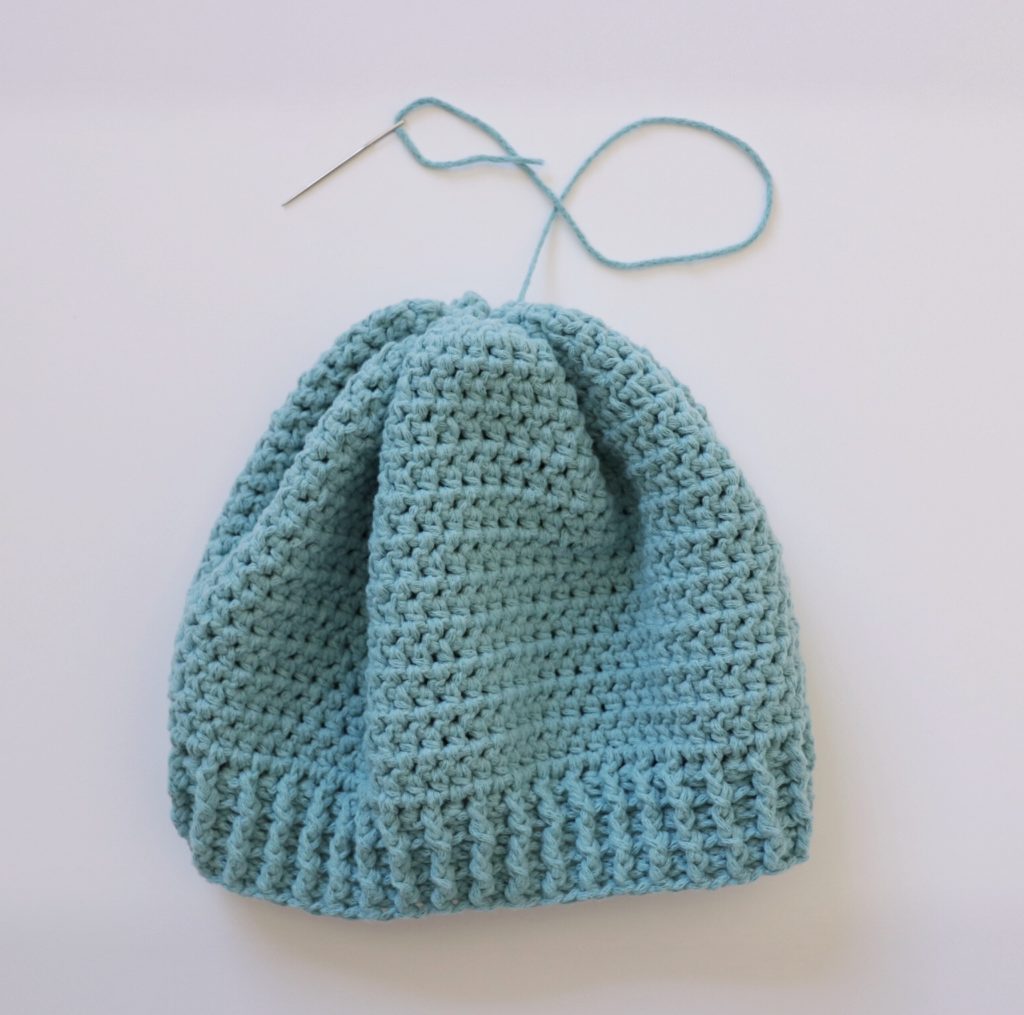
Now you just have to attach a pom pom and your done!
I purchased my pom pom at my local craft store and it came with an elastic loop, and I wasn’t sure how to attach it, so I just cut the loop and used the two strings and tied them together with the tail. Then I wove the tail back and forth across the hole at the top of the hat until I felt it was nice and tight. I’ve learned since that you can also sew a button to the underside of your hat and wrap the elastic loop around it for easy removal.

If you’d like to see a full video of how to make this hat, including how to sew it together and gather the top, you can watch this video below. In the video my mom is using Bernat Baby Velvet yarn and a smaller base chain, but the stitches and pattern are exactly the same.
Thanks so much for coming to read this pattern, I hope you enjoy making this hat!
xo, Hannah
Click here or on image below for printable pattern