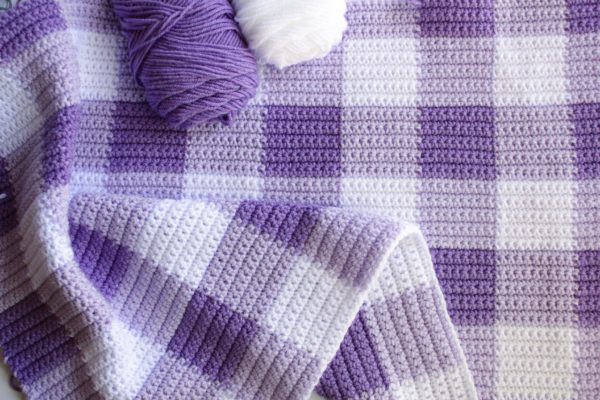
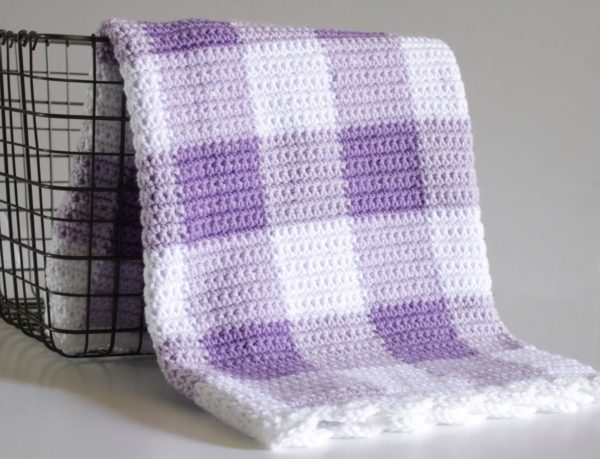
I’m beyond thrilled to share this purple gingham crochet blanket pattern with you! I’ve also made this blanket in pink and also in black if you’d like to see more gingham. For this blanket, I hunted around for some great purples, and I found them at Hobby Lobby.

Materials
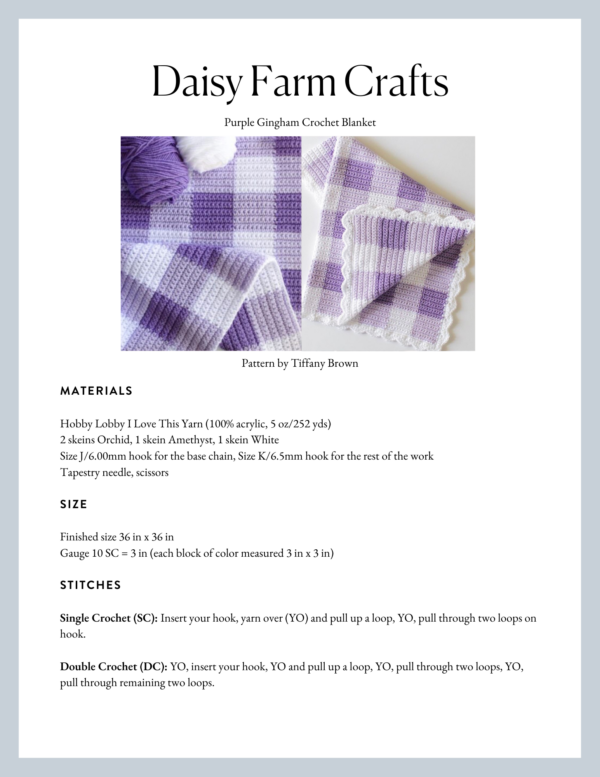
Hobby Lobby I Love This Yarn (100% acrylic, 5 oz/252 yds)
2 skeins Orchid, 1 skein Amethyst, 1 skein White
Size J/6.00mm hook for the base chain, Size K/6.5mm hook for the rest of the work
Tapestry needle, scissors
Size
Finished size 36 in x 36 in
Gauge 10 SC = 3 in (each block of color measured 3 in x 3 in)
Stitches
Single Crochet (SC): Insert your hook, yarn over (YO) and pull up a loop, YO, pull through two loops on hook.
Double Crochet (DC): YO, insert your hook, YO and pull up a loop, YO, pull through two loops, YO, pull through remaining two loops.
Pattern
Instructions
-Pull through with the new color on the last step of the stitch.
-Lay whichever color you aren’t using along the top of your work and crochet over it as you go.
-To avoid your yarn getting twisted as you carry it along your work, it helps to always keep one color to the front and one color to the back each time you switch colors.
Chain 111 in white with size J hook. (Pattern repeat is 10, plus one.)
Switch to your size K hook.
SC in the second CH from the hook and the next 9 chains, start the 10th SC, but before you finish, change colors and join the lighter purple, SC over the white strand of yarn as you go for the next 10 SC. However, again, before you finish the 10th SC, pull up the white yarn you’ve been carrying along to finish the stitch.
Repeat this across the whole length of the chain alternating colors every 10 SC.
Chain 1 and turn, carrying the yarn not in use around the corner, and begin again with your 10 SC.
Always change colors on the 10th SC.
After working 10 rows, cut the white color, leaving a long tail to weave in later, and work your ten SC with the light purple. (Your rows should have started and ended with the white.) After your 10th SC, work in the dark purple. If this is confusing, here is a video clip that may help:
You are always working over the yarn not in use. If this is confusing, refer to the video clip below. In it I explain how to begin the gingham stitch and change colors. I also talk about different color choices you can make if you don’t want to do purple.
And here is the finished gingham blanket! I added a simple shell border.

Border
First, before starting the border for this purple gingham crochet blanket, I wove in all my ends. Then, I joined in one of the corners, chained one then worked one SC into that space. Then I worked one SC into each space around the whole blanket, working 3 SC into each corner. When I returned to the starting chain, I work the final 2 SC, then slip stitched to the first, chained one, and then turned. I worked another row of all SC around the entire blanket again and did 3 SC into each corner.
I slip stitched again when I returned to the starting SC, chained one and turned. I worked one SC into that corner then skipped over two SC, worked 6 DC. Skip 2 again, work one SC, SK 2, work 6 DC. I worked this pattern around the entire blanket again. And, I did not add anything for the corners. I just kept the pattern going and it worked out perfectly. I joined at the end of the round to the first SC, and tied off.
Notes
Keep this tip in mind about gingham: Whatever three colors you choose to work with, there needs to be a light, medium, and dark. The medium color is used in every row. It alternates with the white, and then with the dark. That will ensure that you are making a gingham pattern. Any other variation will look like a checkerboard.
This video is also helpful – it shows you how you can keep your yarn from getting twisted as you work the gingham:
If you have any questions about this purple gingham crochet blanket, please see my Crochet Gingham Blanket Frequently Asked Questions post. And when you finish your project, please share and tag me on Instagram or Facebook! I’d love to see!
Tiffany

