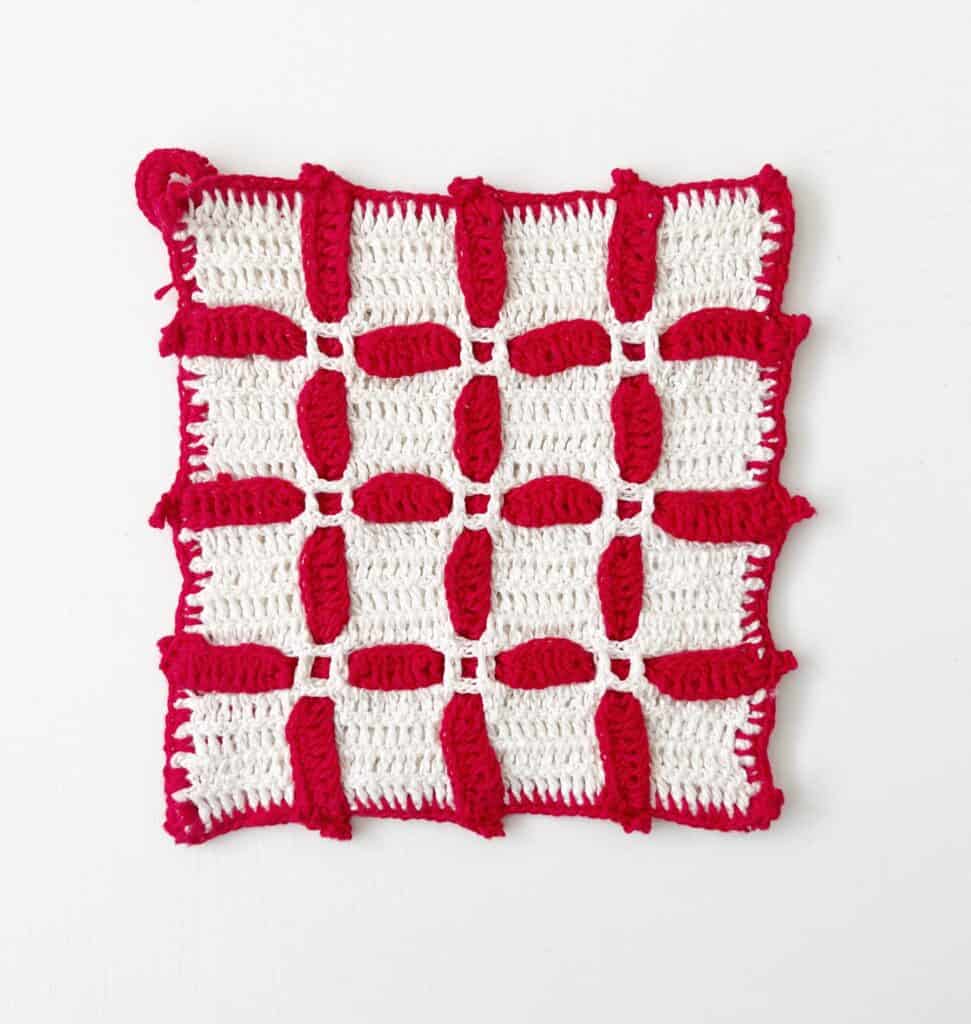
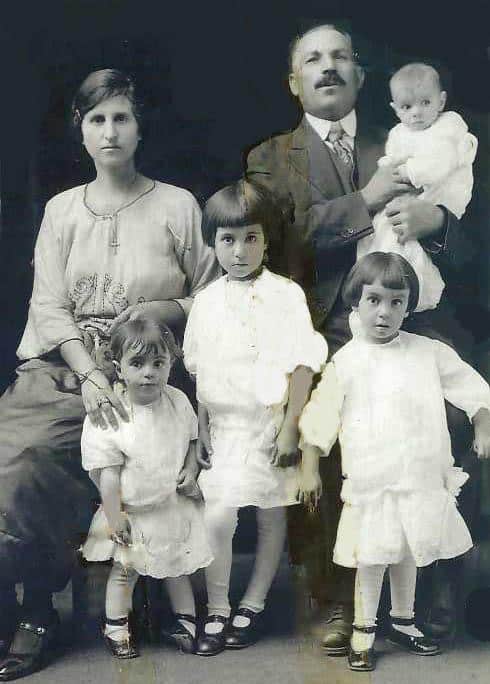
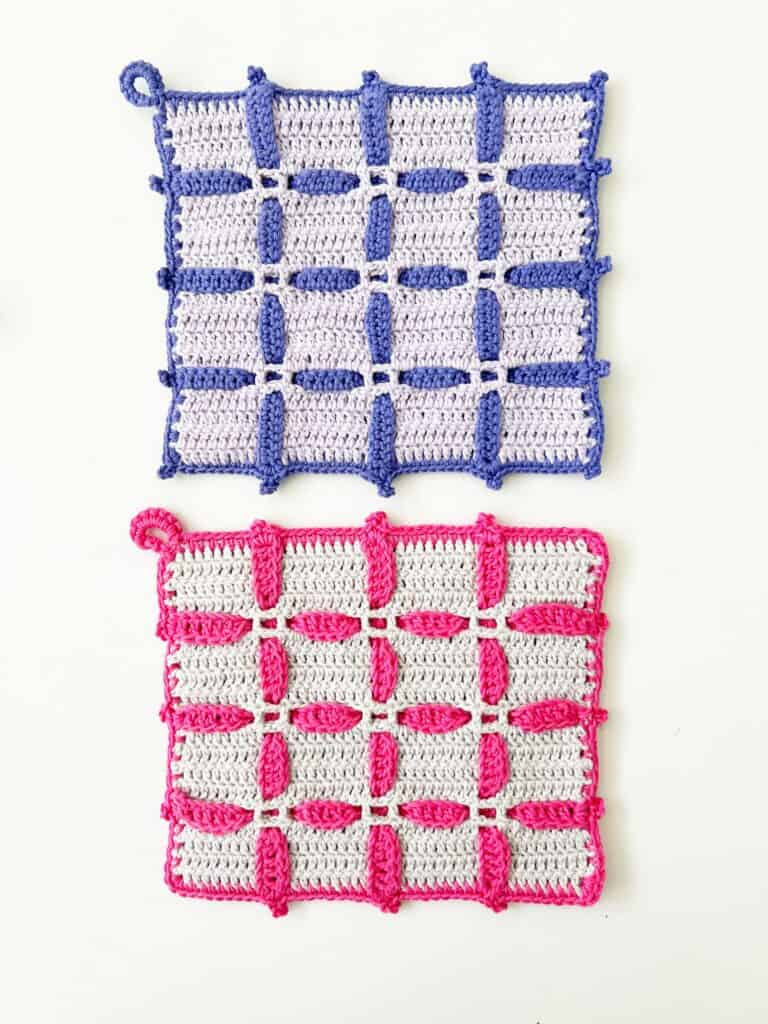
My younger sisters gave me a priceless gift for Christmas this year. They had been at our Aunt’s house rummaging through old keepsakes and found this crocheted vintage pot holder made by our Great Grandmother Nicolina Liotta.
They knew I would love something like this and sent it to me as a Christmas surprise. BEST GIFT EVER! I was so thrilled and moved to tears.
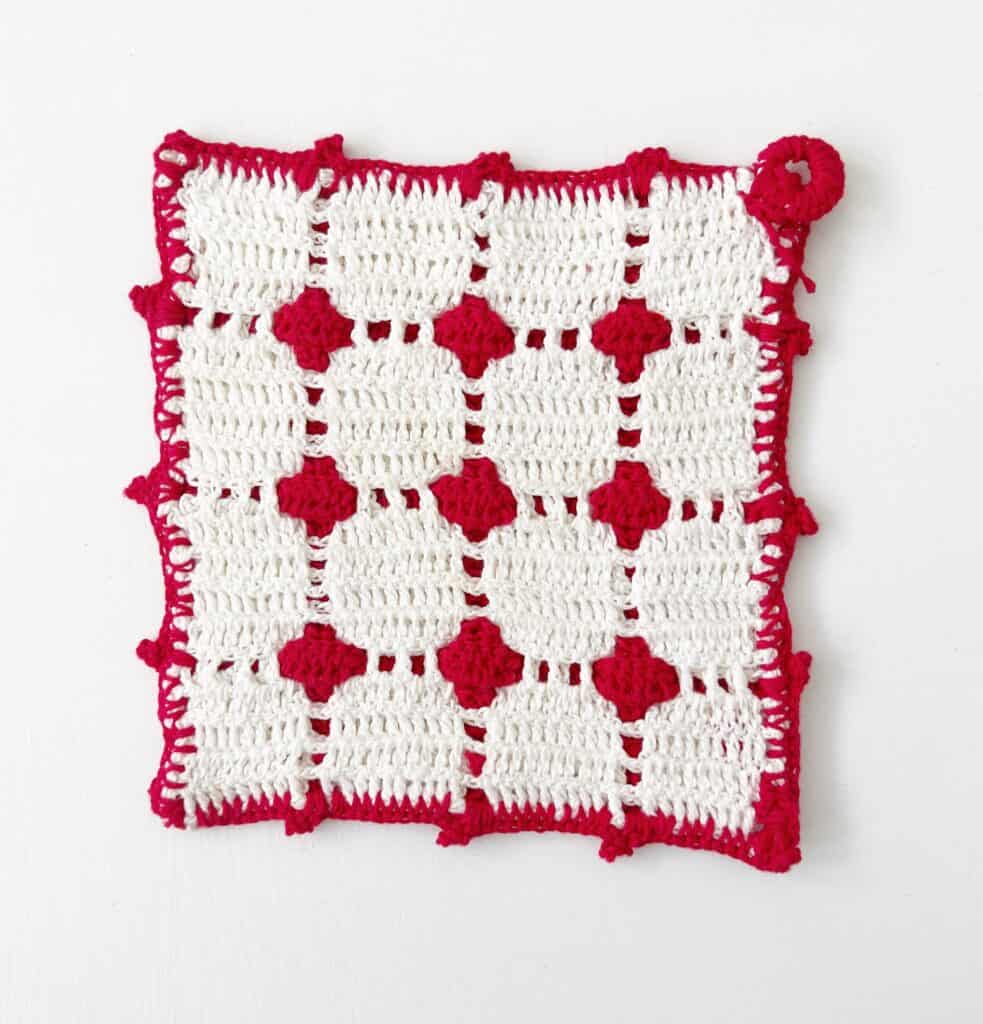
I only had known about the one vintage pot holder my mother had found long ago that I called Nicolina’s Star. I tried to recreate that one, but only got so far as the star as it was a bit more complex. (I will need to go back and try and finish that one.)
But since showing this pot holder to you all on our Crochet Sister Chat show, I really wanted to recreate this for my mom and all my sisters.
And, I also found small crochet thread that was very similar to the original.

It’s called Aunt Lydia’s Baby Shower Size 3 Crochet Thread. It’s 100% cotton and comes in so many colors!
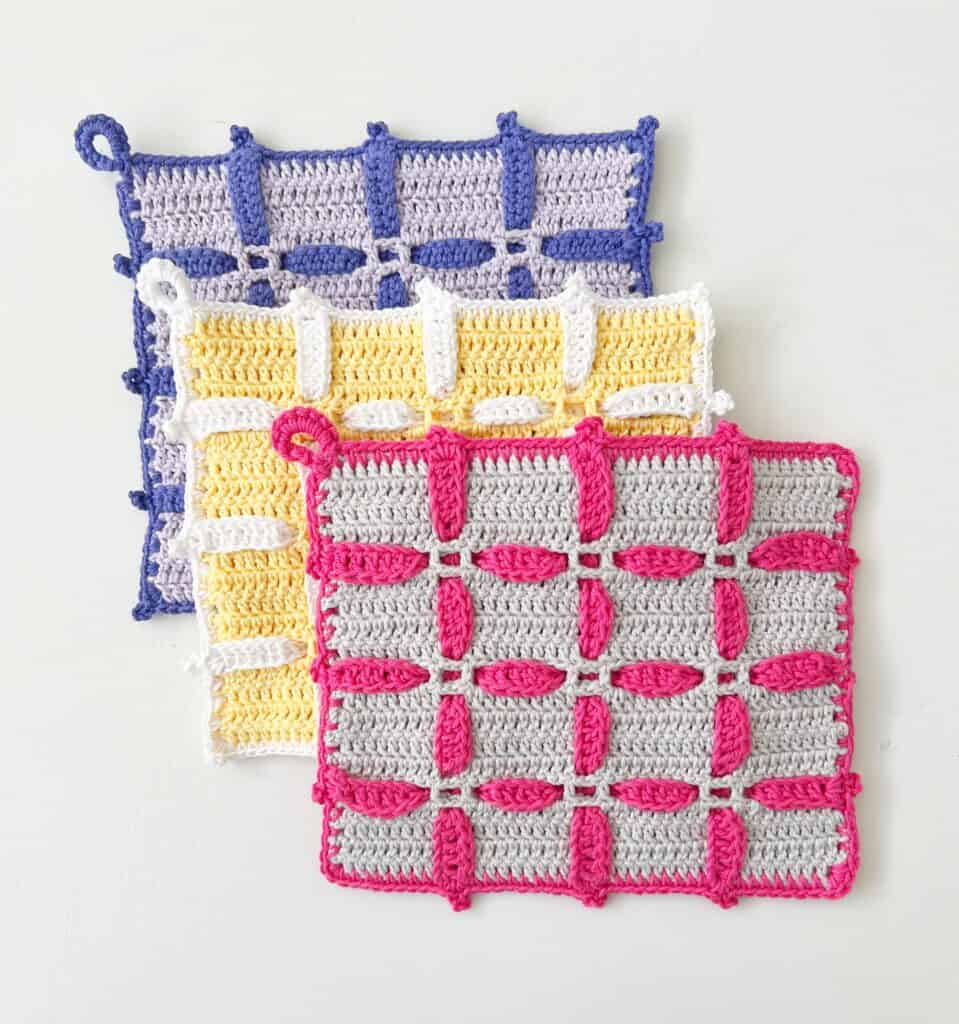
So far, I’ve been able to complete 3 of them. They are really simple to make and I’m getting faster as I go. I have two more to finish up! But I do think these make super nice hostess gifts if you pair them with a nice kitchen gadget or something.
Scroll to the end of the post for the video tutorial and free printable PDF.
Materials
Aunt Lydia’s Baby Shower Crochet Thread Tap name of the yarn to shop on Yarnspirations.com
- Solids: 170 yards
- Crochet Thread weight: 3
- Fiber content: 100% cotton
(They come in pack of 3, order 2 contrasting colors, you probably can make about 6 or more pot holders)
Size 2.5mm hook, tapestry needle, scissors
Finished Size: 7 inches by 6 inches
Gauge: 2 inches = 7 rows and 14 sts taken from pot holder
Stitches
Single Crochet (SC): Insert your hook, YO and pull up a loop, YO and pull through two loops on hook
Double Crochet (DC): YO, insert your hook, YO and pull up a loop, YO and pull through two loops, YO and pull through remaining two loops
Picot: Chain 5, slip stitch to the base of the first chain.
Pattern
Make 2
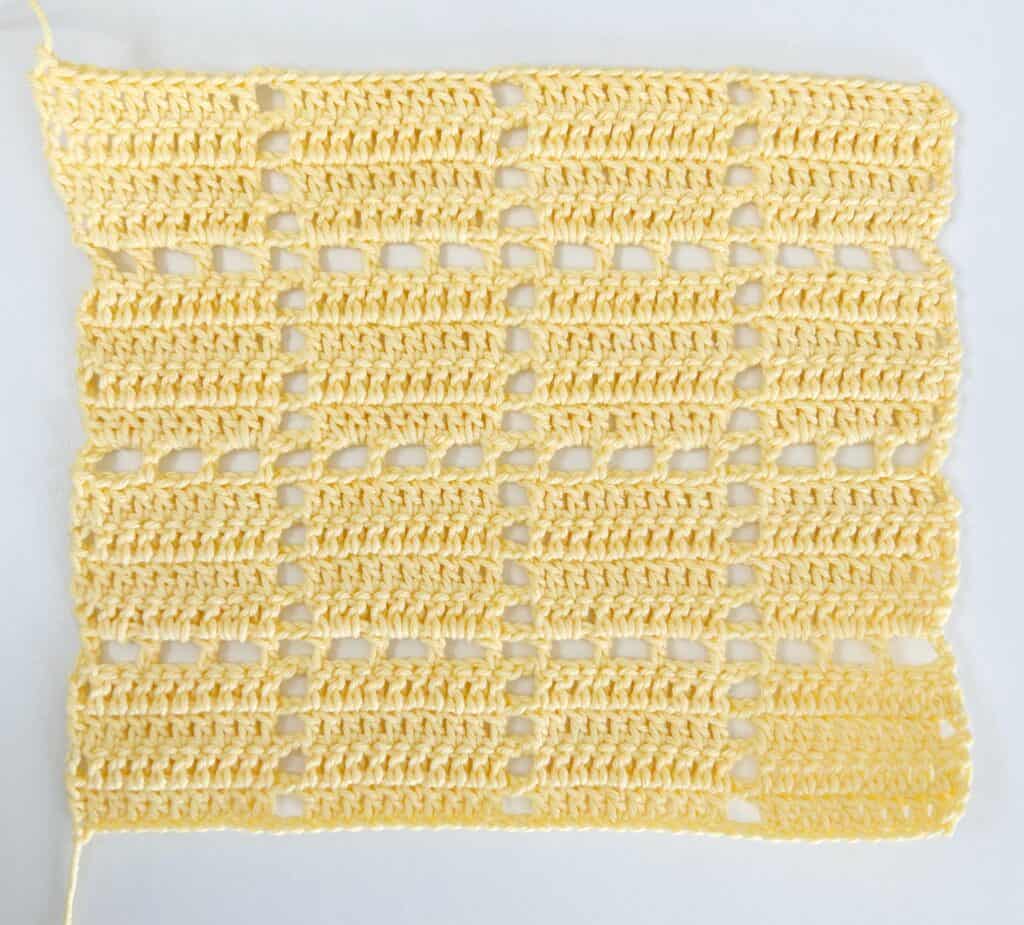
Chain 48 (for a different size use any multiple of 12.)
Row 1: Begin in the 4th chain from the hook with DC. DC into each of the next 8 chains. *CH 2. Skip 2 chains, DC into each of the next 10 chains. Repeat from * 2 more times ending with 10 DC. CH 3 and turn.
Row 2: Turning chain counts as the first DC. Begin in the second stitch with DC. DC into each of the next 8 sts. *CH 2, skip 2 chains, DC into each of the next 10 DC. Repeat from * 2 more times. Work the final DC into the top of the turning chain. CH 3 and turn.
Row 3 and 4: Repeat row 2 instructions. At the end of row 4, chain 5 and turn.
Row 5: Chain 5 counts as first DC and 2 chains. Begin in the 4th stitch with DC. *CH 2, skip 2 sts. DC into the next. Repeat from * across the row. Ch 3 and turn. (final DC is in the top of the turning chain.)
Row 6 -9: Repeat row 2 instructions
Row 10: Repeat row 5 instructions.
Row 11-14: Repeat row 2 instructions.
Row 15: Repeat row 5 instructions.
Row 16-19: Repeat row 2 instructions.
Ribbons:
Make 6.
In a contrasting color, chain 48.
Begin in the 4th chain from the hook with DC, DC into each st across the row.
Cut and tie the ends into a knot.
Match the two pot holder sides together, starting tails and ending tails matched.
Attach the two sides together by weaving the vertical ribbons first, down and back up around the center squares.
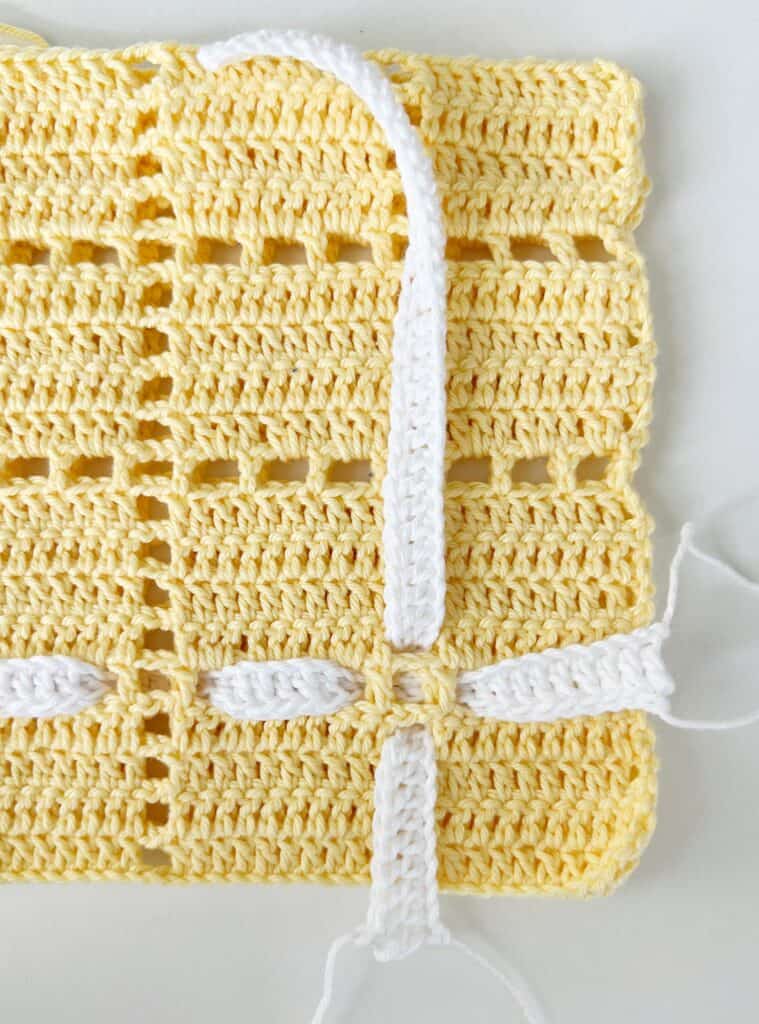
Then weave the horizontal strips down and back up around the center squares.
Tuck the tails to the inside of the pot holder.
Border:
For the Sides: Start in the upper left hand corner, where last stitch was made with the contrasting color. Insert your hook underneath both DC posts. Pull up a loop and chain 1 to secure. 2 SC around same post.
Work 2 SC around each post. When you reach the ribbon, catch the post of the ribbon as well as the posts on the pot holders to work the first 2 SC. CH 5, slip stitch to top of SC (picot), work 2 more SC around the ribbon and post stitches on pot holder.
Tip: tuck the ends into the middle of the pot holder as you are SC over the ribbon ends.
For the corners, work 2 SC, picot, 2 SC. The picot will land on the tip of the corner. Work the next 2 SC into the next space.
Work in between the DC on the bottom and top of the pot holder. Work the ribbons in the same manner as the sides.
Finish the round by working SC into the first starting space, CH 8, Slip stitch to starting space, work as many SC as you can around the 8 chains to form a tight ring, slip stitch to the base stitch, tie off and weave in the end.
For a video tutorial see below:
Happy Crocheting,
XO, Tiffany
Click here or image below for free pdf download.
![]()