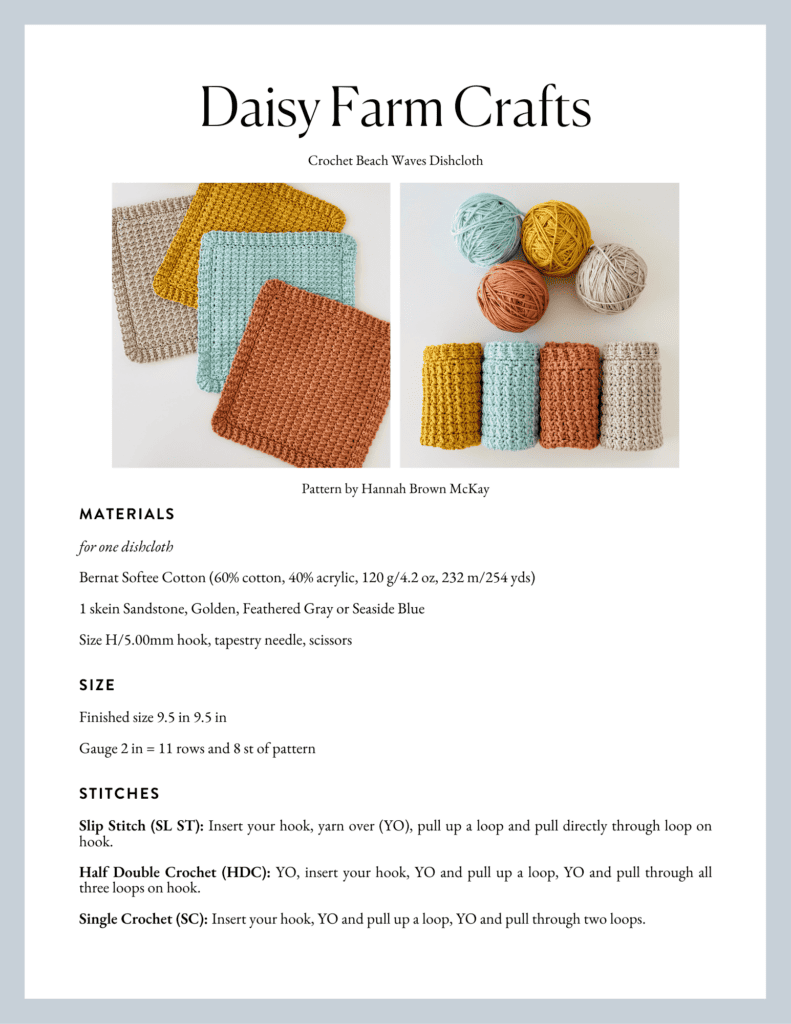
If you need a quick project to carry with you on the go this summer, these cotton blend dishcloths work up quickly and make some beautiful gifts!
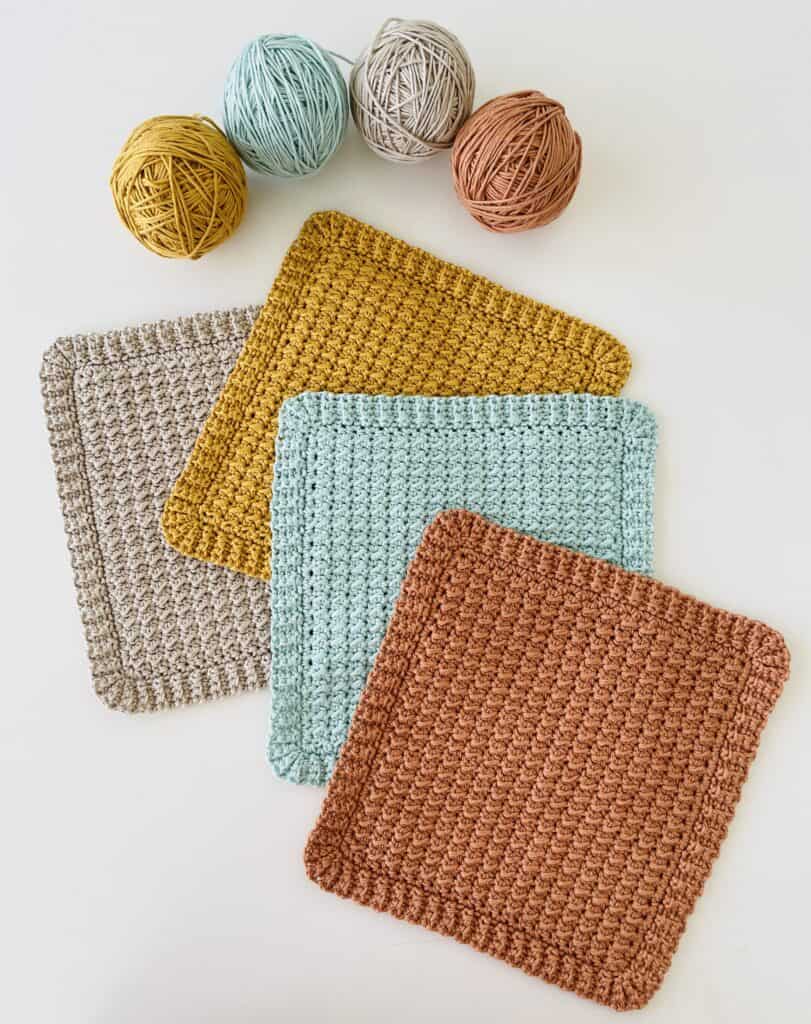
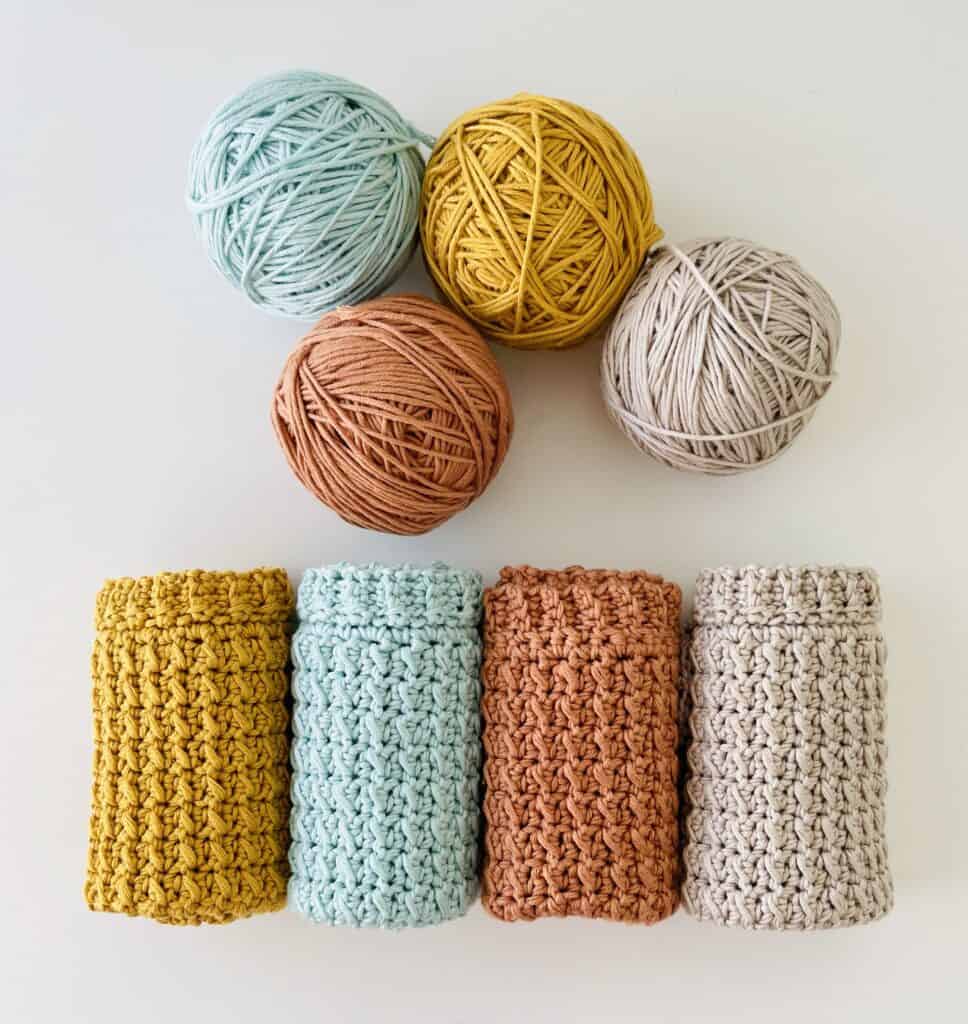
For these simple dishcloths I used the Even Moss Stitch, which is a fun combination of half double crochet and slip stitch. The stitch makes some pretty wavy lines that look like ocean waves!
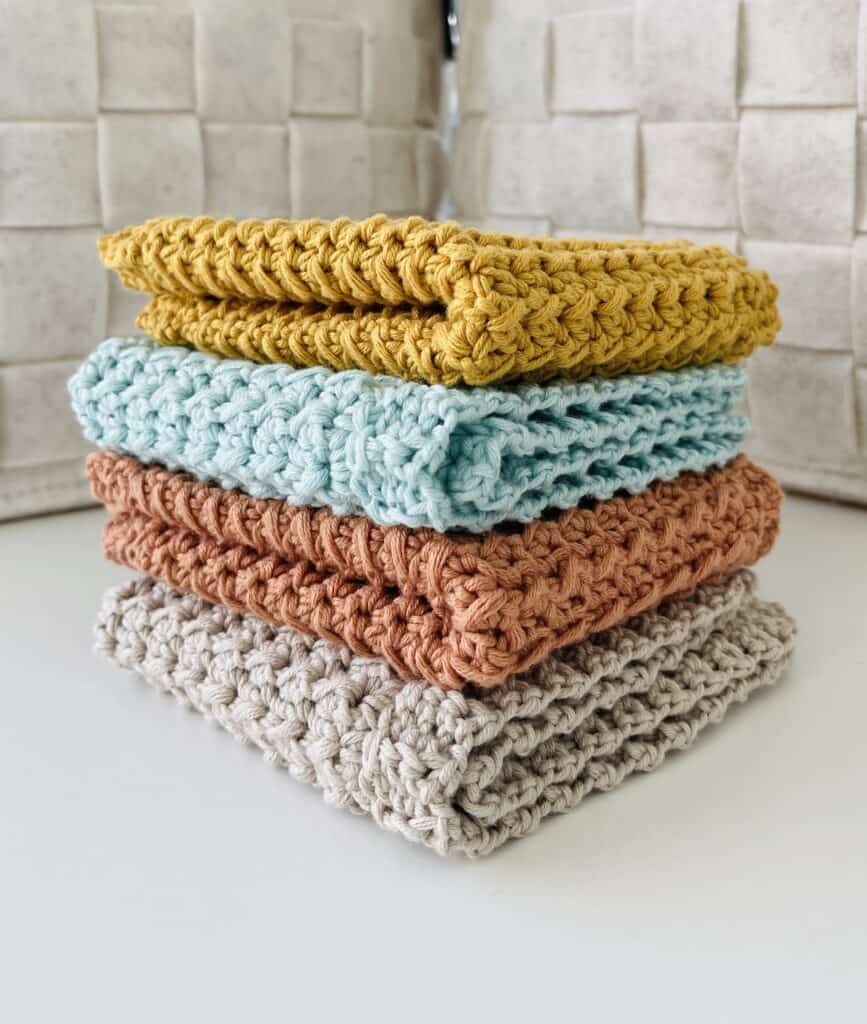
We love making simple little gifts for people as hostess gifts or holiday presents.
We have a category here on the website called Hot Pads that essentially can be made as washcloths or hot pads (pot holders.)
Tap here to see the category of Hot Pads.
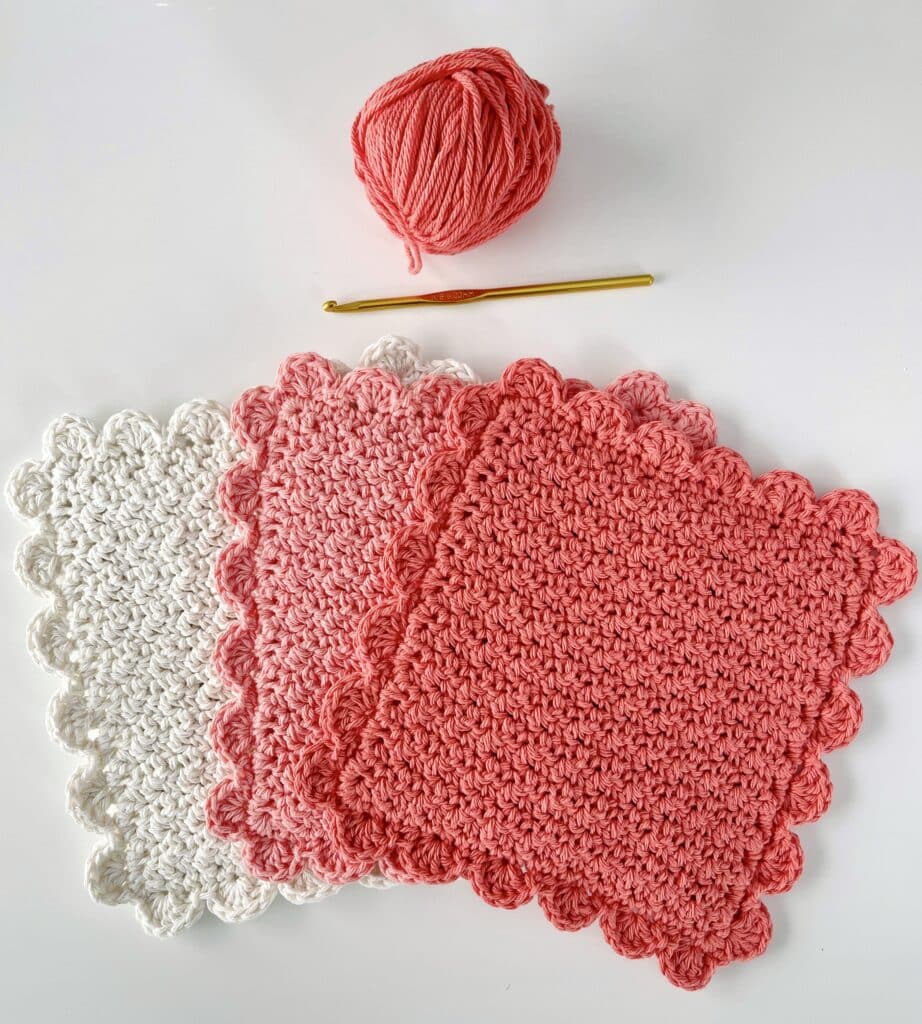
Here is an example of a hot pad I made that was around Valentine’s Day that easily could be made into a dishcloth. I called it the Simply Scallops Hot Pad and it was easy to bring with me anywhere to stitch on the go.
Tap this for the pattern for the Simply Scallops Hot Pad.
Or if you are adventurous, we have an entire Stitches Category on our website that you can make a dishcloth of your own from one of the stitches.
Tap this link to see the Stitch Category on our website.
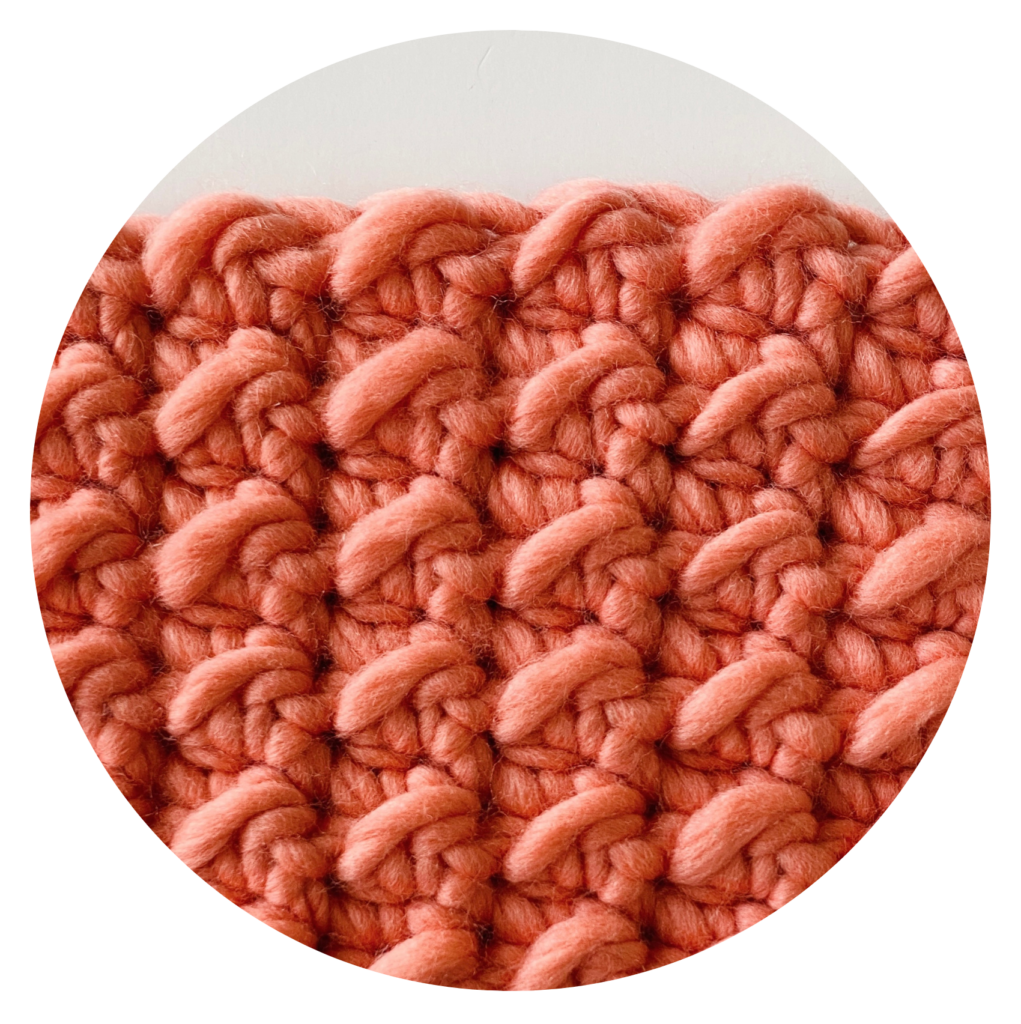
The above photo is of the Even Moss Stitch that I used for this dishcloth.
And before we get to the pattern, I’d like to say a little about the yarn I’m using for the dishcloth.
I’m using Bernat Softee Cotton which is a cotton blend. It is 60% cotton and 40% acrylic.
Having it blended just a bit makes the cotton so much easier to work with.
I also use the dishcloths, and they dry just a quickly as 100% cotton, maybe even more so, but also does not dry crunchy or stiff.
I even use it for hot pads, I just make sure the stitch I use is thick and also that I make the hot pads double thick. I use them all the time and I have not had the hot pad melt or burn me.
I am such a fan of Bernat Softee Cotton!
Tap here to see all the colors available on Yarnspirations.com
Now on to the pattern, and make sure you scroll to the end to get the free printable PDF!
Materials
for one dishcloth
Bernat Softee Cotton (60% cotton, 40% acrylic, 120 g/4.2 oz, 232 m/254 yds)
1 skein Sandstone, Golden, Feathered Gray or Seaside Blue
Size H/5.00mm hook, tapestry needle, scissors
Size
Finished size 9.5 in 9.5 in
Gauge 2 in = 11 rows and 8 st of pattern
Stitches
Slip Stitch (SL ST): Insert your hook, yarn over (YO), pull up a loop and pull directly through loop on hook.
Half Double Crochet (HDC): YO, insert your hook, YO and pull up a loop, YO and pull through all three loops on hook.
Single Crochet (SC): Insert your hook, YO and pull up a loop, YO and pull through two loops.
Pattern
Chain 34 (or any even number).
Row 1: Starting in the 2nd chain from hook, *work 1 SL ST. 1 HDC into the next chain. Repeat from * across the row ending with 1 SL ST into the final chain. CH 1 and turn.
Row 2: Starting in the first stitch, *work 1 SL ST. HDC into the next stitch. Repeat from * across the row, ending with 1 SL ST into the final SL ST. CH 1 and turn. (Always SL ST into a SL ST. Always HDC into a HDC.)
Repeat row 2 until you have 45 rows total. Weave in ends and tie off.
Here’s a quick video for the even moss stitch if you’d like to see how it’s done!
Border
Round 1: Work 1 round of SC around the edge of the square. Work 3 SC in each corner. (I worked about 30 SC on each end, and 33 SC on each side. I found that my border looked the best when I worked 2 SC in every other space on the ends, and when I alternated 1 SC and 2 SC in every other space on the sides.)
Round 2: At the starting corner, SL ST into starting stitch. Continue working in same direction and CH 4.
Starting in the 2nd chain from the hook, work SC in each of the 3 chains back toward the edge of the square. *SL ST into the next stitch, and in the next stitch. Turn and work in the back loops of each of the 3 SC you just made. CH 1 and turn. Work back down the SC in the back loops only. (Be careful not to miss the 3rd stitch, it sometimes pulls tight and is hard to see.) Repeat from across * each side.
Corners: When you reach a corner space, only SL ST once, before turning and *working the SC back up to the top of the border. Return and SL ST once into the corner space. Repeat from * two more times, then resume slip stitching into each of the next two stitches and working across the side.
(If your corner isn’t looking rounded enough, you can slip stitch an additional time into the corner and work up and down an extra time with SC, or if it is causing the border to ripple, you can slip stitch into the corner only two times instead of three.)
When you reach the starting corner, work the corner the same way as previous corners. Stop when you get to the top of the border and tie off, then use a tapestry needle to sew corners together. Then tie off, weave in any additional ends and enjoy your dishcloth!
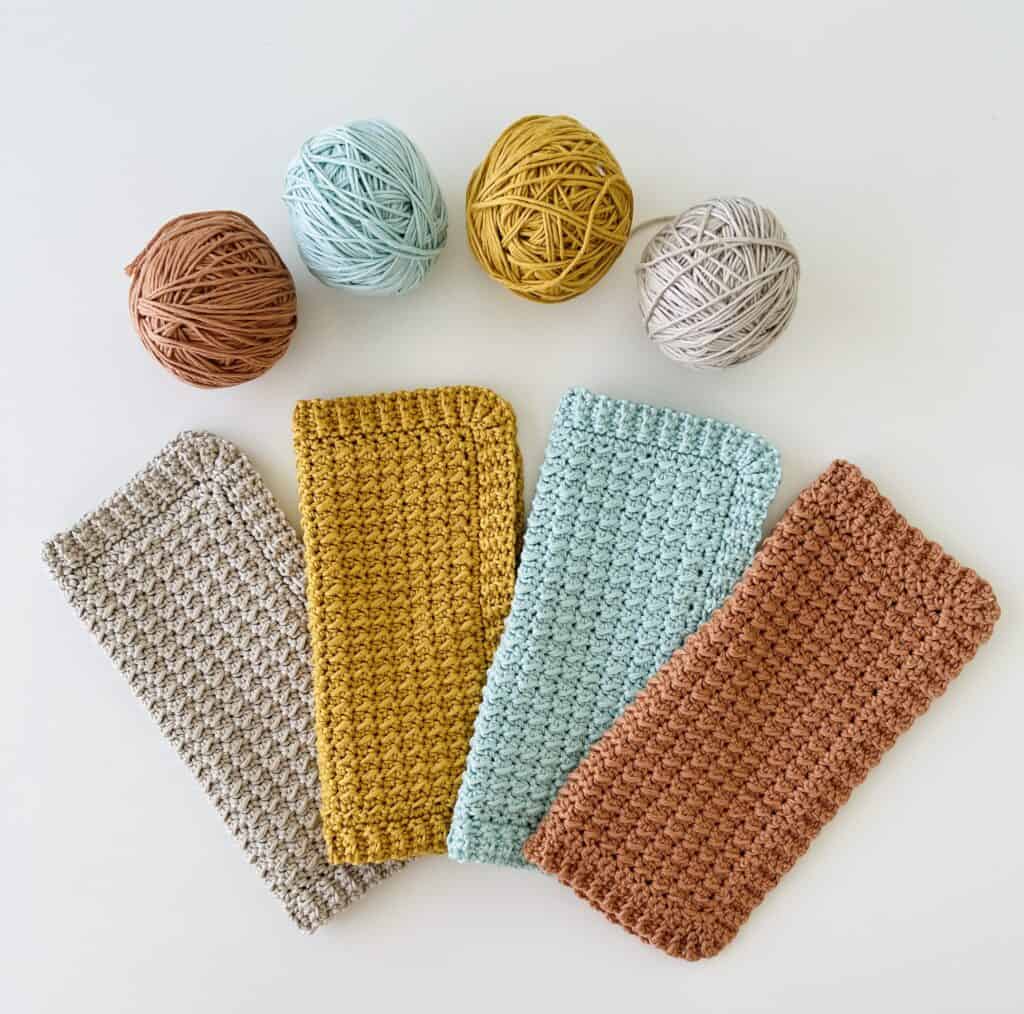
If you’d like some more video help for the ribbed border, you can see how it’s done starting at about the 9 minute mark of this video:
Thank you for visiting Daisy Farm Crafts! xo, Hannah

