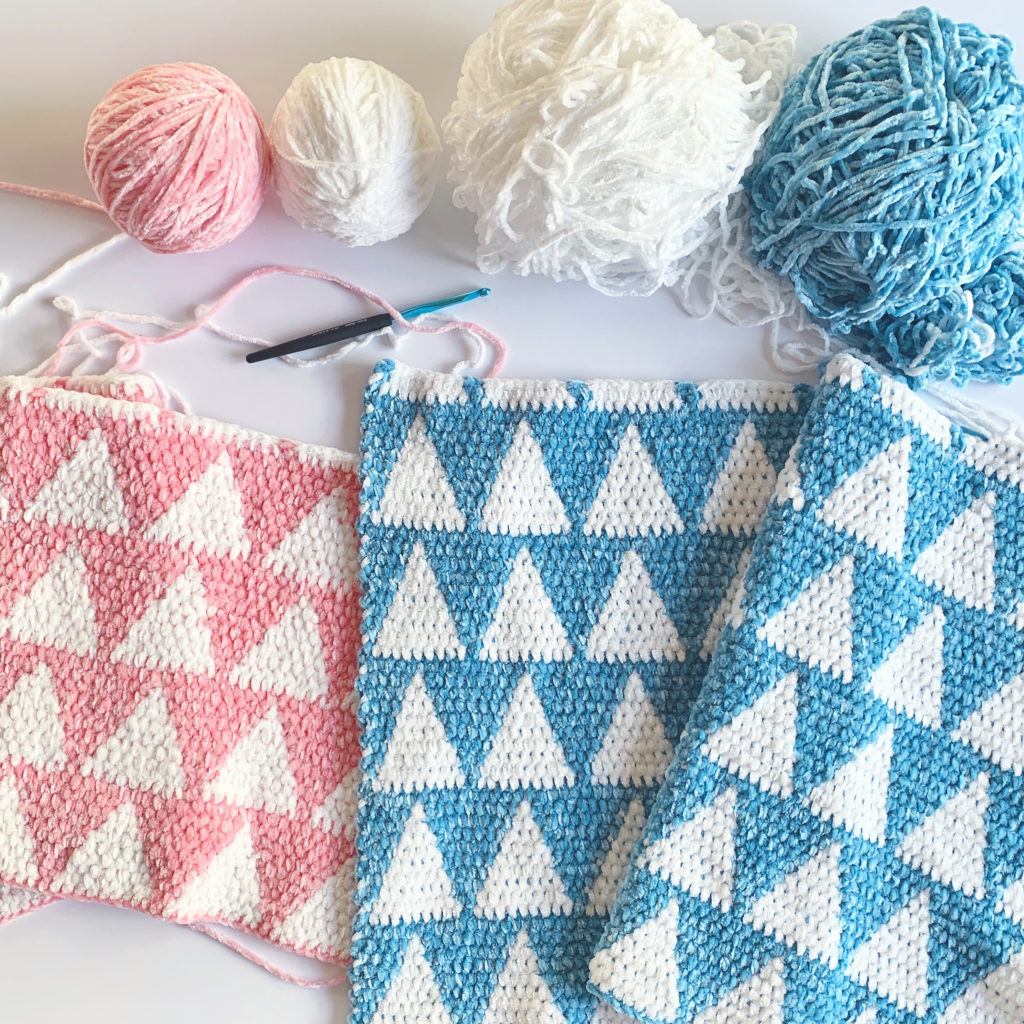
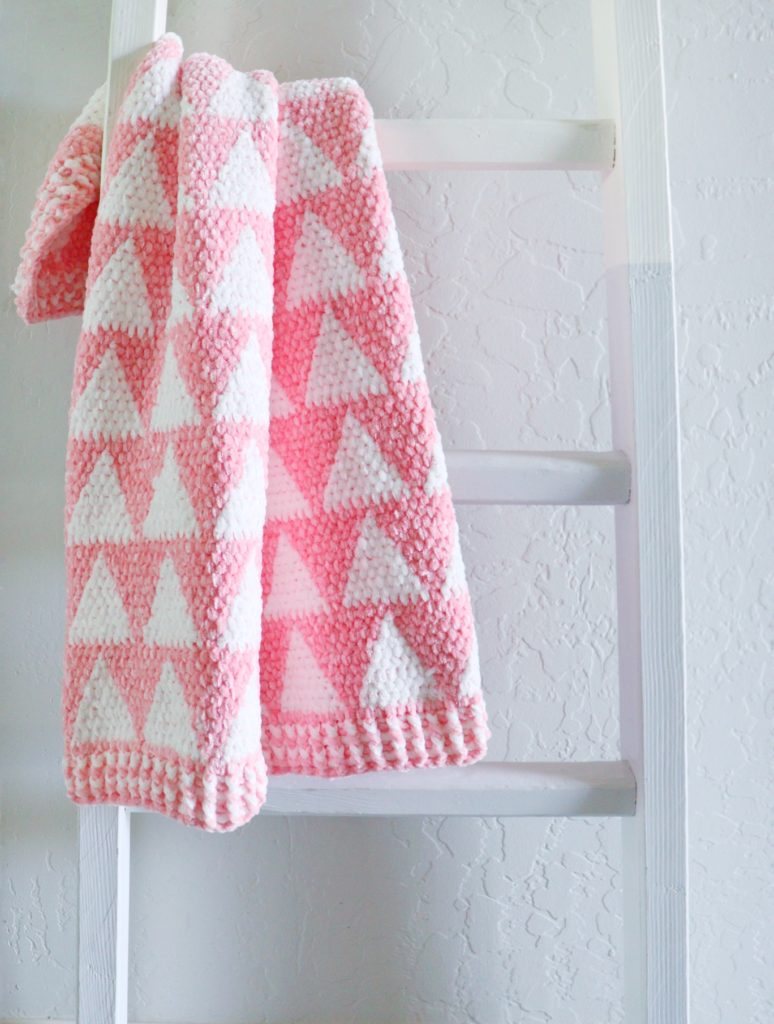
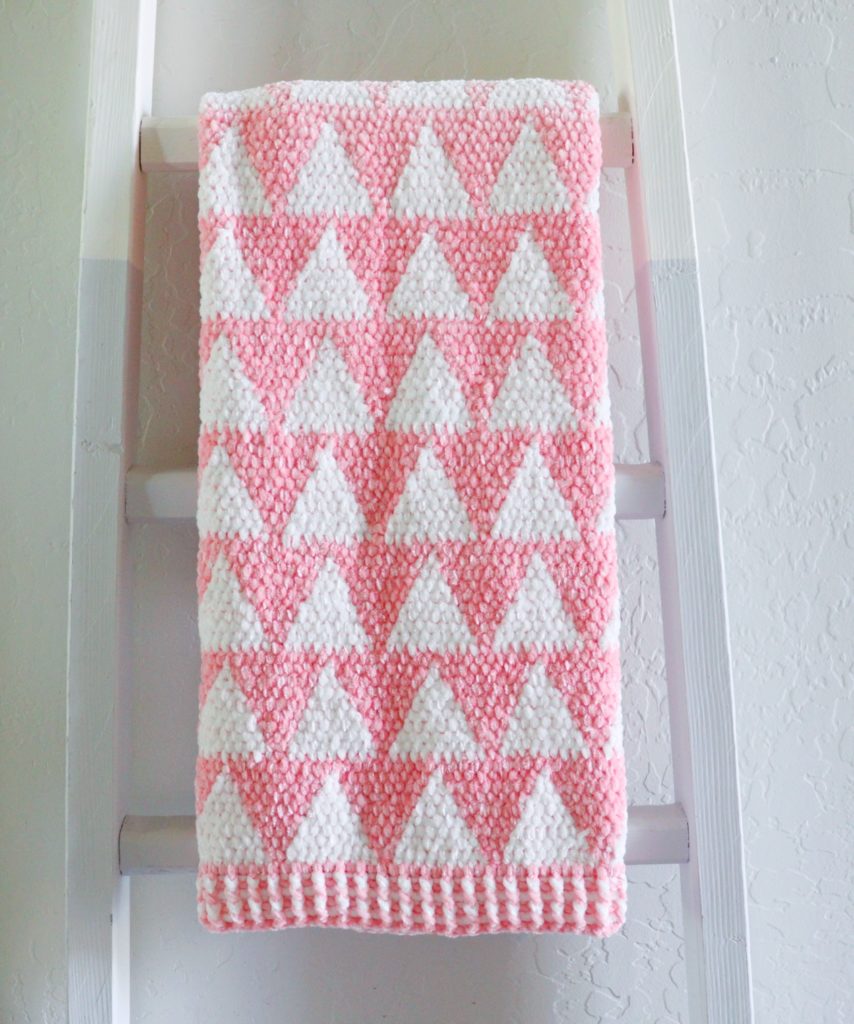
 Hannah started the blanket in blue first and I loved it so much I started one in pink! I just had to see this blanket in two different colors. It also was nice to have velvet in my lap again. Oh, how I love the feel of it.
There’s still lots of discussion about velvet. If this will be the first time you work with it, see this post I wrote about it for some tips. “How to Successfully Crochet with Velvet”
I’ve also recorded a video tutorial for this blanket which will be linked at the end of the post. I hope it will help you make this gorgeous blanket! It’s a stunner when finished.
All right, let’s get to the stitches used and the pattern.
Materials
Bernat Baby Velvet (100% polyester, 300 g/10.5 oz, 450 m/492 yds)
2 skeins Ever After Pink, 2 skeins White
Size H/5.00mm hook, scissors, tapestry needle
Size
Finished size 35 in x 35 in
Stitches
Half Double Crochet (HDC): Yarn over (YO), insert your hook, YO and pull up a loop, YO, pull through all three loops on hook.
Wide Half Double Crochet (WHDC): YO, insert your hook between stitch posts, YO and pull up a loop, YO, pull through all three loops on hook.

Double Crochet (DC): YO, insert your hook, YO and pull up a loop, YO, pull through two loops, YO, pull through remaining two loops.
Front and Back Post Double Crochet (FPDC & BPDC): A front post double crochet means you insert your hook from front to back around the post of the next DC and work a DC. A back post double crochet means you insert your hook from back to front around the post of the next DC and work a DC.
Pattern
Tips to know before you start:
- Pull through with the new color on the last step of the stitch.
- Lay whichever color you aren’t using along the top of your work and crochet over it as you go.
- To avoid your yarn getting twisted as you carry it along your work, it helps to always keep one color to the front and one color to the back each time you switch colors.
- When turning to a new row, wrap the color not in use around the side of your work and continue to crochet over it as you go.
Chain 103 with Pink. (Pattern repeat is any multiple of 10, plus 3.)
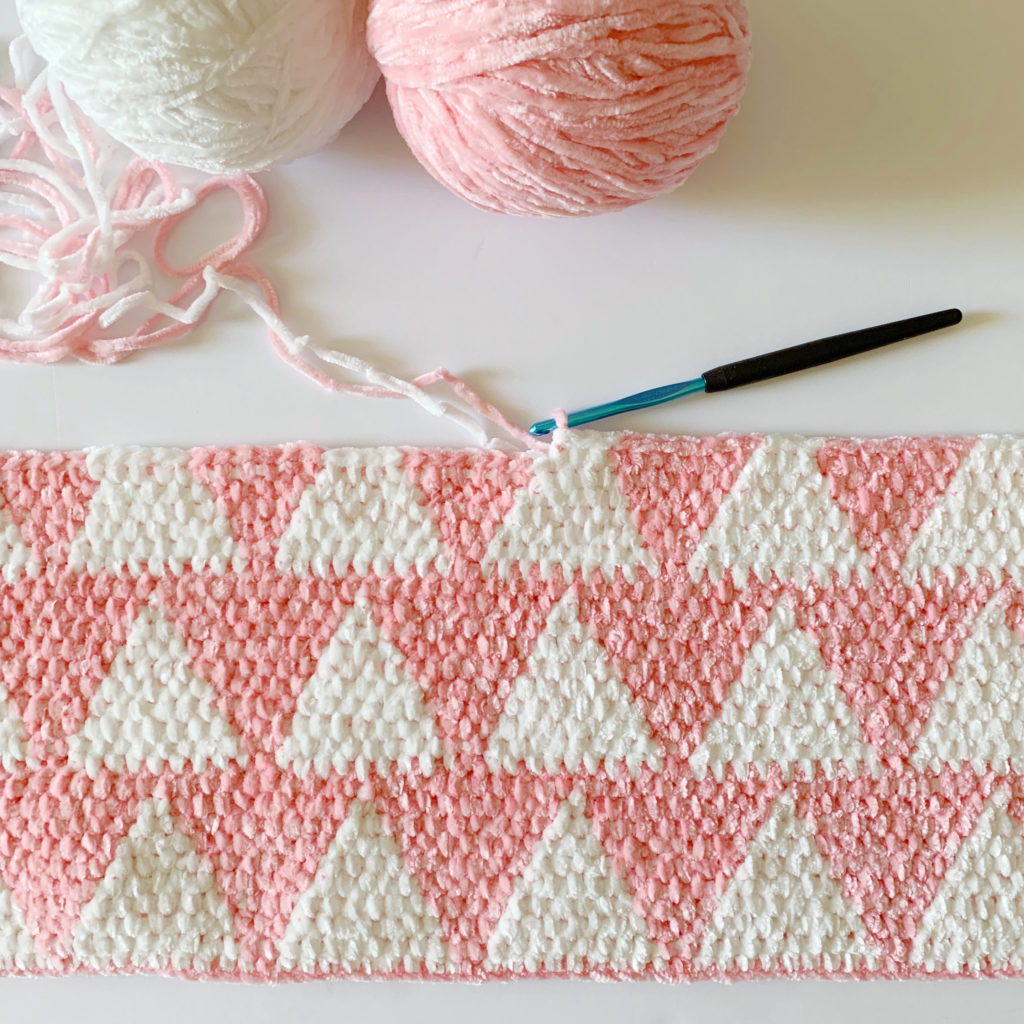
ROW 1: Starting in the 3rd chain from the hook, *work HDC with Pink, then work HDC in each of the next 9 chains with White. Repeat from * to the end of the row. You should end with 1 HDC in Pink in the last chain. CH 2 and turn.
ROW 2: Work WHDC in the first space with Pink, then work WHDC in each of the next 8 spaces with White. *Work WHDC in each of the next 2 spaces with Pink, then work WHDC in each of the next 8 spaces with White. Repeat from *to the end of the row. The last 2 stitches of the row should be Pink. CH 2 and turn. (Last stitch should be worked between the turning chain and last stitch.)
ROW 3: Work WHDC in each of the first 2 spaces with Pink, then work WHDC in each of the next 7 spaces with White. *Work WHDC in each of the next 3 spaces with Pink, then work WHDC in each of the next 7 spaces with White. Repeat from * to the end of the row. The last 2 stitches of the row should be Pink. CH 2 and turn.
Tip: If you’d like, when working your WHDCs you can insert your hook underneath the yarn you carried on the previous row to hide it better. This can also help keep your stitches tighter so that the velvet doesn’t cause any loops to slip loose.
ROW 4: Work WHDC in each of the first 2 spaces with Pink, then work WHDC in each of the next 6 spaces with White. *Work WHDC in each of the next 4 spaces with Pink, then work WHDC in each of the next 6 spaces with White. Repeat from * to the end of the row. The last 3 stitches of the row should be Pink. CH 2 and turn.
ROW 5: Work WHDC in each of the first 3 spaces with Pink, then work WHDC in each of the next 5 spaces with White. *Work WHDC in each of the next 5 spaces with Pink, then work WHDC in each of the next 5 spaces with White. Repeat from * to the end of the row. The last 3 stitches of the row should be Pink. CH 2 and turn.
ROW 6: Work WHDC in each of the first 3 spaces with Pink, then work WHDC in each of the next 4 spaces with White. *Work WHDC in each of the next 6 spaces with Pink, then work WHDC in each of the next 4 spaces with White. Repeat from * to the end of the row. The last 4 stitches of the row should be Pink. CH 2 and turn.
ROW 7: Work WHDC in each of the first 4 spaces with Pink, then work WHDC in each of the next 3 spaces with White. *Work WHDC in each of the next 7 spaces with Pink, then work WHDC in each of the next 3 spaces with White. Repeat from * to the end of the row. The last 4 stitches of the row should be Pink. CH 2 and turn.
ROW 8: Work WHDC in each of the first 4 spaces with Pink, then work WHDC in each of the next 2 spaces with White. *Work WHDC in each of the next 8 spaces with Pink, then work WHDC in each of the next 2 spaces with White. Repeat from * to the end of the row. The last 5 stitches of the row should be Pink. CH 2 and turn.
ROW 9: Work WHDC in each of the first 5 spaces with Pink, then work WHDC in the next space with White. *Work WHDC in each of the next 9 spaces with Pink, then work WHDC in the next space with White. Repeat from * to the end of the row. The last 5 stitches of the row should be Pink. CH 2 and turn.
ROW 10: Work WHDC in each space across the row with Pink. Continue to carry the White and crocheting over it across the row. CH 2 and turn.
Repeat rows 1 through 10 for the remainder of the blanket.
Border
Before beginning the border, weave in the ends. With velvet we like to leave long tails and discreetly knot them into the stitches as we are weaving them in. Just weave them around a stitch and back through the tail and knot the yarn to a stitch and continue weaving through. This will help the tails from slipping out.
Round 1: With Pink, work 1 DC into each stitch and 1 DC per row on the sides of the blanket, and 3 DC into each corner space. Join with a slip stitch to the beginning DC. Change colors to White if you want the same look as the border. If not, leave it all pink. Continue in the same direction.
Round 2: Work alternating front and back post around each DC. When you reach a corner, work alternating front and back post around the middle DC of the 3 DC that made the corner in the round prior. Don’t join the rounds. (Change back to white if you are alternating colors.)
Rounds 3 – 5: Continue alternating front and back post double crochet. Keeping the posts “popping” out in the same direction the entire time to create a ribbed look. Change yarn color each round.
Tie off and weave in all the ends. Snuggle a baby up in your super soft velvet blanket if you can. 🙂
Here’s the video if you’d like to watch:
Thanks for stopping by! When we shared this blanket on Instagram, lots of people said it looked like Christmas trees. So that’s another idea for you, you could make this in red and green! Wouldn’t that be fun?
Come and share with us if you do make this blanket, we’d love to see. Join the Daisy Farm Crafters Group on Facebook, or use #daisyfarmcrafts on your public Instagram account.
Happy Crocheting!
xo, Tiffany
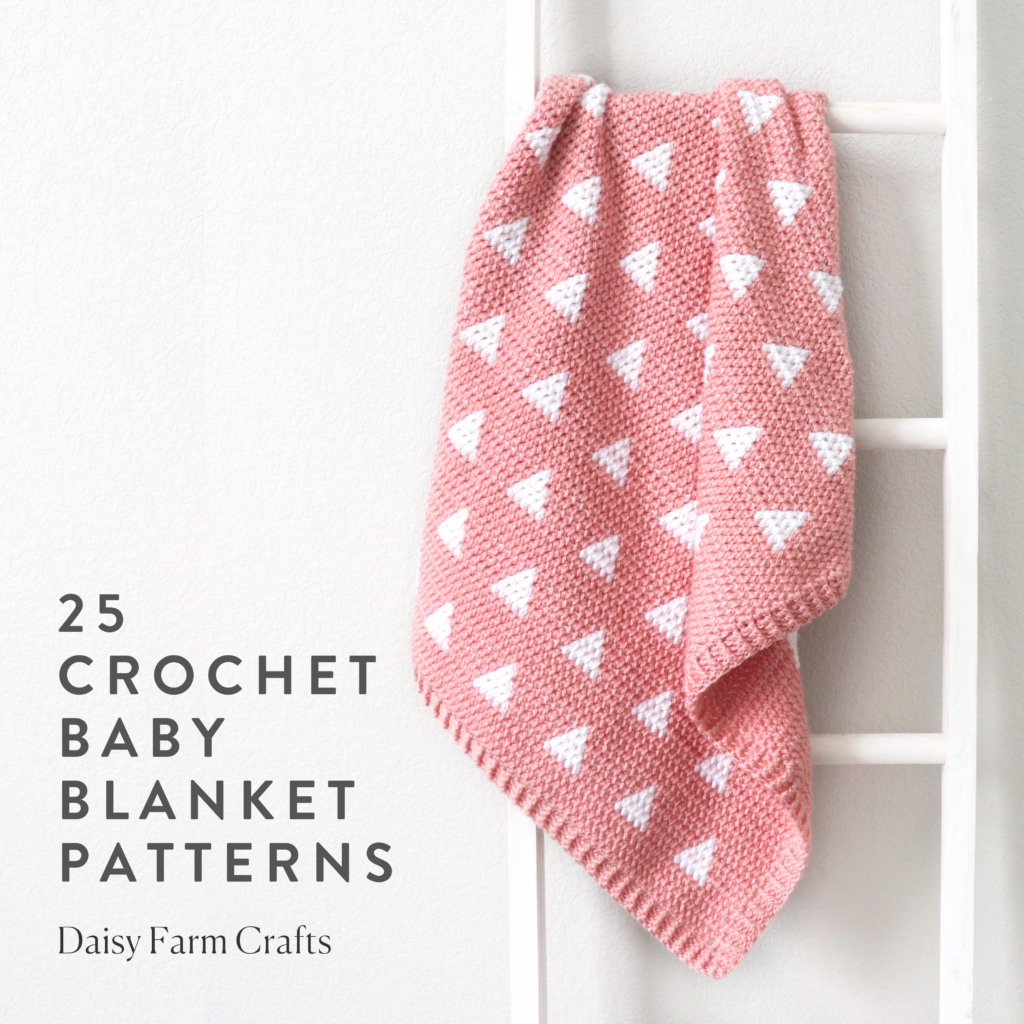
P.S. We have a book of patterns now! We published 25 of our most popular from the website into a handy 8×8 paperback book or a ebook digital version. Click here to purchase if you’d like.

