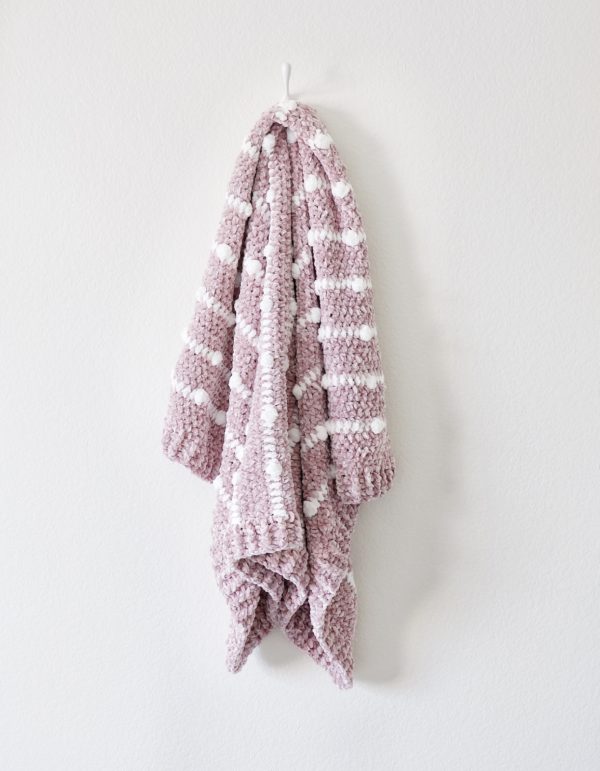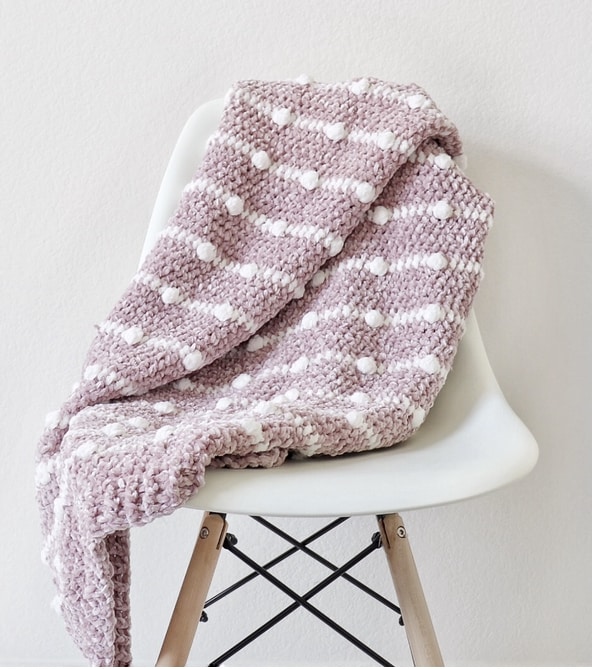
My mom and I have been wanting to try this Bernat Velvet yarn ever since we first saw it come out and I was really excited when Yarnspirations sent us some to try out a few weeks ago. I did lots of different practice swatches with different stitches until I finally decided I wanted to just keep it simple by using half double crochet working in between the posts.
This stitch is exactly like normal half double crochet (YO, insert your hook, YO, pull through, YO, pull through all 3 loops), except you are working in between the posts of the stitches below instead of the tops of the stitches below. (We also like to call this wide HDC.) Here is a short video clip if you want to see how this is done:
(If you have trouble loading the video, you can also view it on YouTube.)
After trying out several different stitches with this velvet yarn, my mom and I both agree that it works best with a tighter stitch and a tighter tension. I tend to be a loose crocheter so when I first started my blanket I noticed that there were some loops popping up from stitches that weren’t in tight, but as soon as I made my tension tighter I didn’t have any problems. If you tend to be a loose crocheter like me, I would definitely recommend going down a hook size.
The yarn is so soft and squishy and I really love how it worked up into a blanket!
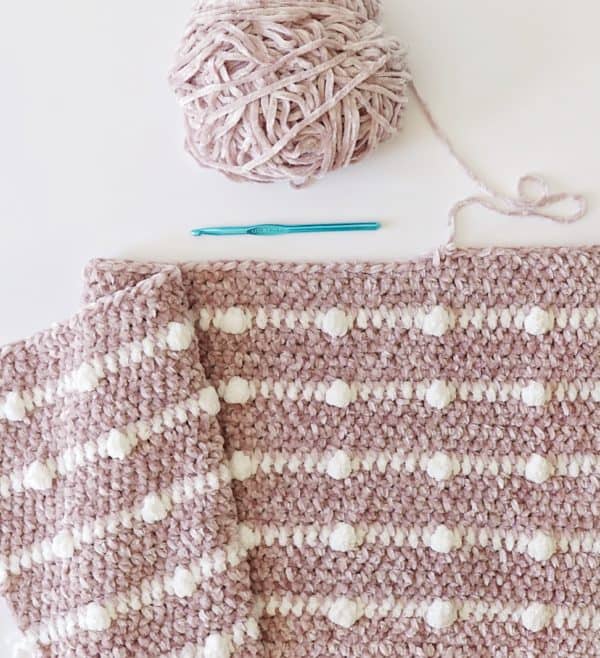
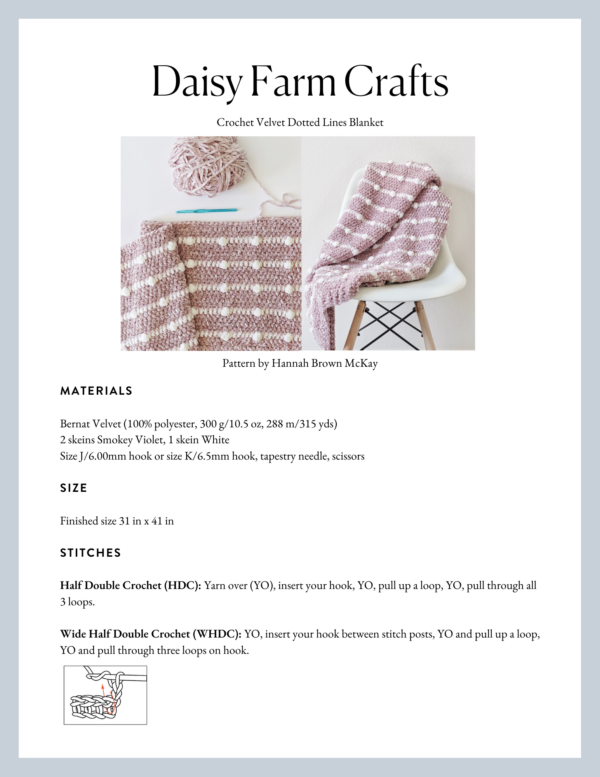
Materials
Bernat Velvet (100% polyester, 300 g/10.5 oz, 288 m/315 yds)
2 skeins Smokey Violet, 1 skein White
Size J/6.00mm hook or size K/6.5mm hook, tapestry needle, scissors
Size
Finished size 31 in x 41 in
Stitches
Half Double Crochet (HDC): Yarn over (YO), insert hook, YO and pull up a loop, YO, pull through all three loops.
Wide Half Double Crochet (WHDC): YO, insert your hook between stitch posts, YO and pull up a loop, YO and pull through three loops on hook.

Double Crochet 4 Together (DC4TOG) Bobble: *YO, insert your hook, YO, pull up a loop, YO and pull through two loops on hook. Repeat from * three more times, inserting your hook into same space. YO and pull through all loops on hook.
Double Crochet (DC): YO, insert your hook, YO and pull up a loop, YO and pull through two loops, YO and pull through remaining two loops.
Front and Back Post Double Crochet (FPDC & BPDC): A front post DC means you insert your hook from front to back around the post of the next DC and work your DC. A back post DC means you insert your hook around the post from the back to the front and work a DC.
Pattern
Chain 70 (or any multiple of 7) with Smokey Violet.
(Note: Normally when my mom and I use the half double crochet stitch we like to start by going into the third chain from the hook and chaining 2 at the end of each row, but because this yarn is so pliable, I decided to start in the second chain from the hook and only chain 1 at the end of each row. If you’d rather start in the third chain and chain 2 at the end of each row, that is perfectly fine, just be sure to add an extra chain to your base chain so that you will have enough stitches to evenly line up your bobbles.)
Row 1: Starting in the second chain from the hook, work 1 HDC in each chain. CH 1 and turn.
Rows 2 – 5: Work 4 rows of WHDC, working in between the posts of the stitches of the row below. CH 1 and turn at the end of each row. When you reach the end of the 5th row, pull through with White on the last stitch and cut the Smokey Violet, leaving a tail long enough to weave in later. (There should be three loops on your hook when you pull through with White.) CH 1 and turn.
Row 6: Work 1 WHDC in each of the first 6 spaces, then work 1 DC4TOG Bobble in the next space. (Continue inserting your hook in between the posts, just like the WHDCs.) Work 6 more WHDCs, then another bobble. Continue the pattern of 6 WHDCs, one bobble until you reach the end of the row, ending with 6 WHDCs. On the last stitch, pull through with Smokey Violet and cut the White, leaving a tail long enough to weave in later. CH 1 and turn.
Rows 7 – 11: Work 5 rows of WHDC in Smokey Violet, chaining 1 and turning at the end of each row. When you reach the end of the 11th row, pull through with White.
Row 12: Repeat row 6.
Repeat rows 7 – 12 until your blanket measures 41 inches long or your desired length.
When the blanket is finished, weave all the ends in with a tapestry needle.
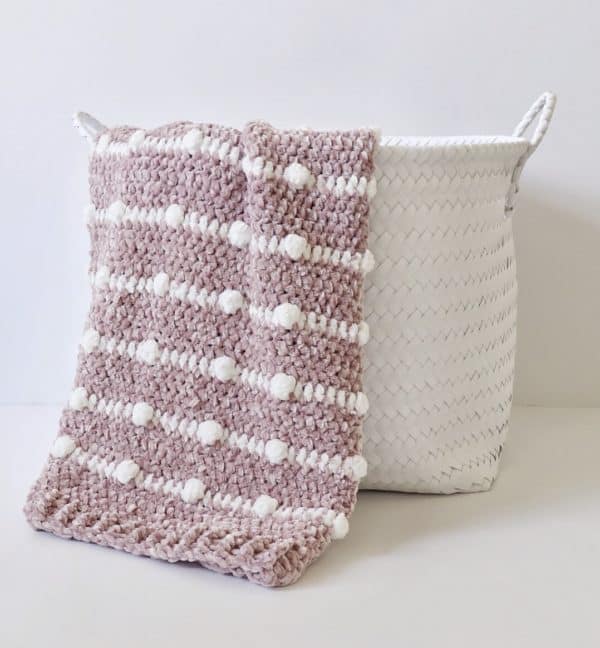
Border
Round 1: Pull up a loop in any corner and chain 3. DC around the entire blanket, work 3 DCs into each corner stitch.
Round 2: When you reach the corner you started with, work 3 DCs into that corner, then go around the blanket again, this time alternating front and back post double crochet. When you get to the corners of this row, you will want to continue the pattern of alternating front and back post double crochet, but you will work three stitches around the corner post.
So, for example, if you get to the corner post and you are supposed to work a front post DC, then work a front post DC, a back post DC, and a front post DC all around that corner post. Then in the next stitch you would continue the alternating pattern, working the opposite of whichever stitch you just used (in this example, you would work a back post DC).
Rounds 3 – 4: When you finish row 2, work 3 alternating front post/back post DCs into the corner you started with and repeat row 2 two more times around the blanket, making sure your post DCs are popping out in the same direction as the previous round, until you have four rows total. (Or you can go around as many times as you’d like to get your desired border height – I made it around four times before I ran out of yarn.) When you reach the corner you started with, slip stitch into the corner and tie off.
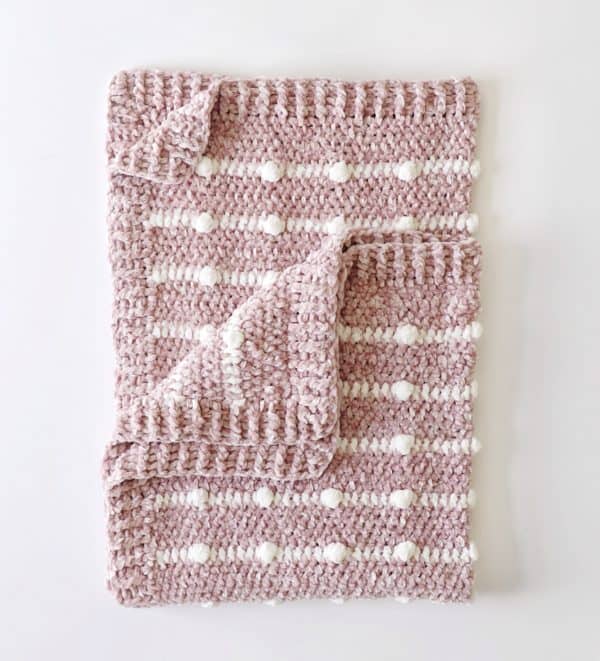
Thanks so much for coming to see this pattern, I hope you enjoy making this blanket! When you’re finished please come share a picture with us on Facebook or Instagram using #daisyfarmcrafts, we’d love to see!
xo, Hannah
