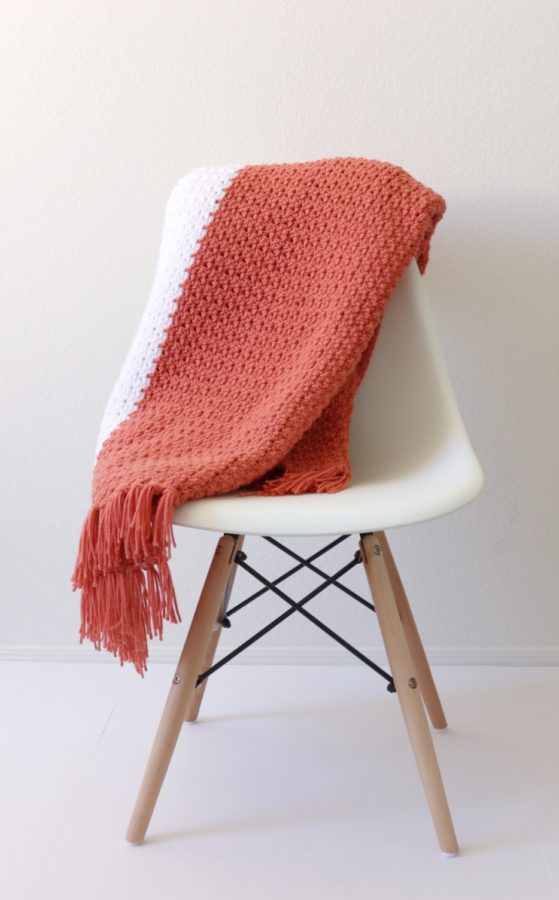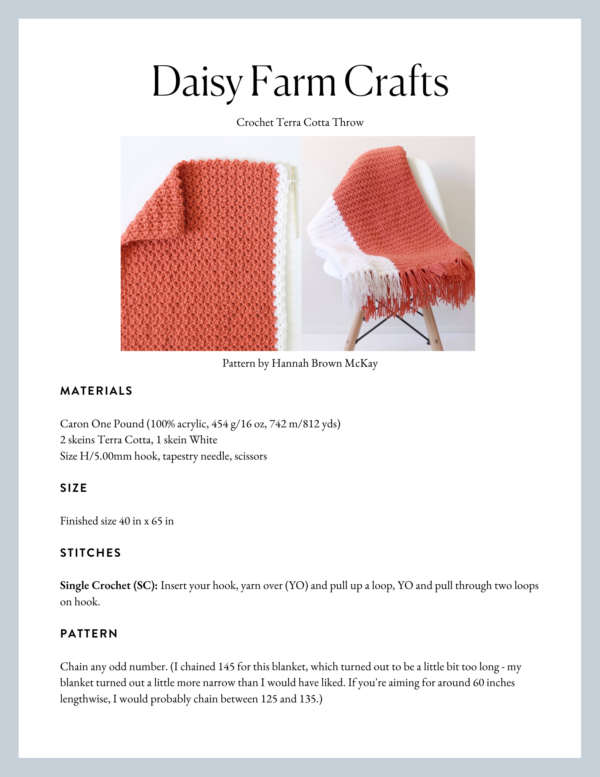
Hi there! It’s Hannah. I’ve slowly been redecorating my living room over the past few months and I decided a few weeks ago that I wanted to make a matching throw and the Caron One Pound Terra Cotta was just the color I was looking for.
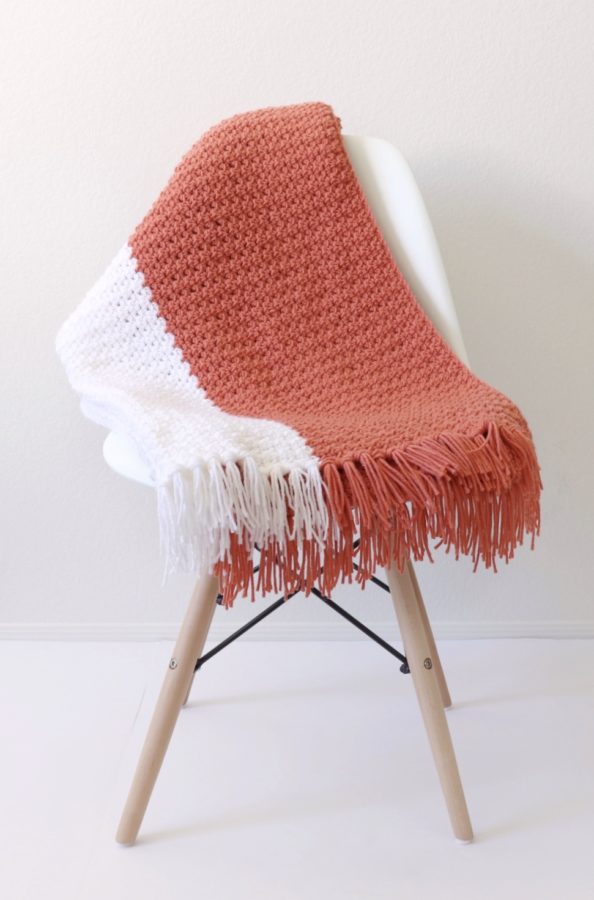
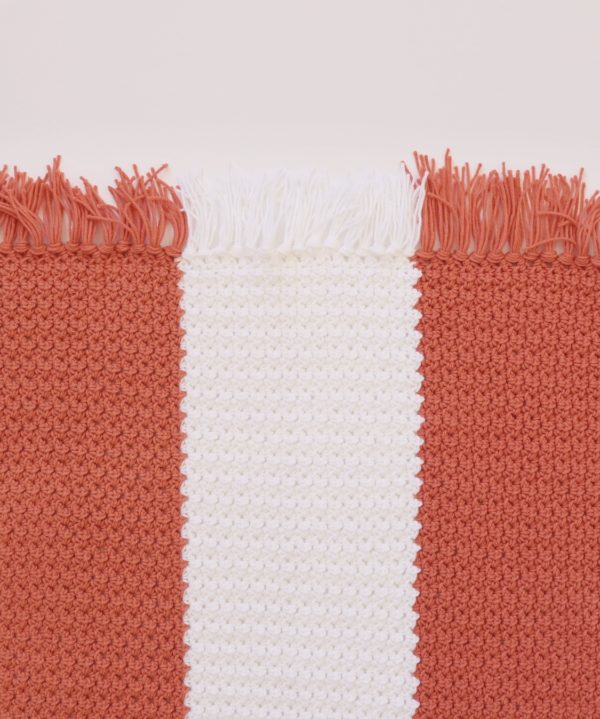
I wanted to make it a little unique so I decided to put a large white stripe down the middle of the blanket, which when you fold the blanket in half turns into a kind of side accent stripe. Since I wanted the stripe to be vertical, I worked the blanket lengthwise, meaning I made a really long chain and was essentially crocheting from side to side of the blanket instead of top to bottom.
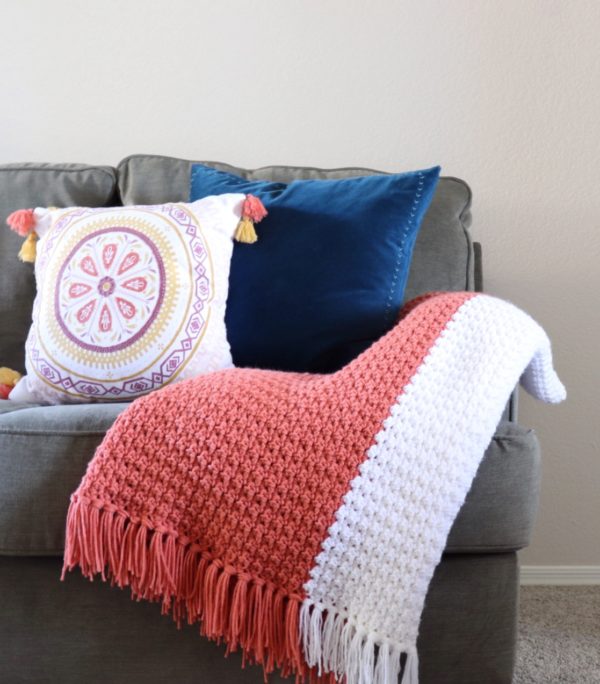
I’ve only used Caron One Pound in one other blanket, but the more I use it, the more I really like it. I think it’s a great yarn for beginners, not just because it’s relatively inexpensive and you get a lot out of it, but because I think the thicker texture helps keep the tension more uniform throughout the blanket. I’ve heard some people complain that they don’t like One Pound because it isn’t as soft as some other yarns, but I’ve heard some tips that washing and drying the blanket tends to soften it up quite a bit. I personally like that this yarn feels a little bit more durable, especially for things like couch throws!
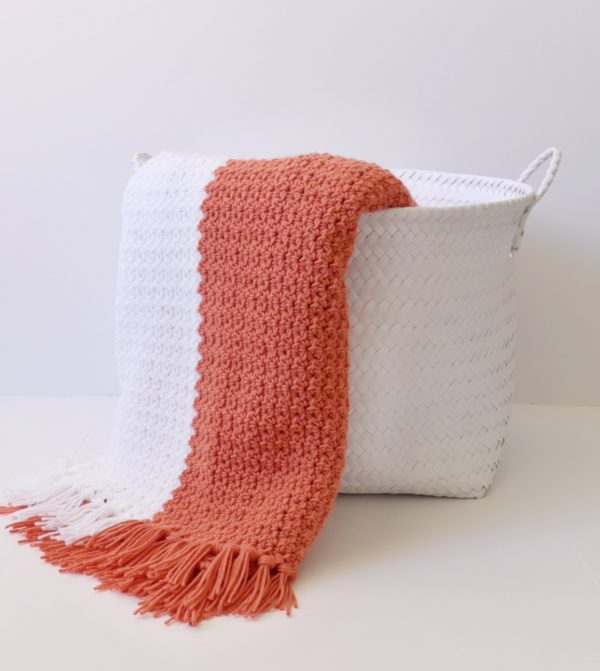
I decided to learn a new stitch for this blanket, and the spider stitch was a really fun one to learn. I’ll explain how to work the stitch below, but I would encourage you to do a small practice swatch if you’ve never done the stitch before, just so you don’t have to undo any work after chaining that long chain!
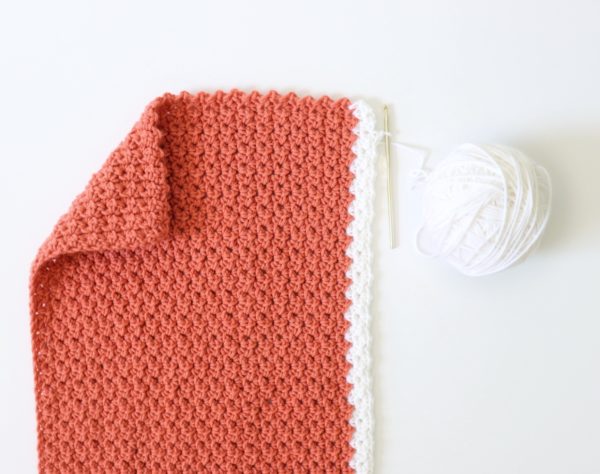
Materials
Caron One Pound (100% acrylic, 454 g/16 oz, 742 m/812 yds)
2 skeins Terra Cotta, 1 skein White
Size H/5.00mm hook, tapestry needle, scissors
Size
Finished size 40 in x 65 in
Stitches
Single Crochet (SC): Insert your hook, yarn over (YO) and pull up a loop, YO and pull through two loops on hook.
Pattern
Chain any odd number. (I chained 145 for this blanket, which turned out to be a little bit too long – my blanket turned out a little more narrow than I would have liked. If you’re aiming for around 60 inches lengthwise, I would probably chain between 125 and 135.)
Row 1: In the third chain from the hook, work one SC, one CH, one SC, (this is the spider) then skip one CH, and work the spider again (SC-CH-SC). Continue across the whole row. You should have one extra chain at the end. Work a SC into that stitch. CH 2 and turn.
Row 2: Skip over the bottom of the turning chain and the first two stitches and find that CH one space. You’ll want to work your spider into that stitch. (SC-CH-SC = Spider.) Continue across this row and this time your final SC will be in the top of that turning chain. (If you hate trying to insert your hook into the tops of turning chains like me, I just go under them.) Chain 2 and turn.
Repeat row 2 for the rest of the blanket. And that’s all there is to the spider stitch!
I feel like there are three things to really remember about this pattern:
1: A spider is SC-CH-SC and always worked into the chain space of the row below.
2: You’ll end each row with a SC into the top of the turning chain, (or under the turning chain if you’re living dangerously).
3: You’ll always CH 2 and turn and look right away for that CH space to get working.
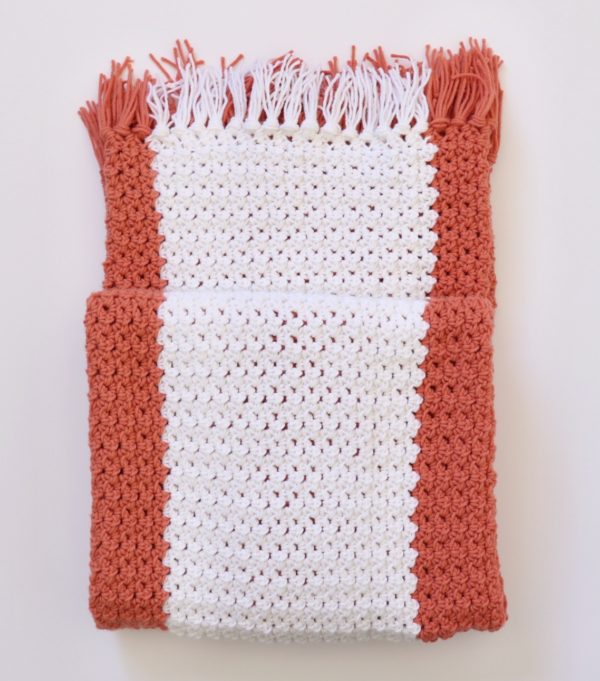
For this blanket I worked 40 rows in Terra Cotta, then 30 rows in White, then 40 more rows in Terra Cotta. When switching colors, you’ll want to pull through with the new color on the last SC of the row (there should be two loops on your hook when you pull through). Cut the old color, leaving a long enough tail that you can weave into the blanket with a tapestry needle at the end. When I finished the blanket and finished weaving in all my ends, I added tassels.
Tassels
For the tassels, I used the same simple method that I used in my Diamond Berry Stitch Blanket.
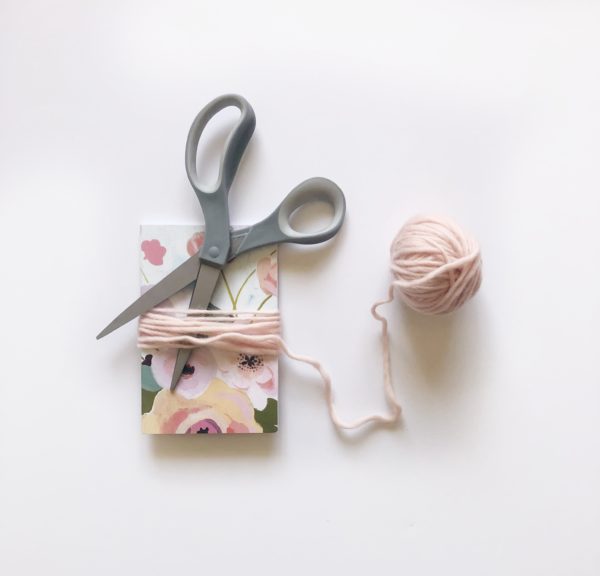
Supplies: A small notebook (the one I used is about 6 in. x 4in.), Scissors, Yarn
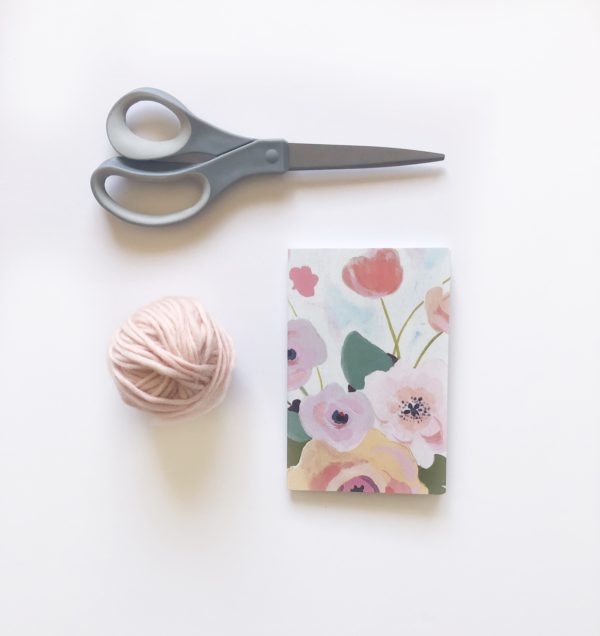
Wrap a piece of yarn around the notebook horizontally. Then cut the yarn in half.
Take three to four pieces of yarn (depending on how thick you want your tassels; for the Terra Cotta throw I used four) and fold them in half. Insert the folded end into the chain space above the last row of single crochet. You can use your fingers or a large crochet hook to do this.
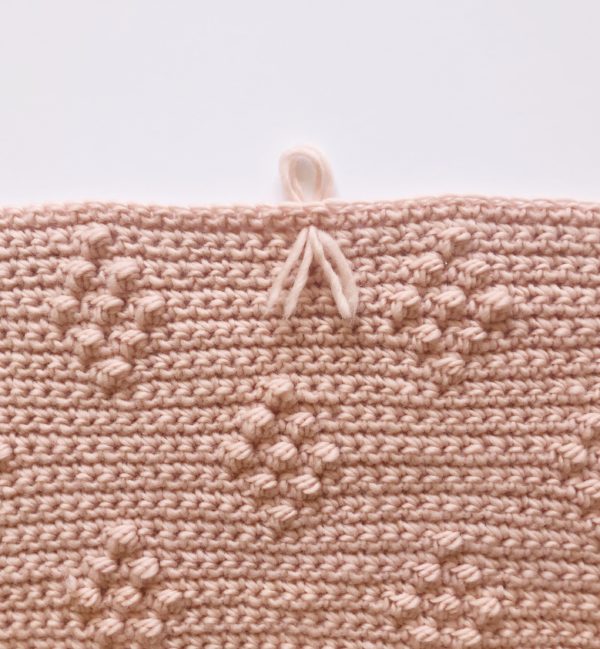
Pull the ends through the loop…
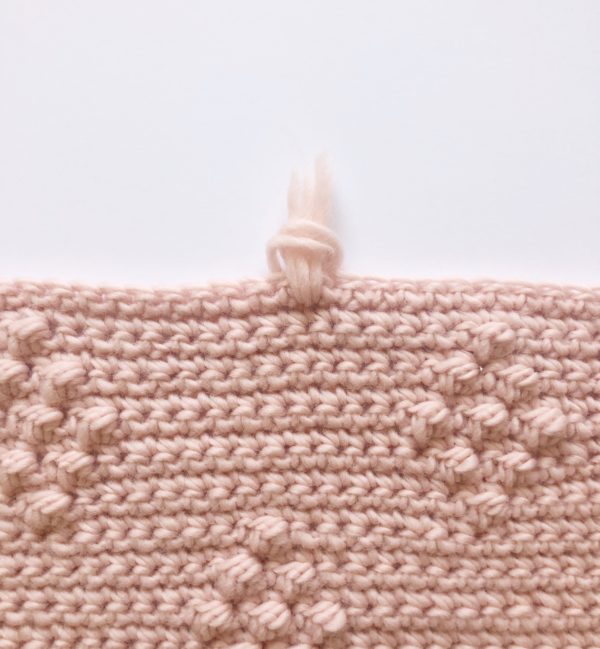
And pull tight to make a knot.
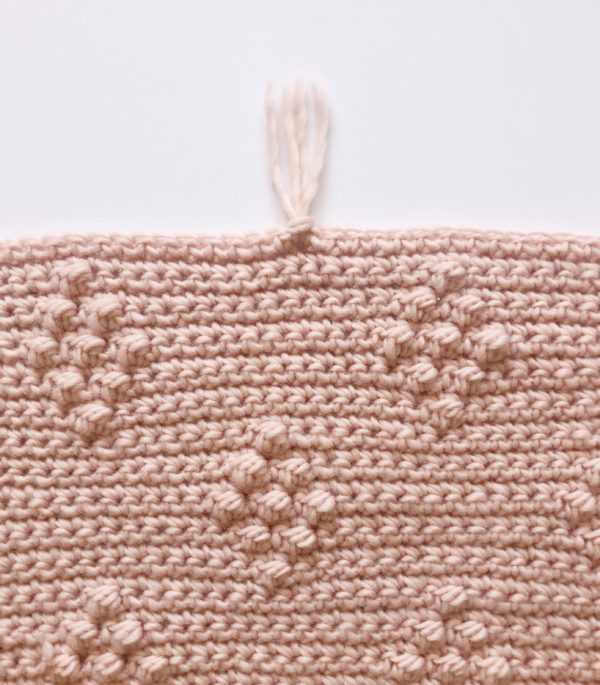
And that’s it! For the Terra Cotta Throw, I spaced the tassels out every other stitch, but you can space yours out however you desire. You can also make the tassels longer by using a bigger notebook, or trim them down if you want them to be shorter.
Thank so much for reading this pattern! I wish you the best of luck with whatever project you are working on and hope you’ll share your work on the Daisy Farm Crafts Facebook page or on Instagram using the #daisyfarmcrafts hashtag! We’d love to see!
xo, Hannah
