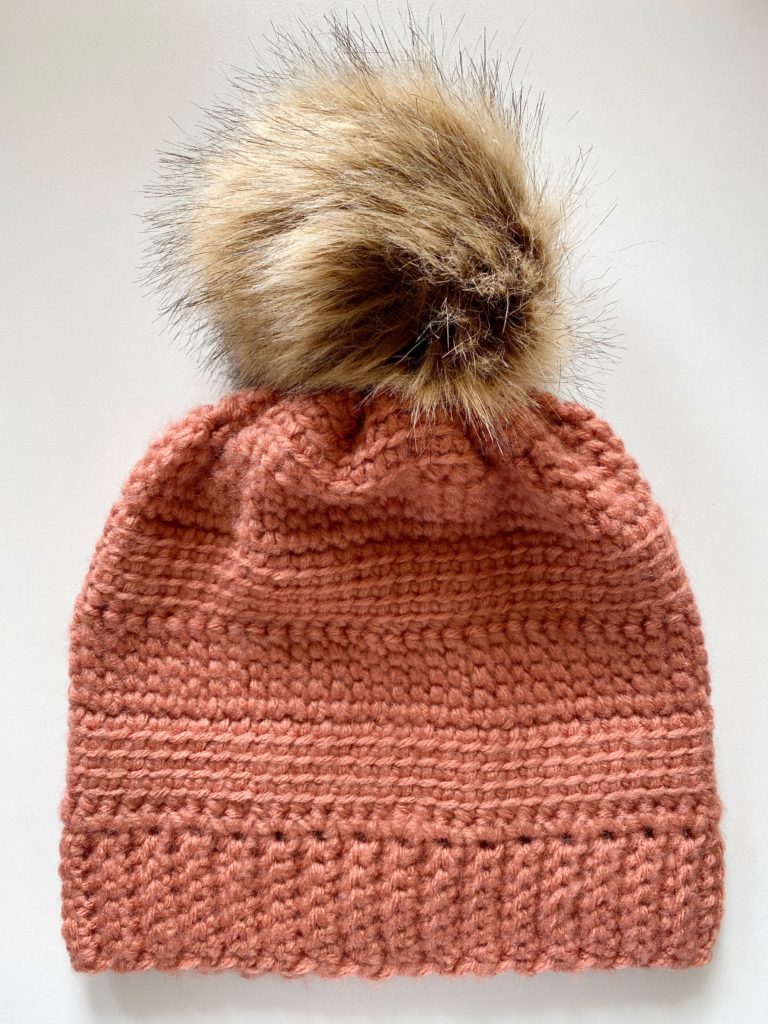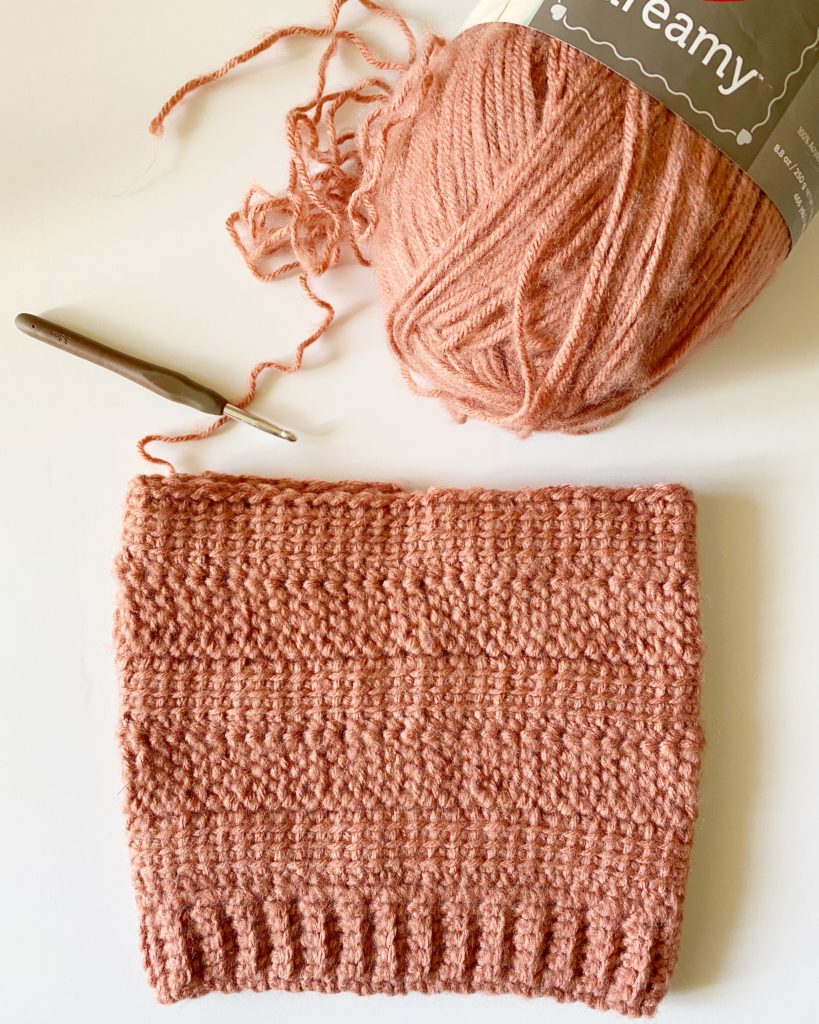
This hat is only 5 rows! I know crazy, but with the linked stitch, your stitches are really tall.
They have a two sided appearance so in the photo above, you can see both sides of the stitch.
Now you are probably wondering what is a linked stitch? If you have learned tunisian crochet, it is very similar to that technique.

But if not, I’m going to explain it to you here, but I’ve also filmed a full tutorial for the hat, so you can learn visually as well.
Materials
Red Heart Dreamy (100% acrylic, 250 g/8.8 oz, 426 m/466 yds)
1 skein Paprika
Size I/5.5mm hook, scissors, tapestry needle
Size

Stitches
Linked Stitch: Chain 5, (or any number that makes the height of the stitch you’d like to make but for this pattern we use 5 chains) Insert your hook into the second chain from the hook, yarn over and pull a loop back through, *insert your hook into the next chain, yarn over and pull a loop back through. Repeat from * two more times, (until all chains are worked. Yarn over and pull through two loops 4 times and until you have one loop remaining on the hook. To begin the next stitch, instead of working into chains, look for the horizontal bar and front loop of the corresponding stitch.
Back Loop Single Crochet (SC): Insert hook into back loop only of stitch, YO and pull a loop, YO and pull through both loops on the hook.
Slip Stitch (SL ST): Insert hook, YO, pull a loop and through loop on hook.
Pattern
Brim
Chain 8.
Row 1: In the second chain from the hook, work 1 SC. SC into each chain across the row. Ch 1 and turn. (7)
Row 2: SC into the first st of the row. Work back loop SC into each of the next 5 sts. SC into the last st. Ch 1 and turn.
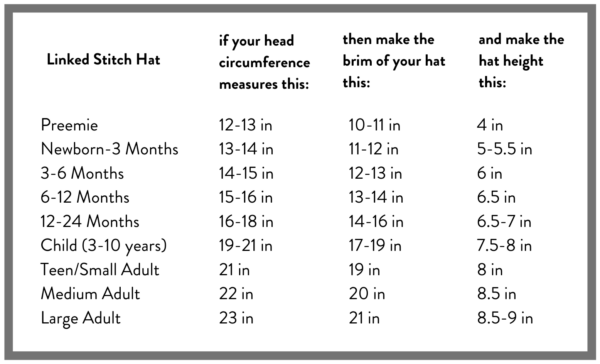
Rows 3 to 2 inches shorter than the head circumference needed. (Refer to the chart): Repeat ROW 2.
When your band is the length you need, ch 1 and turn band so you are working along one long end. Work 1 SC into the end of the first row. Skip one row, work 2 SC into the next row, repeat from * to the end.
Tip: Work into the dips or valleys at the end of a row and skip over the peak rows.
Hat
Chain 5.
Work linked stitch. Insert your hook into the second chain from the hook, yarn over a pull a loop through, insert your hook and pull up a loop into each of the next three chains. Insert your hook into the SC on the band. Yarn over and pull through two loops 5 times.
*Work linked stitch underneath the horizontal bar and front loop of corresponding stitch 4 times. Insert hook final time underneath the next SC on the band. Yarn over and pull through two loops 5 times. Repeat from * across the row.
Chain 5 and turn. Work linked stitch across the row.
Work 5 rows of linked stitch.
You may choose to slip stitch your two sides together or use your tapestry needle to sew the two ends together.
Gather the top of your hat by weaving your tapestry needle in and out of the front loop of each stitch, pull tight to close.
Attach a pom pom.
Please watch the video tutorial if you are confused at all on how to work the linked stitch, it really is much easier to visualize.

I think that if you make this for a child, consider reducing the number of linked stitch rows to 3 or 4.
Good luck making your hat! I really enjoyed how easy and quick it worked up.
Have a wonderful day!
xo, Tiffany
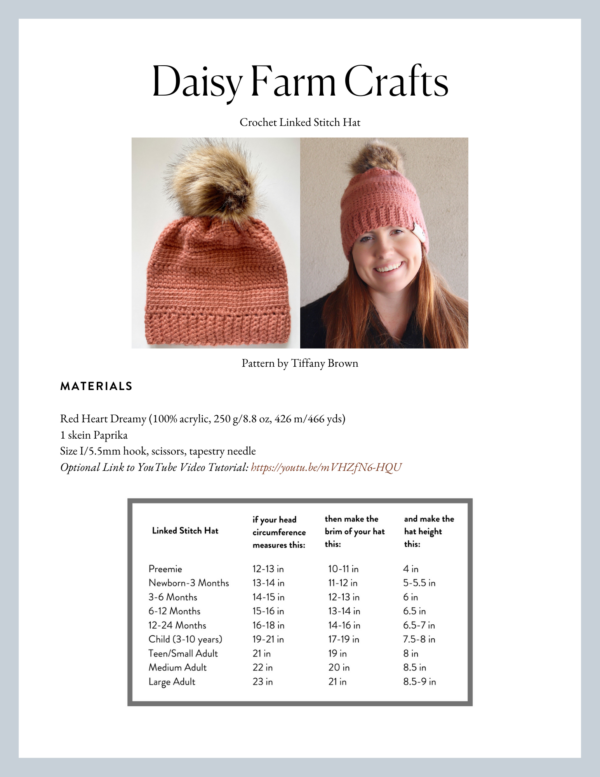
Click here or on image below for printable pattern


