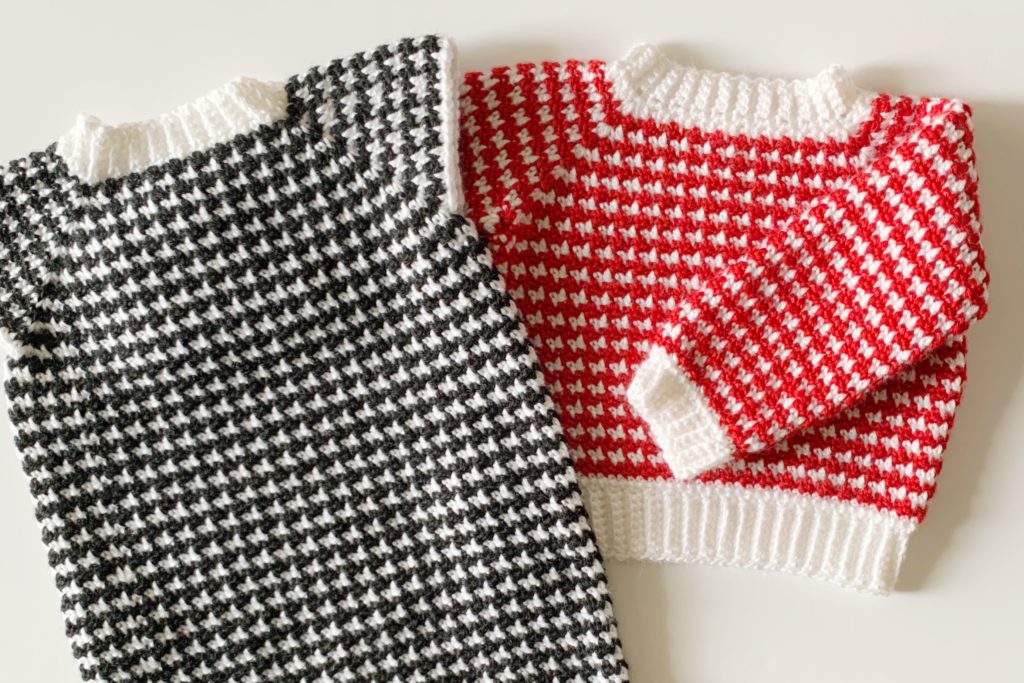
Hello! This is an additional way to make the Houndstooth Sweater Dress into just a sweater by adding sleeves, and back loop only single crochet ribbed border on the bottom and around the wrists.
I know that many of you will want instructions to make it a different size so I’m going to give you my best suggestions. (If you are new to our website, we are just a mom and daughter team sharing our love of crochet and sharing patterns for what we make for our friends and families.)
With the starting neck size given in this pattern, I think you’ll be able to make from about a 12-18 month old size to a 4 Toddler. You would be able to work from the starting neck size I have made and either increase the amount of rows before you join for the armholes, or decrease the amount of rows to make it smaller.
As you make the sweater, you’ll be able to judge how big it can get. It will be handy for you to have a tape measure on hand and also the shoulder to shoulder measurements of the child you are making it for. (Also not a bad idea to have the head circumference too, just to make sure it fits over the head.)
If you are ready to design your own size, here’s what I would suggest: Make the collar 2.5 inches smaller than the head circumference. Make the collar in an even number of rows. Divide the collar into four sections.
Make the front and back the same number of stitches and over the shoulders the same. Increase until you have 3 inches more than the shoulder to shoulder measurement then join for the armholes. You may need to chain more than 4 when you join for the armholes, I’m not sure, but keep it an even number so you maintain the griddle stitch pattern.
And try it on as you go. My daughter Annie really wants me to make her the sweater version, and she is an adult woman size 8, so we will see if I can make that happen, but the above suggestion is what I’d do to develop a pattern.
I’d also say that if you do want to design your own, work the baby version first just so you’d know what you are trying to invent.
But as is, the pattern below is for a size 3T and you are free to make adjustments.
(There is a video tutorial at the end of the post if you are more of a visual learner!)
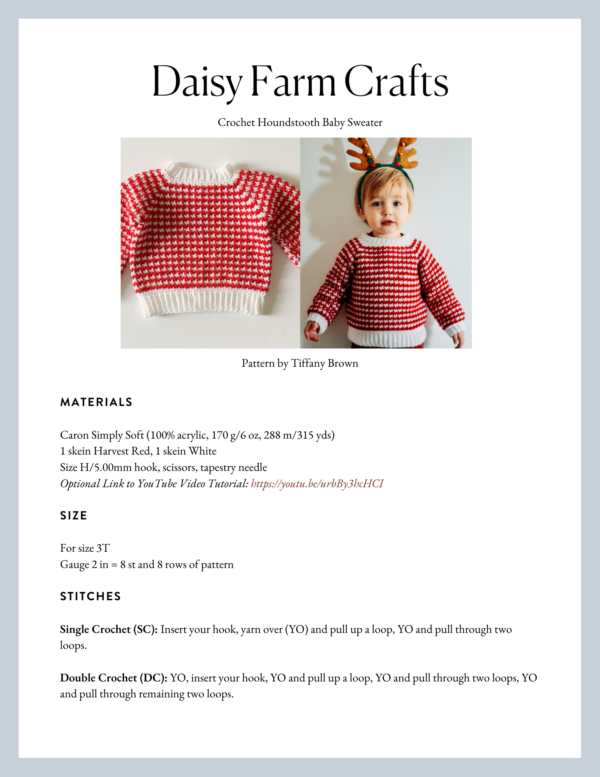
Materials
Caron Simply Soft (100% acrylic, 170 g/6 oz, 288 m/315 yds)
1 skein Harvest Red, 1 skein White
Size H/5.00mm hook, scissors, tapestry needle
Size
For size 3T
Gauge 2 in = 8 st and 8 rows of pattern
Stitches
Single Crochet (SC): Insert your hook, yarn over (YO) and pull up a loop, YO and pull through two loops.
Double Crochet (DC): YO, insert your hook, YO and pull up a loop, YO and pull through two loops, YO and pull through remaining two loops.
Pattern
Starting with the neck, chain (CH) 6.
Row 1: In the second chain from the hook, work 1 SC. Work 1 SC into each of the remaining chains. Chain 1 and turn. (5 SC)
Row 2: *Work 1 SC into the first st. Work 1 SC into the back loop of each of the next 3 sts. Work 1 SC into the last stitch of each stitch, CH 1 and turn after each row. Repeat from * for 56 rows.
With a tapestry needle, use the starting tail to sew the two ends together to form a circle. Chain 1 and SC around the circle working one SC into each space at the end of a row. Join with a slip stitch to the first SC of the round. (56 sc)
Place stitch markers. Count from the first SC of the round (the stitch you slip stitched into is stitch #1) and mark stitch #10, #19, #38, #47. You will have 18 stitches in between two markers for the front and back, and 8 stitches in between 2 markers for over the shoulders.
Round 1 of griddle stitch: Ch 1 and turn. In the next st. work 1 SC, in the next st work 1 DC. Repeat from * to the first marker. In the marked st, work “DC,SC,DC.” Repeat from * to the next marker. Work “SC,DC,SC” in marked st. Work DC in next st, SC in next and continue alternating to the next marked st. “DC,SC,DC” in marked st. Alternate SC and DC to the next marked st, work “SC,DC,SC” in marked stitch. Alternate DC and SC to the end of the round. Slip stitch to the first stitch pulling through with Color B. CH 1 and turn.
(Tip: The second stitch of the 3 stitches in each marked corner are now the middle stitch or marked st. Mark this if you need to for the next round. You will be working 3 stitches into this marked stitch to increase for the round.)
Round 2: *DC into the top of the SC from row below, SC into top of DC from row below. (This is the griddle stitch) Repeat from * to the middle stitch of the corner. Work the next 3 stitches required to keep the alternating DC, SC sequence into that middle stitch. Continue working the griddle stitch to the next corner space, work the three stitches into the middle stitch and continue in this manner around. Slip stitch to the starting stitch, pulling through with COLOR A.
Rounds 3 – 14: Repeat rounds 1 and 2.
Joining for the armholes:
Round 15: Work the griddle stitch to the first corner stitch. *SC into the corner stitch (even if it is a SC and you are breaking the griddle stitch pattern. This will be the only time you will do that. It helps to not have a hole in the underarm area.) CH 4, skip over all the stitches to the next corner stitch and SC. Continue the griddle stitch pattern to around the front of the sweater to the next corner and repeat the instructions from the *.
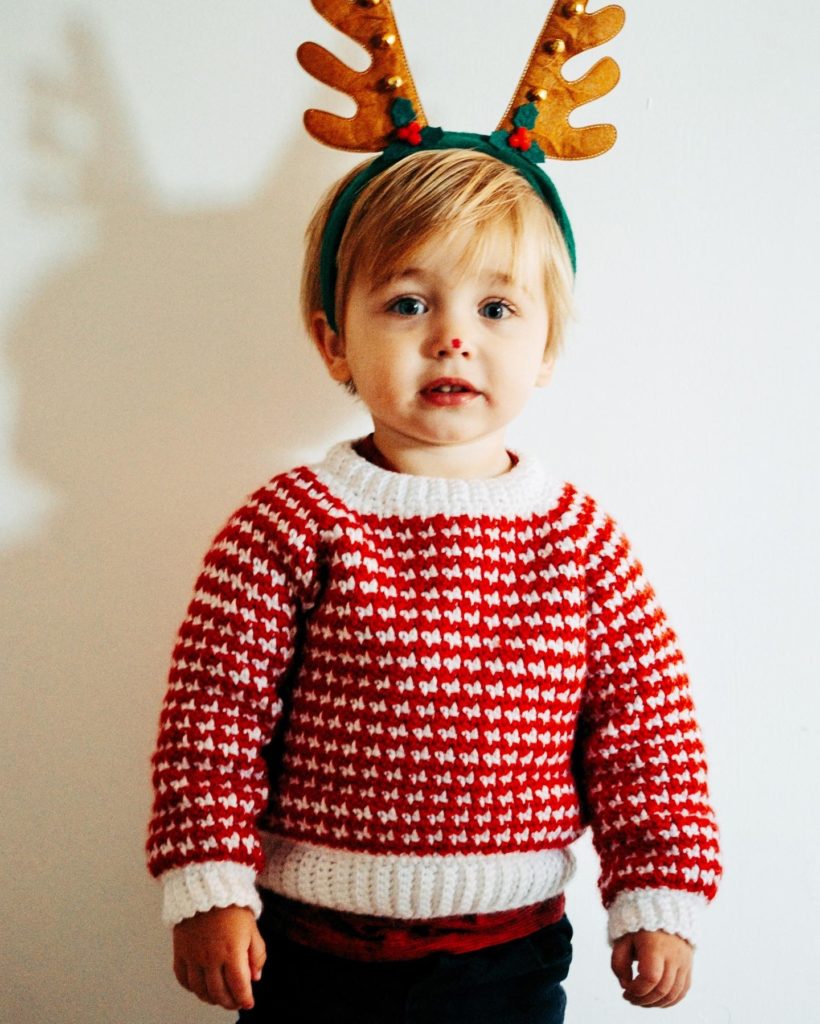
Round 16 to the length you desire: Continue working the griddle stitch into each stitch, including the chain 4’s that make up the underarm area. Continue alternating colors and joining the rounds until you have the length you desire. I liked the dress to hit about an inch above the knee.
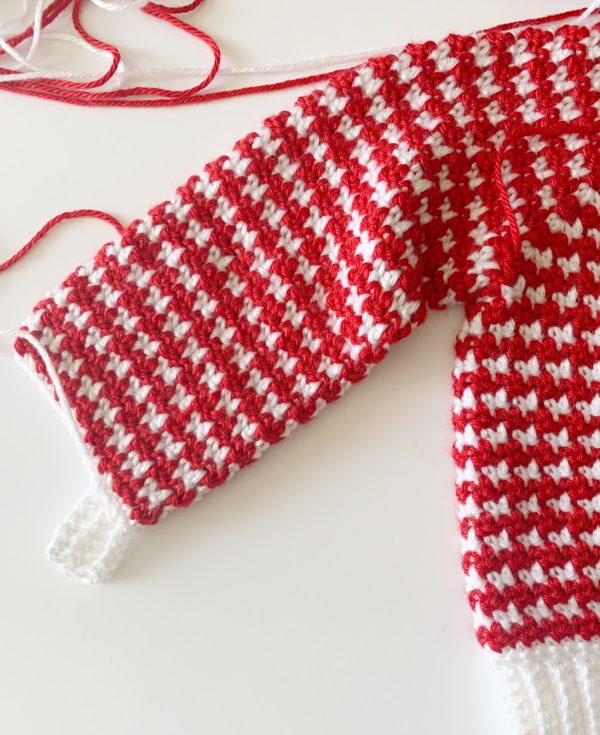
SLEEVES
Making sure the V’s are facing away from you and as if you chained and turned your work, pull up a loop and chain 1 in color B, between the 4 stitches that are around the chain 4. (put your hook so 2 stitches are on one side and 2 on the other.) SC where you pulled up a loop. Single Crochet 3 or 4 together (sc3tog or sc4tog) across and in between the stitches around the chain 4 and working toward the first stitch of the armhole.
Work the griddle stitch around the arm. (These are the skipped stitches when you joined for the armholes.) Single Crochet 3 or 4 together across the chain 4 toward the starting SC. Slip Stitch to the starting SC, pull through with Color A, chain 1 and turn.
Round 2 to the length you need: Work the griddle stitch around, join with a slip stitch, ch 1 and turn.
(Tip: after round 2, count how many stitches you have around, as you will want to make sure you have the same amount when you make the other sleeve and you will want to make the same number each round.)
WRIST
With Color A, *SC into each of the next 3 stitches, SC2tog across the next 2 stitches. repeat from * around, to decrease the size of the sleeve and gather in for the wrist. Join with a slip stitch, chain 6 and turn.
RIBBING
SC into each chain space toward the wrist. Slip stitch once to the base row. Turn. *SC under both loops in the first stitch, SC into the back loop of each of the next 3 stitches, SC under both loops of the last stitch. (Similar to how you worked the neck.) Chain 1 and turn. Repeat from * back toward the wrist. Slip stitch the next 2 stitches, now and throughout.
When the round is complete, sew the two sides together with the tapestry needle, weave in the ends.
Ribbing for the bottom of the sweater.
Work one round of SC into each stitch in Color A, Chain 10 and turn. Work the ribbing in the same manner as the wrists around the bottom of the sweater. Cut the ends and weave them all in.
Thank you so much for coming by the website! We are so grateful you love to see what we are making for our friends and family! I nominate all of you as pattern testers! lol! I do my best explaining what I am doing and I hope you have success.
As always though, drop me an email and let me know how the pattern turned out for you or if you notice a typo. I design on the first try, make a second in a different color, then make a third to write the pattern, but even after all that there could be mistakes, so I’m really happy when you reach out and we can together fix the pattern.
xo, Tiffany
Click here or on image below for printable pattern