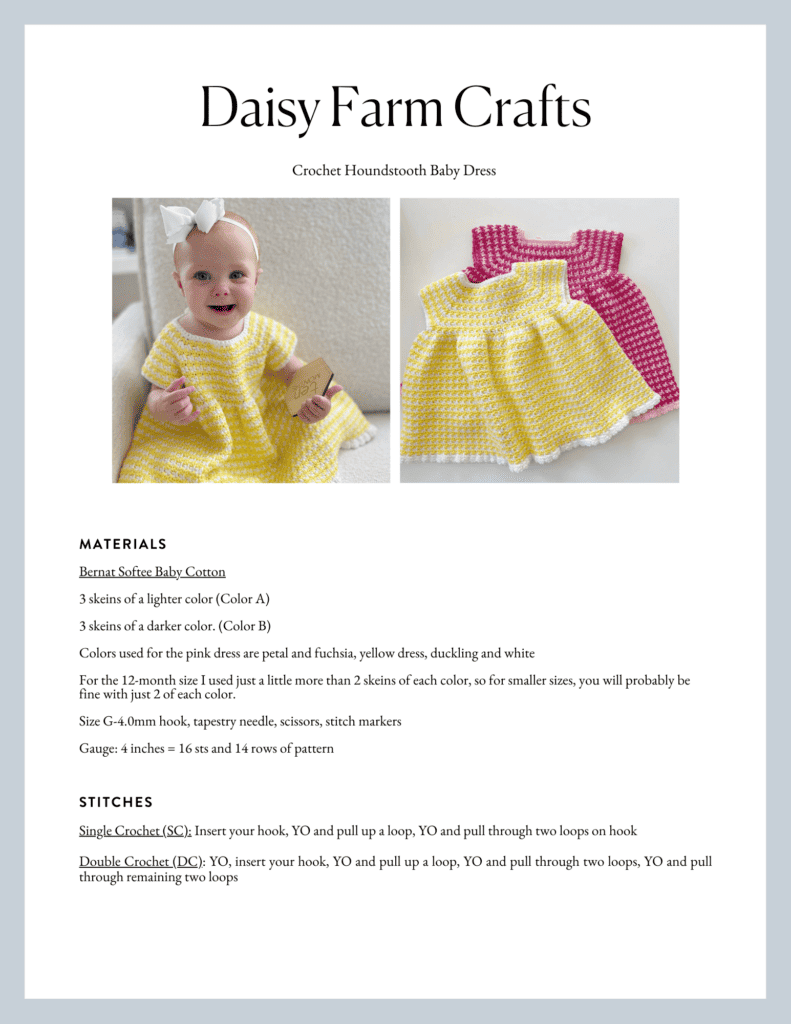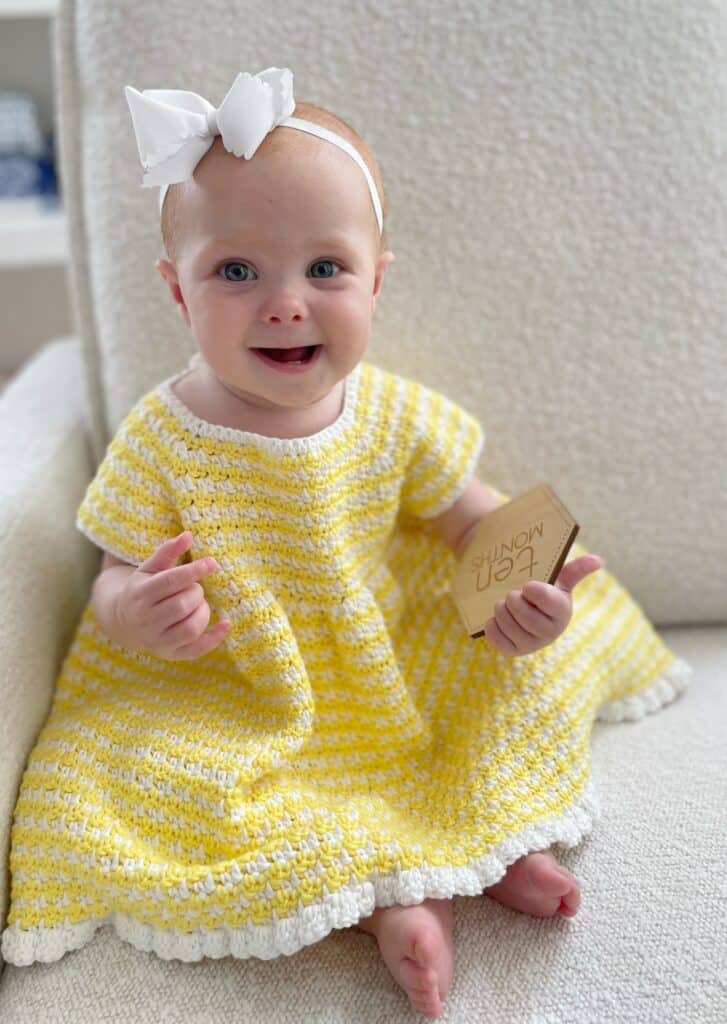
Our precious baby Kate is growing up so fast! This month, to celebrate her 10-month-old birthday, I made her a new version of our very popular Houndstooth dress and sweater.
Here’s what I’ve made in the past with this Houndstooth design:
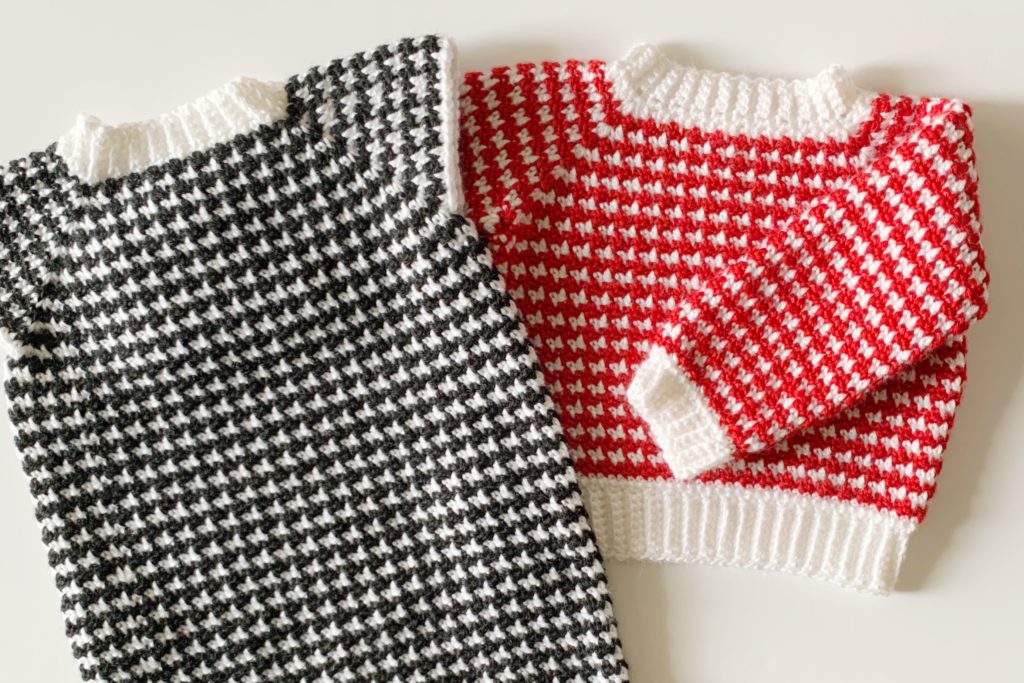
It’s one of my very favorite designs to make since it’s so easy and fun.
I also made this one for Kate’s older brother Jack when he was about this age as well! (They look so much alike!)
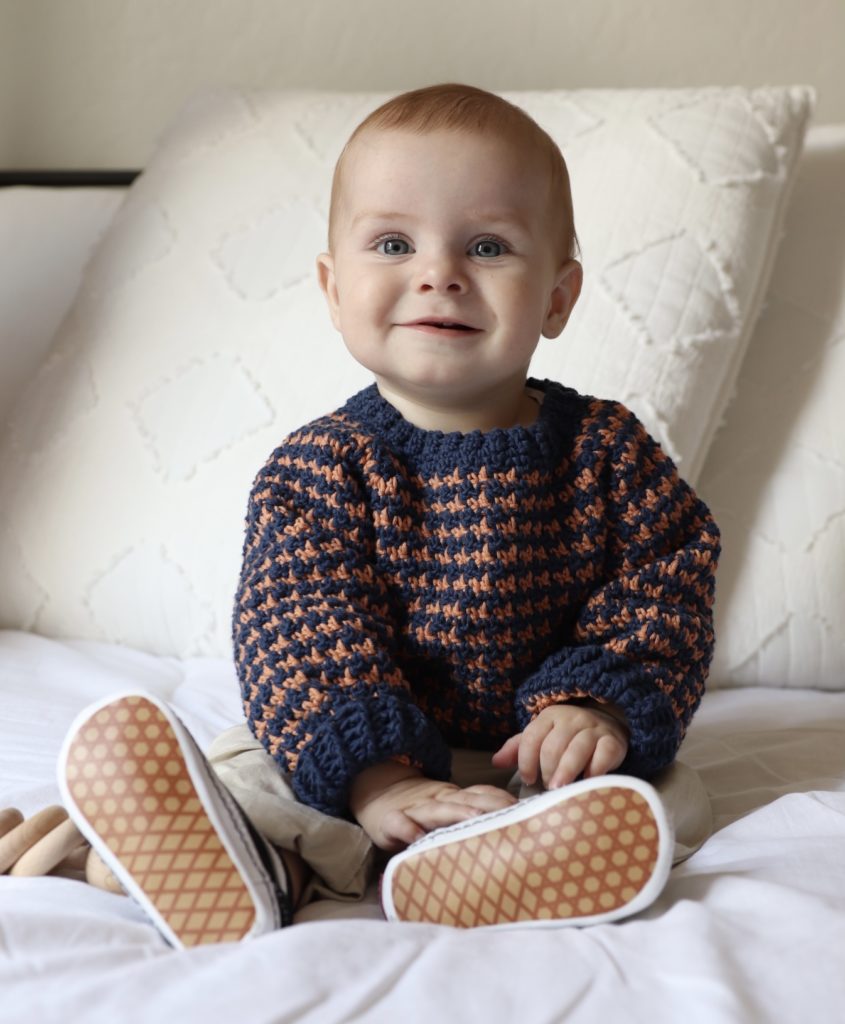
And then I made one for Hannah’s baby James this last winter when James was about 6 months old:
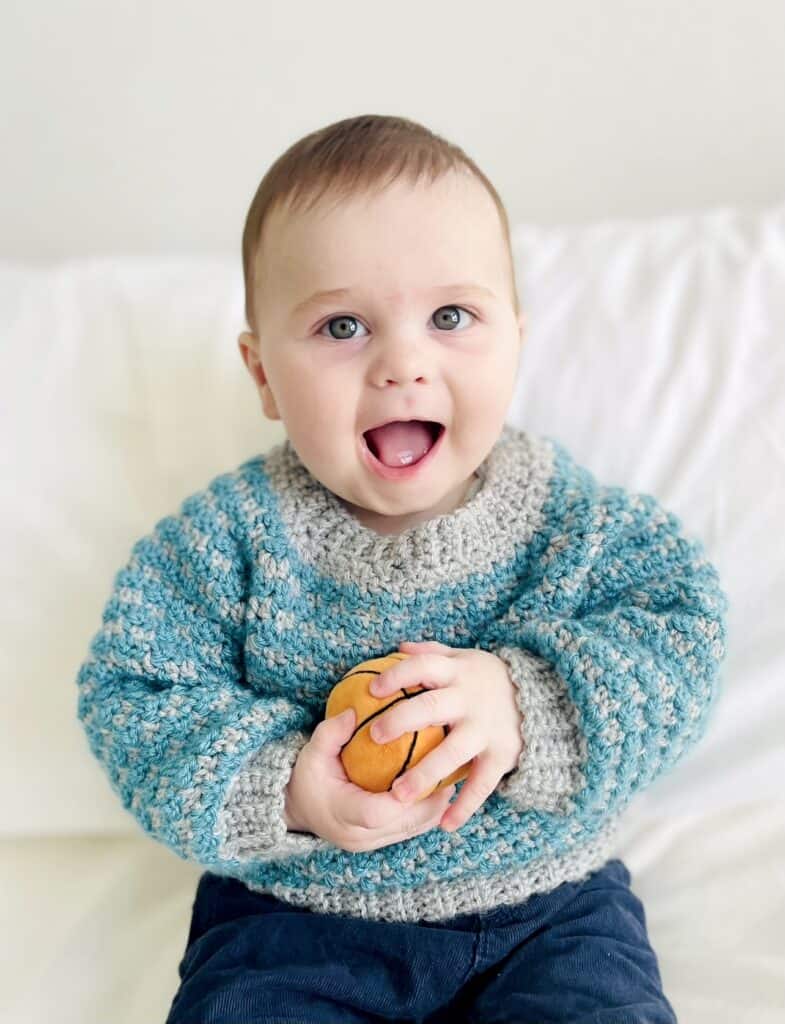
You can tell I love a good classic houndstooth pattern and sweater and I didn’t want baby Kate to be without her own version.
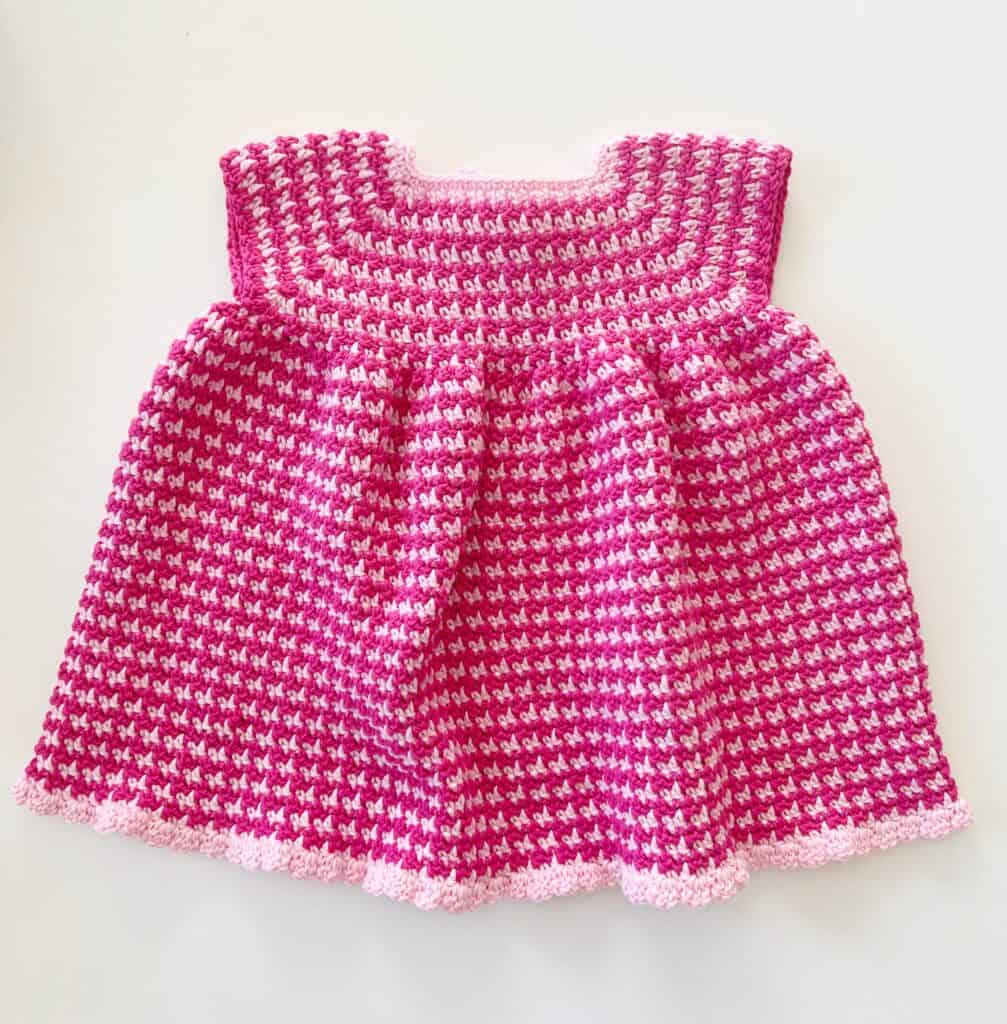
For sizes, I highly suggest that you have on hand a dress in the size you want to make so you can easily measure for length and width across the neck. Especially if you are using a different yarn than I am.
It is the easiest way to size up or down. You can most likely use the same starting chain for sizes 6 months to up to 24 months I’m estimating. The opening in the back will accommodate getting it over their heads.
This is the opening for the back:
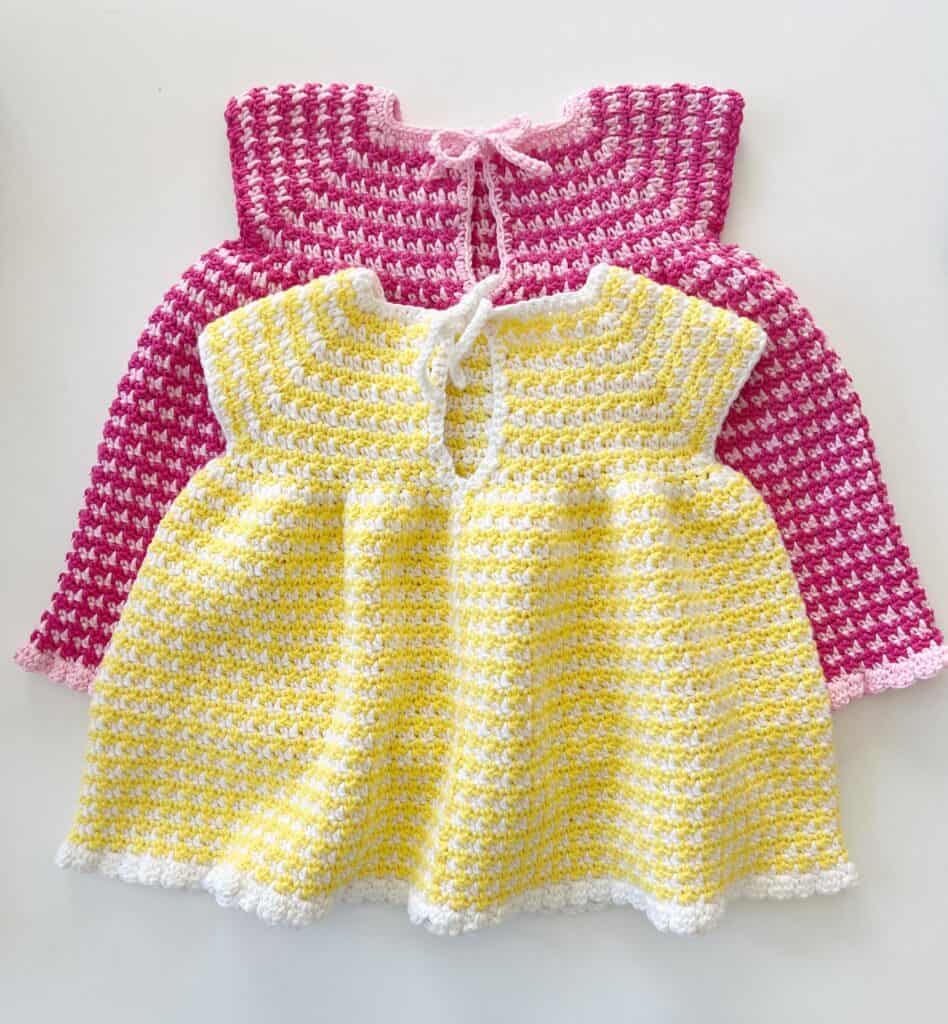
It’s just so much easier to run to the thrift or even pick up a dress on clearance from Walmart to measure against than trust size charts I’ve realized.
This dress is made from the neck down, and if you have a dress on hand, you can measure against that right from the start to make sure you have enough width.
I’m also suggesting that if you want a size even larger than 24 months, use a 4 weight yarn and a much larger hook.
The sizes given in the pattern are through 12 months since that is as large as I made it, I’m estimating that if you continue increasing the rounds before you join for the armholes, you can make it larger, and then of course just add more length.
Materials
Bernat Softee Baby Cotton (tap name of yarn for specifics and details on Yarnspriations.com)
3 skeins of a lighter color (Color A)
3 skeins of a darker color. (Color B)
Colors used for the pink dress are petal and fuchsia, yellow dress, duckling and white
For the 12-month size I used just a little more than 2 skeins of each color, so for smaller sizes, you will probably be fine with just 2 of each color.
Size G-4.0mm hook, tapestry needle, scissors, stitch markers
Gauge: 4 inches = 16 sts and 14 rows of pattern
Stitches
Single Crochet (SC): Insert your hook, YO and pull up a loop, YO and pull through two loops on hook
Double Crochet (DC): YO, insert your hook, YO and pull up a loop, YO and pull through two loops, YO and pull through remaining two loops
Pattern
Chain 57 with Color A.
Place a stitch marker on chain numbers 11, 19, 38, 47
This pattern uses the Griddle Stitch which is alternating SC and DC and in subsequent rows, SC are worked into DC of previous row and DC are worked into SC of previous row.
Row 1: Begin in the second chain from the hook with 1 SC. DC into the next chain. Continue the *Griddle Stitch to the first stitch marker. [DC, SC, DC] in marked stitch. Continue Griddle Stitch to the next marked stitch. [SC, DC, SC] in marked stitch. Repeat from * to the end of the row. On the last DC of the row, pull through with Color B. CH 1 and turn.
Row 2: Bringing Color A along the row and crocheting over it, begin Griddle Stitch with SC into the DC of the previous row, and DC into the SC. *Continue Griddle Stitch to the 2nd stitch of the 3 worked sts of the previous row (will be called corner st. going forward,) [SC, DC, SC] in the corner st. Griddle stitch to next corner, [DC, SC, DC]. Repeat from * to the end of the row. On the last DC of the row, pull through with Color A. CH 1 and turn.
Tip: You will always maintain the alternating Griddle Stitch pattern, even though you work 3 stitches into each corner.
Row 3: Bringing Color B along the row and crocheting over it, begin Griddle Stitch with SC into the DC of the previous row, and DC into the SC. Continue Griddle Stitch to next corner and make the appropriate 3 sts in each corner to maintain the Griddle Stitch pattern. Pull through with Color B and the end of the round, CH 1 and turn.
Repeat rows 2 and 3 until you have the size you need.
For 6 month- 8 rows, 9 month, 10 rows, 12 months, 12 rows.
Row to join for the armholes.
Work Griddle Stitch to the first corner, *work SC into the middle stitch (even if you were supposed to work DC, we are breaking the pattern just this row.) Skip over all the stitches to the next middle stitch of the next corner. Work SC into that stitch. Griddle Stitch to the next corner. Repeat from * to form second armhole. Griddle Stitch to the end of the row, join with a SL ST to the first SC of the row. Pull through with color A, CH 1 and turn.
(You have just joined for armholes and you joined the two sides together at the end of the round to begin the skirt. Also, you will no longer need to crochet over the opposite color being used. You will join each round with a SL ST and then pull through with the new color. CH 1 and turn.)
1st round of skirt: *In DC of the previous row, work SC and DC. In next SC of previous row, work SC and DC. Repeat from * to the end of the round, join with a SL ST to first SC of the round, pull through with the opposite color, CH 1 and turn.
2nd round of skirt: Griddle Stitch to the end of the round, join with a SL ST to the first SC of the round, pull through with the opposite color, CH 1 and turn.
Repeat 2nd round until you have the length you need for size.
6 months= 10 inches from neck to bottom of skirt, 9 months=12 inches from neck to bottom of skirt, 12 months= 14 inches from neck to bottom of skirt
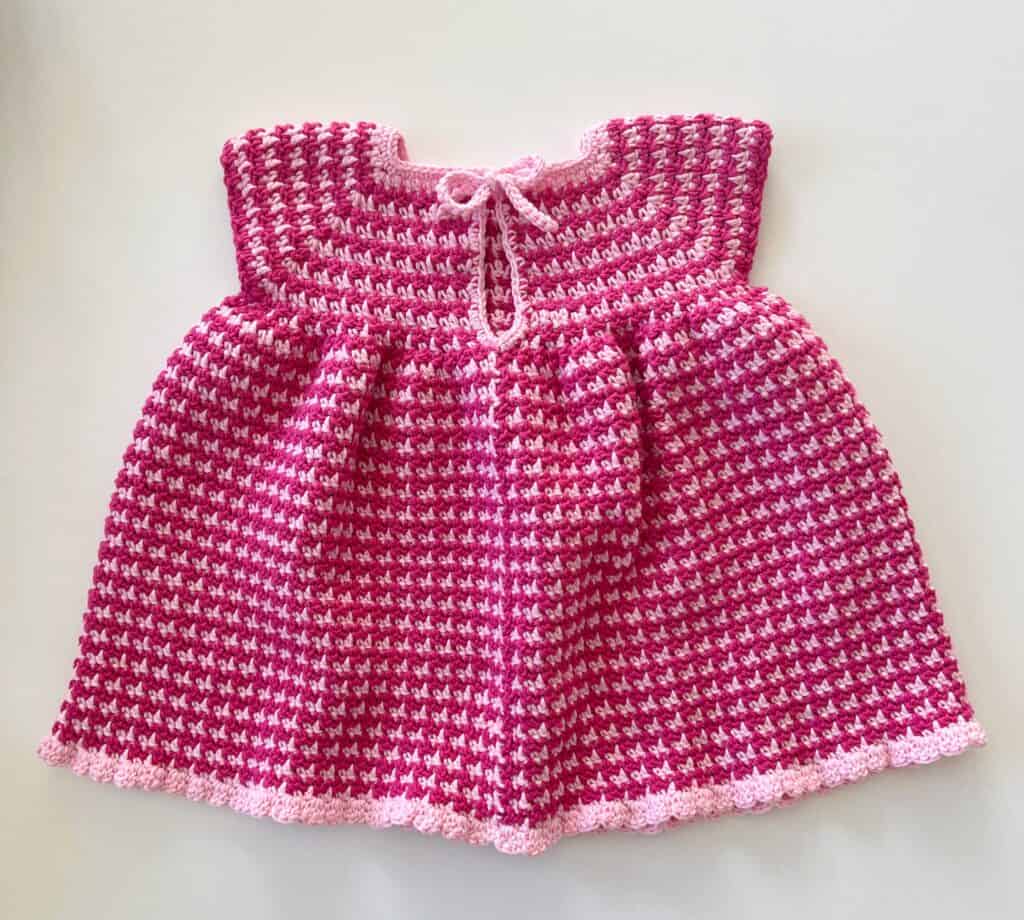
Trim around the bottom: using the color that you ended with on the last round, *work 1 SC into the DC of the previous round and 3 DC into the SC of the previous round. Repeat from * to the end, join with a SL ST and tie off.
Trim around the neck: Pull up a loop in the join on the back, CH 1 and SC into the same space. Work SC into the end of each row to the first corner. CH 6.5 inches (30 chains approx). Work SL ST into each ch. Continue working SC around the neck edge to the next corner. CH 6.5 inches. Work SL ST into each chain. SC down the remaining side and join with a SL ST to the first SC of the round. Tie off and weave in the ends.
Please see video tutorial below for help:
Good luck with your baby dress! I hope it turns out so cute.
XO, Tiffany

