Round 1: Begin in any corner by pulling up a loop and work 1 single crochet into that same space. Work 1 SC into each stitch or as evenly as possible around the blanket. Work 3 SC into each corner space. At the end of the round, slip stitch to the beginning SC.
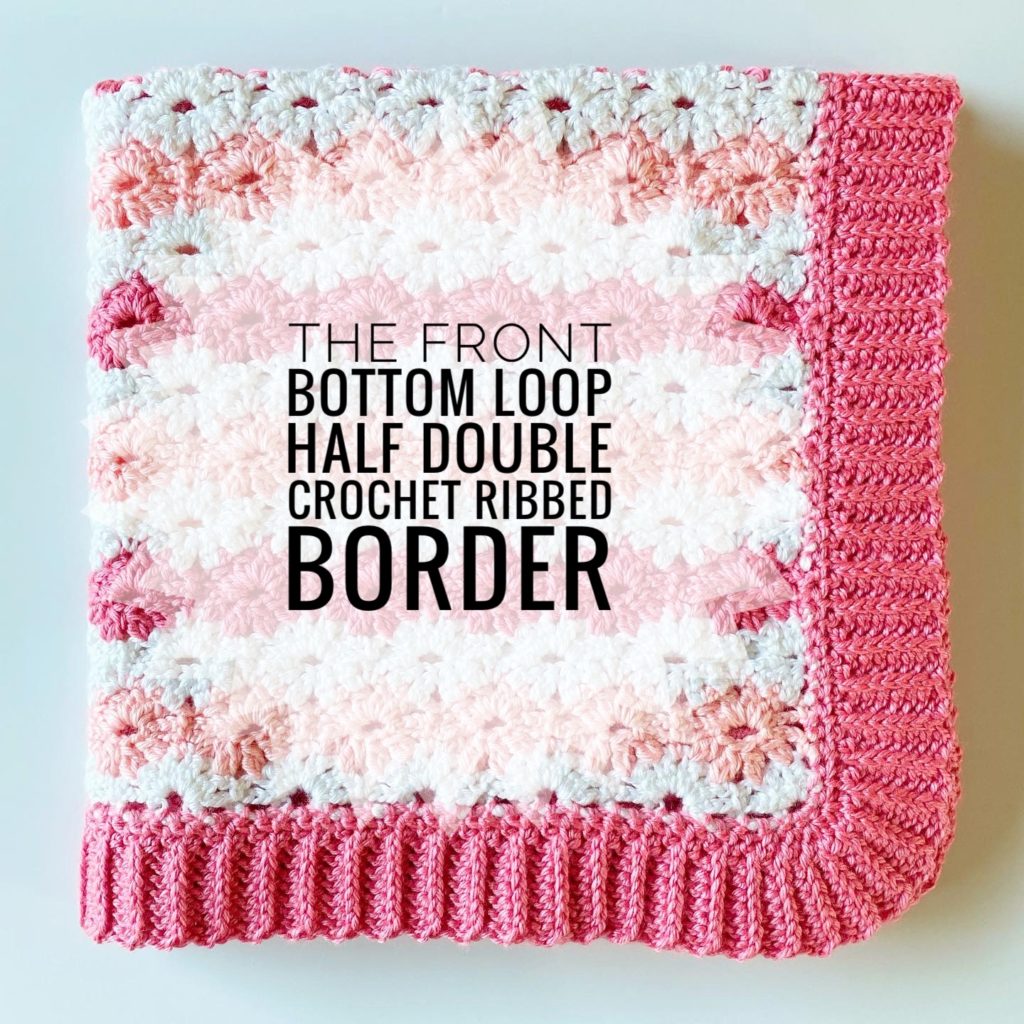
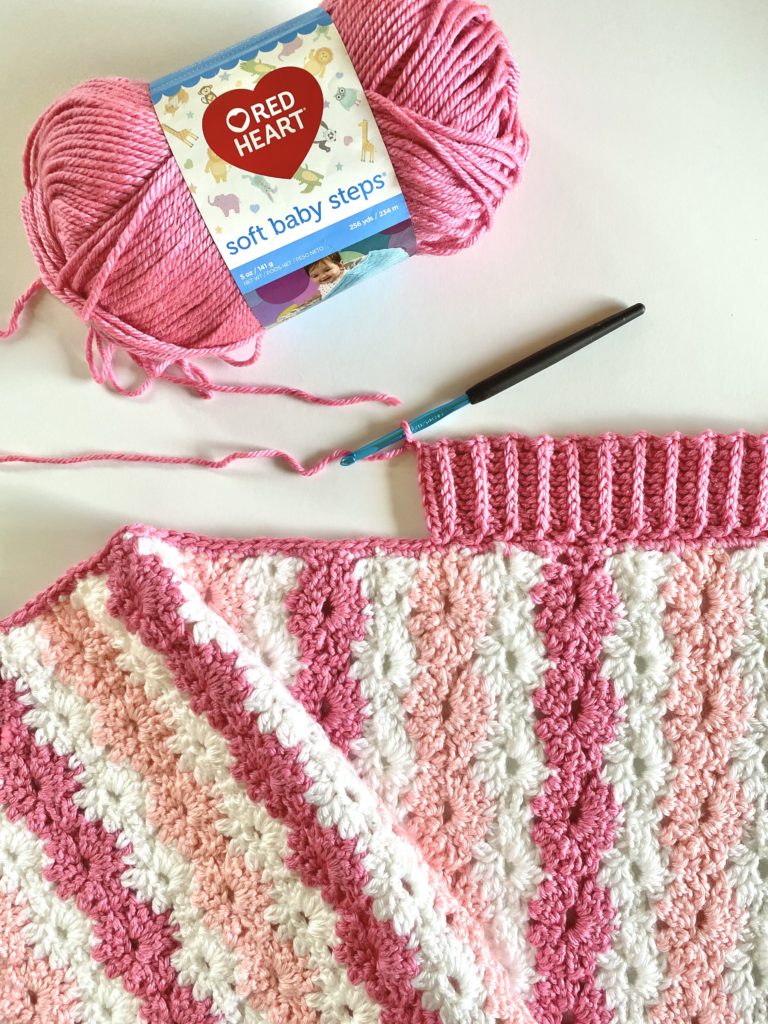
Sides: Chain 10. (or you can chain as many as you like to make the border as thin or as thick as you want.) In the third chain from the hook, work 1 half double crochet (HDC). Work 1 HDC into each chain for a total of 8 HDC. Slip stitch (SL ST) into the top of the next single crochet on the blanket, and into the next. *Turn the blanket toward you so the row of HDC is facing you. Work 1 front bottom loop HDC (fblHDC) into each of the next 7 stitches. In the last stitch, work under both front loops. CH 2 and turn.
Work 1 fblHDC into each of the next 8 stitches. (Tip: the 8th stitch tightens and is sometimes hard to find, be careful not to miss it.) SL ST to the next SC on the blanket and the next. Repeat from * down the first side.
Corners: When approaching the 3 single crochet stitches that make the corner, SL ST once into the first of those single crochets, then turn and work a row of fblHDC. Then turn and work fblHDC back toward the middle single crochet. SL ST once into the middle SC and then turn and work fblHDC. Upon returning to the middle SC, SL ST into the middle SC one more time. Upon returning to the third SC that makes the corner, SL ST once. Upon returning after working all the corner SC, return to SL ST two times between each row. 
Continue repeating the instructions for the sides and corners. Upon returning to the starting row, tie off and use a tapestry needle to sew the ends together and then weave in the end.
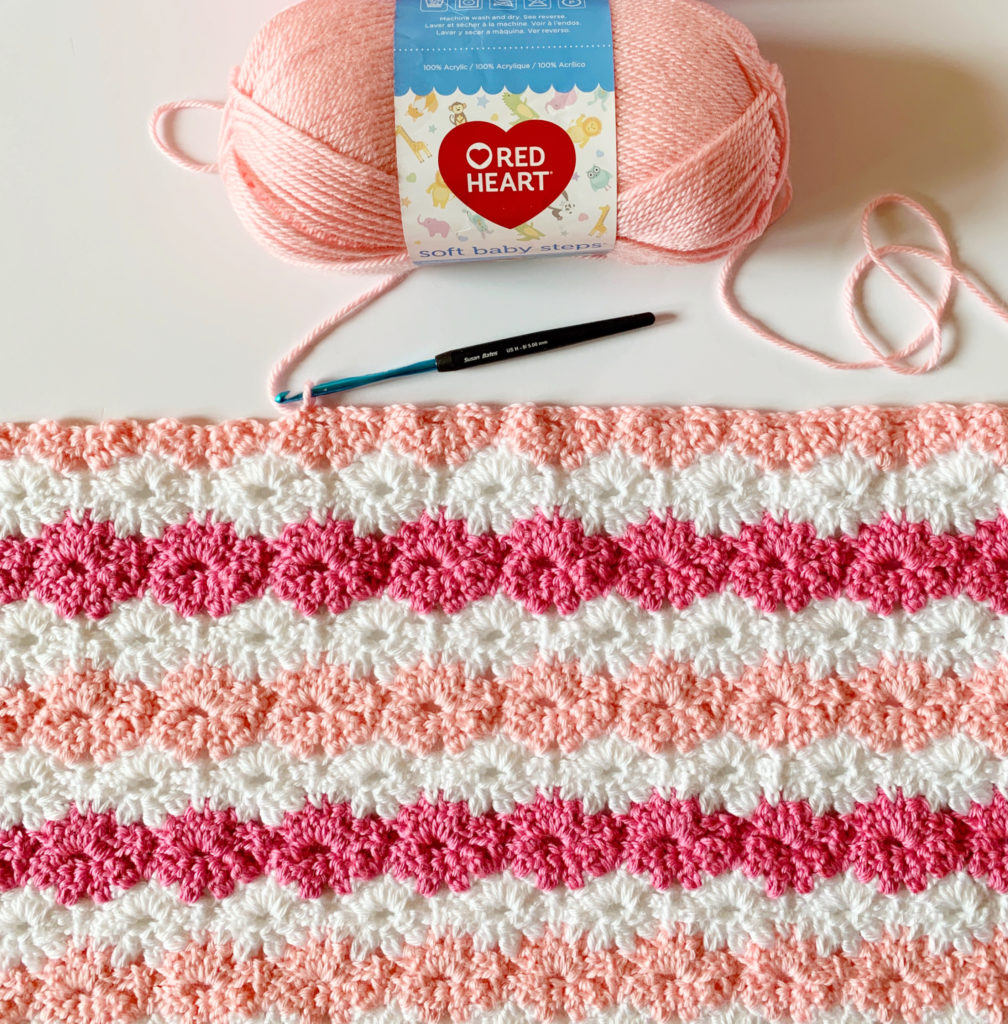
Pattern for the blanket that this border was worked on is called the Pink Petal Stitch Blanket.

For a video tutorial for the border see below:
For more border ideas, look under the menu heading “BORDERS.”
Thanks for coming by!
XO, Tiffany
