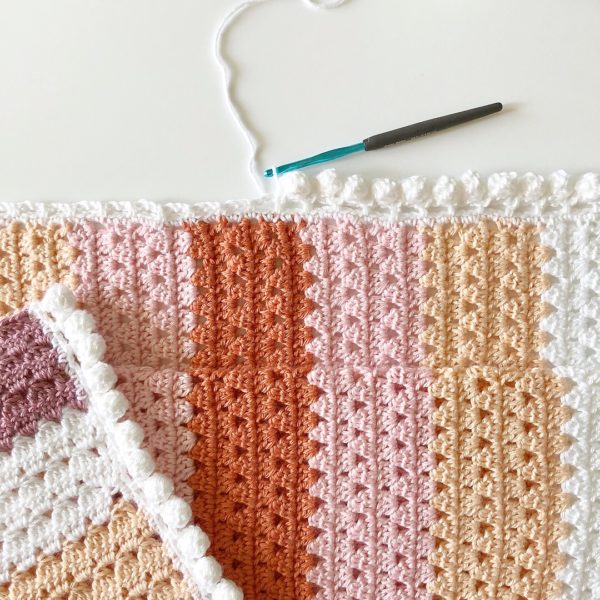
This is a fun border for all sorts of projects! Don’t be afraid to give it a try, the pom pom are 2 clusters slipped stitch together to for a little ball.
Here are the simple instructions:
Round 1: Work one round of SC into each stitch around the blanket, working 3 stitches into each corner. Join with a slip stitch, chain 1 and turn.
Round 2: SC in the first chain space, *CH 3, SK two spaces, SC in the next. Repeat from * around. Slip Stitch to the starting SC.
Round 3: CH 1 and turn. SL ST (slip stitch) into the CH 3 space. *CH 5, DC5tog in the 4th chain from the hook, DC5tog in the 5th chain from the hook. SL ST the posts together. SL ST into the same CH 3 space, SL ST into the next CH space. Repeat from * to the end of the row.
Tie off and weave in the ends.
Here is a video tutorial from the blanket this border is on. Keep in mind I am just working this border on each end and the instructions above are to work it around your entire blanket. However, the stitches are still the same and it will help you see how each pom pom is made.
Skip to about the 15 minute mark for the border.
Did you make this border on a project? Come join and show us in the Daisy Farm Crafter Group on Facebook!
Happy crocheting, XO Tiffany
