Oh borders! They can be the trickiest part of finishing your beautiful blanket. Luckily, in the Daisy Farm Crafters group, we have Betsy. She has a great explanation on how to use a math formula to figure out exactly how many stitches you need to get a nice even looking border around your blanket.
Many in the group will be familiar with Betsy and her ever so helpful tips and tricks. I noticed that she was answering the same question a lot about getting a nice border and asked her if she’d like to write a post and explain her math to make it easier on her.
So without further adieu…here is Betsy and her explanation on how to calculate and even crochet border. Thank you so much Betsy! XO, Tiffany
By Betsy Desmond
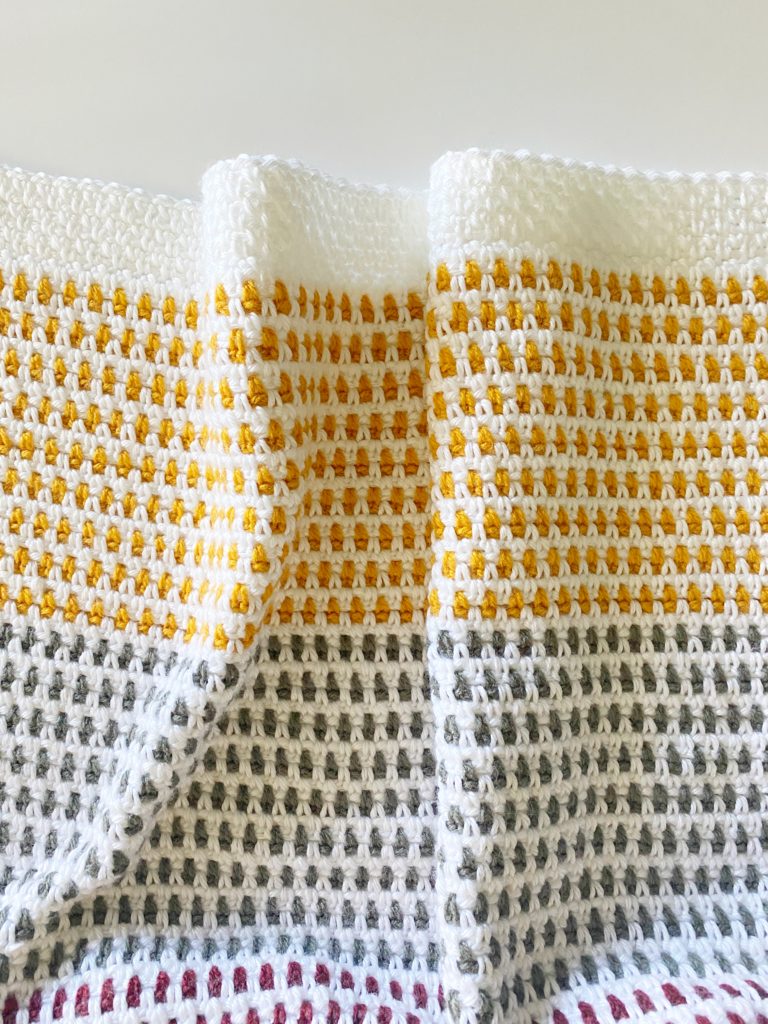
Borders add a beautiful finishing touch to crocheted blankets. Whether simple or elaborate, a border is a frame for your labor of love, it adds stability, and covers a multitude of inconsistencies including carried yarn and color change transitions.
Oftentimes though the first row of the border can be frustrating. Placement of the stitches, especially on the sides, is at times a mystery. With proper planning, the guesswork is eliminated and the frustration of too many stitches causing ruffling or too few stitches causing pulling can be avoided.
While there are rules-of-thumb for placing single crochet border stitches into the ends of rows of various types (single, half-double, double, etc.…), doing your own calculations based on your finished blanket will always produce the best results.
The following is my process for creating a happy border. I start by determining how many stitches lay flat on the top end of the blanket.
Because not all stitches are created equal in width, this may be simple, or it may require a bit of trial and error.
For instance, a single crochet (sc) blanket with a single crochet border will use the same number of border stitches on the end as the blanket stitch count, simple.
Conversely, a moss stitch blanket with a sc border will require some adjustments, as the width of a row of sc stitches is wider than a row of the same number of moss stitches.
Placing a sc in every sc stitch and chain space in the moss stitch will stretch out the width of the end, causing a ruffling effect. In the case of the moss stitch blanket, I would test out skipping every 4th or 5th stitch, until I determine that the border row of sc on the end is lying flat.
Once the end of the blanket is nice and flat, I proceed to calculating the number of stitches required on the sides.
With the blanket laid out flat, measure the width and length (I usually take this measurement in the middle of the blanket versus a side or end that may have stretched a bit out of shape; that inconsistency will be corrected with the border).
Next, I count the rows. These figures will be placed in the following worksheet.
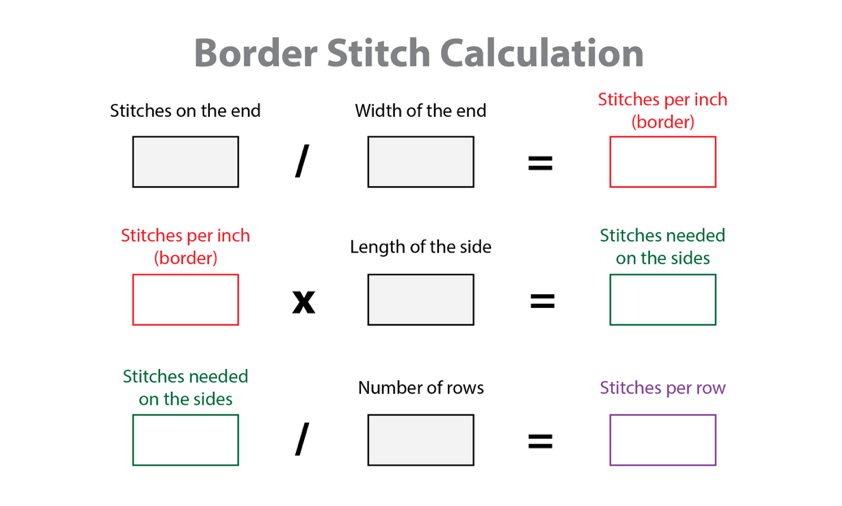
Place your measurements in the gray boxes. Once you calculate the stitches per inch for the end by dividing stitches by the width; carry the stitches per inch number to the second line and multiply by the length to calculate the number of stitches needed on the sides.
Carry the stitches needed on the sides number to the third line and you’ll find how many stitches per row are needed on the sides.
Sounds straightforward, right?
Decimals
Well, it isn’t always simple. The stitches per row calculation often isn’t a whole number.
When this is the case, the numbers to the right of the decimal are converted as follows. If the number of stitches per row is greater than 1 such as 1.33 stitches per row, that’s 1 border stitch per row plus 33/100 = approximately 1/3 therefore 1 additional stitch every 3 rows, or 4 stitches for every 3 rows.
If the calculation is less than 1 stitch in every row, say 0.8 (eight tenths), 8/10 simplifies to 4/5 so you’ll use 4 stitches every 5 rows; put another way skip every 5th row.
Sections
Sometimes the rows are uneven on the sides of a pattern, such as with a Harlequin pattern.
In that case instead of counting the rows, I will divide my blanket into sections for the calculation. In the case of the Harlequin, a section would be 4 rows (2 wide row ends and 2 narrow row ends).
I will then count the number of 4-row sections and place that number in the 3rd line of the calculator instead of rows.
If hypothetically I end up with 7 border stitches required per section, I’ll assess and test and perhaps decide I will put 3 stitches in each of the wide rows and 1 stitch in between the two narrow rows to equal my 7.
If the calculation is 7.5 stitches per section, then I alternate 7 in one section and 8 in the next. This is where assessing the sides for your preferred stitch placement comes into play.

Is there an easier way?
Yes, there is. It isn’t as precise so it may require some extra trial and error adding or subtracting stitches, but it will give you a close approximation to work with.
Once you have the right number of border stitches on the end, measure 6” across that end (or there abouts) and count the stitches.
Now measure the same 6” from the top down and count the rows. This will give you the approximate number of stitches per 6” section of rows.
Gingham is a good example of this. If your squares are the same size height and width, then the border will be the same number on the side of each square as it is on the ends. I personally still do the full calculation because my “squares” are not quite square at 8 rows high and 11 stitches wide, but if they were square, I would evenly place 11 border stitches evenly spaced in the 8 rows.
Which brings up another important point…
Isn’t it best to have the same number of border stitches in every row?
The short answer is no. The most important factor in stitching a border is having the right number of stitches for the border to lay flat, and the same number of stitches per inch on all four sides.
One way to disguise uneven stitch placement, is to use the blanket’s primary color, when possible, for the first border row. Even when the color is contrasting though, the recipient will never see that there is an extra stitch in the ends of every 5th row, for instance, whereas a border that pulls or puckers may distract from your artistry.
Final note, the three stitches that are placed in the corners on most borders are not factored into the counts.
While 3 is the standard for corners, adjust as needed to make it lay flat. A corner that is curling in will need an extra stitch, and one that is fanning out will need one less. Do what looks best for your particular situation.
Happy hooking!
Here is a chart you can use when making your blanket border! click here to print
![]()