Do you hate to count when you crochet? Yes? Me too! I like to count once and then get on with the work.
Do you hate to join, chain and turn? Yes? Me too! I like to just go around and around and make the stitch very uniform. I say no to seams!
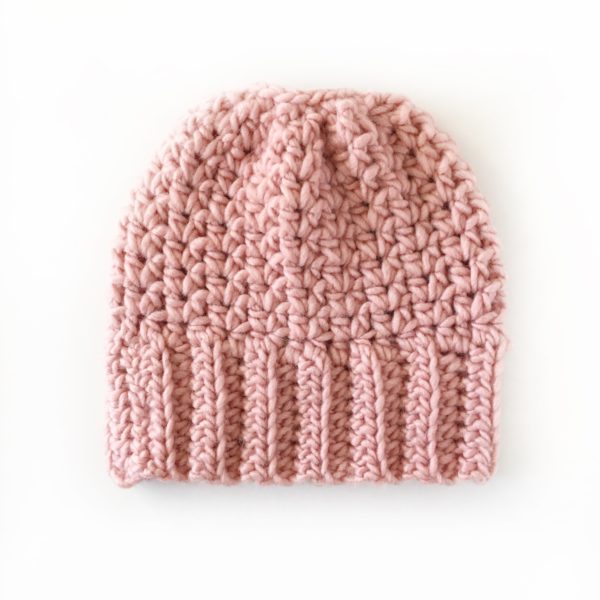
If you are like me, you will like this pattern for a crochet bun beanie. It’s simple and fast. Especially when you use Bernat Roving Wool. It’s a nice blend that gives great stitch definition. If you are an experienced crocheter, this hat should take around an hour to make. Beginners, give yourself a little more time.
However, I will rate this pattern beginner friendly.
Materials
Bernat Roving (80% acrylic, 20% wool, 100 g/3.5 oz, 109 m/120 yds)
1 skein any color
Size L/8.00mm hook, tapestry needle, scissors
Hair tie that matches the color of your yarn
Size
Average women’s size
Stitches
Half Double Crochet (HDC): Yarn over (YO), insert your hook, YO and pull up a loop, YO and pull through three loops on hook.
Half Double Crochet V Stitch: “HDC, CH 1, HDC” into the CHAIN 1 Space
Pattern
Chain 10. (Leave a long tail so you can use it to sew the band together.)
In the third chain from the hook, HDC (half double crochet-US terms) into the bump on the back of the chain. This will make for a nearly invisible seam when you join to make the brim. Work HDC into each bump. (8 HDC)
Chain 2 and turn. Work HDC into the back loop of each stitch. (8 HDC) The chain 2 does not count as a stitch. Repeat for 28 rows. (Or to as long or short as you need. Measure around your head. You want to have to stretch a little so don’t make it too big.)
Secure the loop, and put down your hook, you’ll come back to it as soon as you seam the band together. With your tapestry needle, thread the tail that you started with. You want to work your needle under the two starting chain loops and down through the back loop of the HDC. (if you can’t find the back loop, try turning the band inside out.) Leave the tail out when you are done with the seam, it becomes a handy marker.
Pick your hook back up and work 38 HDC around the edge of the band. This is roughly 1 HDC per each post plus 10. If you made a smaller band, still add about 10 HDC to whatever the number of rows you did. Spread the extra ten around the circle the best you can. When you get back to the starting HDC, do not join, instead you will work the very first ‘V’ stitch. Skip one chain in between each “V” stitch around this first row.
When you return to the first “V” stitch, do not join, continue working the “V” stitch into each CH 1 space. continue around for 10 to 12 rows, or to as tall as you’d like the hat. Finish the last round where the tail is acting as your marker.
Grab your hair tie. You will now work SC around the tie in each CH 1 space. It will gather the top of the hat together. SL ST the last stitch. Cut off and weave in all the ends.
In case you need a visual on how to do this, I have a Youtube clip I made for a different beanie but the technique is the same.
Done! I hope you love this quick and easy pattern for a crochet bun beanie. I’d love to know if you worked it with different yarn and how it turned out. Come find me on Instagram and let me know! I’m @daisyfarmcrafts. I’d love to be crochet friends.
xo, Tiffany
