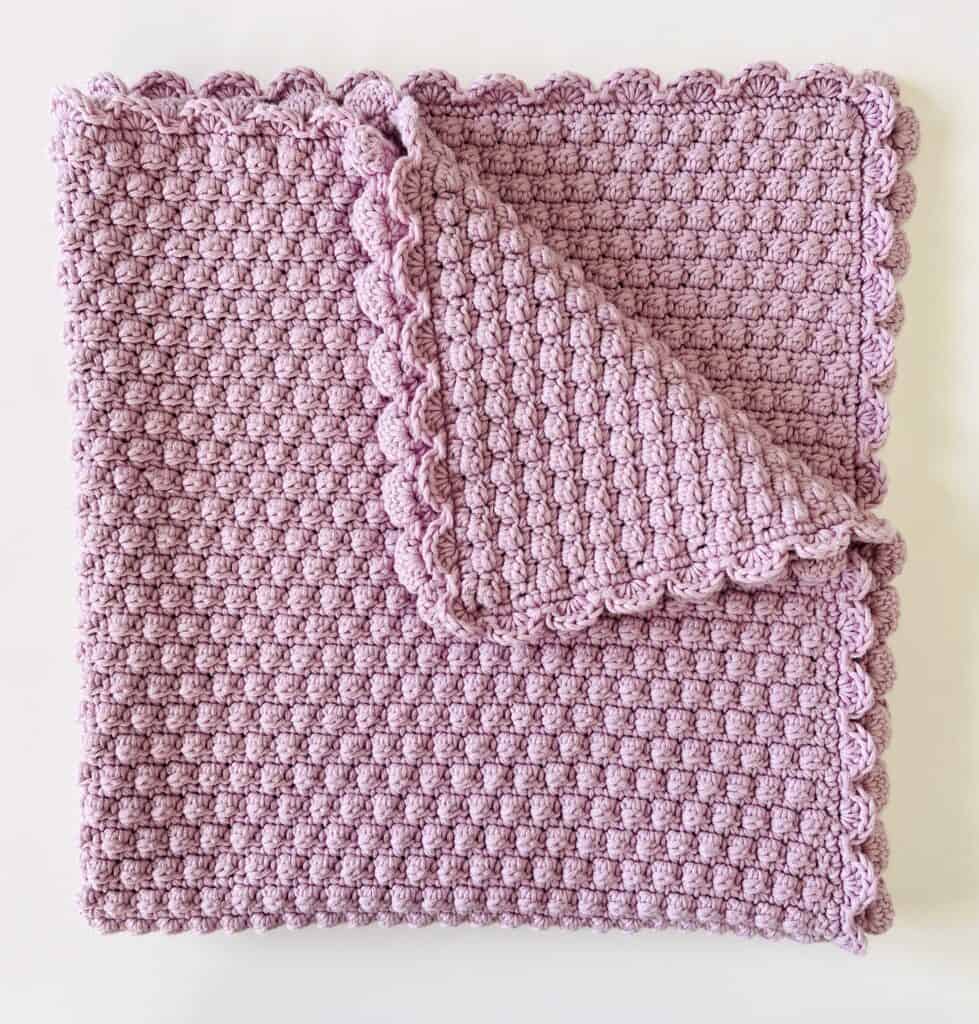
Hi there, Hannah here with a new quick and easy baby blanket pattern!
I have a friend who is expecting a little girl at the end of this month and she asked me just a few weeks ago if I could make her a baby blanket in a light purple/lavender color. I knew right away that this Soft Plum shade would be perfect!
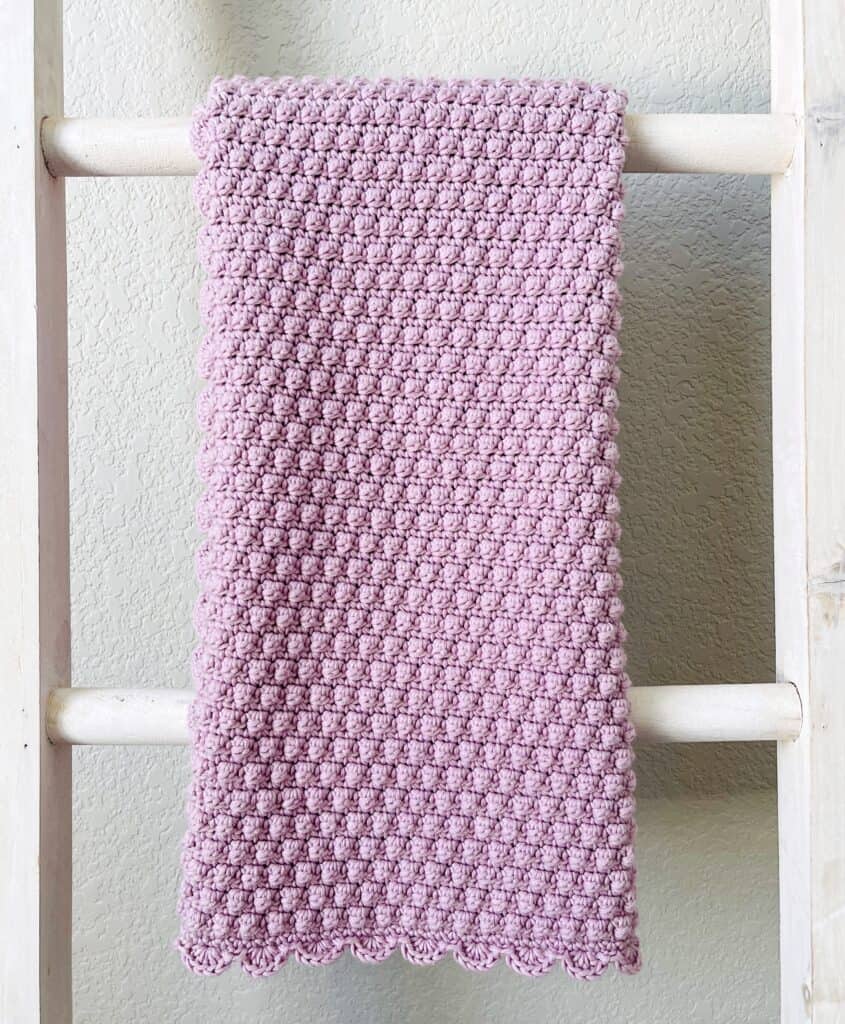
Since I didn’t have a lot of time, I wanted to do something simple that would work up fairly fast so I used our Grandma Cuddles Blanket pattern, but I used the Berry Stitch instead of Treble Crochet and I love how the texture turned out!

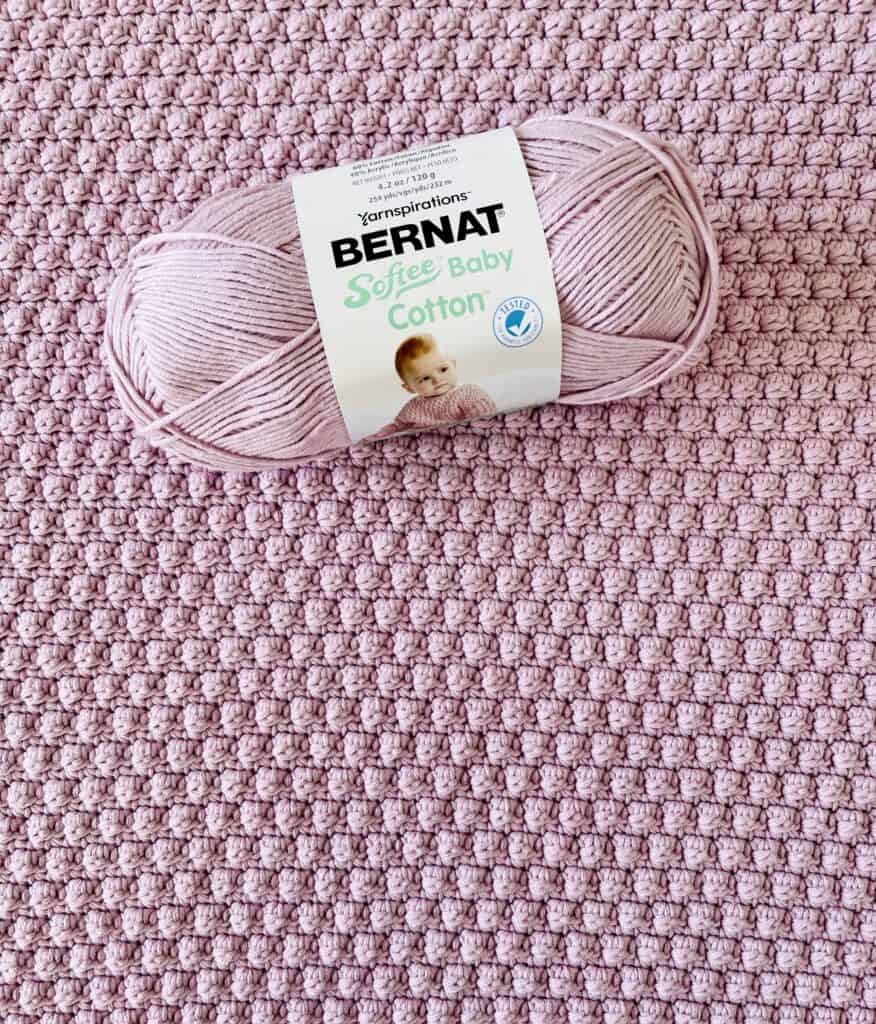
I made this blanket with Bernat Softee Baby Cotton, which is a wonderful cotton acrylic blend that is perfect for lighter weight stroller size blankets that babies can take with them on the go :). It’s the exact same yarn as regular Bernat Softee Cotton, so be sure to check out all the beautiful colors from that line of yarn as well!
Here is a video tutorial for this blanket if you’d like to watch before you get started! (Scroll to the end of the post for a printable PDF of the pattern)
Materials
Bernat Softee Baby Cotton (60% cotton, 40% acrylic, 120 g/4.2 oz, 232 m/254 yds) Tap name of yarn to shop on Yarnspirations.com
4 skeins Soft Plum
Size H/5.00mm hook, tapestry needle, scissors
Size
Finished size 26 in x 28 in
Gauge 4 in = 12 st and 16 rows of pattern
Stitches
Single Crochet (SC): Insert your hook, yarn over (YO) and pull up a loop, YO and pull through two loops on hook.
Berry Stitch: YO, insert your hook, YO and pull up a loop, YO and pull through first loop on hook. YO, insert your hook into same space, YO and pull up a loop, YO and pull through five loops on hook.
Double Crochet (DC): YO, insert your hook, YO and pull up a loop, YO and pull through two loops, YO and pull through remaining two loops.
Slip Stitch (SL ST): Insert your hook, YO, pull up a loop and pull directly through loop on hook.
Pattern
Chain 100 (or any even number).
Row 1: Starting in the 2nd chain from the hook, work 1 SC in each chain. CH 1 and turn.
Row 2: Work 1 SC in the first stitch. *Work 1 Berry Stitch in the next stitch, and 1 SC in the next stitch. Repeat from * across the row. CH 1 and turn.
Row 3: Work 1 SC in each stitch across the row. CH 1 and turn.
Row 4: Work 1 SC in each of the first 2 stitches. *Work 1 Berry Stitch in the next stitch, then 1 SC in the next stitch. Repeat from * across the row until there are 2 stitches left. End the row with 1 SC in each of the last 2 stitches. CH 1 and turn.
Row 5: Work 1 SC in each stitch across the row. CH 1 and turn.
Repeat rows 2 through 5 until your blanket measures 27 – 28 inches or your desired length. If you’d like the end of the blanket to match the beginning, then end with rows 2 and 3 instead of rows 3 and 4.
When you reach the end of the blanket, you can either tie off and weave in your ends before starting the border, or you can continue working the border without cutting your yarn, and simply CH 1 and start working the border down the side of the blanket, and weave in all your ends after the border is finished.
Notes
There is a front side and a back side for this blanket, so it helped me to remember that whenever I worked a berry stitch row, the berries would be facing away from me, and whenever I worked a SC row the textured berry side would be facing me. I also made sure to check my work before starting a berry stitch row to make sure that I was starting the row with the correct number of SCs so that my berries would always be offset.
Border
Round 1: With textured side facing you, work 1 round of SC around the blanket, working 1 SC per row on the sides and 1 SC per stitch on each end. Work 3 SCs in each corner.
Round 2: At starting corner, slip stitch into starting stitch and continue working in same direction. *Work 5 DCs in the next stitch, then 1 SL ST in the next stitch. Skip 1 stitch, then SL ST again in the next stitch. Repeat from * around the blanket.
(You don’t need to do anything special for the corners, just continue the pattern 5 DCs, SL ST, skip, SL ST all the way around.)
When you return to the starting corner, slip stitch into corner and tie off.
If you’d like to add finishing touches to your blanket, lay it out flat on a towel or foam blocking boards if you have them. Use a spray bottle with water to dampen the blanket. Press the blanket into straight lines, massaging the stitches and adjusting your tension. Pin with straight pins and let it dry.
Thanks so much for visiting Daisy Farm Crafts! If you make any of our patterns please come share a picture with us on Facebook or Instagram using #daisyfarmcrafts – we’d love to see! xo, Hannah
Click here or on image below for printable pattern
![]()
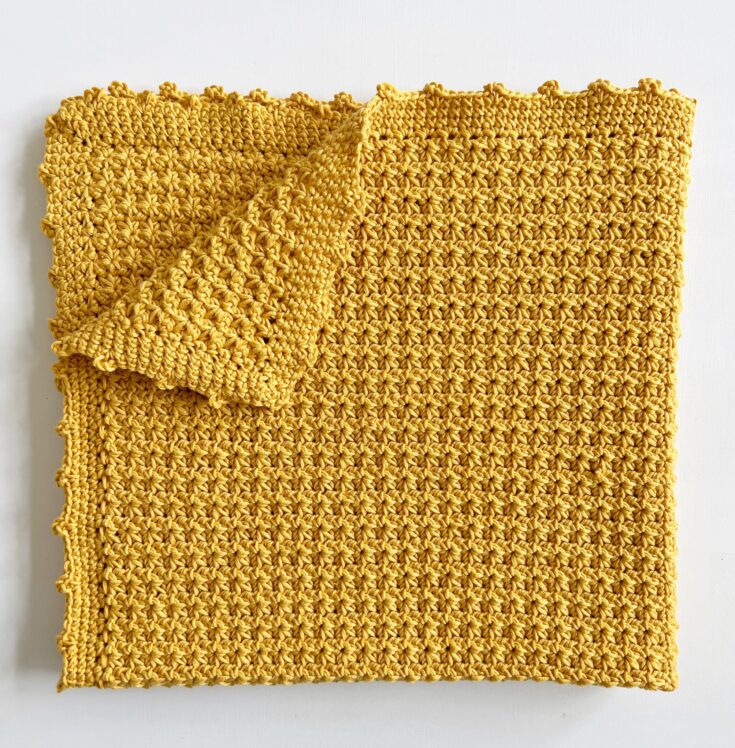
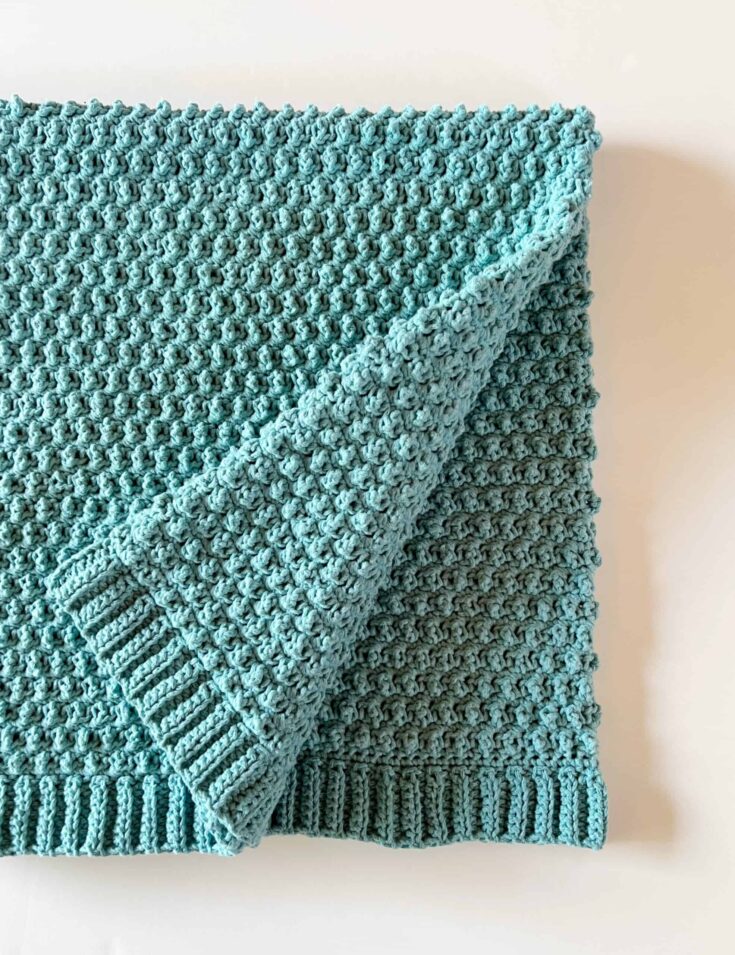
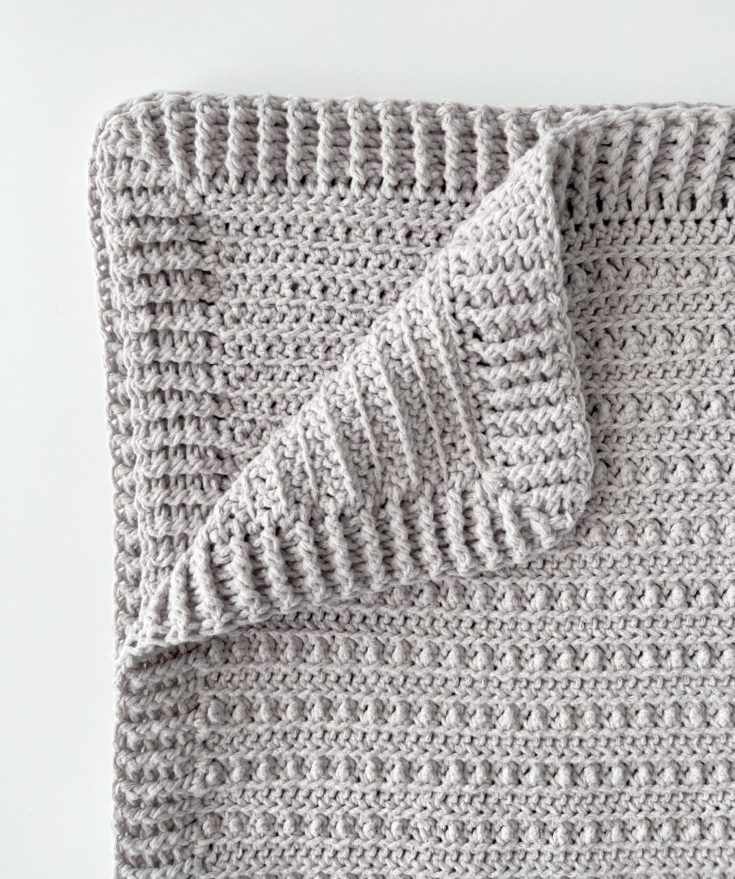
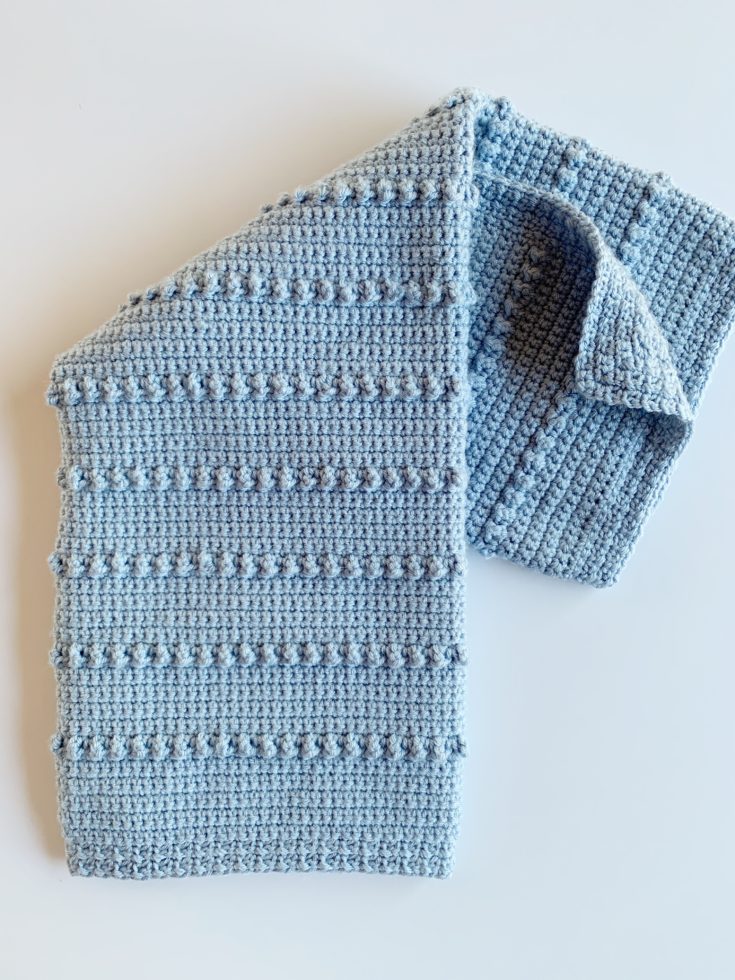
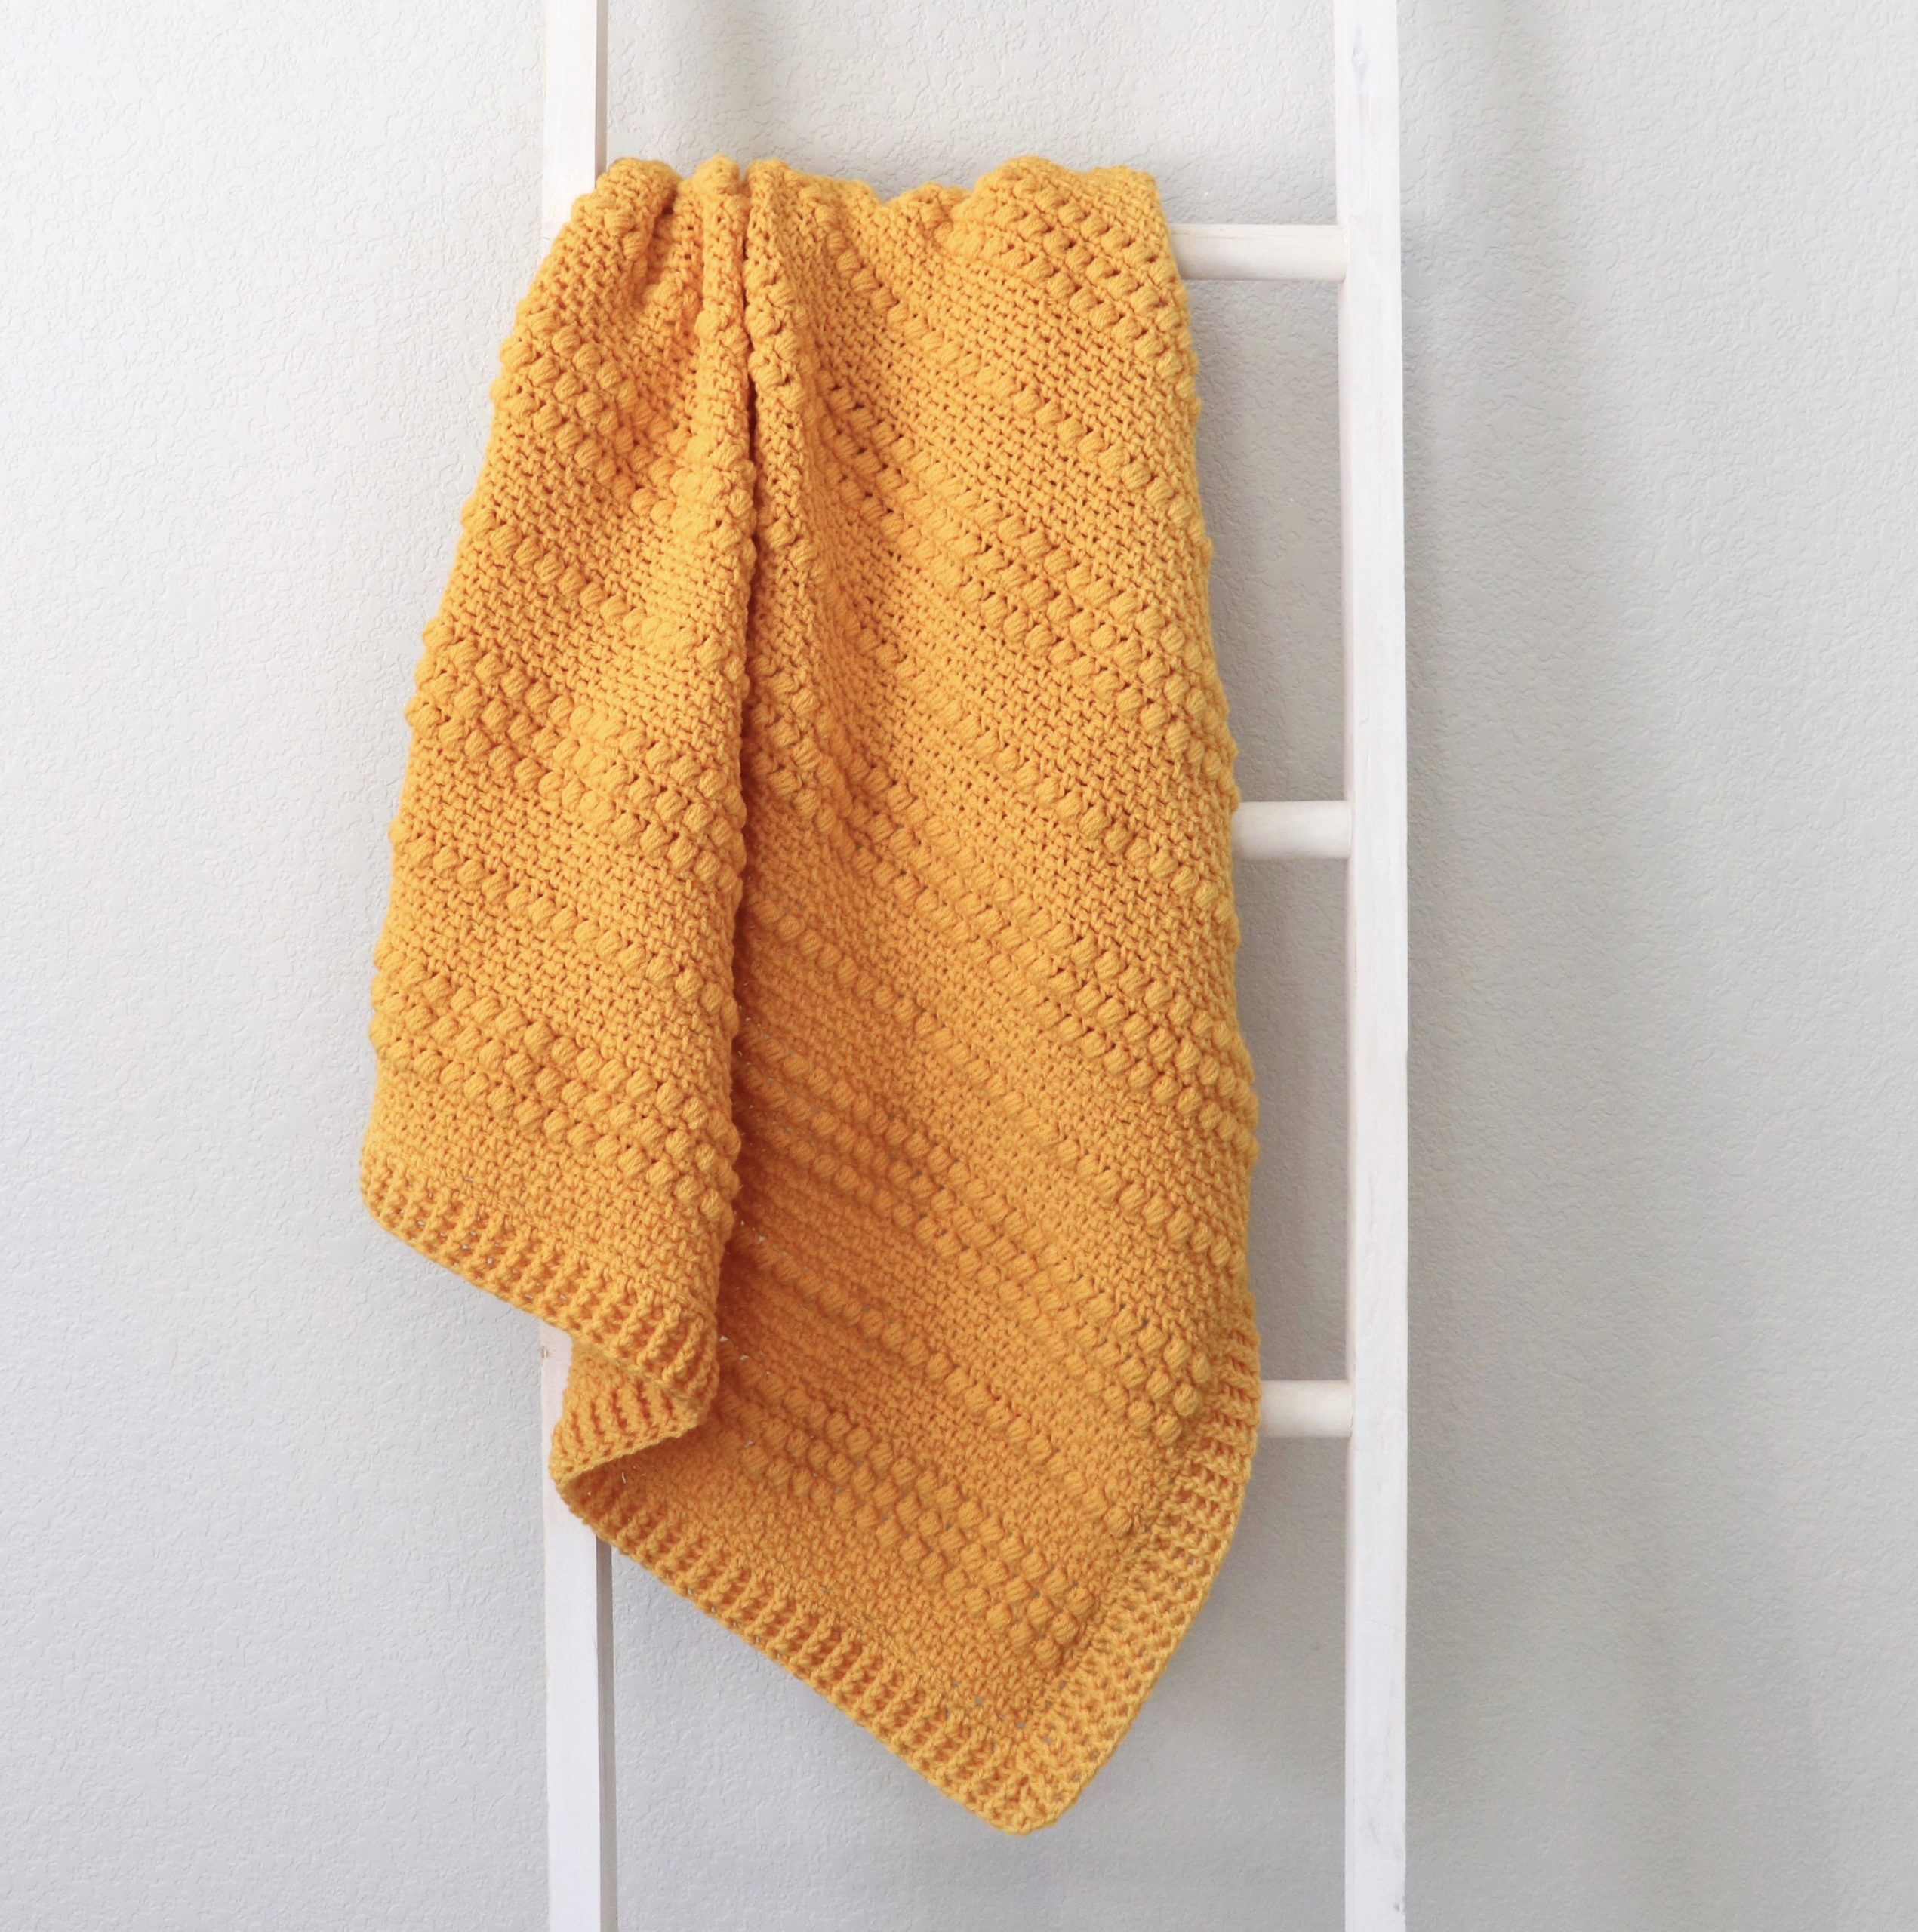
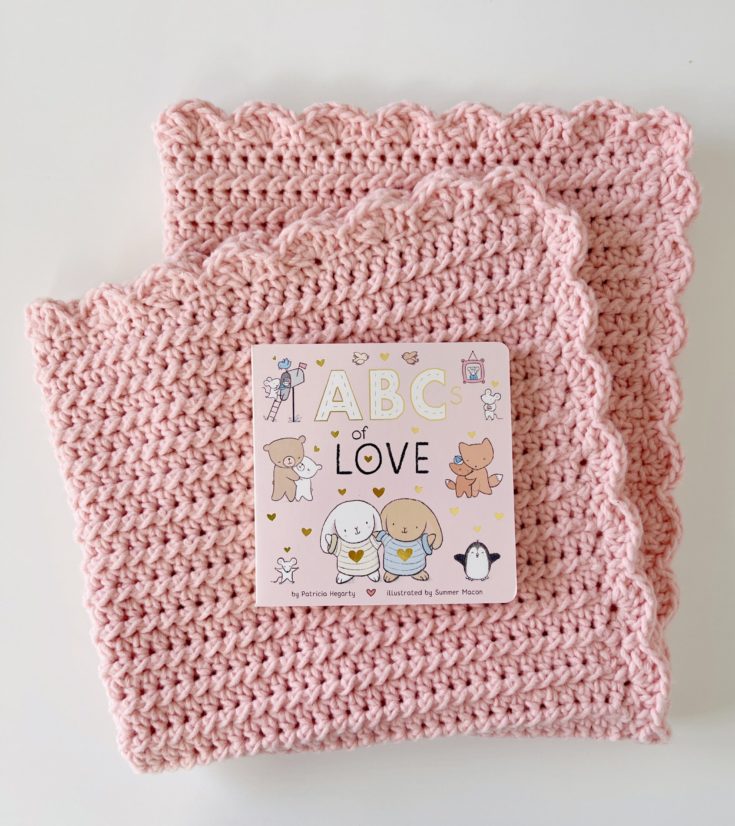
Here are a few more one-color textured baby blanket patterns if you are looking for some more ideas! Happy Crocheting!