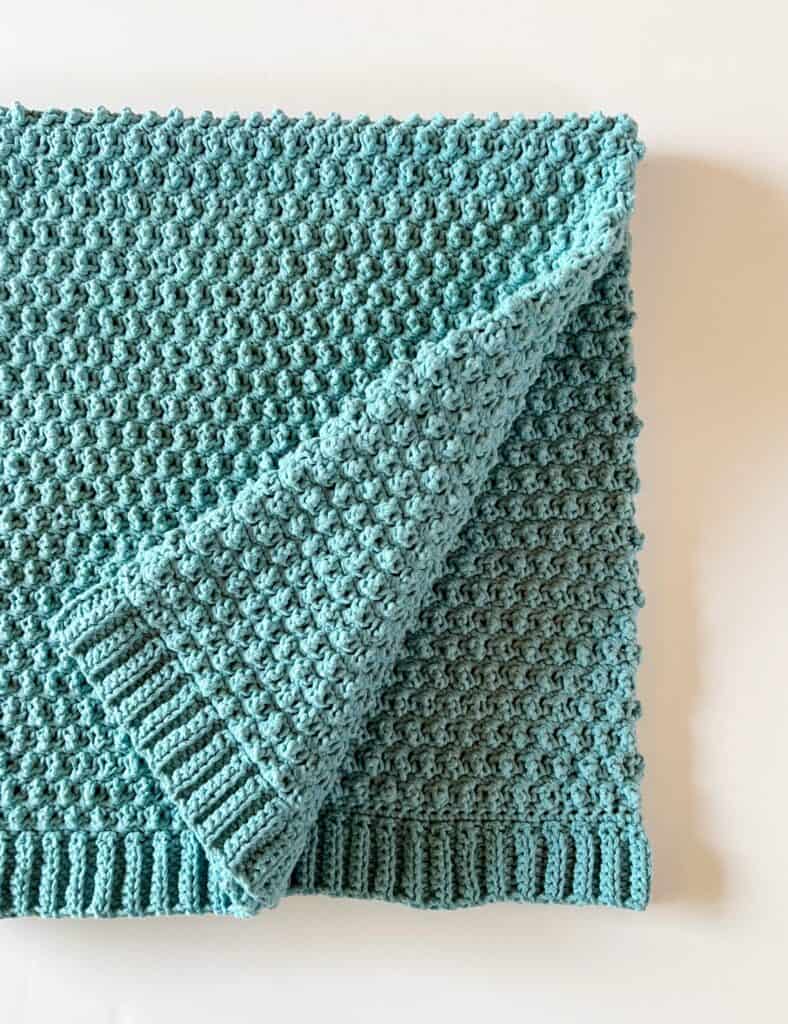
This Crochet Grandma Cuddles Baby Blanket is absolutely so fun to make and easy to crochet! You will love the fun texture on one side of the blanket and the flat texture on the other.
Finish off the border with a nice-looking HDC ribbed technique and you have a modern, giftable, cuddly blanket.
We have included a helpful video tutorial for this blanket as well which is linked at the end of this post, as well as a free printable pdf.
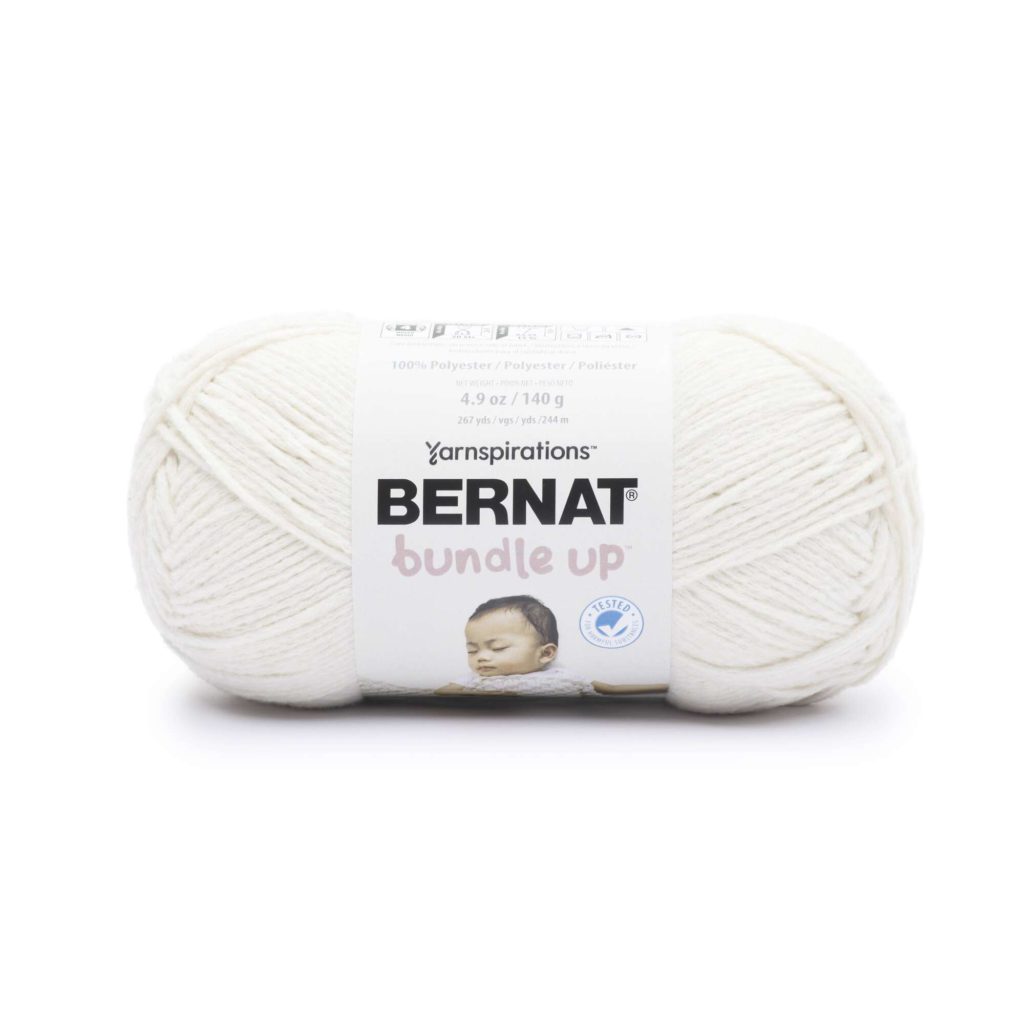
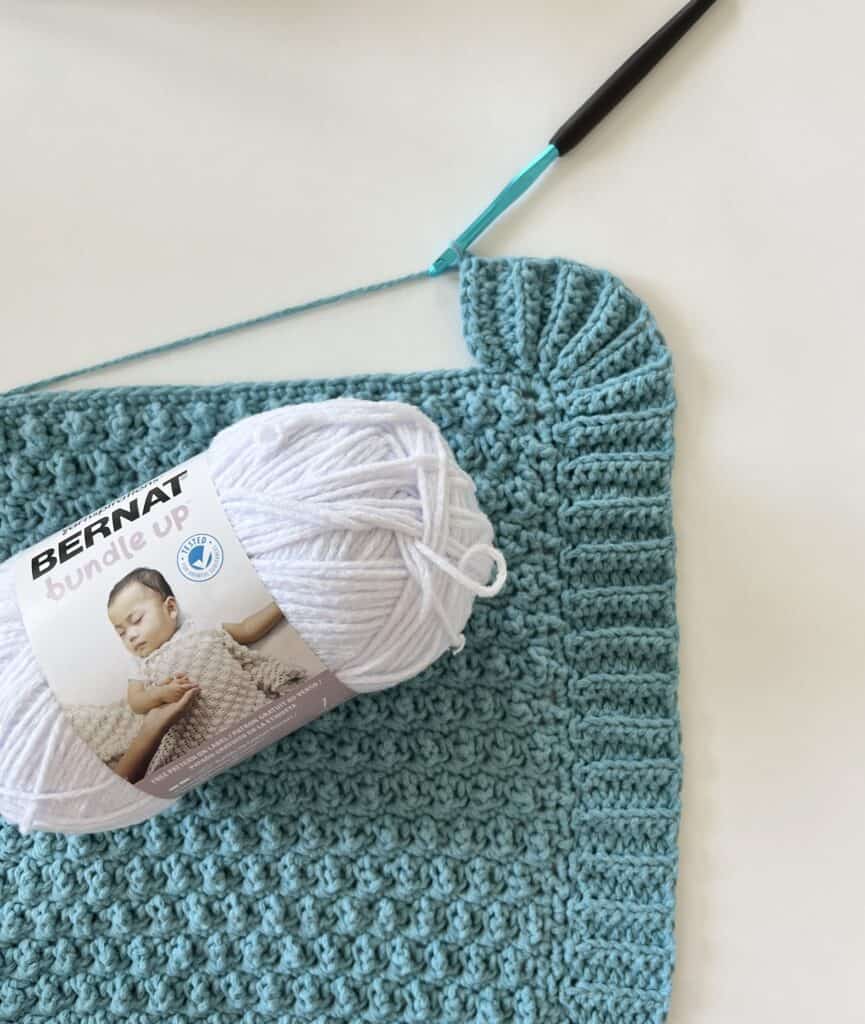
We highly recommend Bernat Bundle Up yarn for this project. It is so incredibly soft and easy to work with. It is a nice chenille-type polyester that is baby safe.
However, any 4-weight yarn can be substituted and you’ll get similar size results. 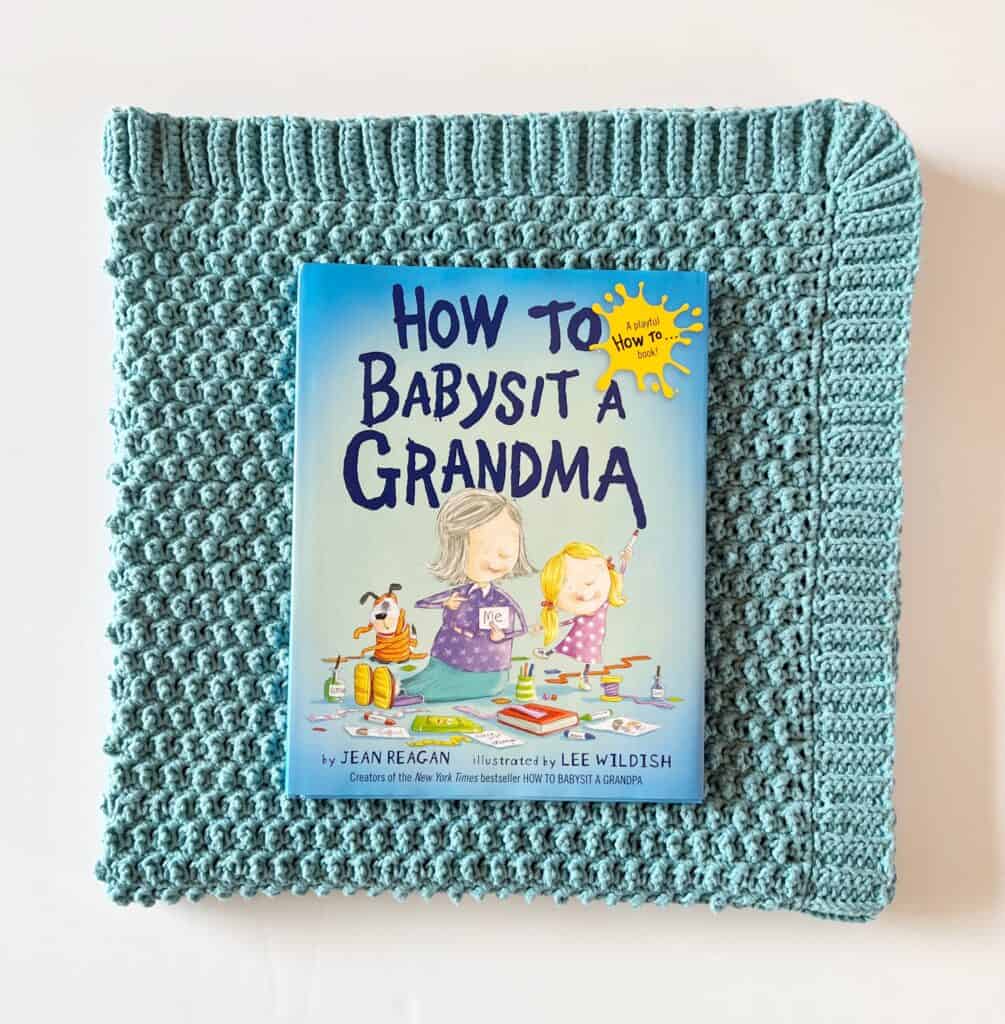
We also are gifting the blanket to a first-time grandma and love giving picture books with our blankets. HOW TO BABYSIT A GRANDMA is one of our very favorite books! We think this makes a perfect gift combo.
Enjoy!
Materials
For a 34 x 34 inch blanket
gauge: 4 inches = 10 sts and 10 rows taken from the blanket
6 skeins Bernat Bundle Up (any color, we used Brook.)
5 mm hook
scissors, tapestry needle, stitch marker
Stitches
Single Crochet (SC): Insert your hook, YO and pull up a loop, YO and pull through two loops on hook
Half Double Crochet (HDC): YO, insert your hook into back loop, YO and pull up a loop, YO and pull through all three loops on hook
Treble Crochet (TC): YO twice, insert your hook, YO and pull up a loop, YO and pull through two loops, YO and pull through two loops again, YO and pull through remaining two loops
Pattern
Chain 112. (or any even number if you want to make this larger or smaller)
Row 1: Begin in the second chain from the hook with 1 SC. *TC into the next chain. SC into the next chain. Repeat from * across the row. (Your last stitch should be SC.). CH 1 and turn. (111 stitches (sts).)
Row 2: SC into each st across the row. CH 1 and turn. (111 sts.)
Row 3: SC into each of the first 2 sts, *TC into the next st. SC into the next st. Repeat from * across the row until 2 sts remain. 1 SC into each of the last 2 sts. CH 1 and turn.
(Tip: Mark the first TC of row 3 with a stitch marker. As the blanket grows, move the stitch marker up to the next TC on the row where you start with 2 SC. This will help to remind you which row begins with 2 SC.)
Row 4: Repeat row 2.
Row 5: SC into the first st of the row, *TC into the next st. SC into the next st. Repeat from * across the row. CH 1 and turn.
Row 6: Repeat row 2.
Continue repeating rows 3 through 6 until the blanket measures square. End on a row 2 instruction (one row of SC.)
Border:
After finishing the last row of SC, do not turn. Work 2 more SC into the last st. Work 1 SC per the end of one row down the first side of the blanket. Work 3 SC into the corner. Work 1 SC into each st on the bottom of the blanket, 3 SC into the corner. Work 1 SC per the end of each row on the final side. Finish round with 2 SC into the corner, SL ST to the first st.
Do not turn.
CH 8. Work 1 HDC into each of the next 7 chains. *SL ST into the next 2 sts on the edge of the blanket. Turn blanket edge away from you, work 1 back loop HDC into each of the 7 HDC. Ch 1 and turn. Work 1 HDC into each back loop of next 7 HDC. Repeat from * until you get to the corner.
To round the corner, first SL ST into the next st only once. Then, work the ribbing. Then, SL ST once into the middle st., work the ribbing. SL ST into the same middle st again. Work the ribbing and SL ST a final time into the middle st. Work the ribbing and then SL ST 1 time into the next st, work the ribbing, then resume SL ST into each of the next 2 stitches.
Continue the ribbing around the entire edge. When you return to the starting corner, finish working around the corner, then tie off and sew the bottom edge of the starting chain to the last row of ribbing.
Tie off and weave in all the ends.
Here’s the video tutorial if you need more help:
Thank you so much for stopping by and I hope you enjoy the pattern!
Click here or image below for free pdf download of pattern.
![]()
XOXO, Tiffany