Well, we’ve decided baby Nora cannot have too many baby blankets made with Bernat Softee Cotton. Hannah loves using them for her and we love making them for her!
This pattern is our Simple Ripple pattern we published years ago. It was one of the first baby blankets I made when I really got back into crocheting. My youngest sister Natalee was having her sixth baby, (and last) and I chose to make her a ripple.
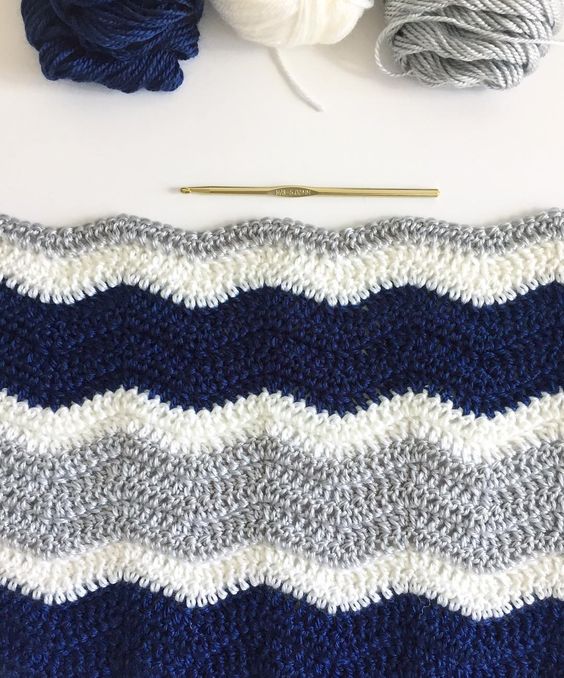
A ripple blanket differs from a chevron in that its peaks and valleys are less pronounced. Also, ripples are generally made with double crochet. That smooths out the peaks to make them not so pointy. A ripple is a soothing pattern to make, although still pay attention to make sure you’re counting correctly. It’s easy to get distracted and miss a double crochet.
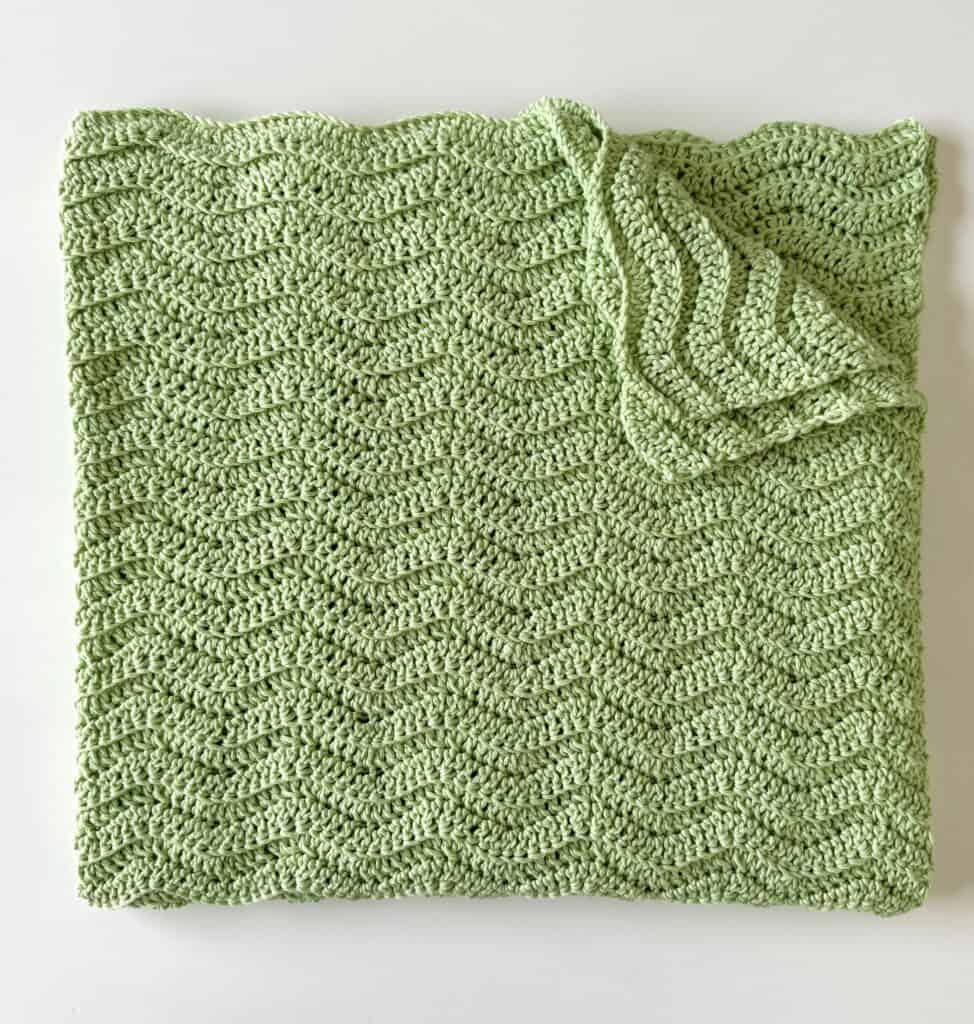
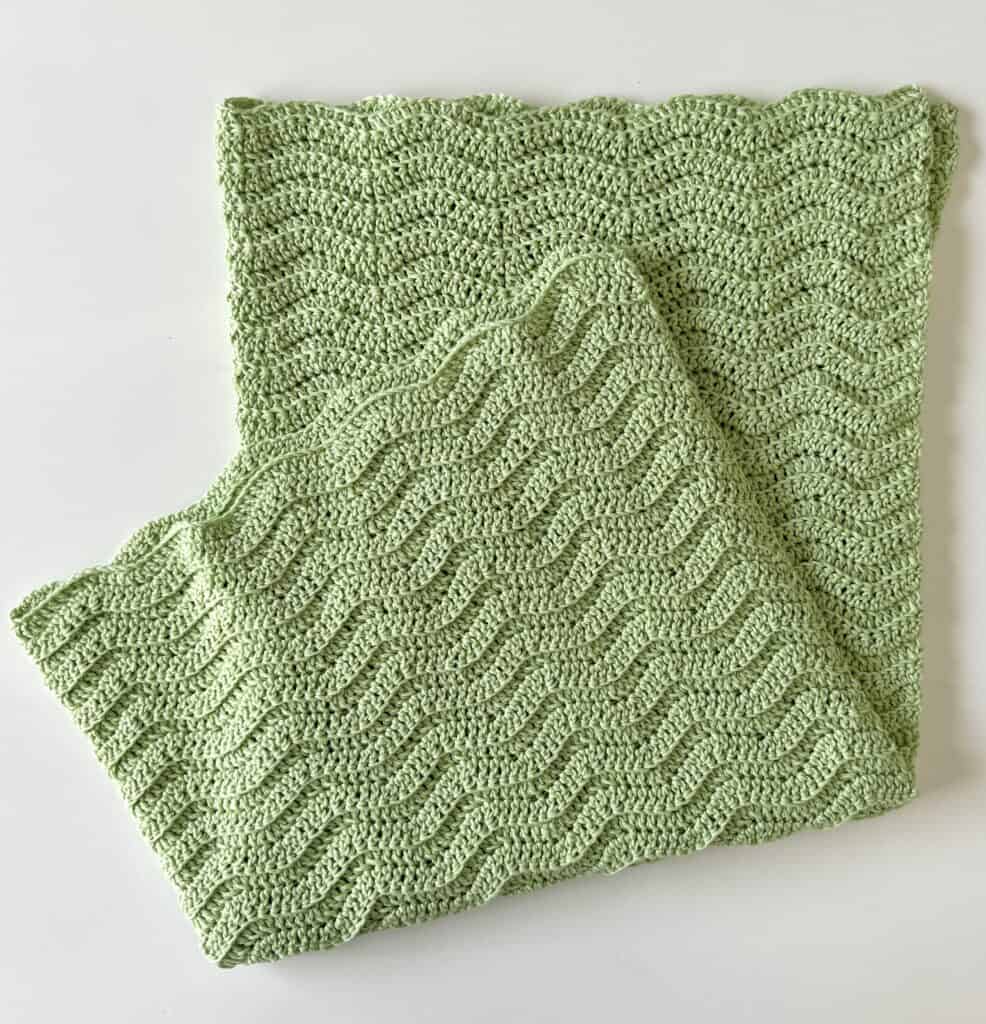
For this blanket for Nora, I’ve always loved seeing a ripple worked into the back loops only, to achieve a little bit extra definition in the stitch. And, ever since discovering how nice a baby blanket works up in Softee Cotton, I definitely wanted to see the ripple in that yarn.
We could have done multiple colors, which would be so nice too, but I love the solid look for greater stitch definition.
Another great thing about this stitch pattern is that it is completely fine to leave the border off. That really comes in handy when you are a beginner and want to be done with the blanket on the last stitch.
With Bernat Softee Cotton, you can also spritz it with some water, and then lay it out straight to dry. You will get beautiful results with this cotton blend yarn.
Let’s get to the pattern! Be sure and scroll to the very end of the post for the free printable pdf.
Materials
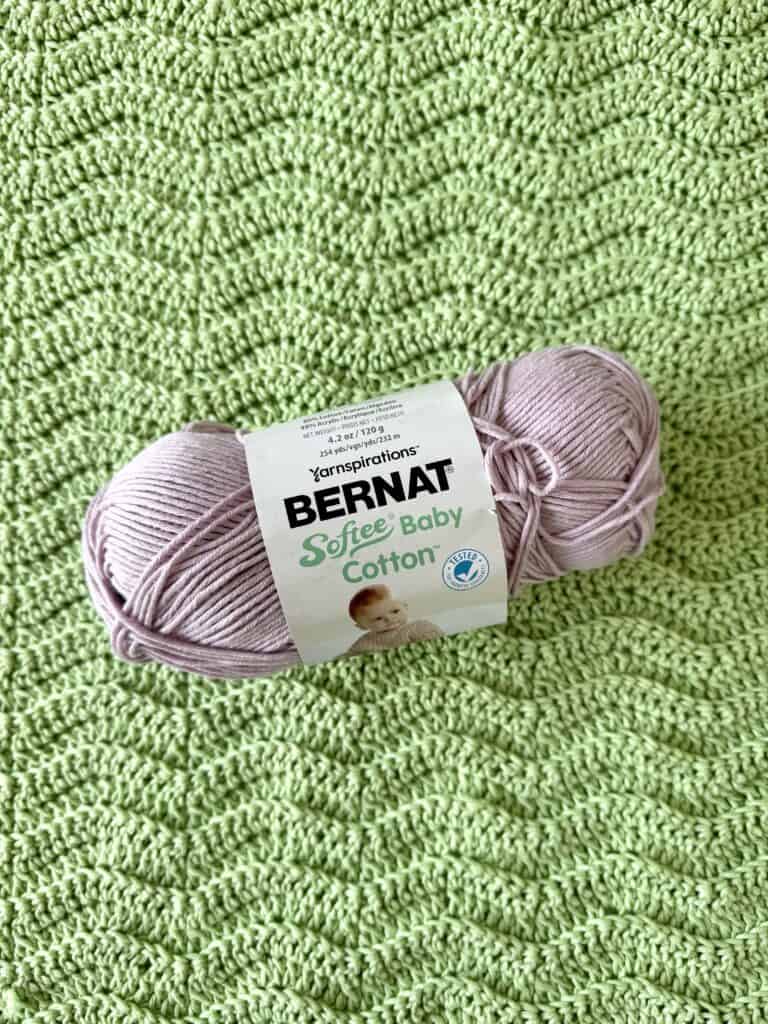
Bernat Softee Cotton (60% Cotton, 40% Acrylic, Ball Size: 120 g/ 4.2 oz, 232 m/ 254 yds)
Tap name of yarn to shop on Yarnspirations.com.
4 skeins any color, we used Jade Frost
Size H-5.0mm hook, tapestry needle, scissors
Size: 30 x 32 inches
Gauge: 4 inches = 21 sts and 8 rows
Stitches
SINGLE CROCHET (SC): Insert your hook, YO and pull up a loop, YO and pull through two loops on hook
DOUBLE CROCHET (DC): YO, insert your hook, YO and pull up a loop, YO and pull through two loops, YO and pull through remaining two loops
DOUBLE CROCHET 2 STITCHES TOGETHER (DC2TOG): YO, insert your hook, YO and pull up a loop, YO and pull through two loops. YO, insert your hook into the next DC, YO and pull up a loop, YO and pull through two loops. YO and pull through all loops on hook.
Pattern
Chain 147. (To make larger or smaller, chain a multiple of 24 + 3.)
Row 1: DC in 4th chain from hook, first three chains count as a DC. 1 DC in each of the next 3 CH, *DC2TOG twice, 1 DC in each of the next 3 CH, 2 DC in each of the next 2 chains, 1 DC in each of the next 3 CH, DC2TOG twice, 1 DC in each of the next 3 CH from * across to the last CH, 2 DC into last CH.
Now and throughout the rest of the pattern, work DC into the back loops.
Row 2: CH 3, DC in first stitch, 1 DC into each of the next 3 stitches, *DC2TOG twice, 1 DC in each of the next 3 stitches, 2 DC in each of the next 2 sts, 1 DC in each of the next 3 sts, repeat from * across to the last chain, 2 DC into the top of the CH 3 turning chain from the previous row.
Row 3 until you have the height desired: Repeat Row 2.
Tip: You may choose to work the last DC under all the turning chains instead of working the last DC into the top of the CH 3. Try a practice swatch to see which you like and looks better to you. Since this blanket does not require a border, you want the sides of the blanket to look nice and neat.
If you need a video tutorial see below:
Thank you so much for stopping by! I hope you enjoy making this beautiful, classic crochet baby blanket for your little loves!
XO, Tiffany
Click here or image below to download a printable pdf of pattern.
![]()
