POST UPDATE:
Thank you so much for your overwhelming interest and love for this new blanket pattern by Cyndi! We have now included a free printable pattern at the end of this post.
Thank you so much for understanding that we are sharing our love of crochet with you and Cyndi’s journey in learning to crochet! We are having so much fun and also learning the best way to share the patterns as well.
Thank you for your patience, love and kindness…our Daisy Farm Community is simply the best and we love you for it.
XO, Tiffany
![]()
My sister Cyndi, aka Sugar Joye, has knocked it out of the park again with this beautiful blanket! She wanted to make her niece Angela a gorgeous wedding gift, and I think she did a wonderful job.
Cyndi has absolutely fallen in love with the Ribbed V-Stitch blanket pattern I made for baby Nora. (You can see that HERE and HERE.) That blanket pattern has really inspired her to create with colors, and now with more texture.
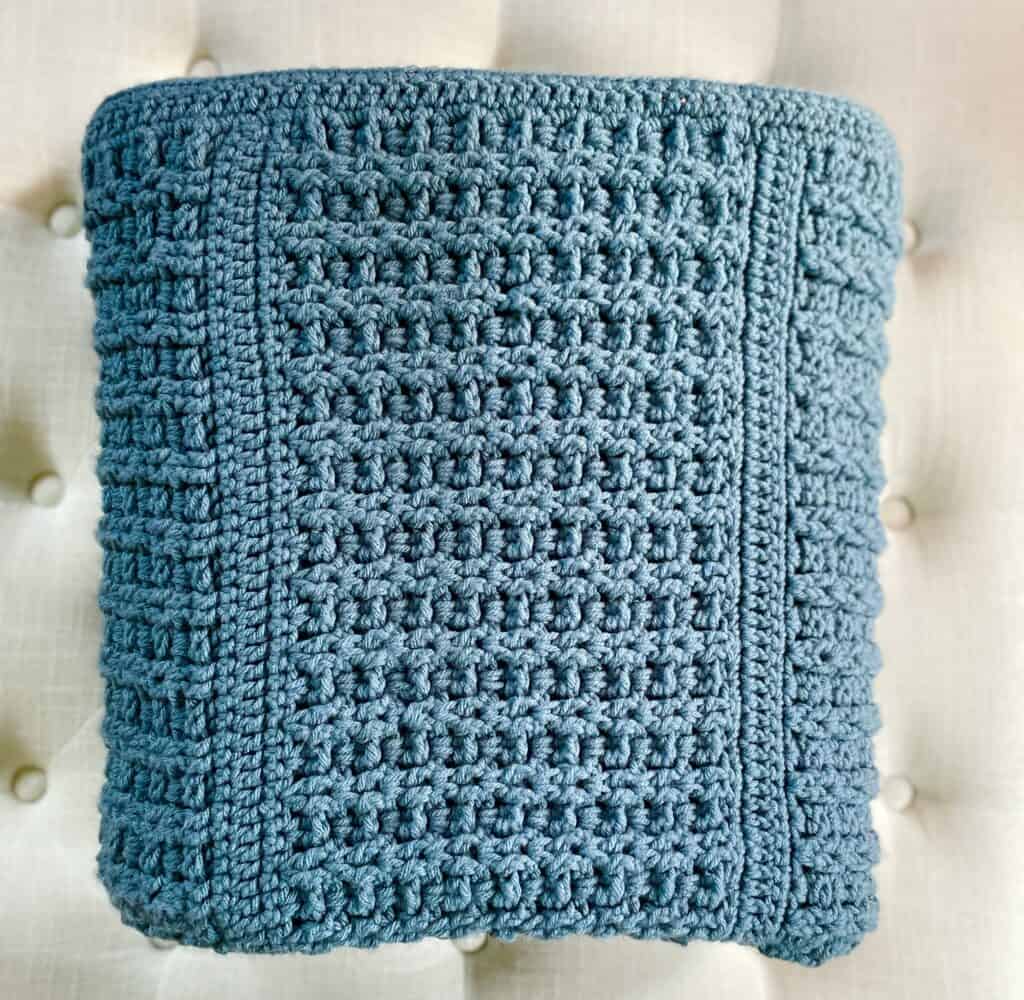
The added flat textured stripes make the rows of the ribbed V-stitch look stunning! What I also love about the ribbed V-stitch, is the easy way the rows are constructed. You only are making the front post and back post double crochets (the ribbing row) for one row. The next row is double crochet v-stitch.
I’m starting to see more and more versions in the Daisy Farm Crafters group and they are gorgeous. (Come join us on Facebook! It’s fun and free and you can get lots of inspiration from other crocheters making Daisy Farm Crafts patterns.)
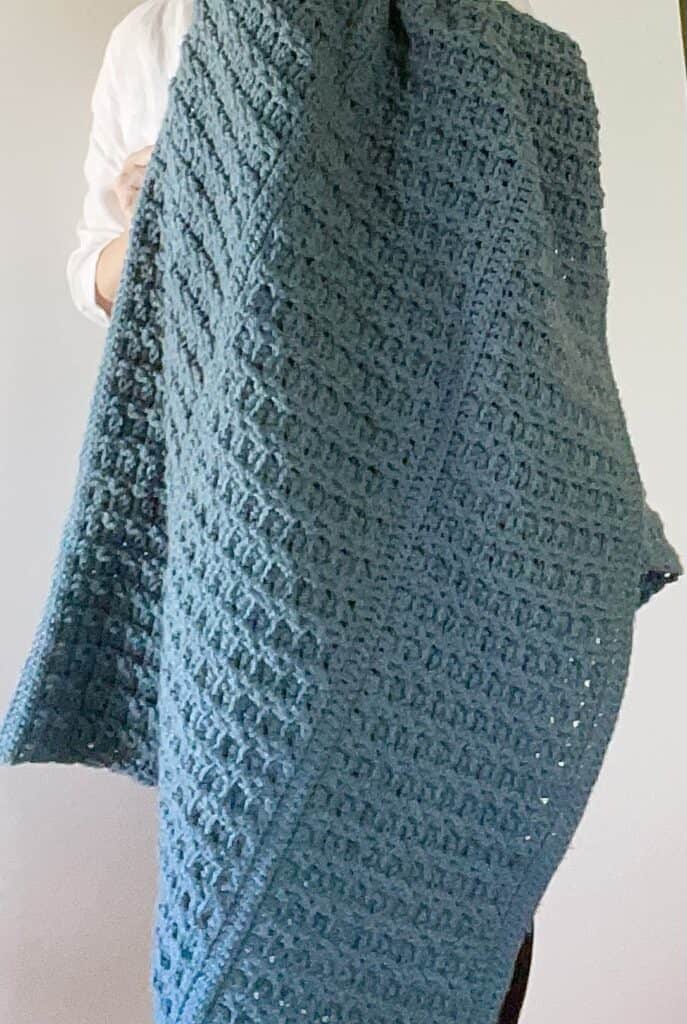
This throw also would be perfect for graduation gifts to take to college. It’s giving modern college “anthropologie” vibes to me.
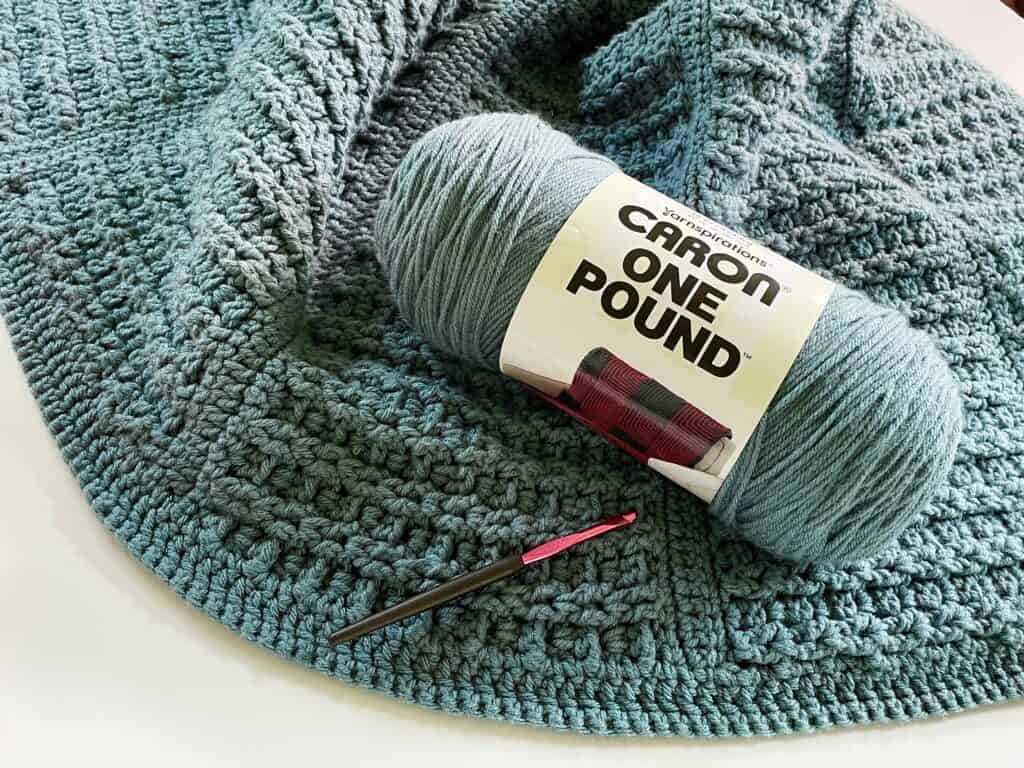
She used Caron One Pound for this blanket in a color called “Canal.” She has discovered the best trick to soften the yarn after she has made the blanket to get it ready for gift-giving. This works for Red Heart Super Saver as well. These yarns are perfect for large blankets and save on cost, but they also are yarns that have “sizing” that can easily be softened after the blanket is finished by simply tossing it into a hot dryer with a wet washcloth and a dryer sheet.
Another reason we love Caron One Pound or Red Heart Super Saver besides being affordable, is the range of colors the yarn comes in. You have a higher chance of finding the perfect shade. If you are a beginning crocheter, you will also achieve good stitch definition while still working on consistent tension. It’s a win-win with these yarns.
Just toss it in the dryer when you are finished! Wrap it up and your loved one will be amazed at your gift’s thoughtfulness.
Cyndi filmed a YouTube tutorial which I will link below, the written pattern is at the end of the post.
See the video tutorial to learn how to add the extra rows in between the ribbed rows from her video:
Materials
Caron One Pound (100% acrylic, 454g / 16 oz, 742 meters / 812 yards) (Tap name of yarn to shop and see other colors available)
4 skeins in the color, Canal
Size I/ 5.50 mm crochet hook, tapestry needle, scissors, measuring tape
Size
Finished Size approximately 60 inches x 84 inches
Stitches
DOUBLE CROCHET (DC): YO, insert your hook, YO and pull up a loop, YO and pull through two loops, YO and pull through remaining two loops
FRONT POST DC (FPDC): YO, insert your hook around the post, popping the post toward the front of the work, YO and pull up a loop, YO and pull through two loops, YO and pull through remaining two loops
BACK POST DC (BPDC): YO, insert your hook around the post, popping the post toward the back of the work, YO and pull up a loop, YO and pull through two loops, YO and pull through remaining two loops
Pattern
Chain 200 (or any EVEN number to the width you’d like)
Row 1: Starting in the 2nd chain from the hook, work SC. SC into each chain across the row. CH 2 and turn.
Row 2: Work DC into the first stitch and each stitch across the row. CH 1 and turn.
Row 3: Work SC into the first stitch and each stitch across the row. CH 2 and turn.
Row 4: (V-stitch row) Turning chain counts as first DC. *2 DC in the next stitch, SK the next stitch. Repeat from * across the row and work one DC into the very last chain. Chain 2 and turn. (This will count as your first DC) on the next row.
Row 5: (Ribbed V-stitch row) Begin with the first set of DC that are worked into one stitch from the previous row and work 1 FPDC around each. *1 BPDC around each of the next set. 1 FPDC around each of the next set. Repeat from * across the row. End with 1 DC worked around the turning chain, CH 2 and turn.
Row 6: (V-stitch Row) Begin row by working 2 DC in between the first pair of DC of the previous row. *2 DC in between the next pair. Repeat from * across the row. End with 1 DC worked around the ch 2 turning chain, CH 2 and turn.
Repeat rows 5 and 6 for a total of 18 rows (the 18th row will be row 5 instructions)
Repeat rows 1 through 3, then begin rows 4 through 6 for 18 rows, again the 18th row will be a ribbed v-stitch row.
Repeat until you have 5 panels of ribbed v-stitch and 6 sections of rows 1-3 instructions.
Border:
The border is worked on each side of the blanket. (The top and bottom are already worked as part of the blanket pattern.)
Row 1: Work 2 SC around the end of the rows that end in DC and 1 SC around the rows that end in SC. CH 2 and turn. (Work this row as evenly as possible.)
Row 2: Work DC into each SC. CH 1 and turn.
Row 3: Work SC into each DC. Tie off and weave in the ends.
Repeat on the other side of the blanket.
For anyone who is new to Daisy Farm Crafts, hello and welcome! I’m Tiffany and have been sharing my love of crochet for the past several years, but also in the last year or two have been teaching my super-talented artist sister Cyndi how to crochet!
She learns a new stitch from our patterns, and then her creativity is sparked and she will create blankets based on our patterns with her spin on it.
It has been so fun for me to teach her and then watch to see what she comes up with. She has always been a very talented artist and designer and now is turning her attention to crochet. I can’t wait to continue increasing her skills and letting you know what she is making.
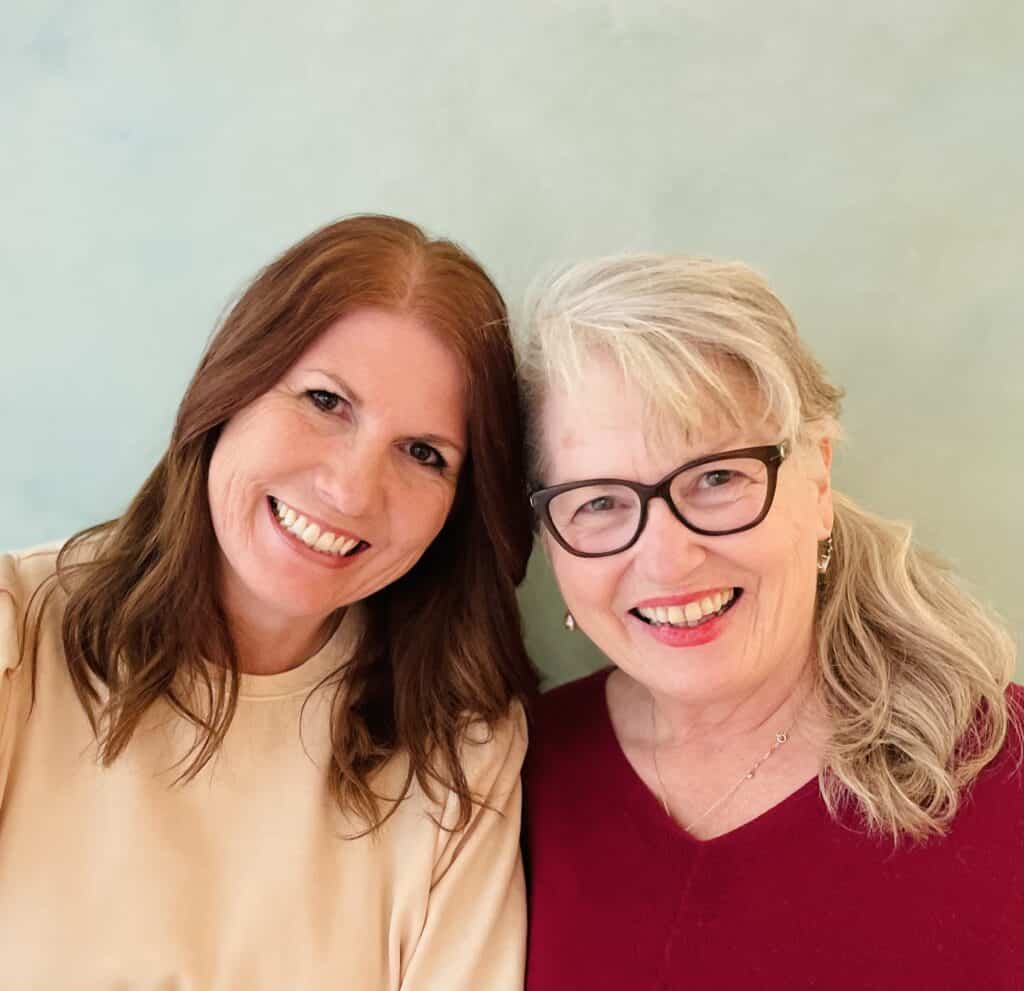
This is us! We’ve been besties and playing together since we were little and now are having so much fun playing with yarn.
I hope you have a wonderful crochet day!
XO, Tiffany
Click here or image below for free printable pdf.
![]()
